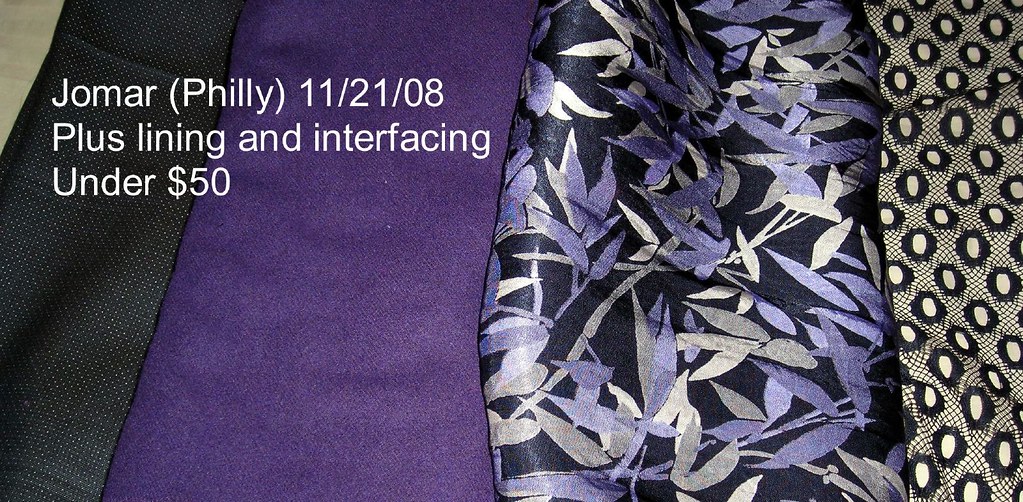
 On that very trip to Philly during which I froze, I was seduced by the purple wool at Jomar (as Karen recalled!) and found the matching lining. The wool was in the remnants at $4/yd, and the lining was also $4/yd as I recall, which is rich living at Jomar but it was the piece that I loved so it was worth the "high" price. I assumed it was poly, but when I got it home it turned out to be rayon so that was handy. As with the green coating, I washed the purple to full it as much as I could. It turned out to have some kind of HORRIBLE HORRIBLE sizing on it that smelled absolutely dreadful. It took a couple more washings to get it out and the hand changed completely to be very floppy and blanket-like, which was unfortunate but I probably would have gotten cancer had I worn it with whatever that god-awful toxic sizing was still in it so oh well.
My corduroy jacket is way warmer than it has any right to be, and I can only assume that it's due to the fleece lining, which is looking pretty pilled and ratty but I love the coat so much I can't give it up. So I knew I'd have to use that fleece I bought for the green coat to interline this one. This is just regular Joann fleece; not any kind of special microfleece or lining fleece or flannel-backed fleece or whatever. Yes, it's bulky, but this is a winter coat we're talking about here. I'm ok with bulky in a winter coat.
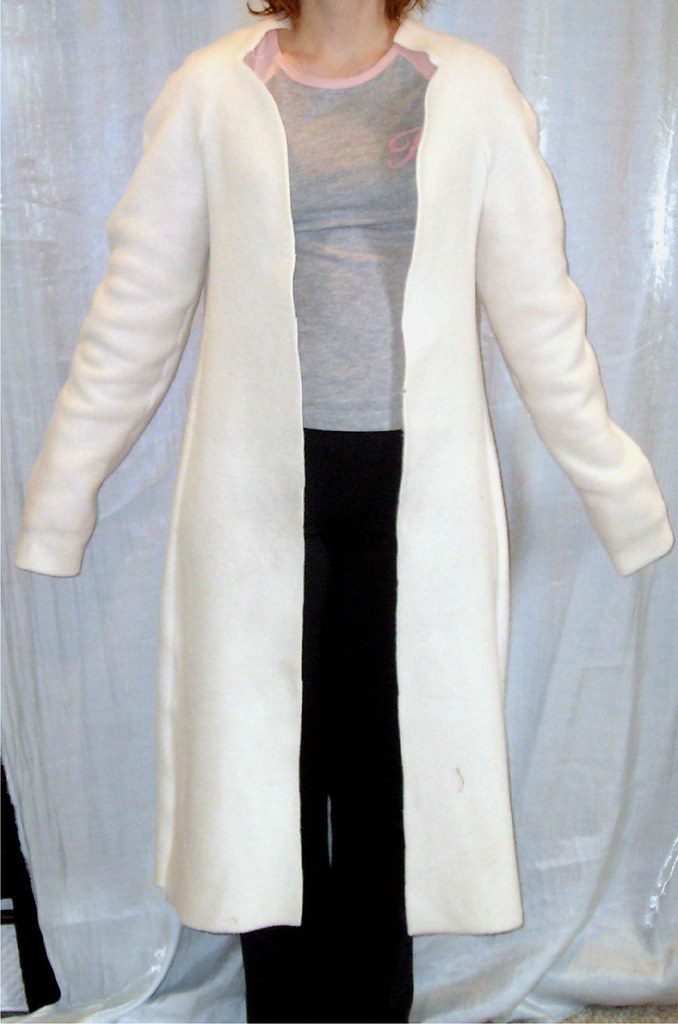 The first thing I did on this coat was to cut out and construct the fleece interlining. Again I piggybacked on Melissa's coat-making experience. One of the things she did was trim off all the seam allowances on her interlining pieces and hand-sew them to the seam allowances of the coat to reduce bulk. Now, that is too extreme for me, but I took away the lesson about reducing bulk and constructed it on the serger. Which is also just fun. And then the serger scraps made excellent stuffing for the top half of the paper tape double I'm working on. It was a total win-win situation. I was wearing it around after it was done and it was so warm! I knew I'd made the right call.
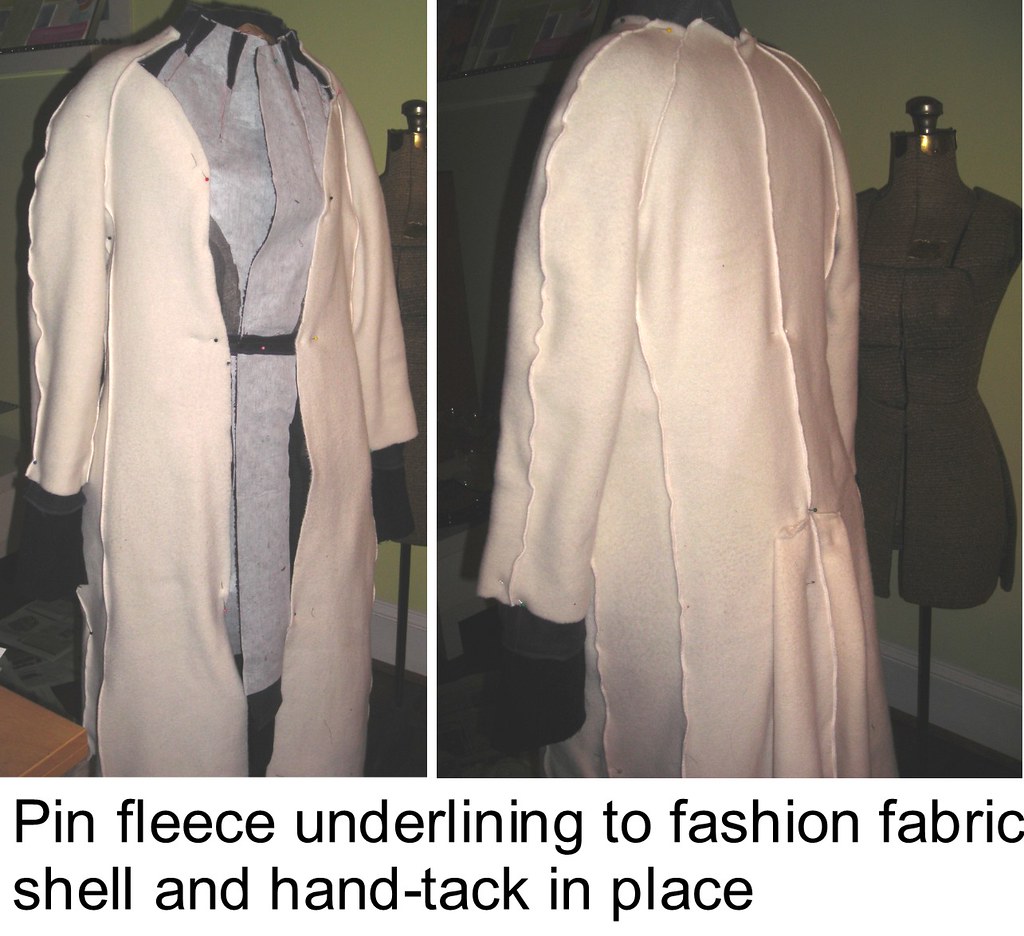
After the outer shell of the coat was constructed, I hung it inside out on my dress form and hand-tacked the interlining at key points: neck, shoulder, in the back above the inverted pleat, underarm, at the top and bottom seams at the end of the sleeve, and a couple points along the front. I had fused the front along the facing line with a heavy interfacing and tacked the interlining only to the interfacing. I am hoping that it won't eventually pull the interfacing off, but I have left the lining hem free of the coat hem so I can always go up into the guts of the coat and fix things.
I already talked about my fleece pocket lining on the pocket post. The pockets are so warm for putting my hands in!
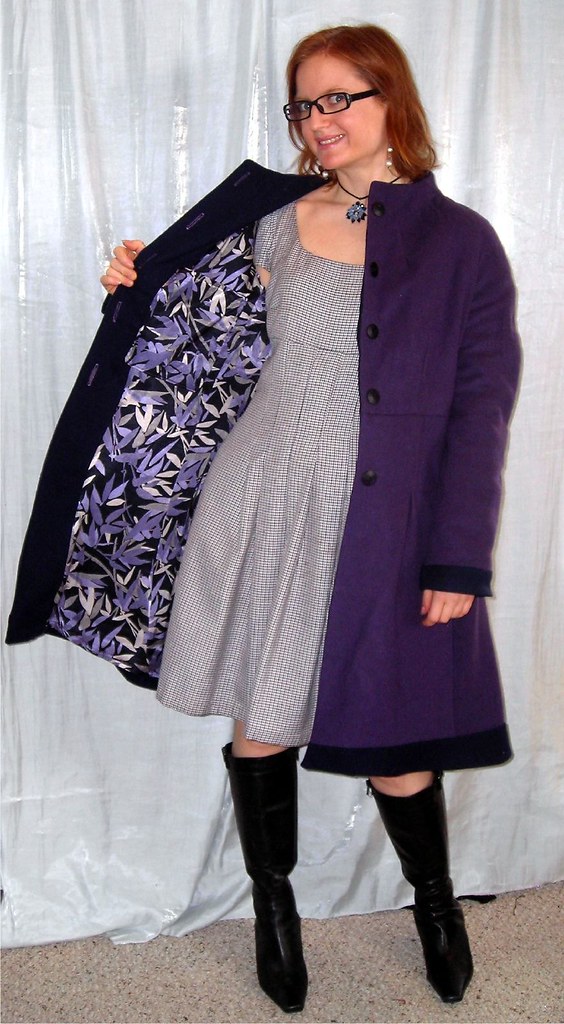
Another thing I had learned from my corduroy jacket and green coat is that I wanted the sleeves to be long, at least down to my knuckles. On both of the previous projects the sleeves end right at my wrist, and this is just not long enough for a coat! I was particularly frustrated with myself at the green coat because I had already made the cordouroy jacket and knew I wanted longer sleeves, and yet somehow even though I cut them super long on the green coat they still ended up short. Argh! This was my do-over. I cut the sleeves as long as I could, but because I had bought the fabric as a remnant I didn't have quite enough of it. I arranged my cutting layout so that I would have two pieces left over large enough to add sleeve extensions.
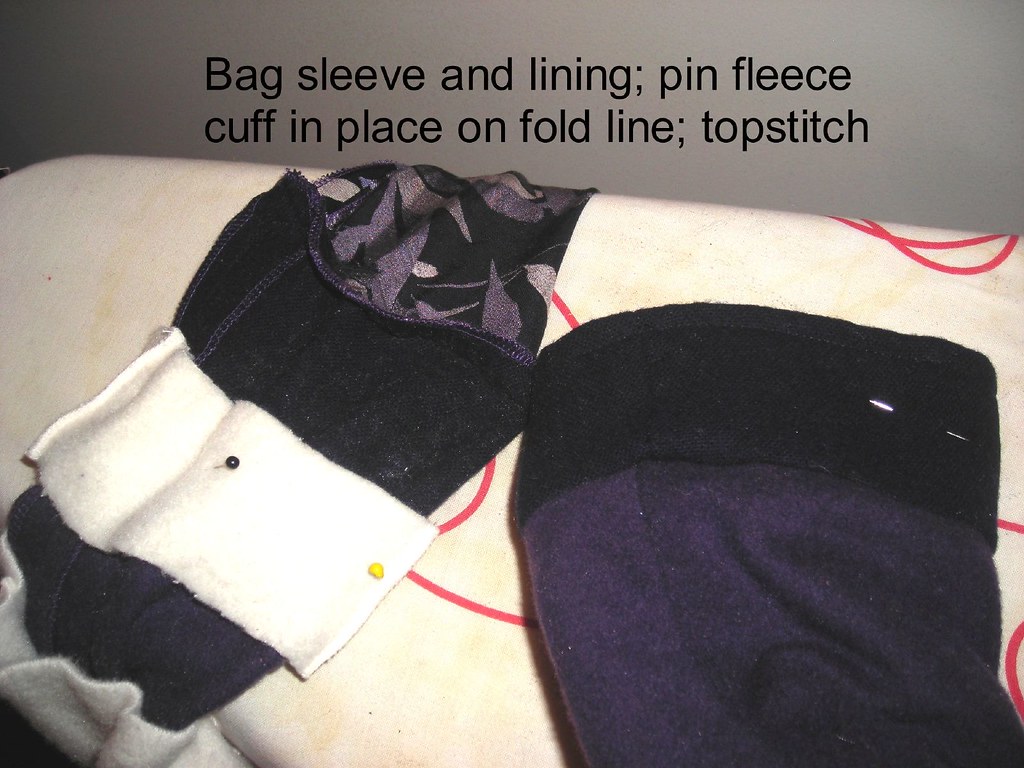 Then I hit upon doing the sleeve extensions in the contrast fabric I used for the facings. Nice. OK, so the sleeves were going to be long enough, but how to make them warm enough? Fleece cuffs! Now this was a delicate operation. I had cut the sleeves of the interlining off a little above the cuff line and then made little fleece cuffs. I *should* have slipped them on before bagging the sleeve linings but of course I didn't, so I had to unpick the stitching, slip the cuffs on and then rebag. Next step was to mark the hem crease in the sleeves. That done I pulled the bagged sleeves back out, pushed the fleece cuffs down to meet the marked crease, pinned in place, pushed the bagged sleeves back out, and topstitched the cuffs in place.
Of course, I later realized I hadn't got either sleeve's hem right and the sleeves were hanging all awkwardly. So I had to unpick my topstitching and do the whole thing over again. Grumble grumble. The pics were taken first time around so you can't see that when I went back in I interfaced along the cuff fold line, which gave me a much crisper edge. This time I put in four rows of topstitching and they are really cute *and* add some structure so the sleeve hems aren't all floppy. All this annoying work with the bagging and the unbagging and the pulling the bagged sleeves in and out and in and out (I felt like it was Thanksgiving and I was spending hours and hours with my hands up a turkey's bum, even though I'm a vegetarian and have never done this) was totally, totally worth it. I am so glad I finally got the sleeve length right and the fleece cuffs keep the cold air from rushing in past my gloves.
You can see the length of the sleeves in this picture:
All photos are here.
Already discussed:
pockets
Still to come:
Aesthetics
Overall Review
.jpg)


.jpg)


11 comments:
You know the more I see of this coat, the more I like it. It's almost turning into love, but where I live, a pea coat is almost too fancy, so I will have to admire it from afar.
I am all worn out just reading what you did for this coat. Plus it keeps you warm and looks great so a job well done!
Gorgeous! I love it! The colour is amazing and it looks sooooo cozy.
I adore that color on you. It's nice when all the hard work pays off, isn't it?
I've loved that coat since the very first glimpse. Absolutely lovely!
I remember that day in Philly! It was insanely cold!!!! I think I like the lining best of all in this coat. It's perfect!
So cute - your changes to fit you better were inspired. Lovely colour too!
That is beautiful lining. Purple is my favorite color.
Perfect for this cold winter! Maybe I should knit you a hat for extra warmth!
oh I love your interlining shortcut idea! Because frankly, all that hand sewing was too hardcore for me, too.
And you'll be pleased to hear that the interlining is SO worth the extra trouble - I was toasty warm yesterday during London's blizzard even though it was snowing sideways!
I never forget a fabric that I lust after - even though I'd look like death in purple I admire it. You thought it was cold that day, so I won't wish you were here now - it's about 20 degrees and snowing like . . . well, it's snowing. Lots. Your coat would do well tomorrow, though you might not.
Post a Comment