Showing posts with label Tutorials. Show all posts

Friday, October 25, 2013

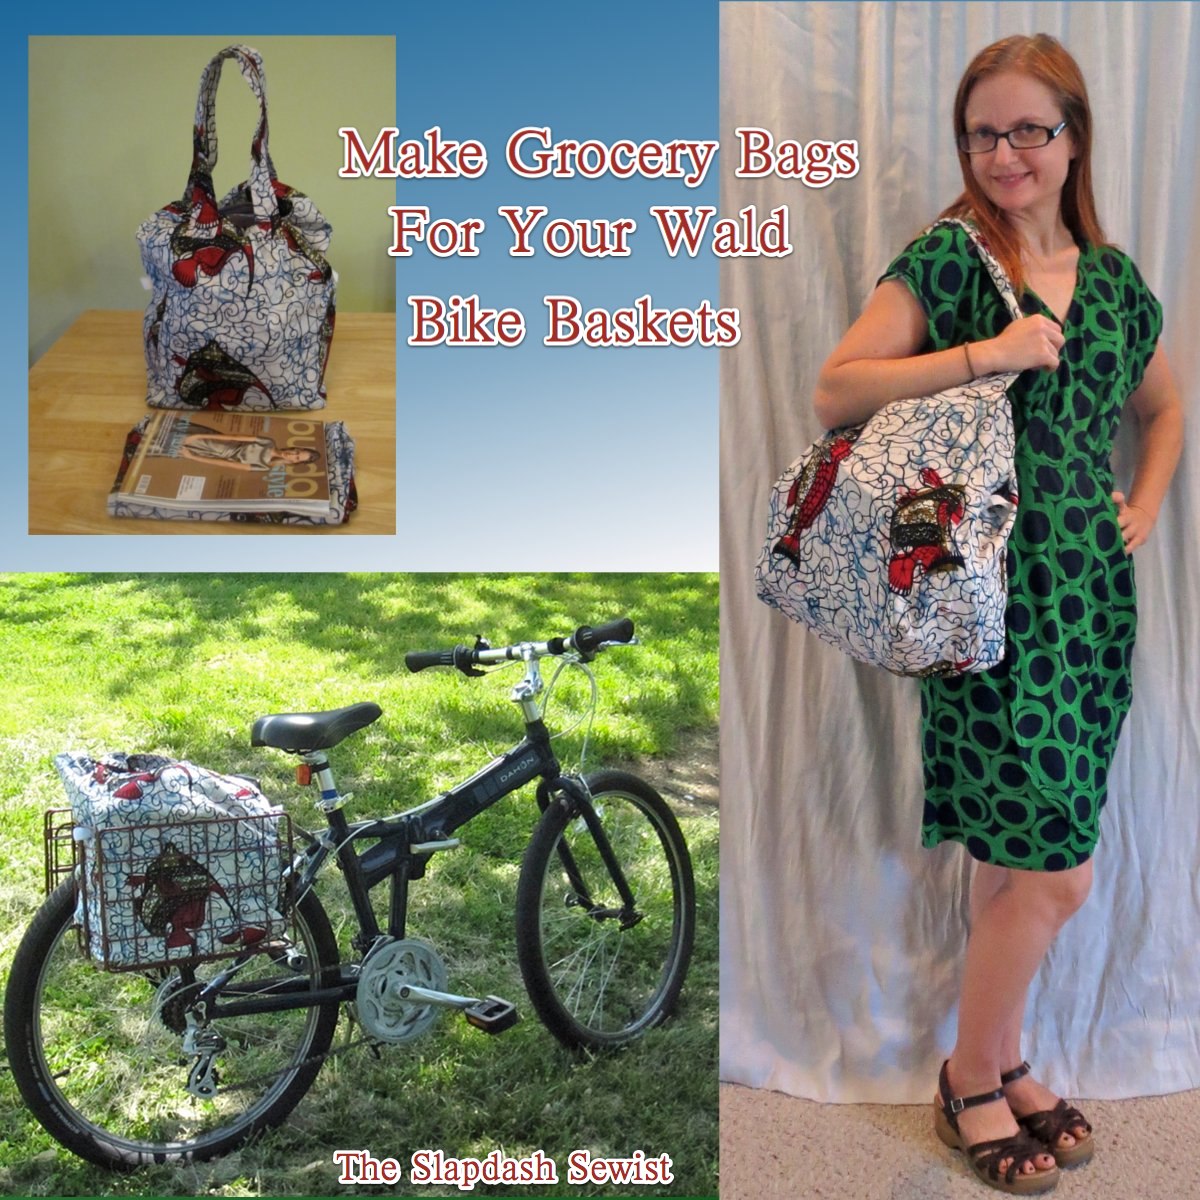
How to Make Basket Liner Grocery Bags for Your Wald Bike Baskets

Wald Bags Thumbnail

Given my focus on the bikeability of my skirts and dresses, it probably won't surprise you that I sew for my bike as well.  I am a commuter-, shopper-, and pleasure-biker, so weight is not an issue for me.  I'm not fast anyway, what's a couple extra pounds?  So for cargo, I looooooove my Wald baskets.*  They collapse when not in use and are easy to fold out when I'm doing a big grocery shop.

*Please note that I have no financial or other connection with any of the products or sources listed in this post.  I really do like the baskets that much as a plain ol' satisfied customer.

Baskets are more stable than panniers and a bajillion times easier to use.  I found detaching and reattaching panniers a real pain, they are enormous to carry into the grocery store (or heaven forbid a restaurant or bar where you don't want to leave your stuff sitting outside), and I had a pannier pop off my bike in Logan Circle once.  With the baskets, there's no detaching and reattaching, and carrying a custom tote bag into the grocery store is much more civilized.  Also, believe it or not, I think my grocery bags hold more than a pannier because they are tall.  A tall pannier hangs down too low, but the bags' added height is above rack level.

Pro tip:  on the advice of my bike shop, I skipped the included hardware and attached my baskets to my rack with hose clamps, which are available at Home Depot or any hardware store.  They are a real pain to put on (you have the squeeze the tongue thingy into place with one hand and turn the screwdriver with the other until the tongue thingy is caught and you can tighten it), but that basket is not coming off.  After about a year I had one hose clamp fail--the metal broke.  Each basket is attached with 3 hose clamps so it did not fall off.  When I noticed some rattling, I replaced the hose clamp without incident.  So I do recommend an occasional inspection to make sure your hose clamps have not failed.

Of course, a naked basket is no good.  I just had to make custom-fit liners for my baskets!

You will need:
Sturdy Fabric
Fusible fleece or other stiffener for the bottom
A drawstring (I used rattail braid; you need a little less than 1 1/2 yards)
A cord stop (Joann sells these in the notions aisle; mine are from Quest Outfitters)
Velcro (mine is 1 inch wide)

The liners are made from four pattern pieces (if rectangles rise to the level of pattern pieces): a front/back, sides, bottom, and straps.  The measurements given below include a 1/2" seam allowance.

For each basket liner, cut 2 of each of the following pieces:

Front/Back:  17.5" tall x 13.5" wide
Side:  17.5" tall x 8.5" wide
Bottom:  13.5" x 8.5"
Handle:  4.5"wide x 26"* long

*The length of the handles is based on the perfect comfort carrying height for me.  I'm 5'1", so in the highly likely event you're taller than me you might want slightly longer handles; I would recommend adding 1/2" for every inch you are over 5'1", on the theory that half your height is in your torso (where handle length matters) and half is in your legs (where it doesn't).
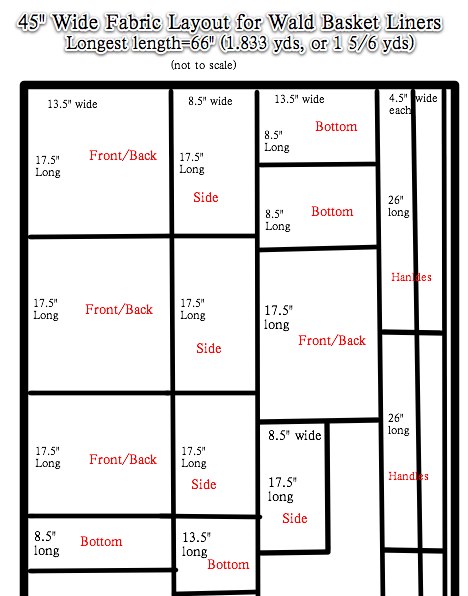
Fabric Layout for Wald Baskets


I made two liners--one for each basket (I think most people only have one basket, but since my bike is my car I have two)--from a 45" wide wax print a friend brought me back from Liberia, so I took the trouble to figure out the most fabric-efficient pattern layout, shown below.   Most quilting fabric is 45" wide, so if you want to use one of those cute prints this may come in handy.

Most cottons can be ripped on both grain and crossgrain.  Make a snip with the scissors and rip away.  I ripped all my pieces rather than cutting them.  So much faster, easier, and more precise.

A word of warning, though, that when the bags are full they are easy to catch and rip on the baskets.  You want a fabric with some body and sturdiness so don't use a lightweight quilting cotton, or if you do you'll need to double it up.


The first thing to do is sturdy up the bottom.  This isn't totally necessary, but I find it extremely helpful when loading groceries because it shows you the exact footprint of your basket.  This is particularly important when the checker is loading your bags because they instinctively cram them as full as possible and then the bags are too wide to fit in the baskets and you have to mush your groceries around to get them into the right shape.
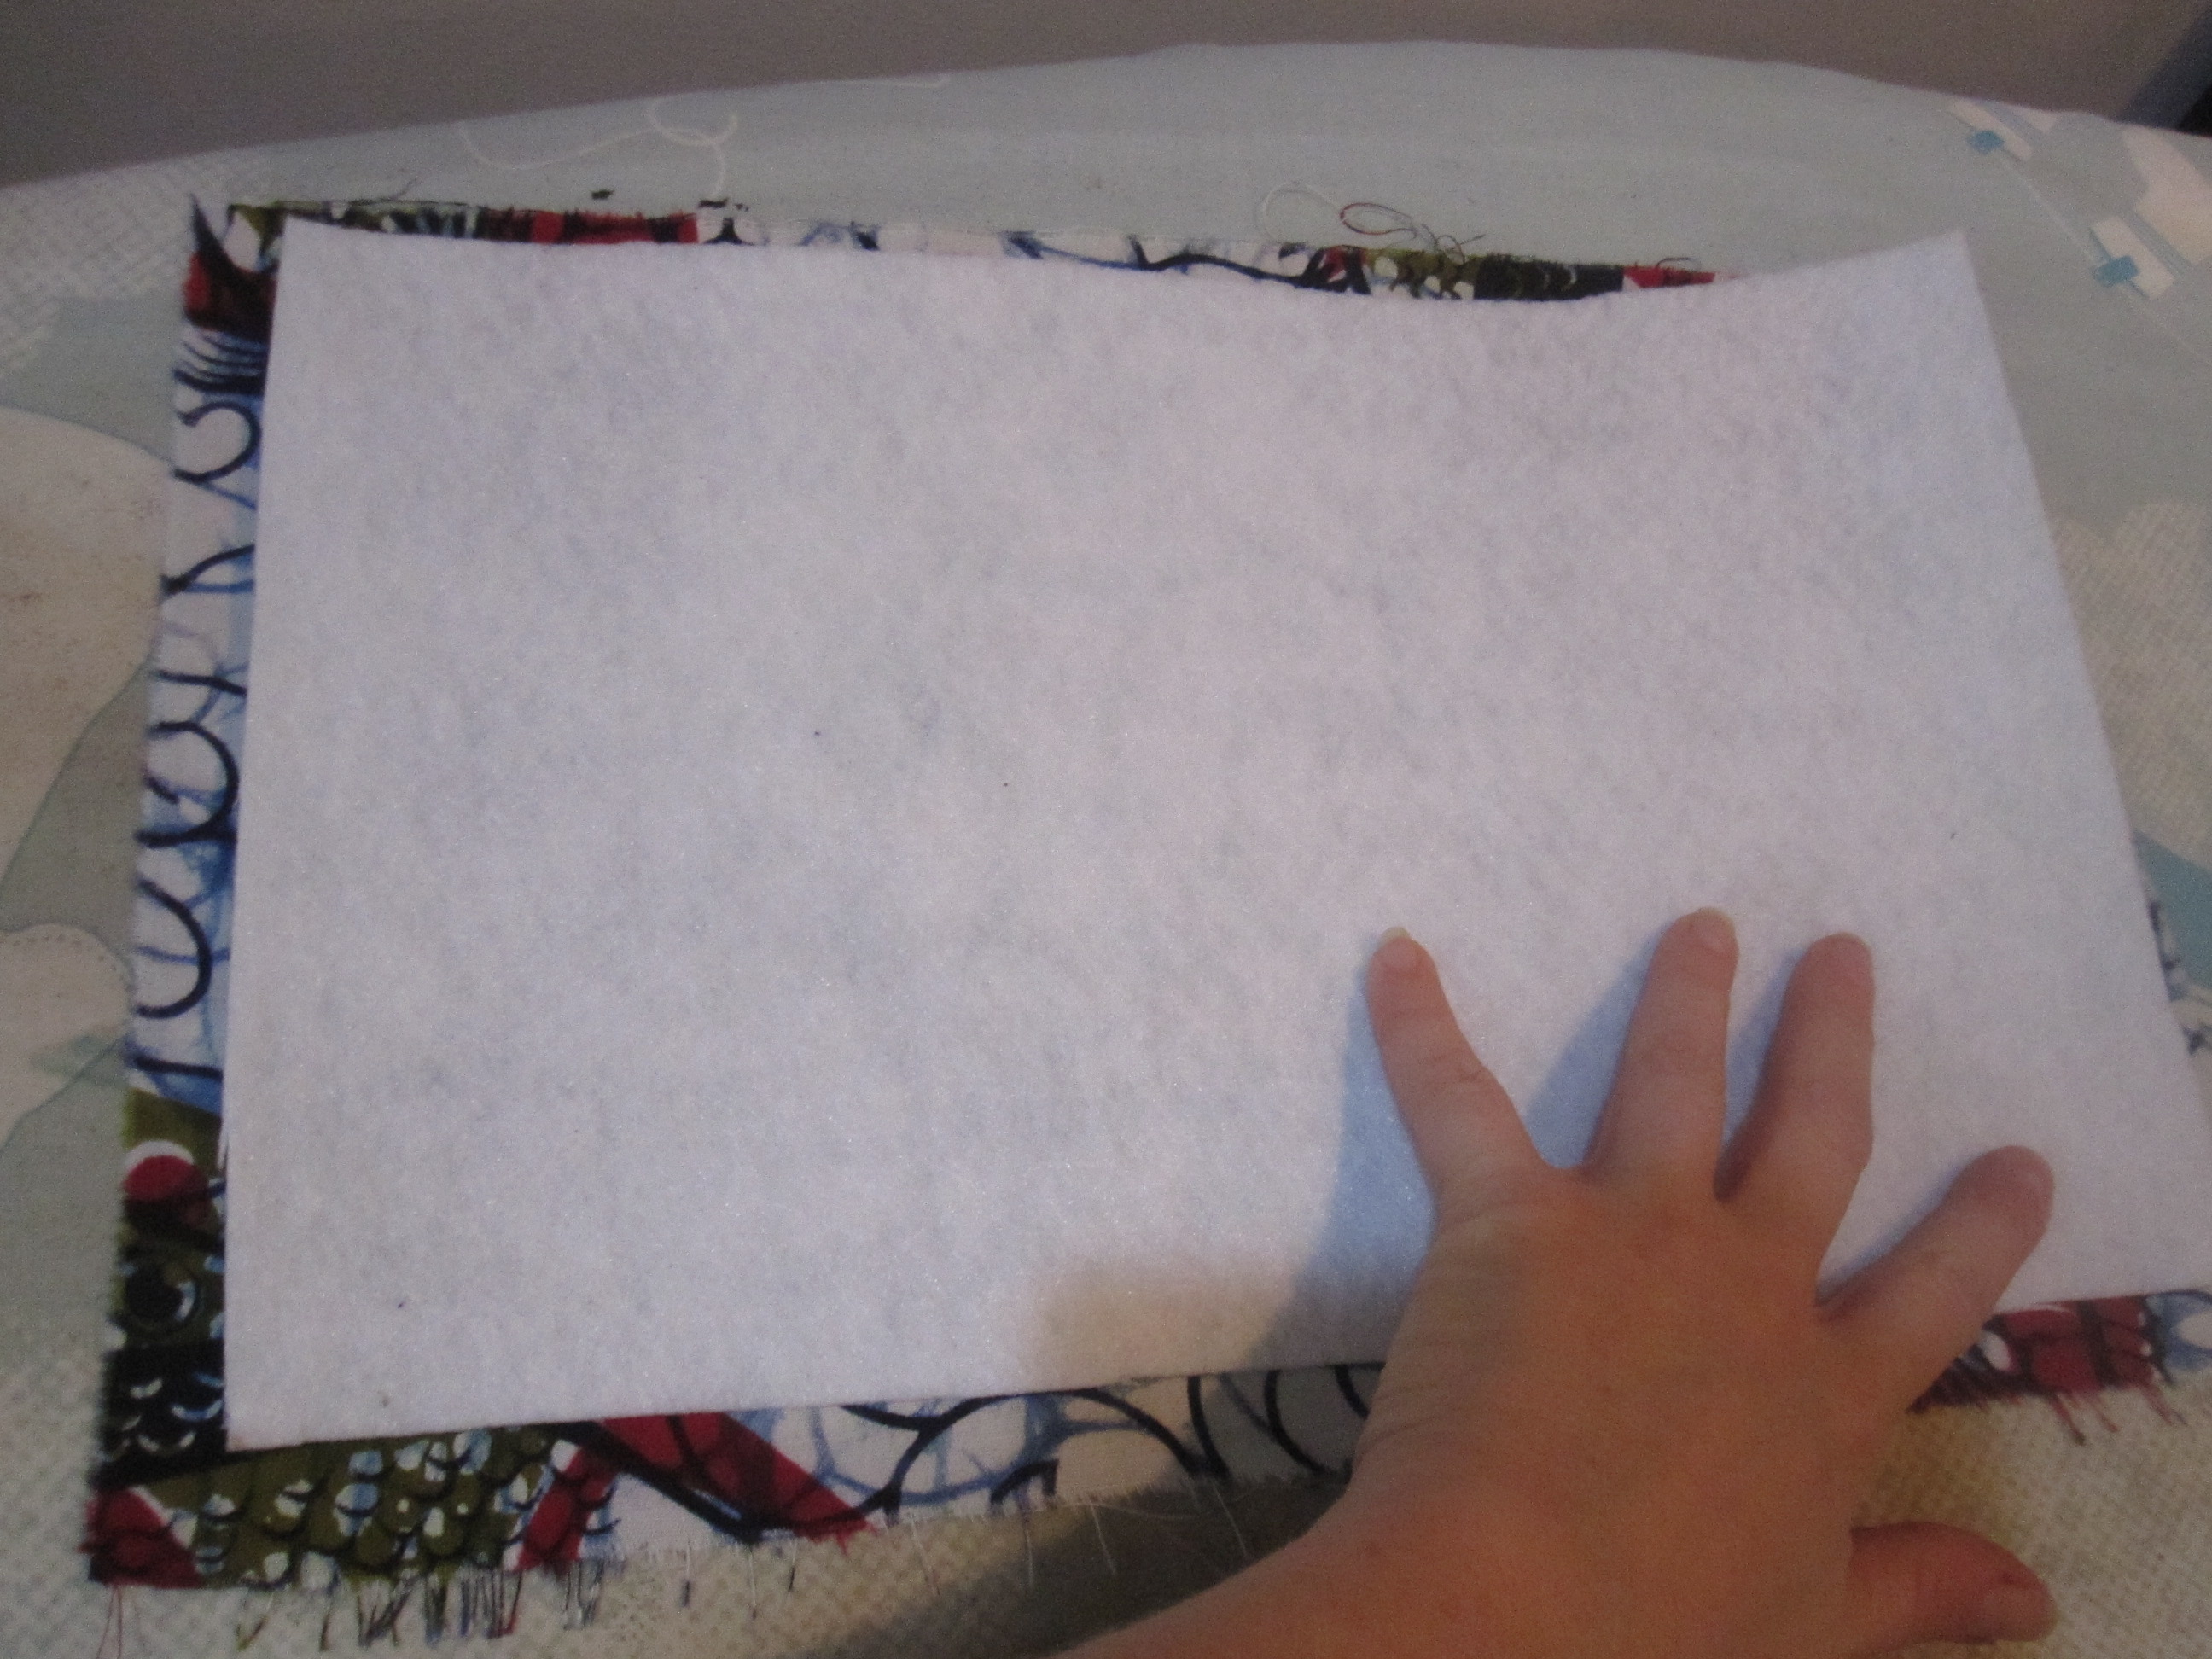
Fusible Fleece, cut out minus seam allowances
Cut your fusible fleece 12" x 7" (taking the 1/2" seam allowance off all four sides of the bottom piece measurements plus a little more so it's easier to sew).  You can draw right on your fusible fleece with a pencil, so just mark your rectangle and then cut along the lines.

Lay one bottom piece, wrong side up, on a flat surface.  Center the fusible fleece on top of it.  Lay the other bottom piece on top of the fusible fleece, right side up.  You've now sandwiched your fleece and the right side of your fabric is showing on either side.  Pin through the sandwich a few inches in from each corner and in the center.  Now take it to the machine and anchor it with a big X from corner to corner through all three layers (bottom, fleece, bottom).  Take out the pins.
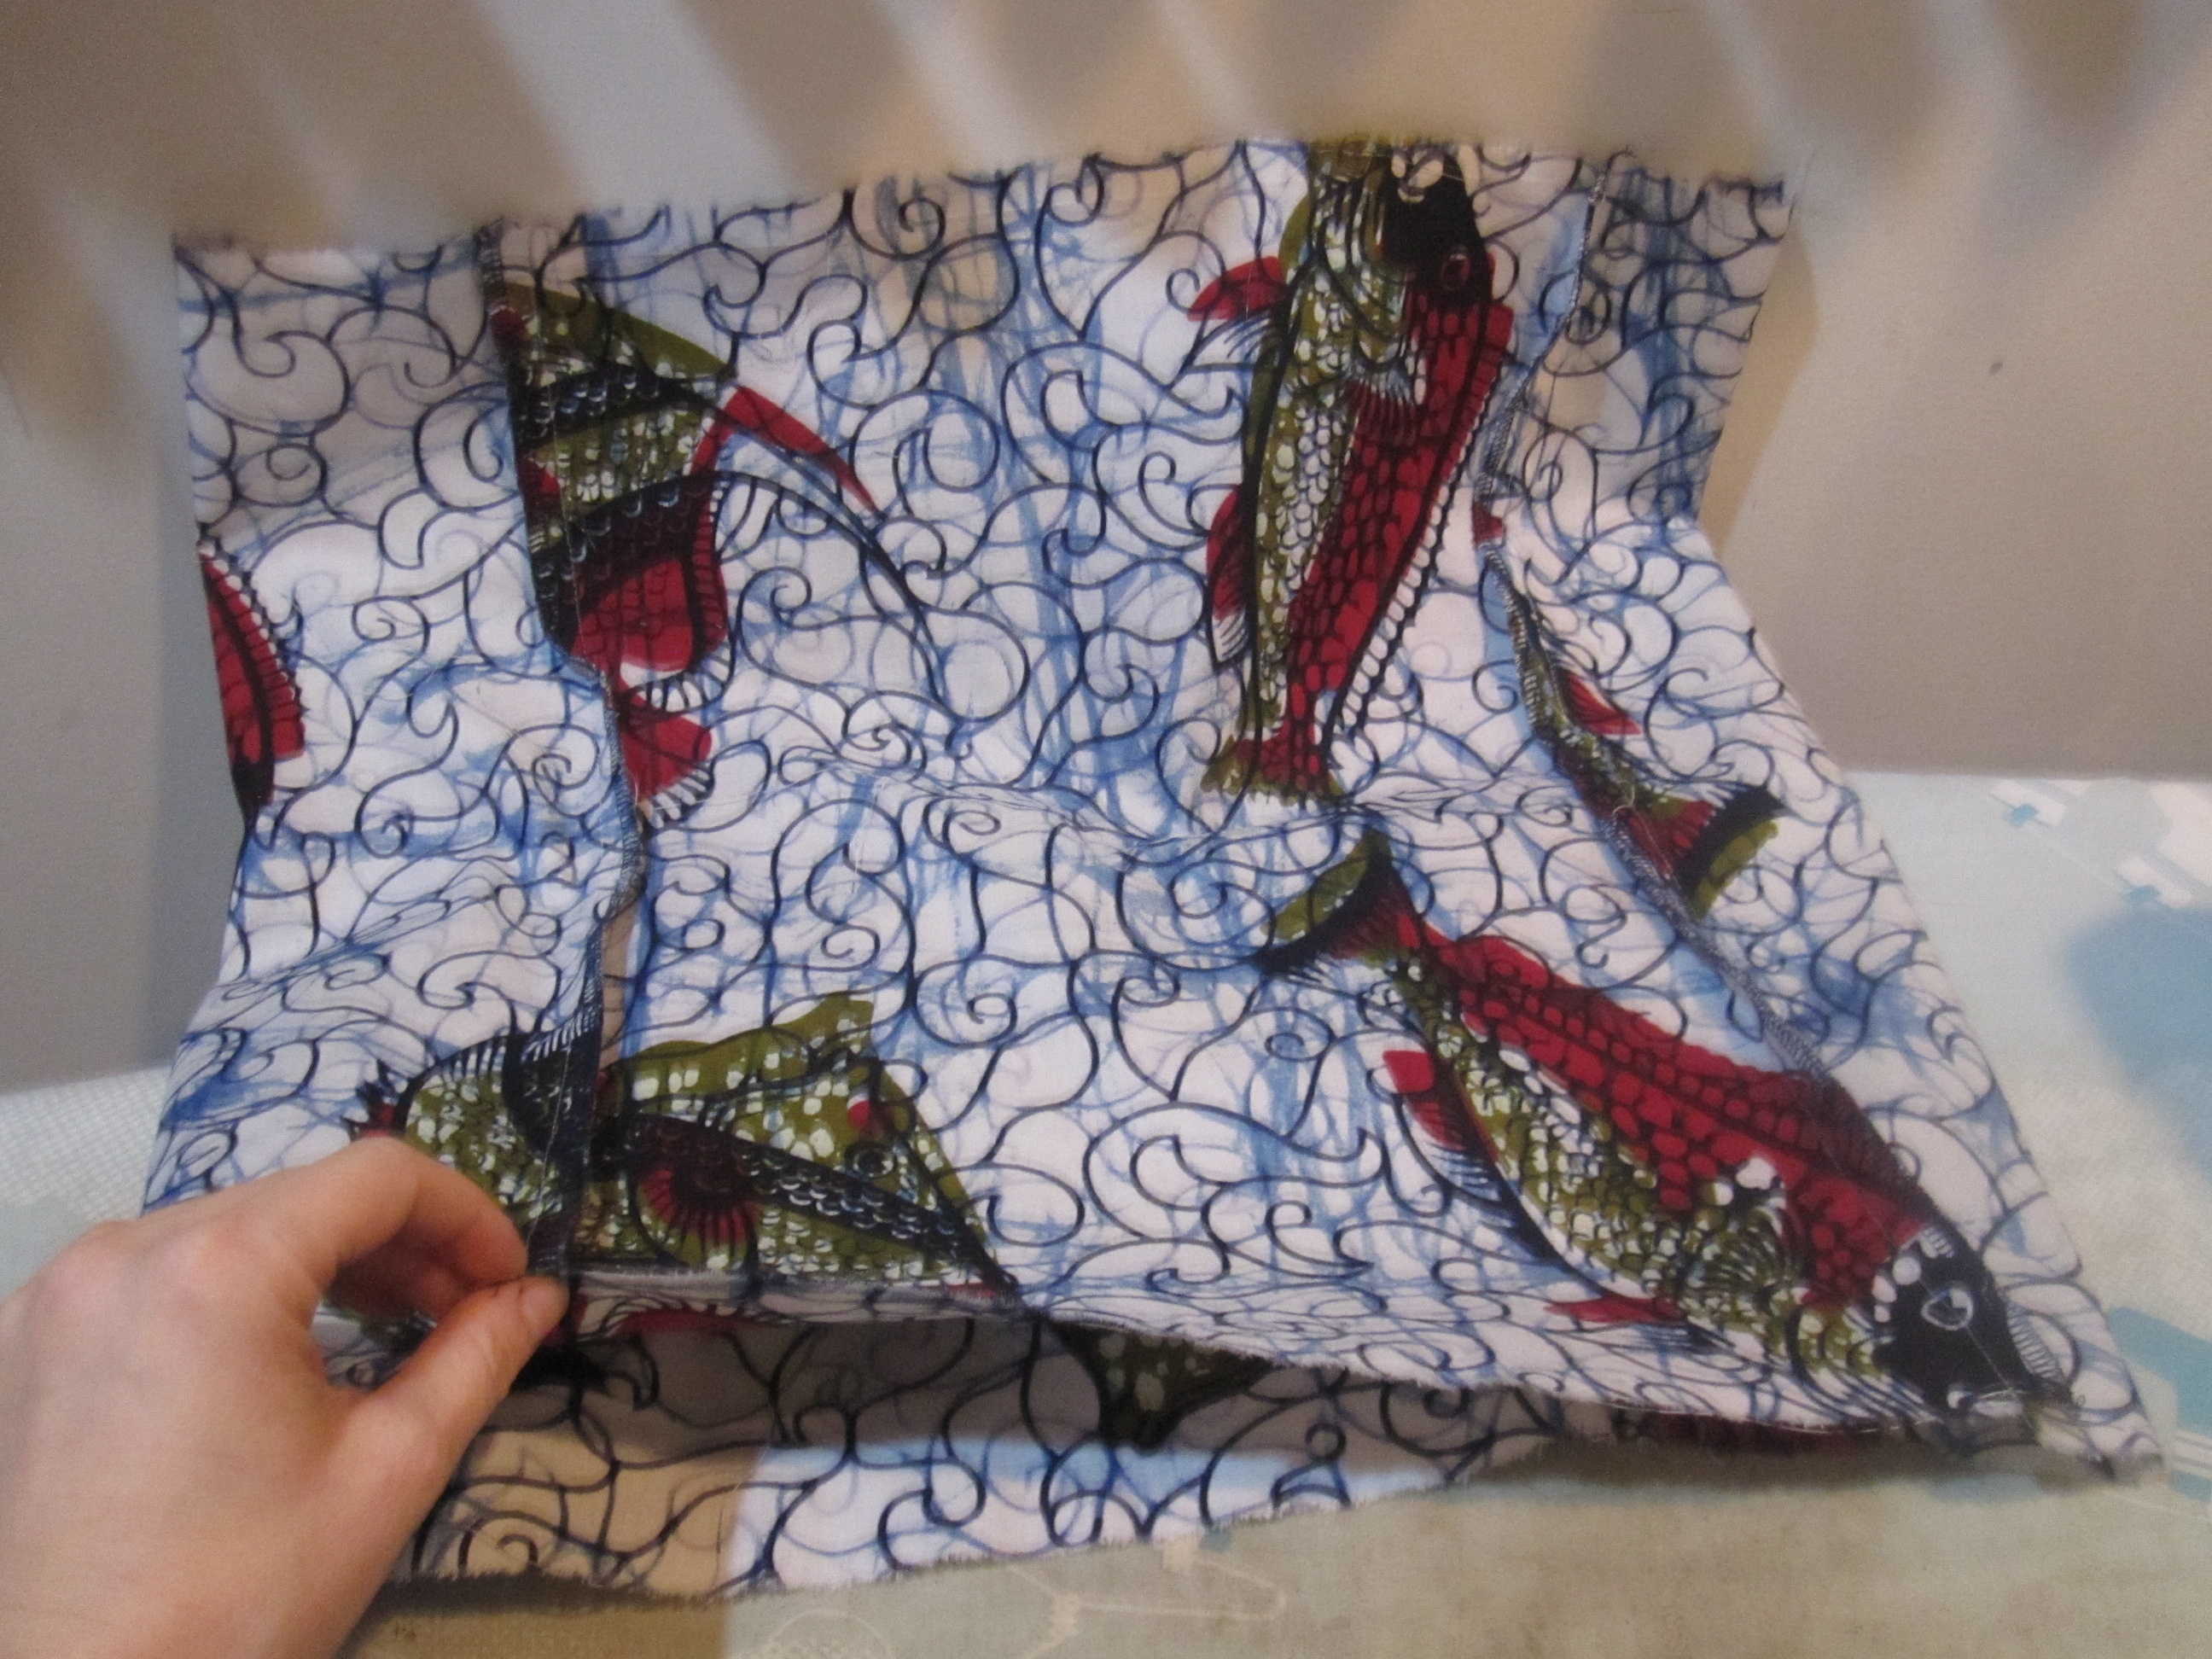
Front/Back/Sides Box
The next step is the sew the front/back and sides together.  Take one front/back piece and lay it right side up on a flat surface.  Place one side piece right sides together along the long (17.5") side, matching this to the front/back's long side.  Pin.  Now pin the other side piece in place the same way, right sides together.  Pin the other front/back to one of the sides, and complete your tube by pinning the remaining front/back side to the remaining free side.  Sew all these seams.  I finished mine with my serger, but you can use a zigzag stitch if you don't have a serger.  Press the seam allowances toward the sides.  You now have sort of a box with no top or bottom, as seen at left.

Now comes the only even remotely tricky part, I promise.  You're going to pin the bottom in place.  Match the corners of the bottom with the seams of your front/back/sides box, right sides together.  The seam allowances of your "box" will be on the outside.  The bottom has two right sides so it doesn't matter which one you put inside and which outside.
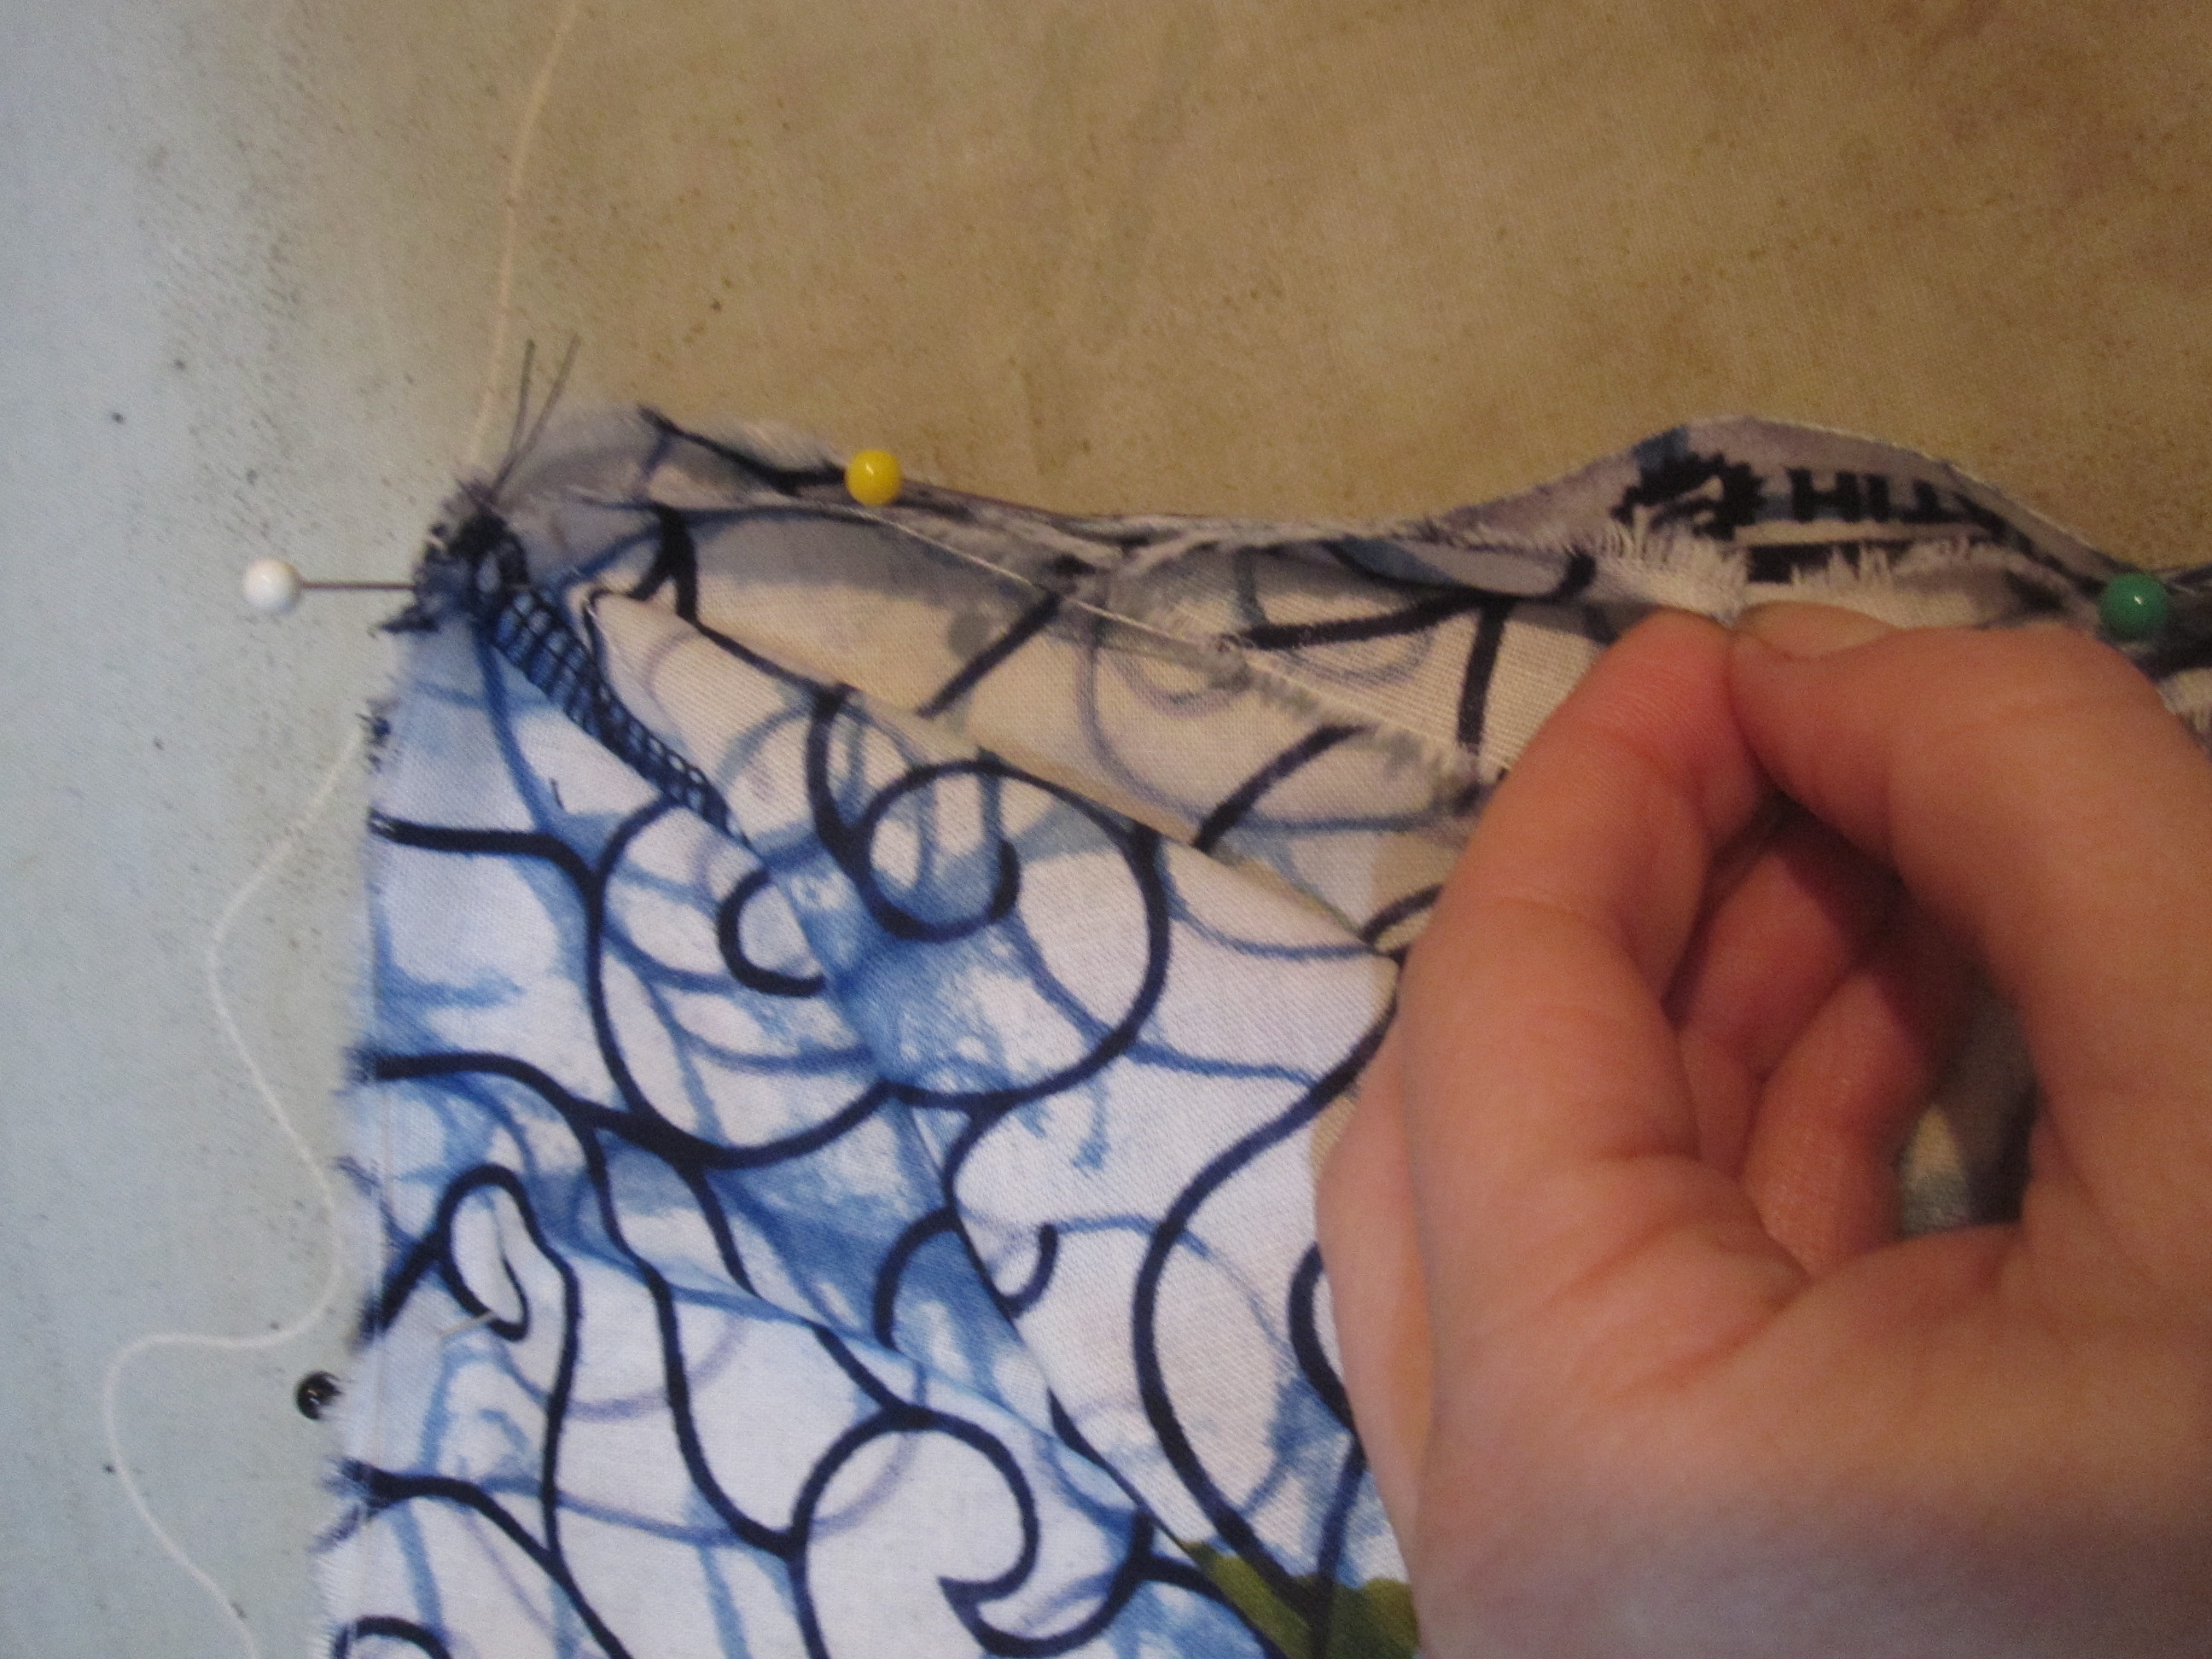
Pin Bottom to Front/Back/Sides

Pin the long edges together with the box on top and the bottom on bottom and pin diagonally into the corners.  Make sure you have caught both layers of the bottom!  The back/front/sides box won't match the square corners of the bottom exactly and will pull in toward the center a little.  Just make sure you have the long edges lined up other than in the corners and it will work out.
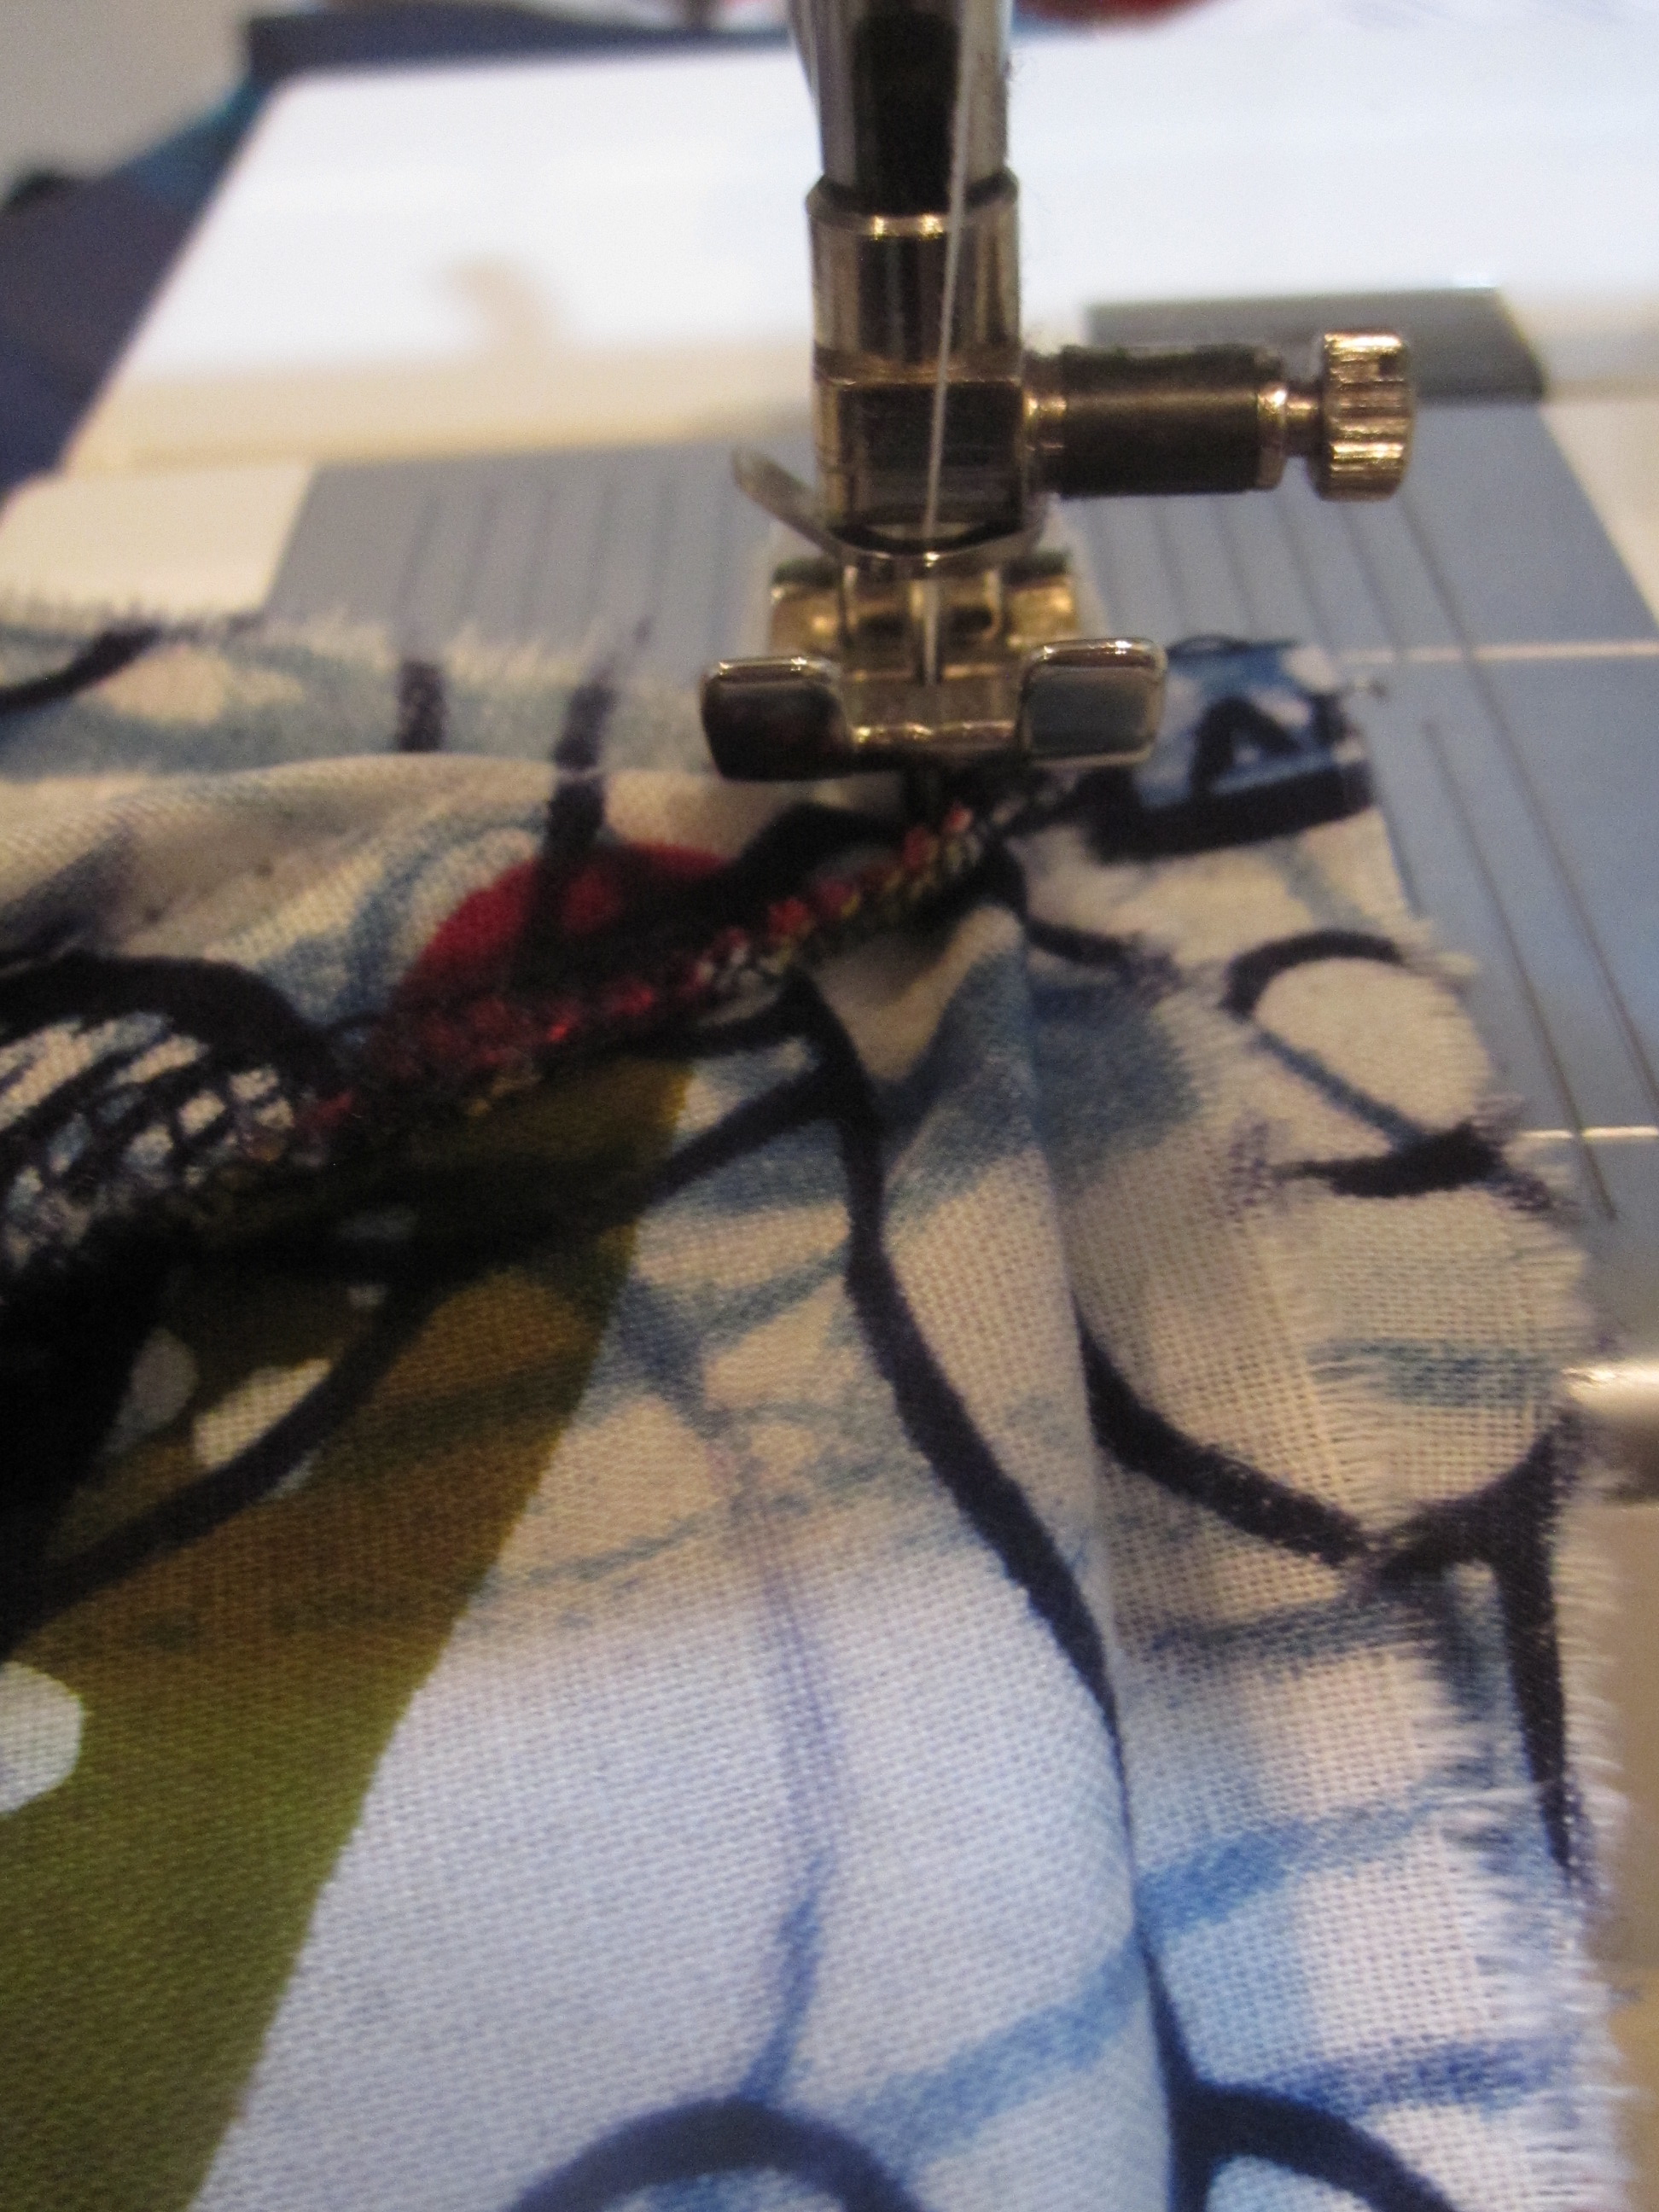
Turn Corner

Start sewing in the middle of one of the edges, rather than at a corner to make it easier.  When you get to the corner don't sew all the way to the end--stop at your 1/2" seam allowance.  Make sure the needle is down into the fabric, then lift the foot and rotate your bag 90 degrees.  Scooch your fabric (particularly the seam allowances of the front/back/sides), which will want to fold up, behind the needle.  Put the foot back down and sew the next side.

When sewing the corner make sure you are catching the front/back/sides fabric box fabric with enough seam allowance to do a zigzag to finish the edges (remember, the front/back/sides box will cut in a little diagonally across the corners).

The bottom is stiff from the fusible fleece, so for one of the sides you'll have to cram it into the free arm.  Your corners may not be beautiful, but they will probably look ok on the outside.  Finish the seam allowances and turn your bag right side out.
Measure Casing

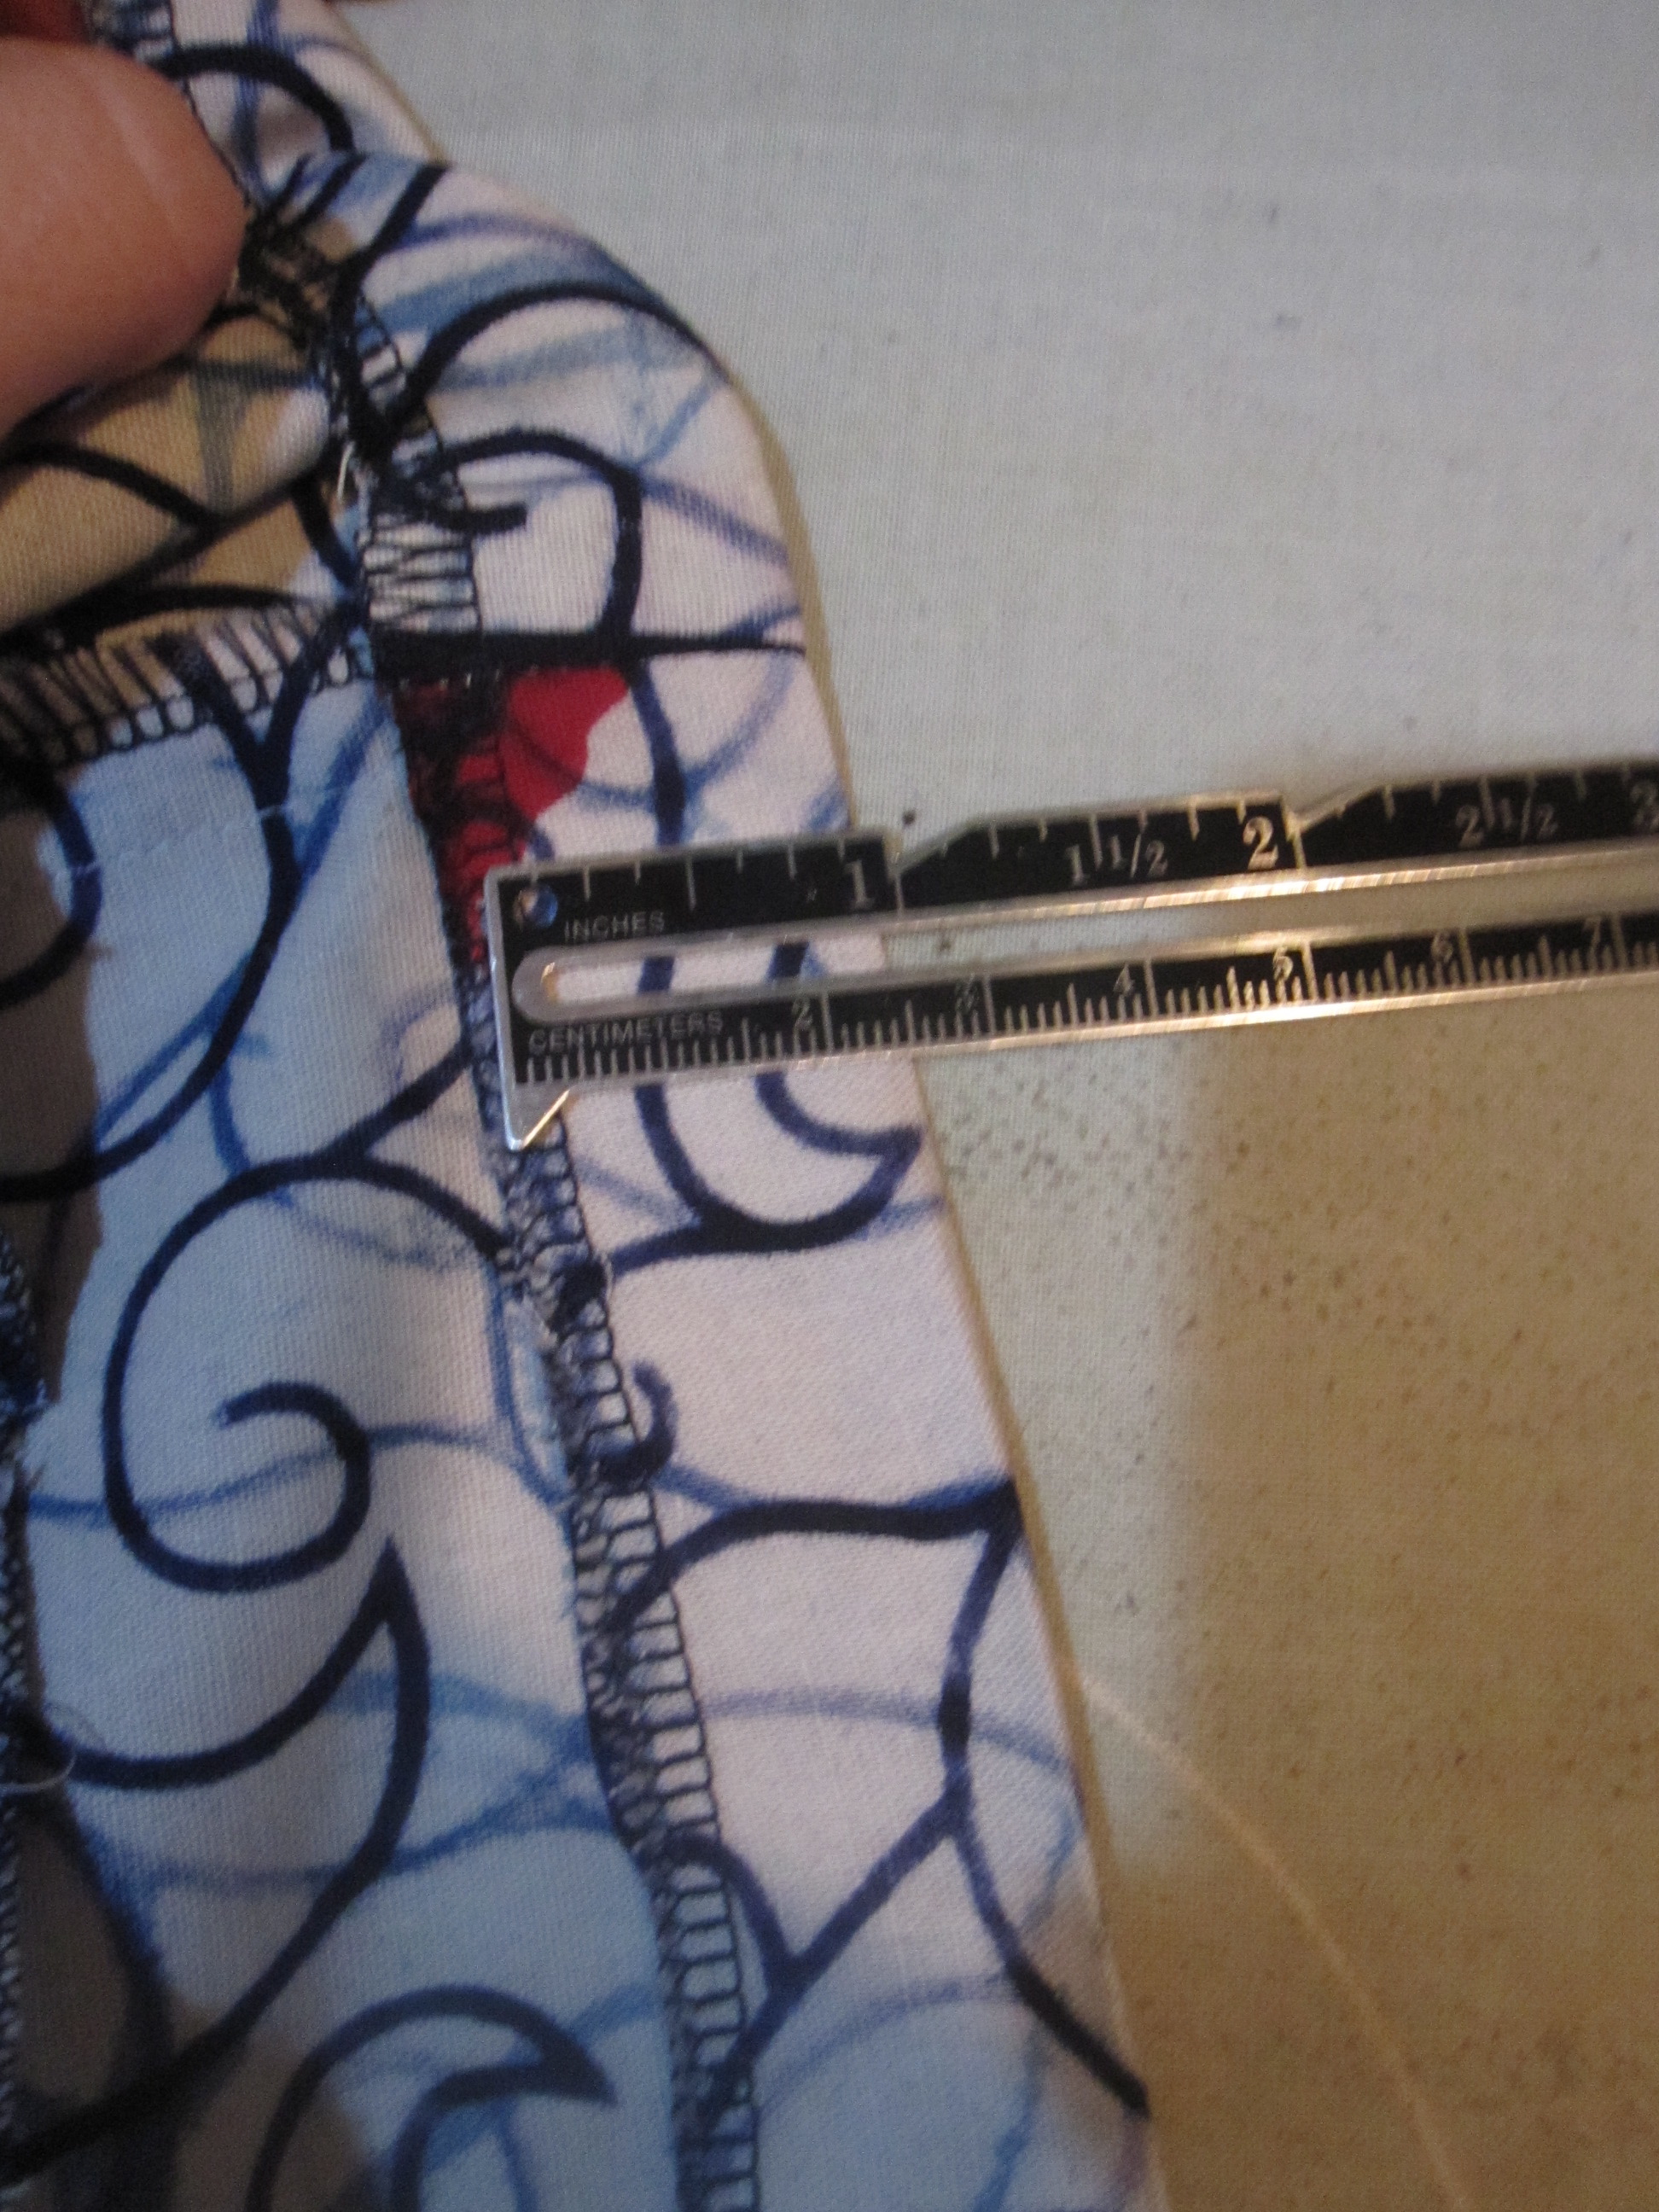
Now we'll sew the casing for the drawstring.  Finish the top edge of your bag.  Again, I used the serger but you can use a zigzag.  Measure 1" from the upper edge and fold this down and press.  To make it look nicer, I next folded under about 1/4" from the top edge, so that when I sew down the drawstring casing I will have a folded edge rather than raw edge showing.

Before we sew down the casing we need to make buttonholes for the drawstring.


Mark Buttonhole Placement


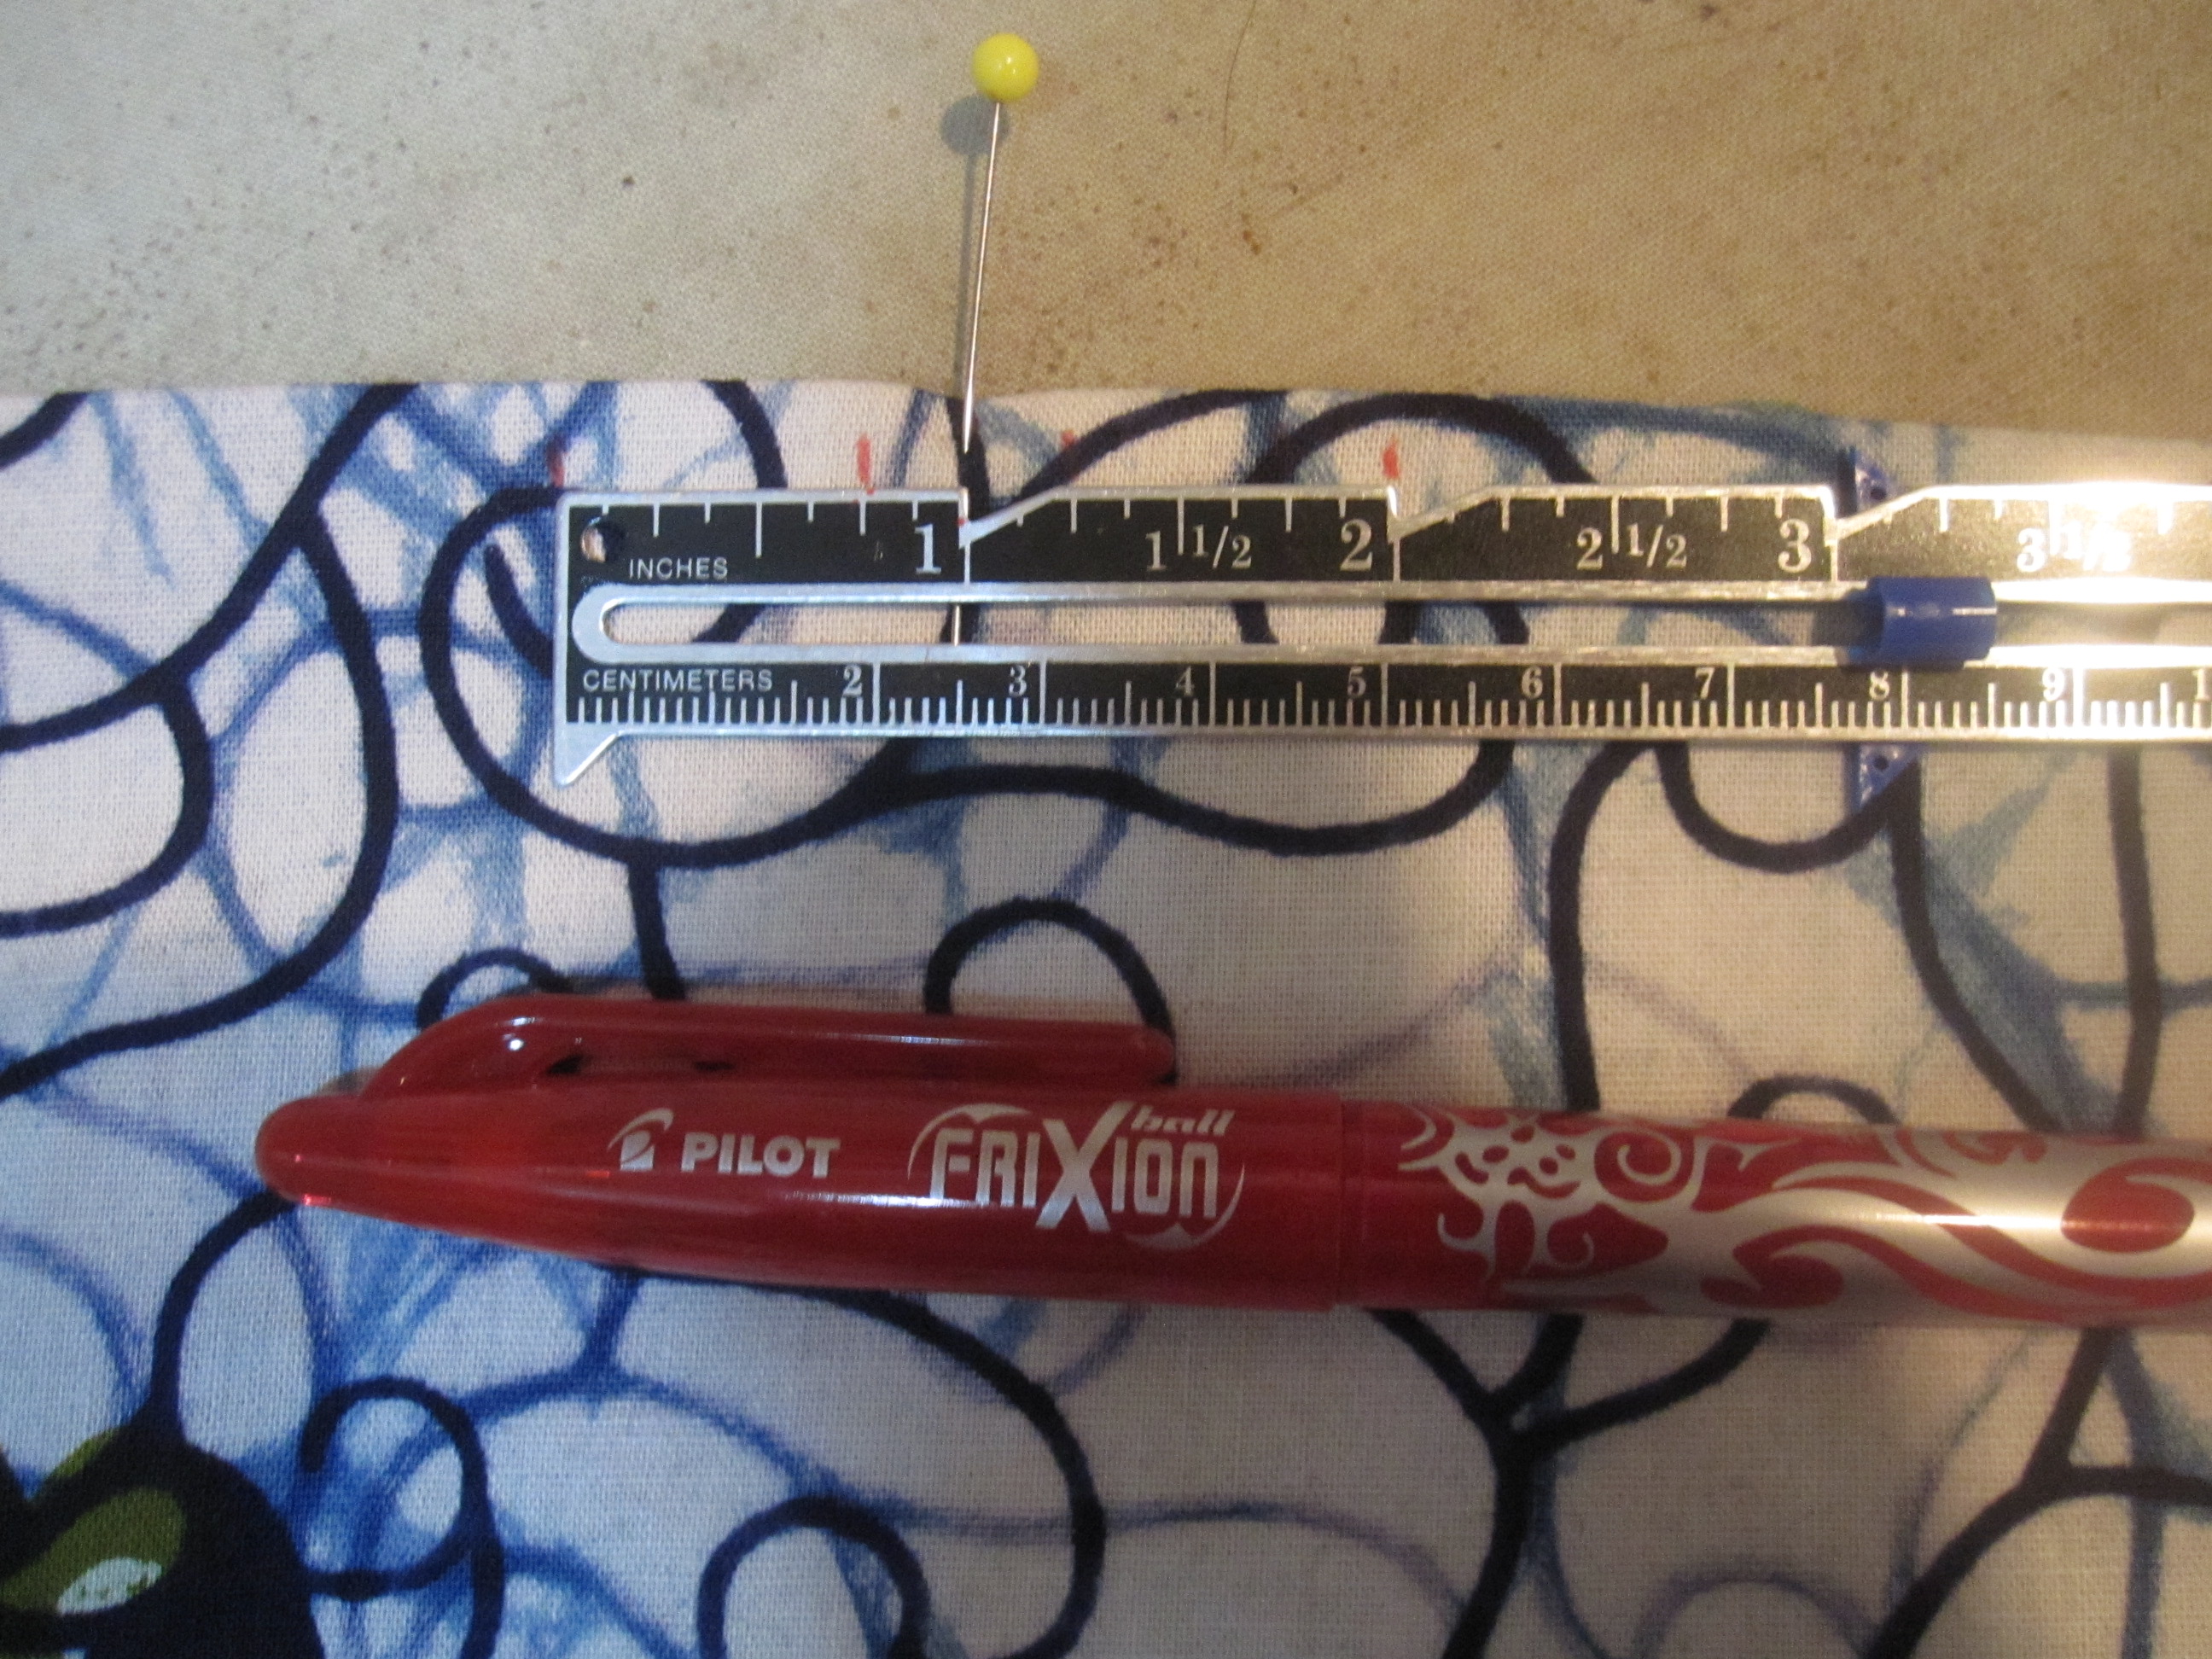
Keeping your fabric folded down 1" the way you pressed it, find the center of one of your front/back pieces.  Here it is marked by the pin.  Measure and mark 1/4" on both sides of the center, and then again 3/4" from your first marking.   You want these markings to be 3/8" from the upper folded edge.  Unfold the raw edge back up.
Buttonholes for Drawstring

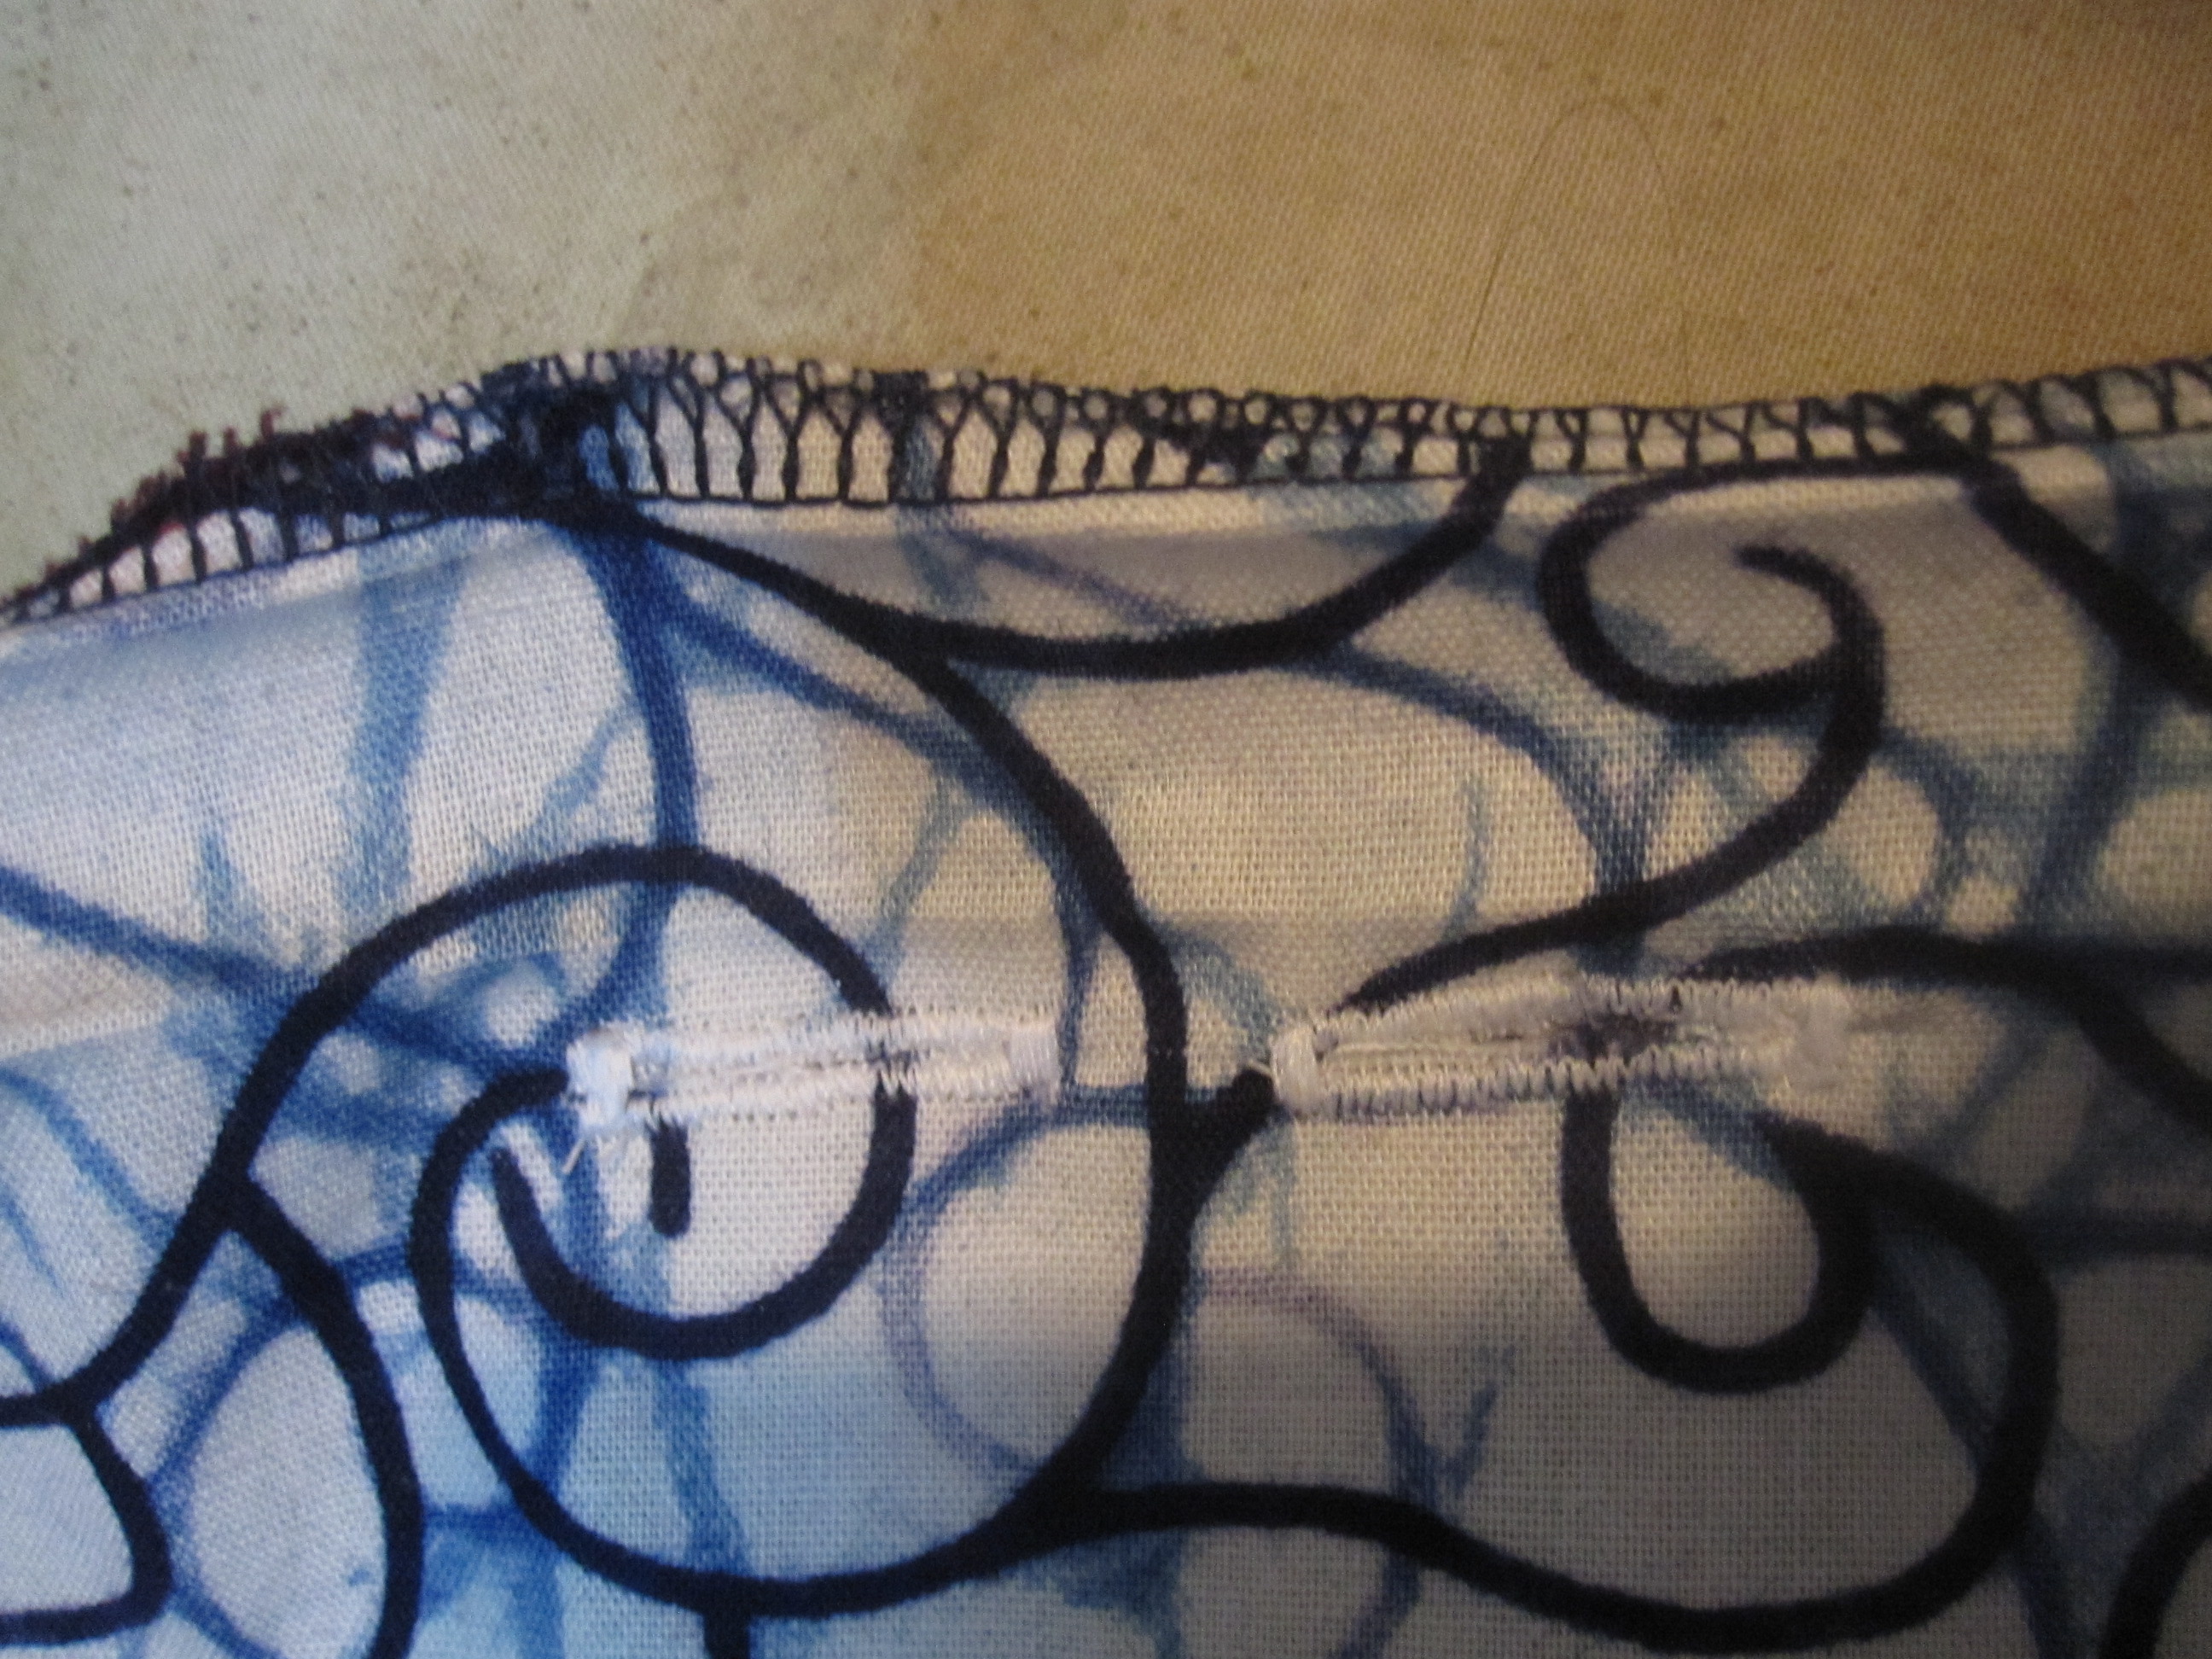
Cut small rectangles of interfacing and place them on the wrong side (I cut one fairly long strip and pinned it in place, far enough from my buttonhole markings not to interfere with my sewing.  Because I used a Frixion pen, fusing the interfacing in place would have erased my markings).  Make the buttonholes only on one layer of fabric, the layer below the fold, between your markings and cut them open.
Stitch Casing

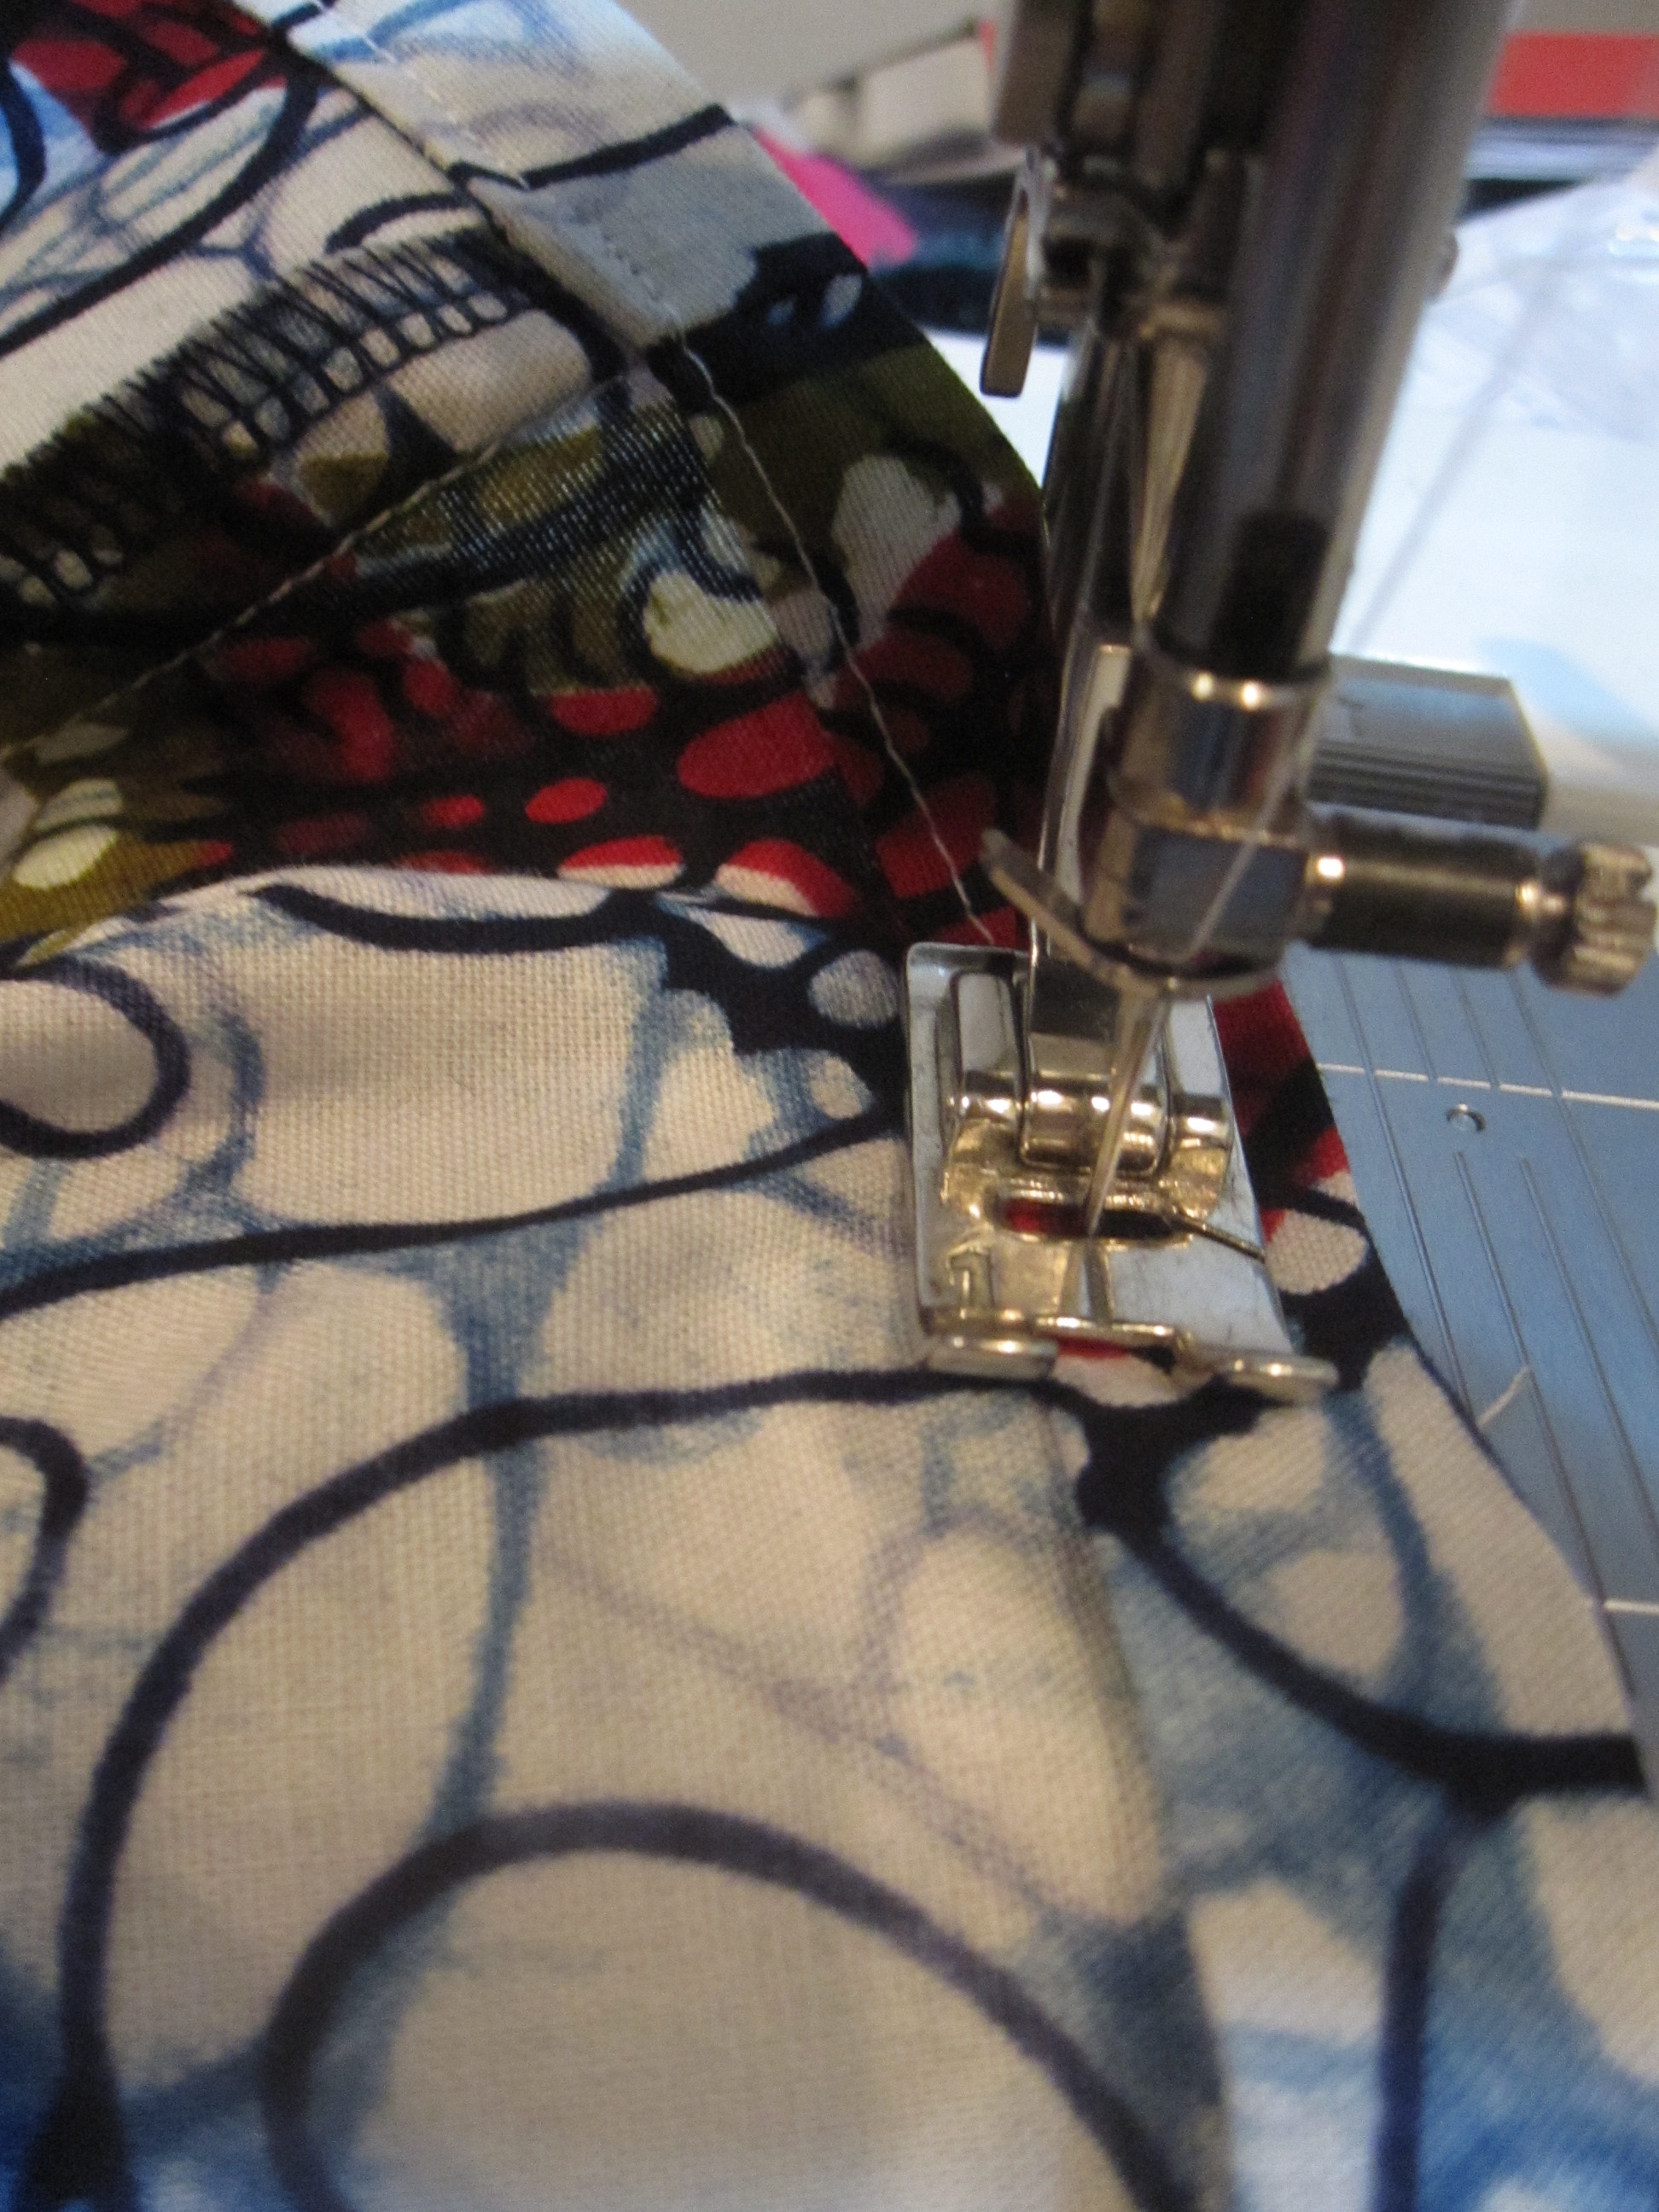
Now we're ready to stitch down that casing.  Fold down your 1 inch again, and sew close to the raw edge or fold all the way around the top of your bag.  Make sure that your buttonholes are above your casing stitch line.
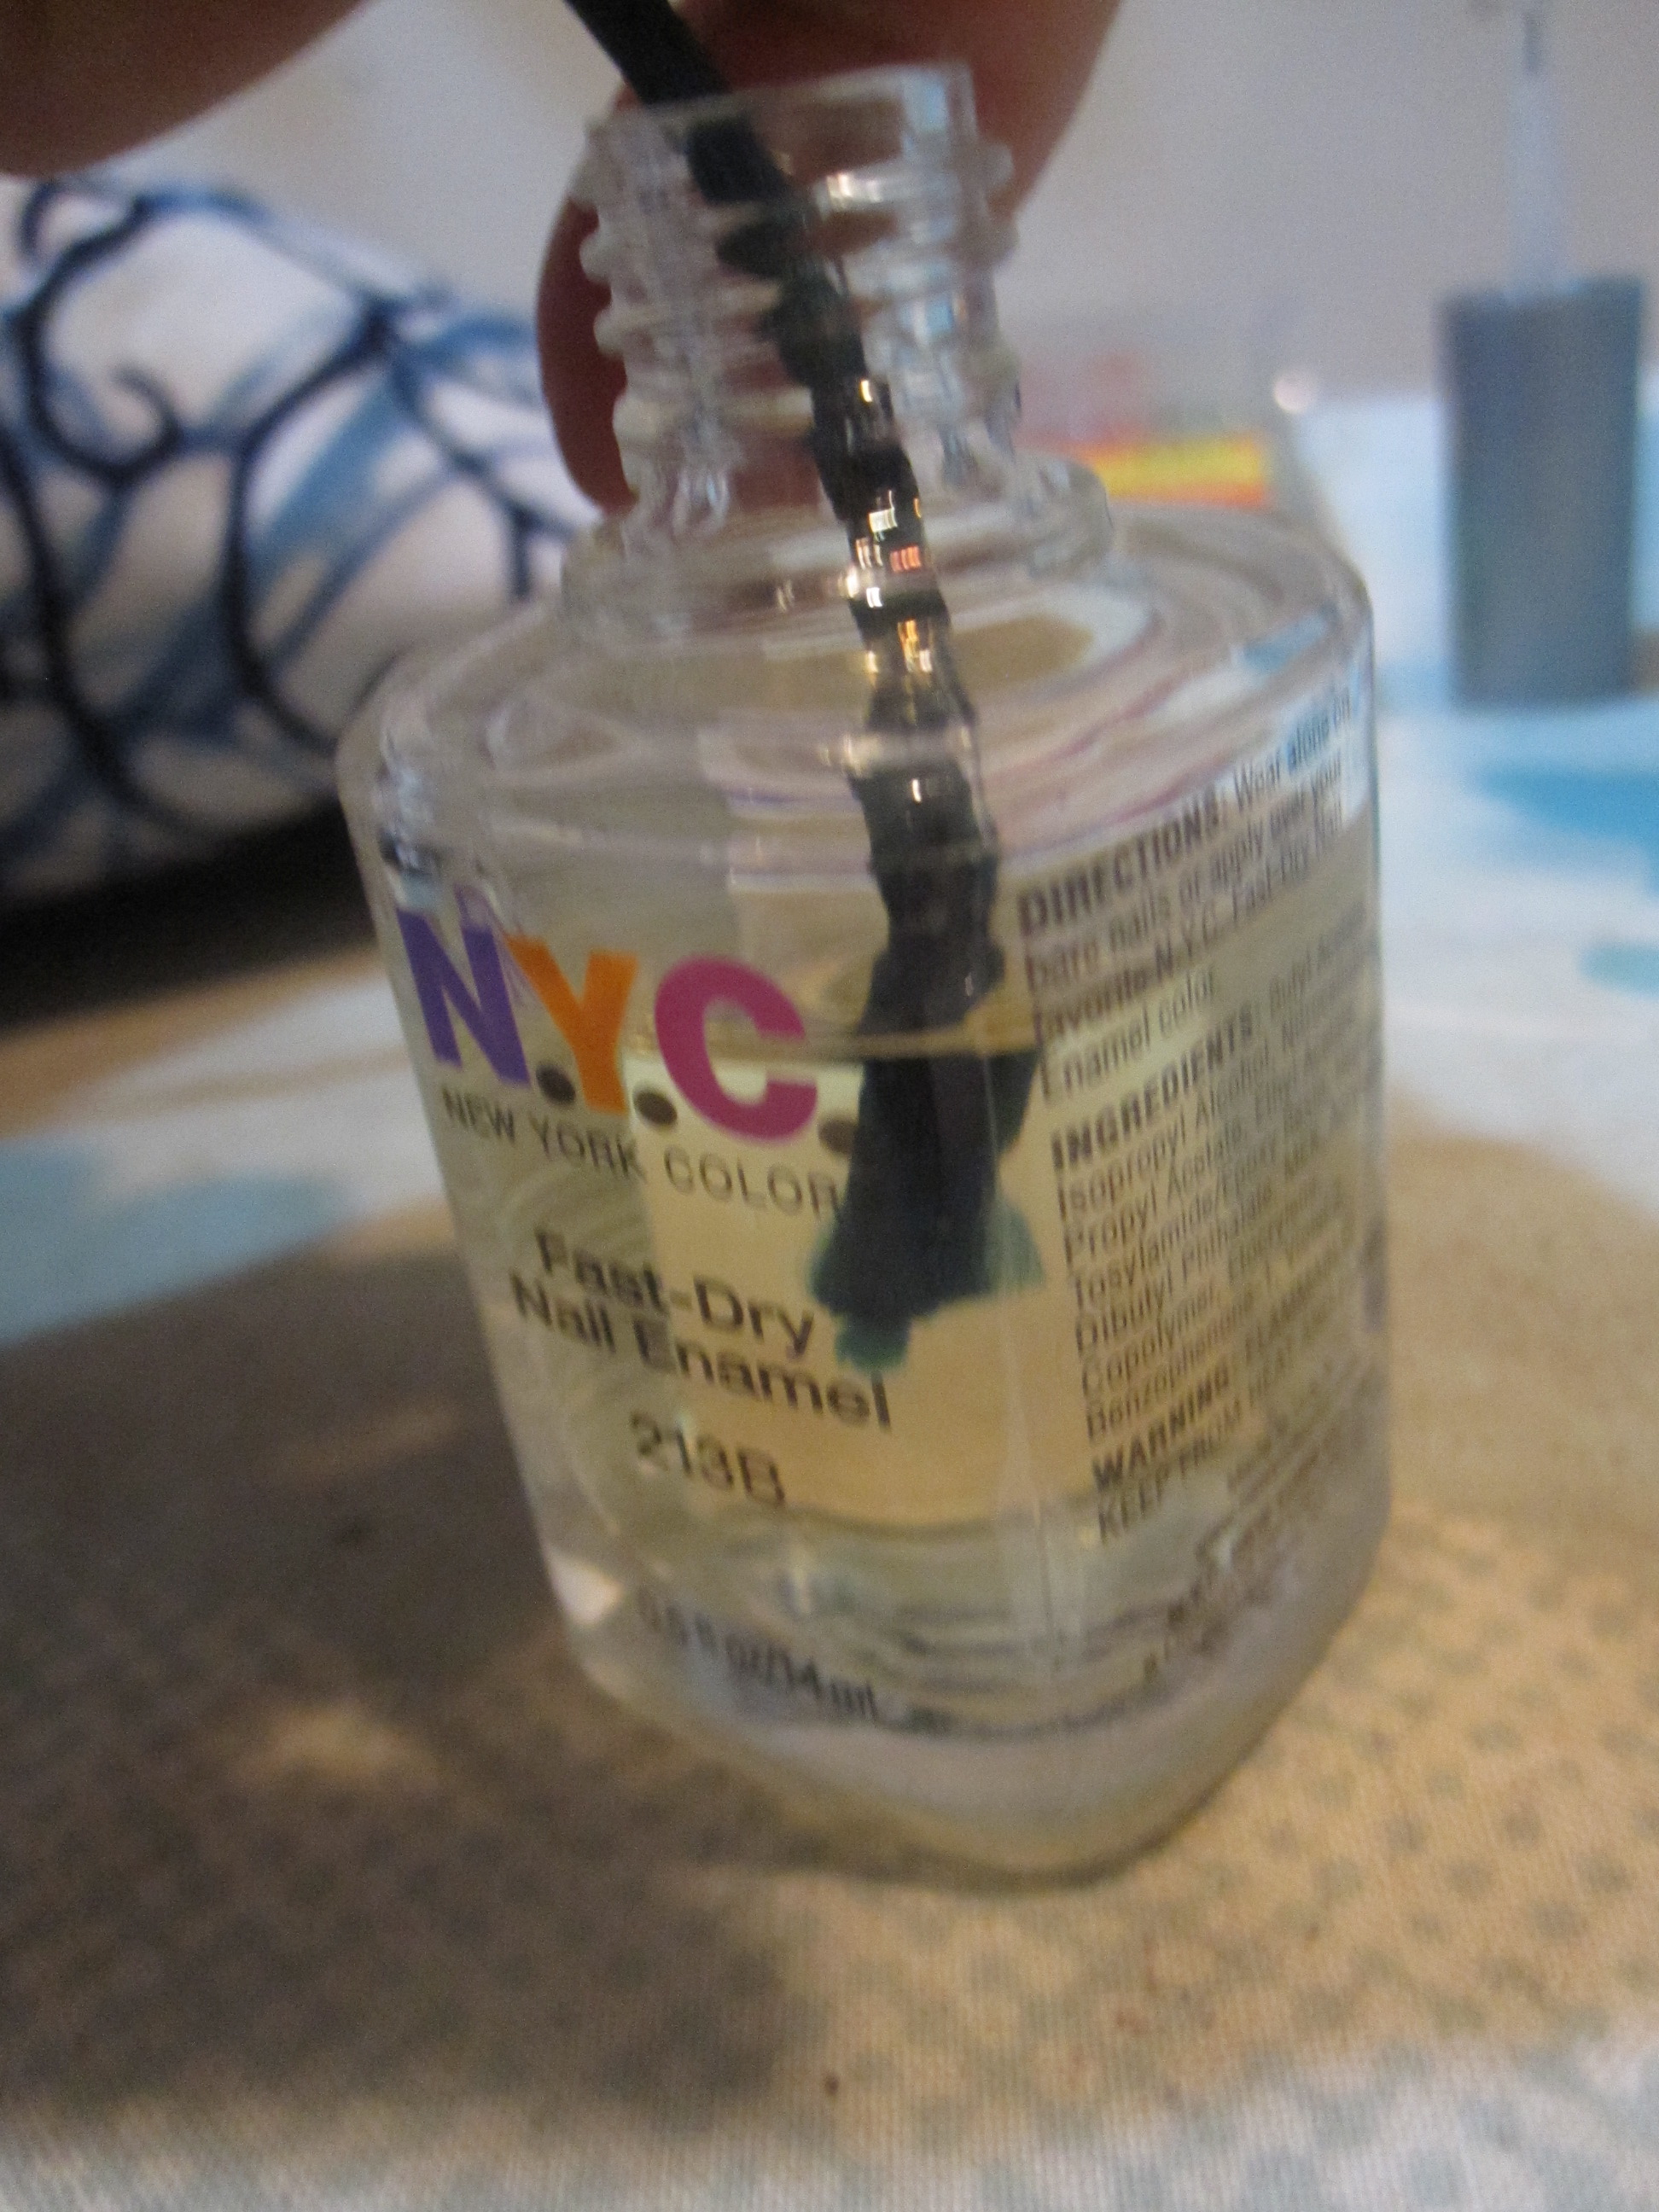


Use Nailpolish to Prevent Drawstring Fraying


Cut your drawstring to about 50 inches.  You want it to be as long as your opening plus another 14 inches or so.  I used rattail braid (available from Joann).  To keep it from fraying, I dip the cut end in nail polish and let it dry.
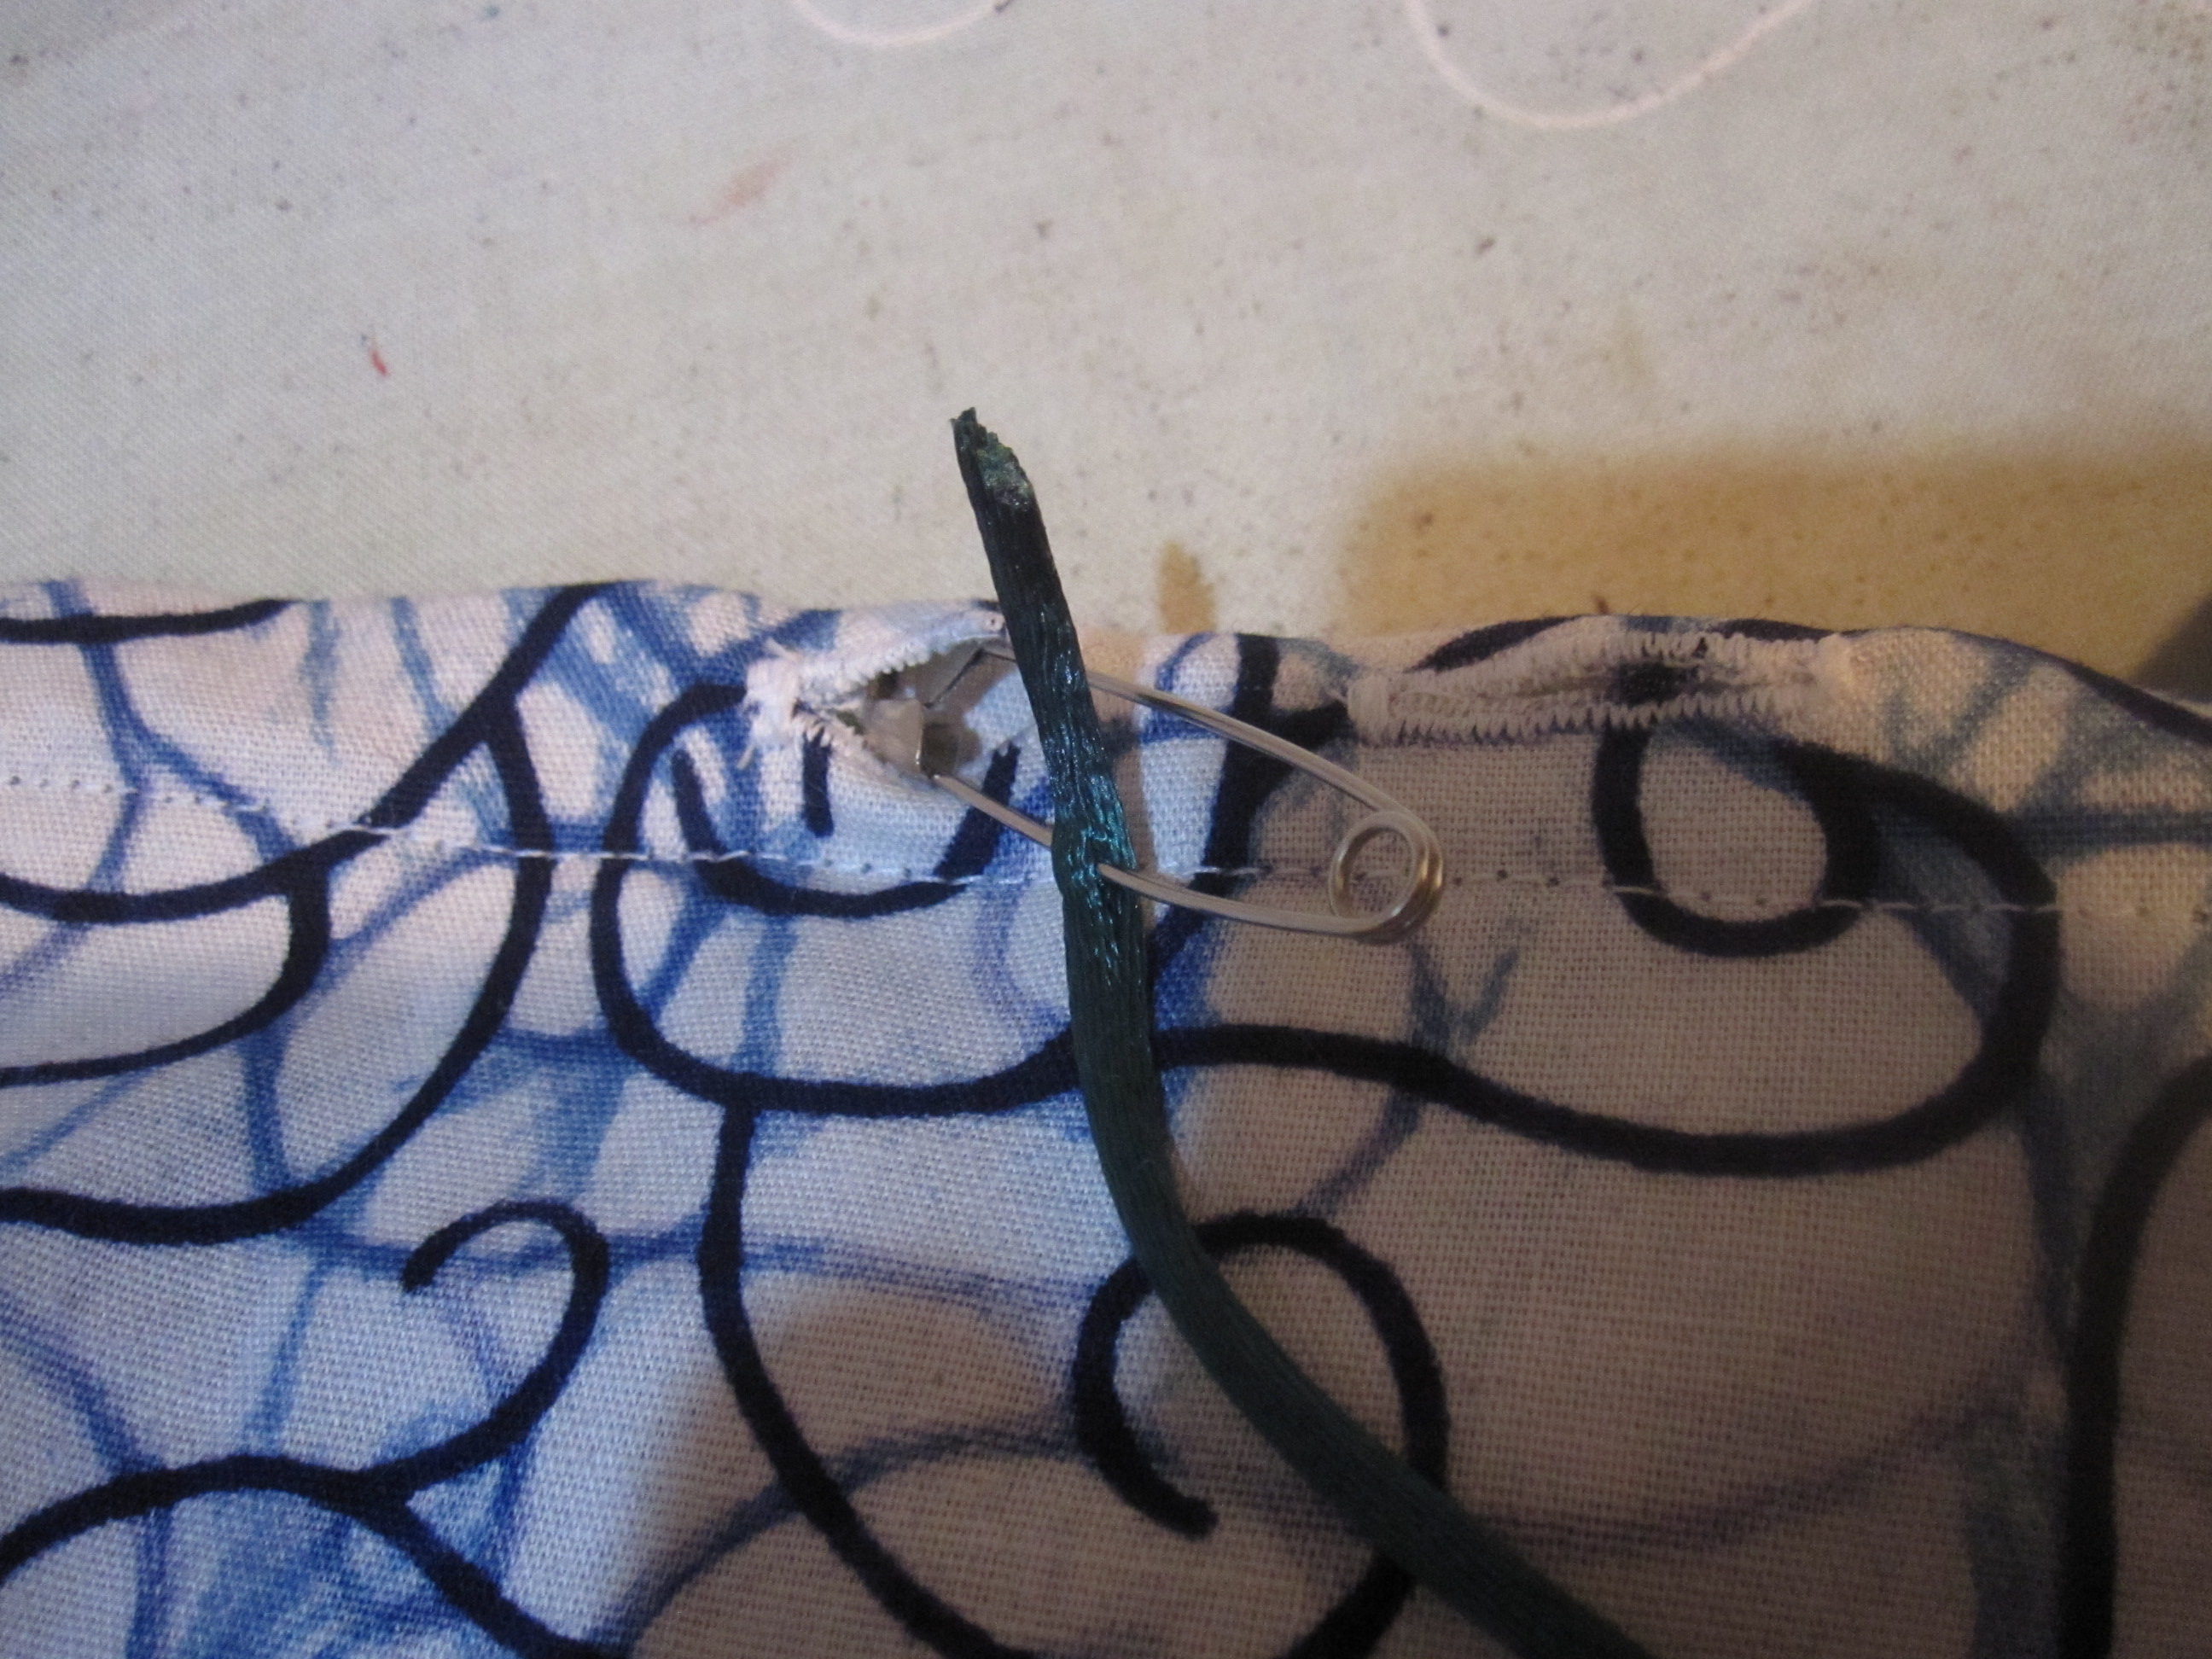


Thread Cord through Casing


Once it's dry stick in a safety pin near one of the ends and thread it through your casing, in one buttonhole and out the other.
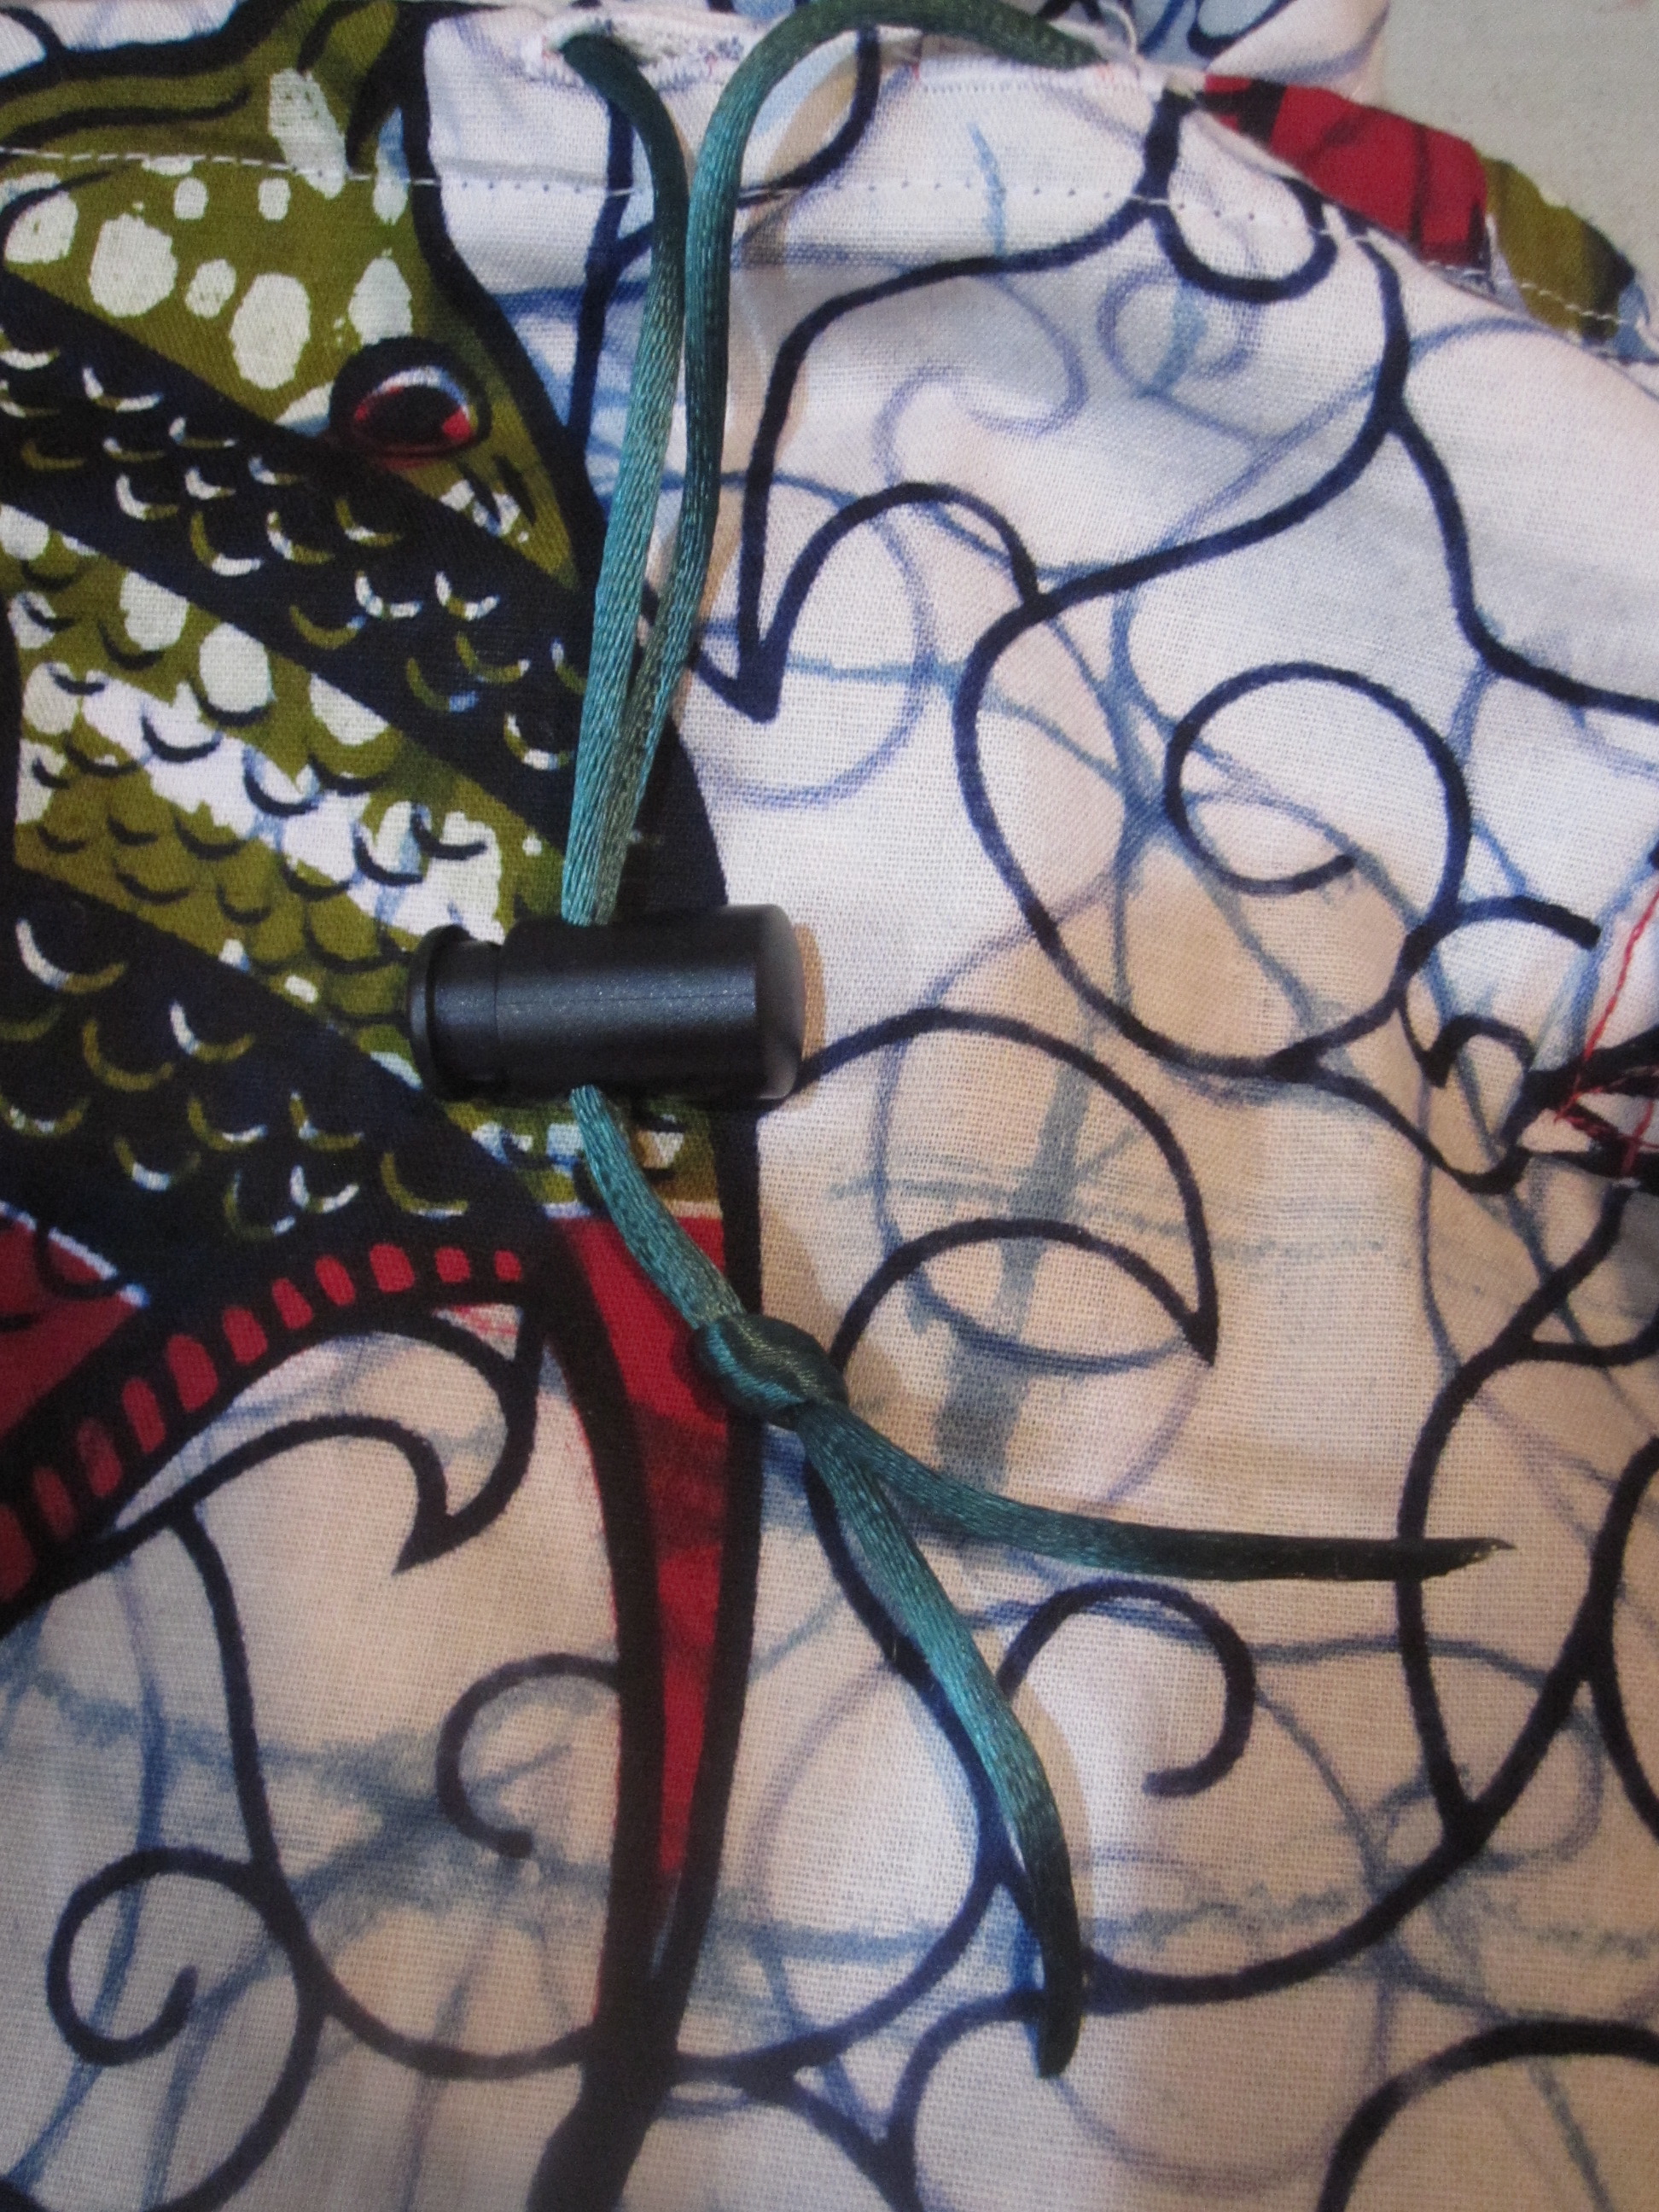


Knot Drawstring Below Cord Stop


After you've threaded your drawstring through the casing, put your cord stop on and knot the ends to keep from accidentally pulling off the cord stop.
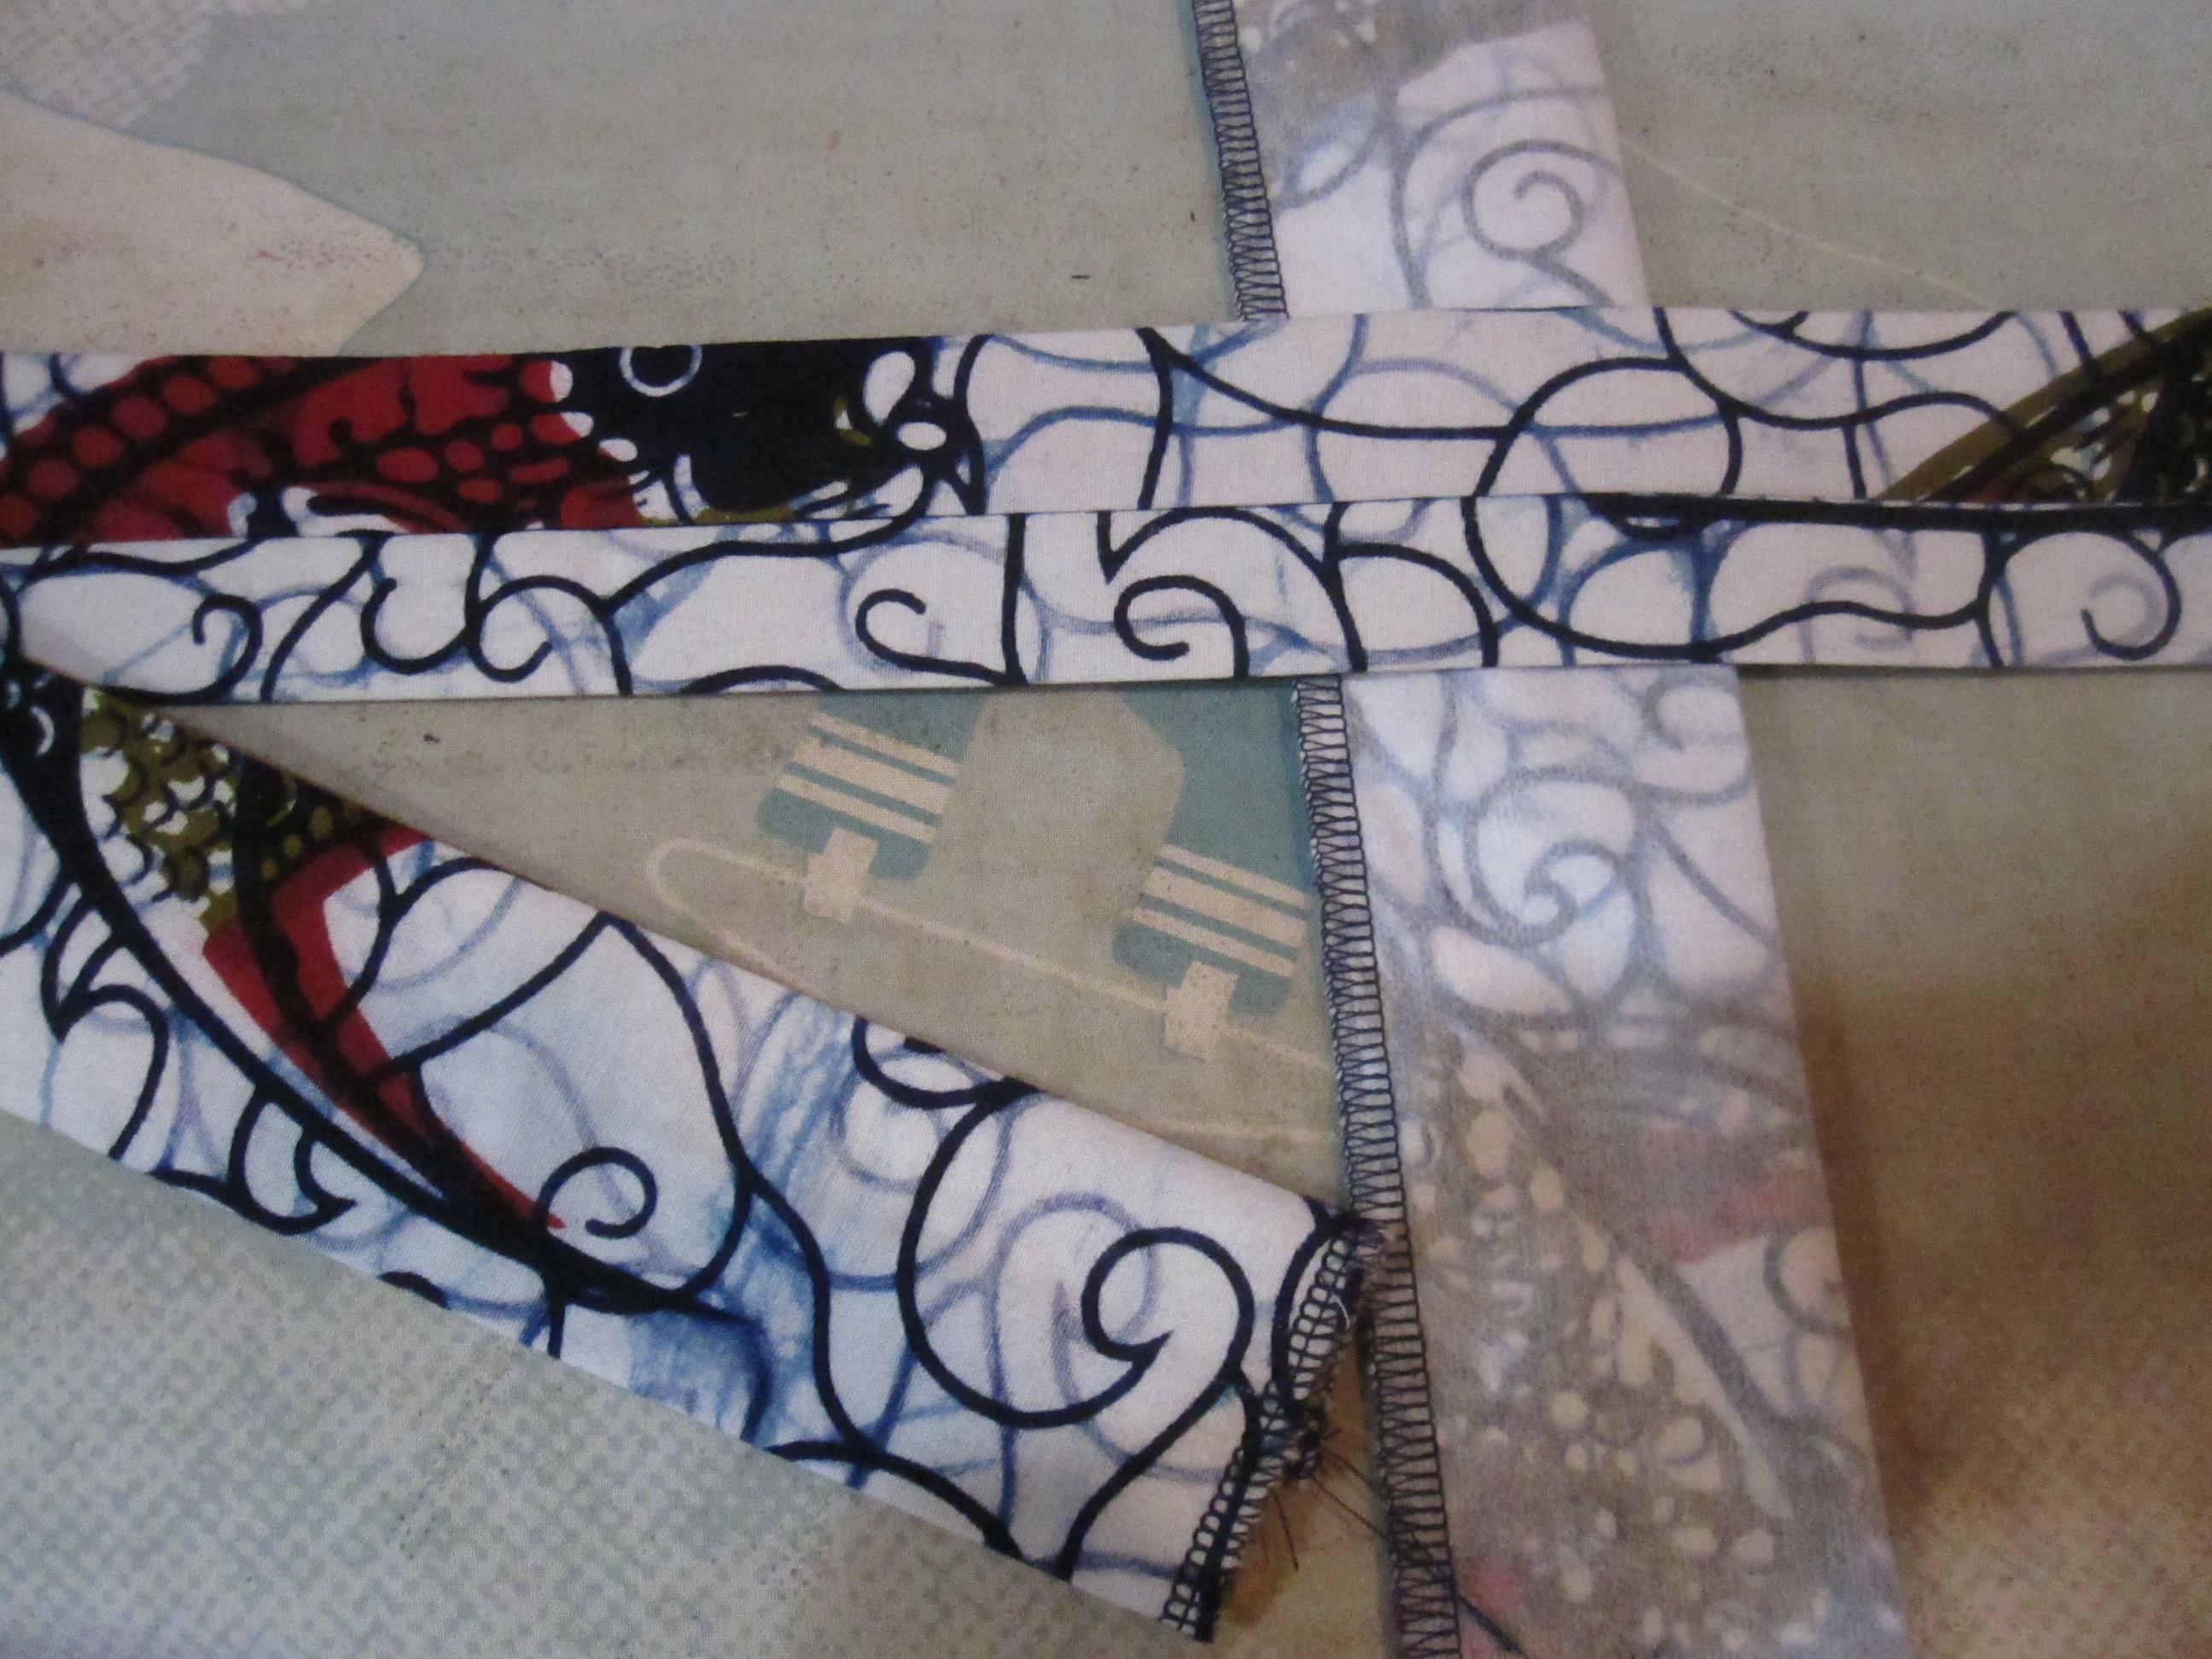


Handle turned and pressed


Next are the handles.  I interfaced the handles for sturdiness, but it's not strictly necessary.

Fold your strips in half lengthwise (so they will be 2.75" wide and 26" long) and sew the long edge.  Turn them right side out using a large safety pin (as shown in this video).  Roll them so that the seam allowance is in the middle, rather than on one of the sides (this is purely aesthetic, you can put the seam allowance wherever you want) and press flat.
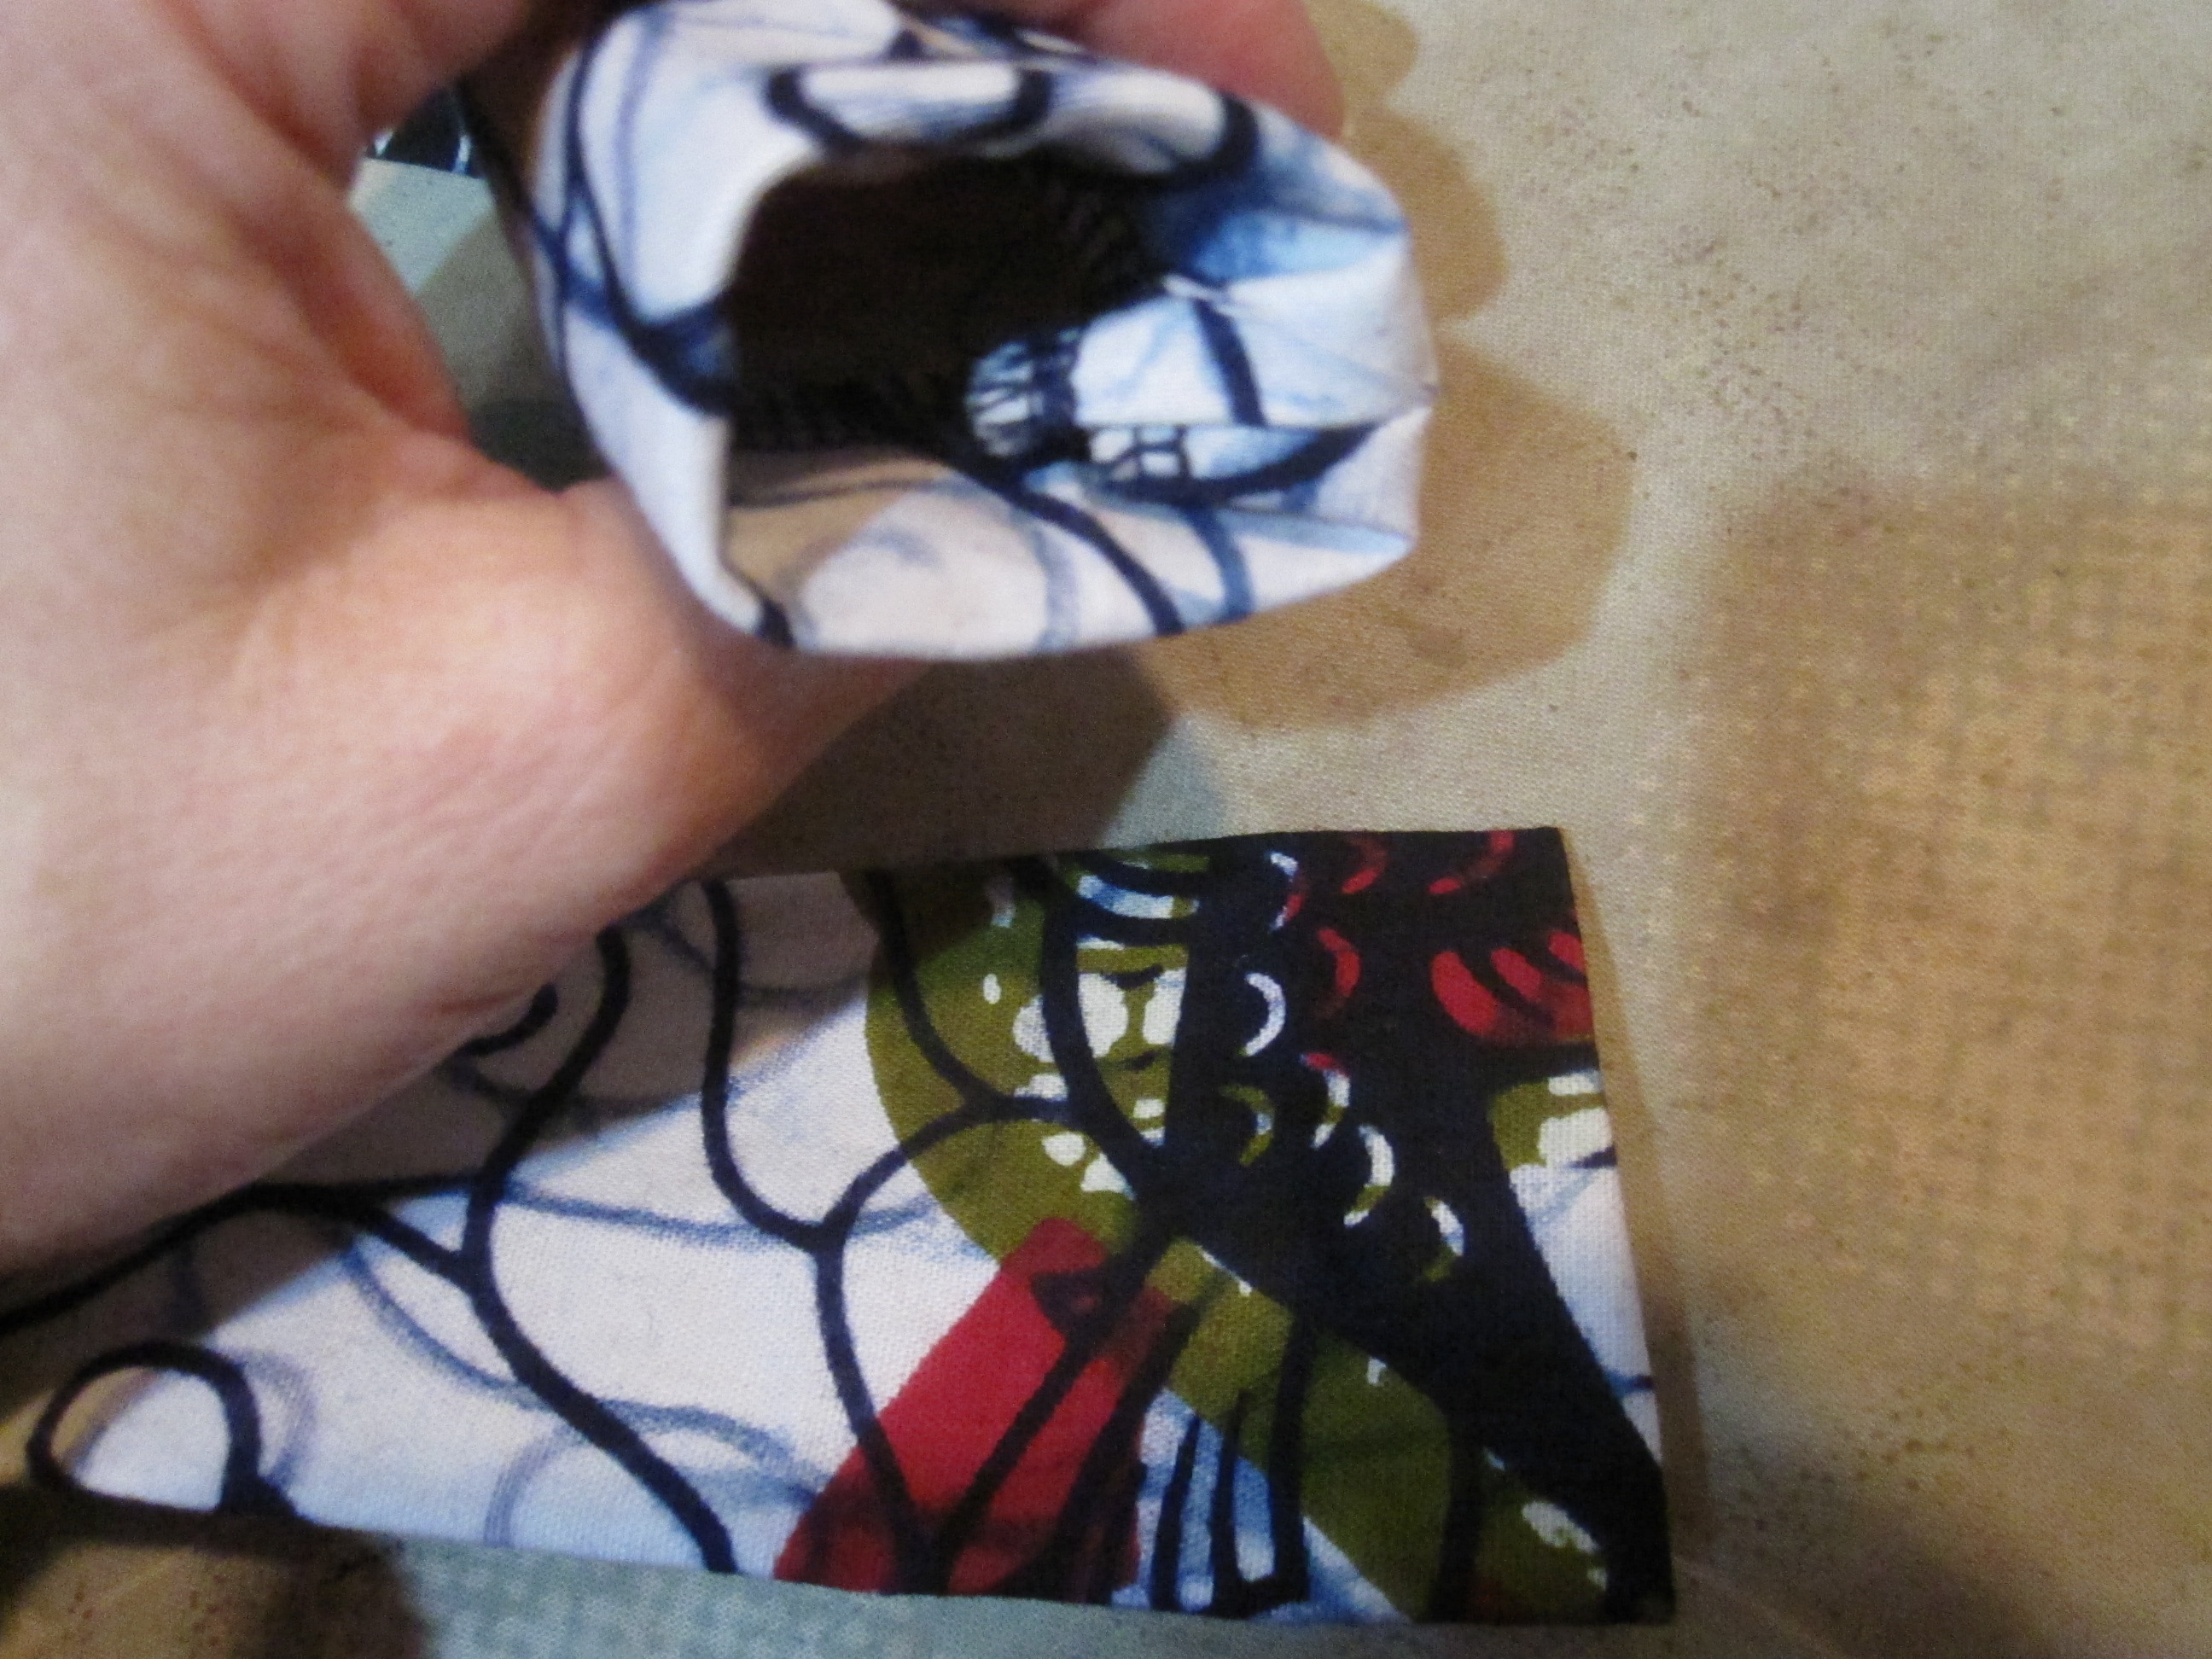
Turn In Ends of Handle

Now you're going to turn those raw edges to the inside.  Just fold 1/2" to the inside all the way around and press.  If you find this too hard, zigzag the raw edges together and just fold them toward the side with the seam allowance.  Topstitch all the way around the handles, catching those turned under ends.
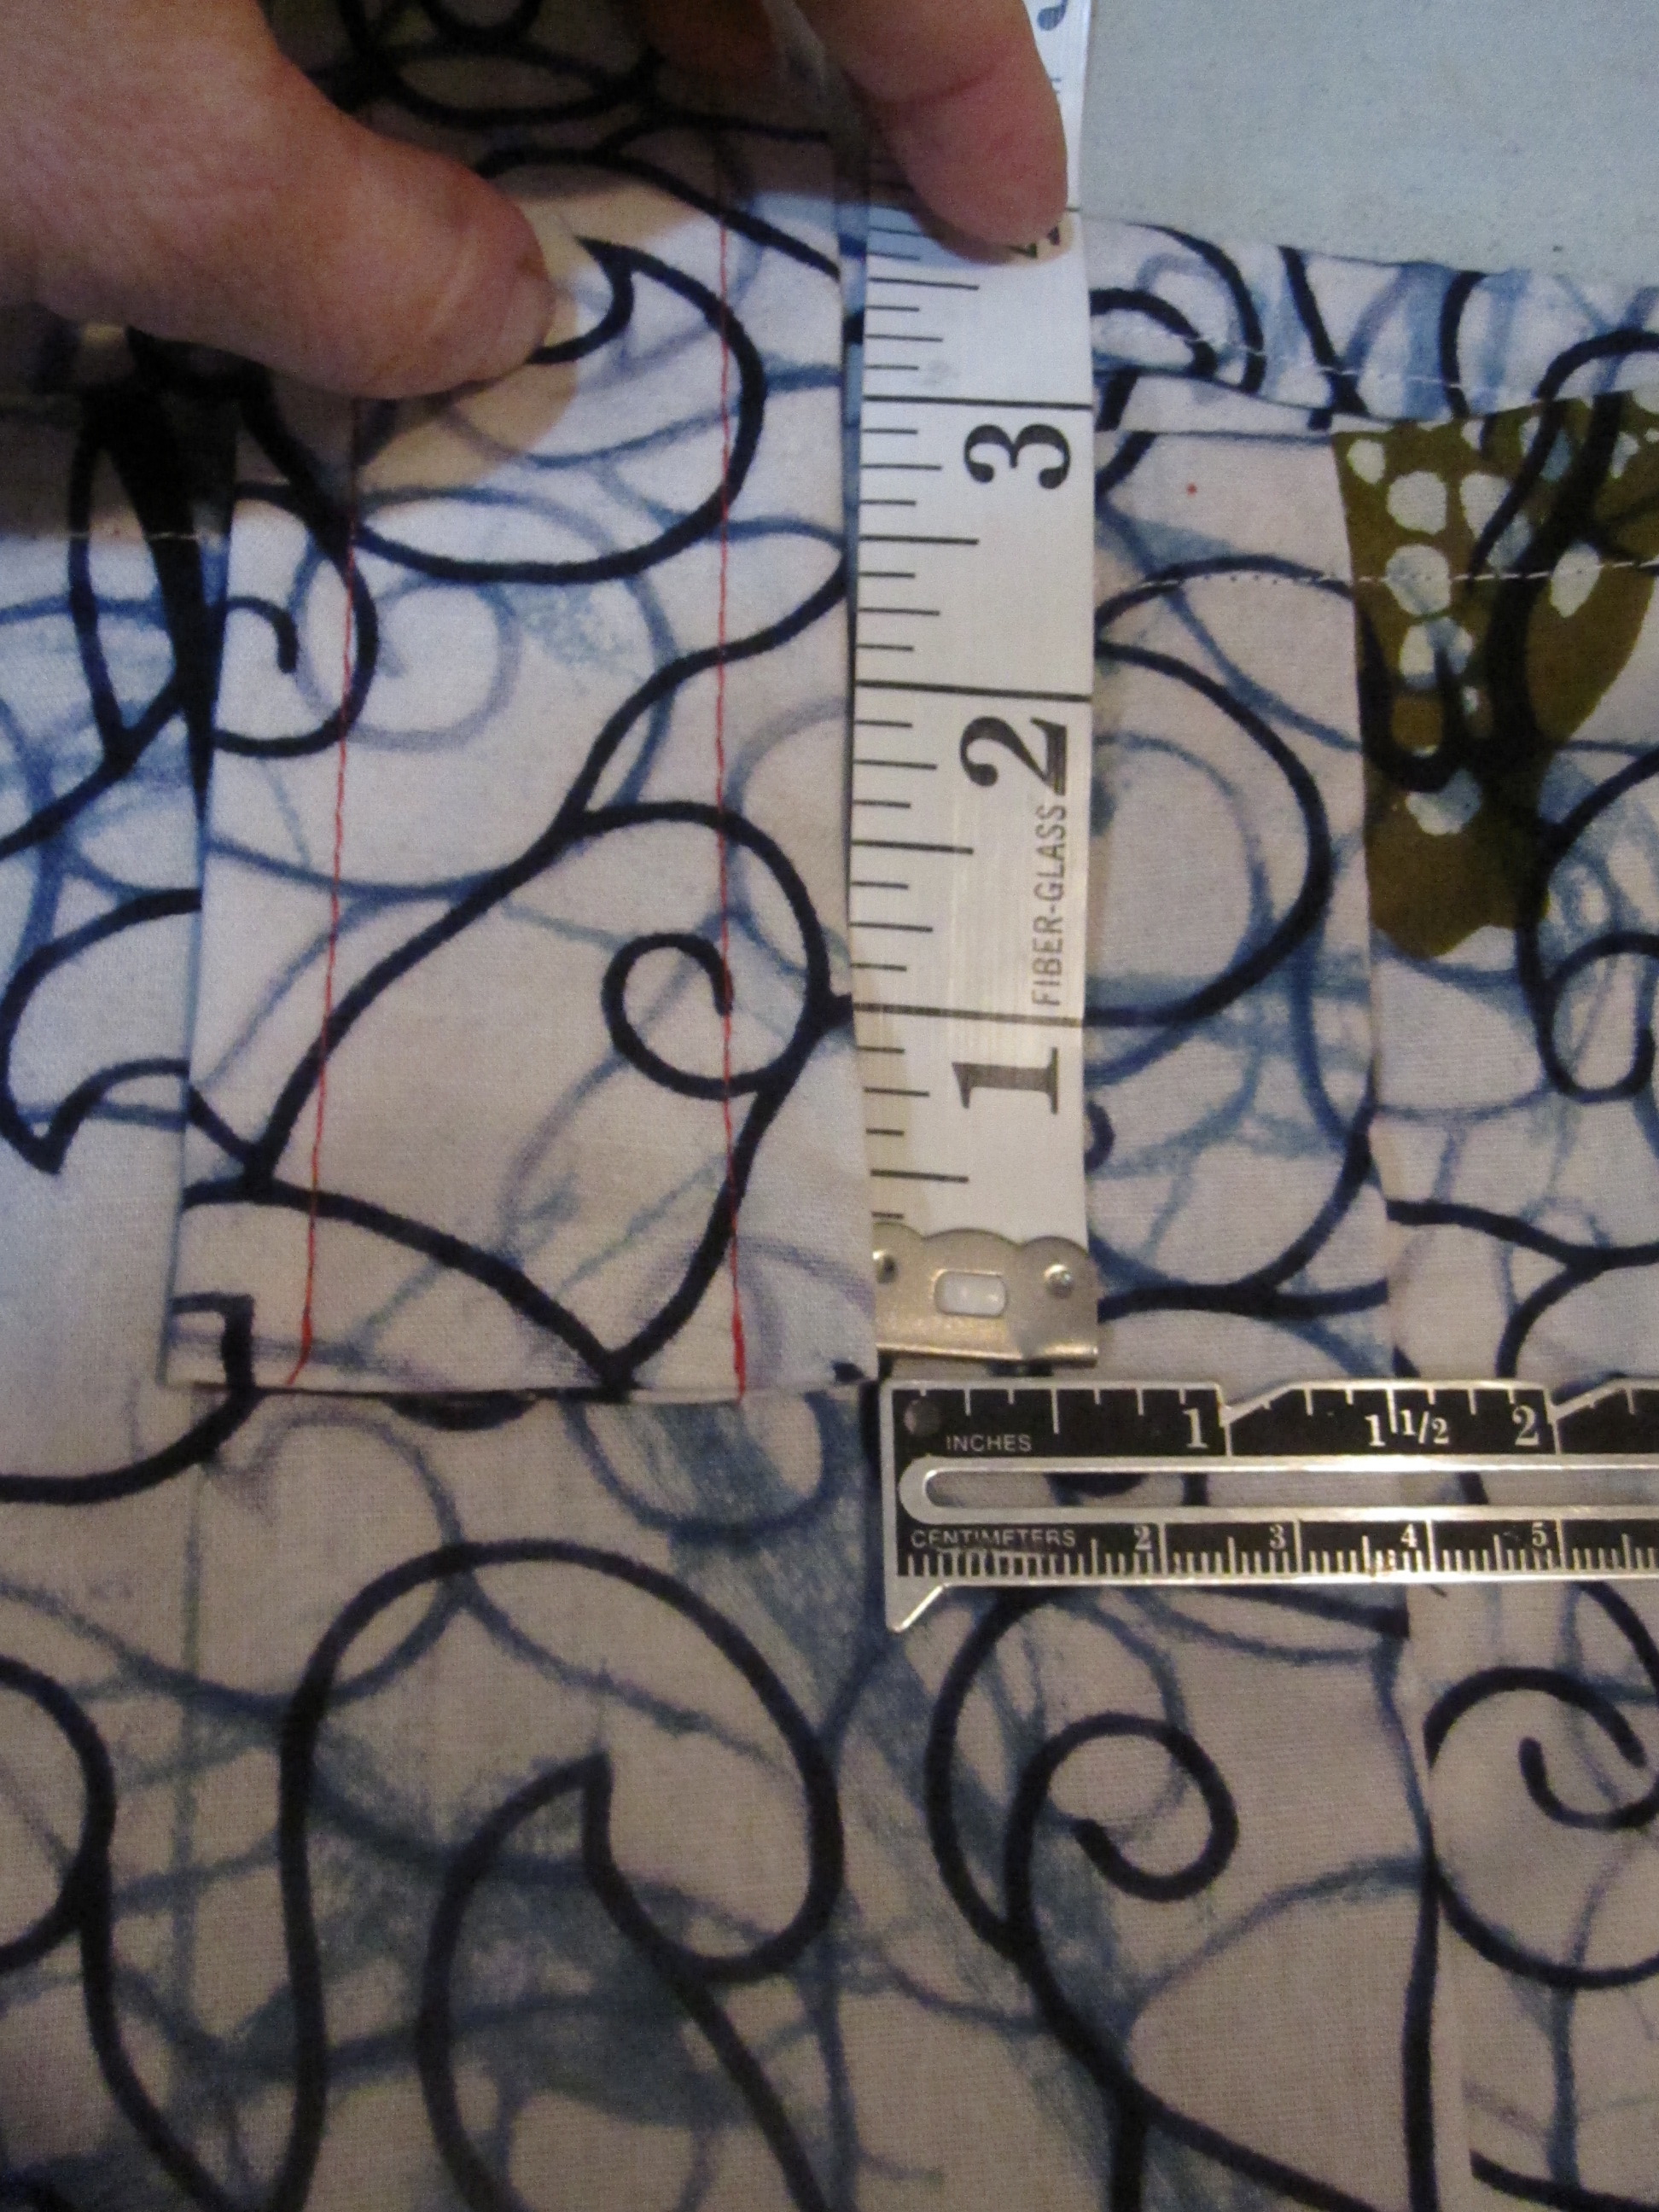


Measure Handle Placement


Now it's time to sew your handles in place.  One handle will be sewn to each front/back piece.   Measure down 3" from the top of the bag (the top being the fold for your drawstring casing) and 1 1/2 inches in from the side seam and mark this spot.  That is where the lower outside corner of your handle will go.  Mark this spot on the right and left sides of both the front and back.
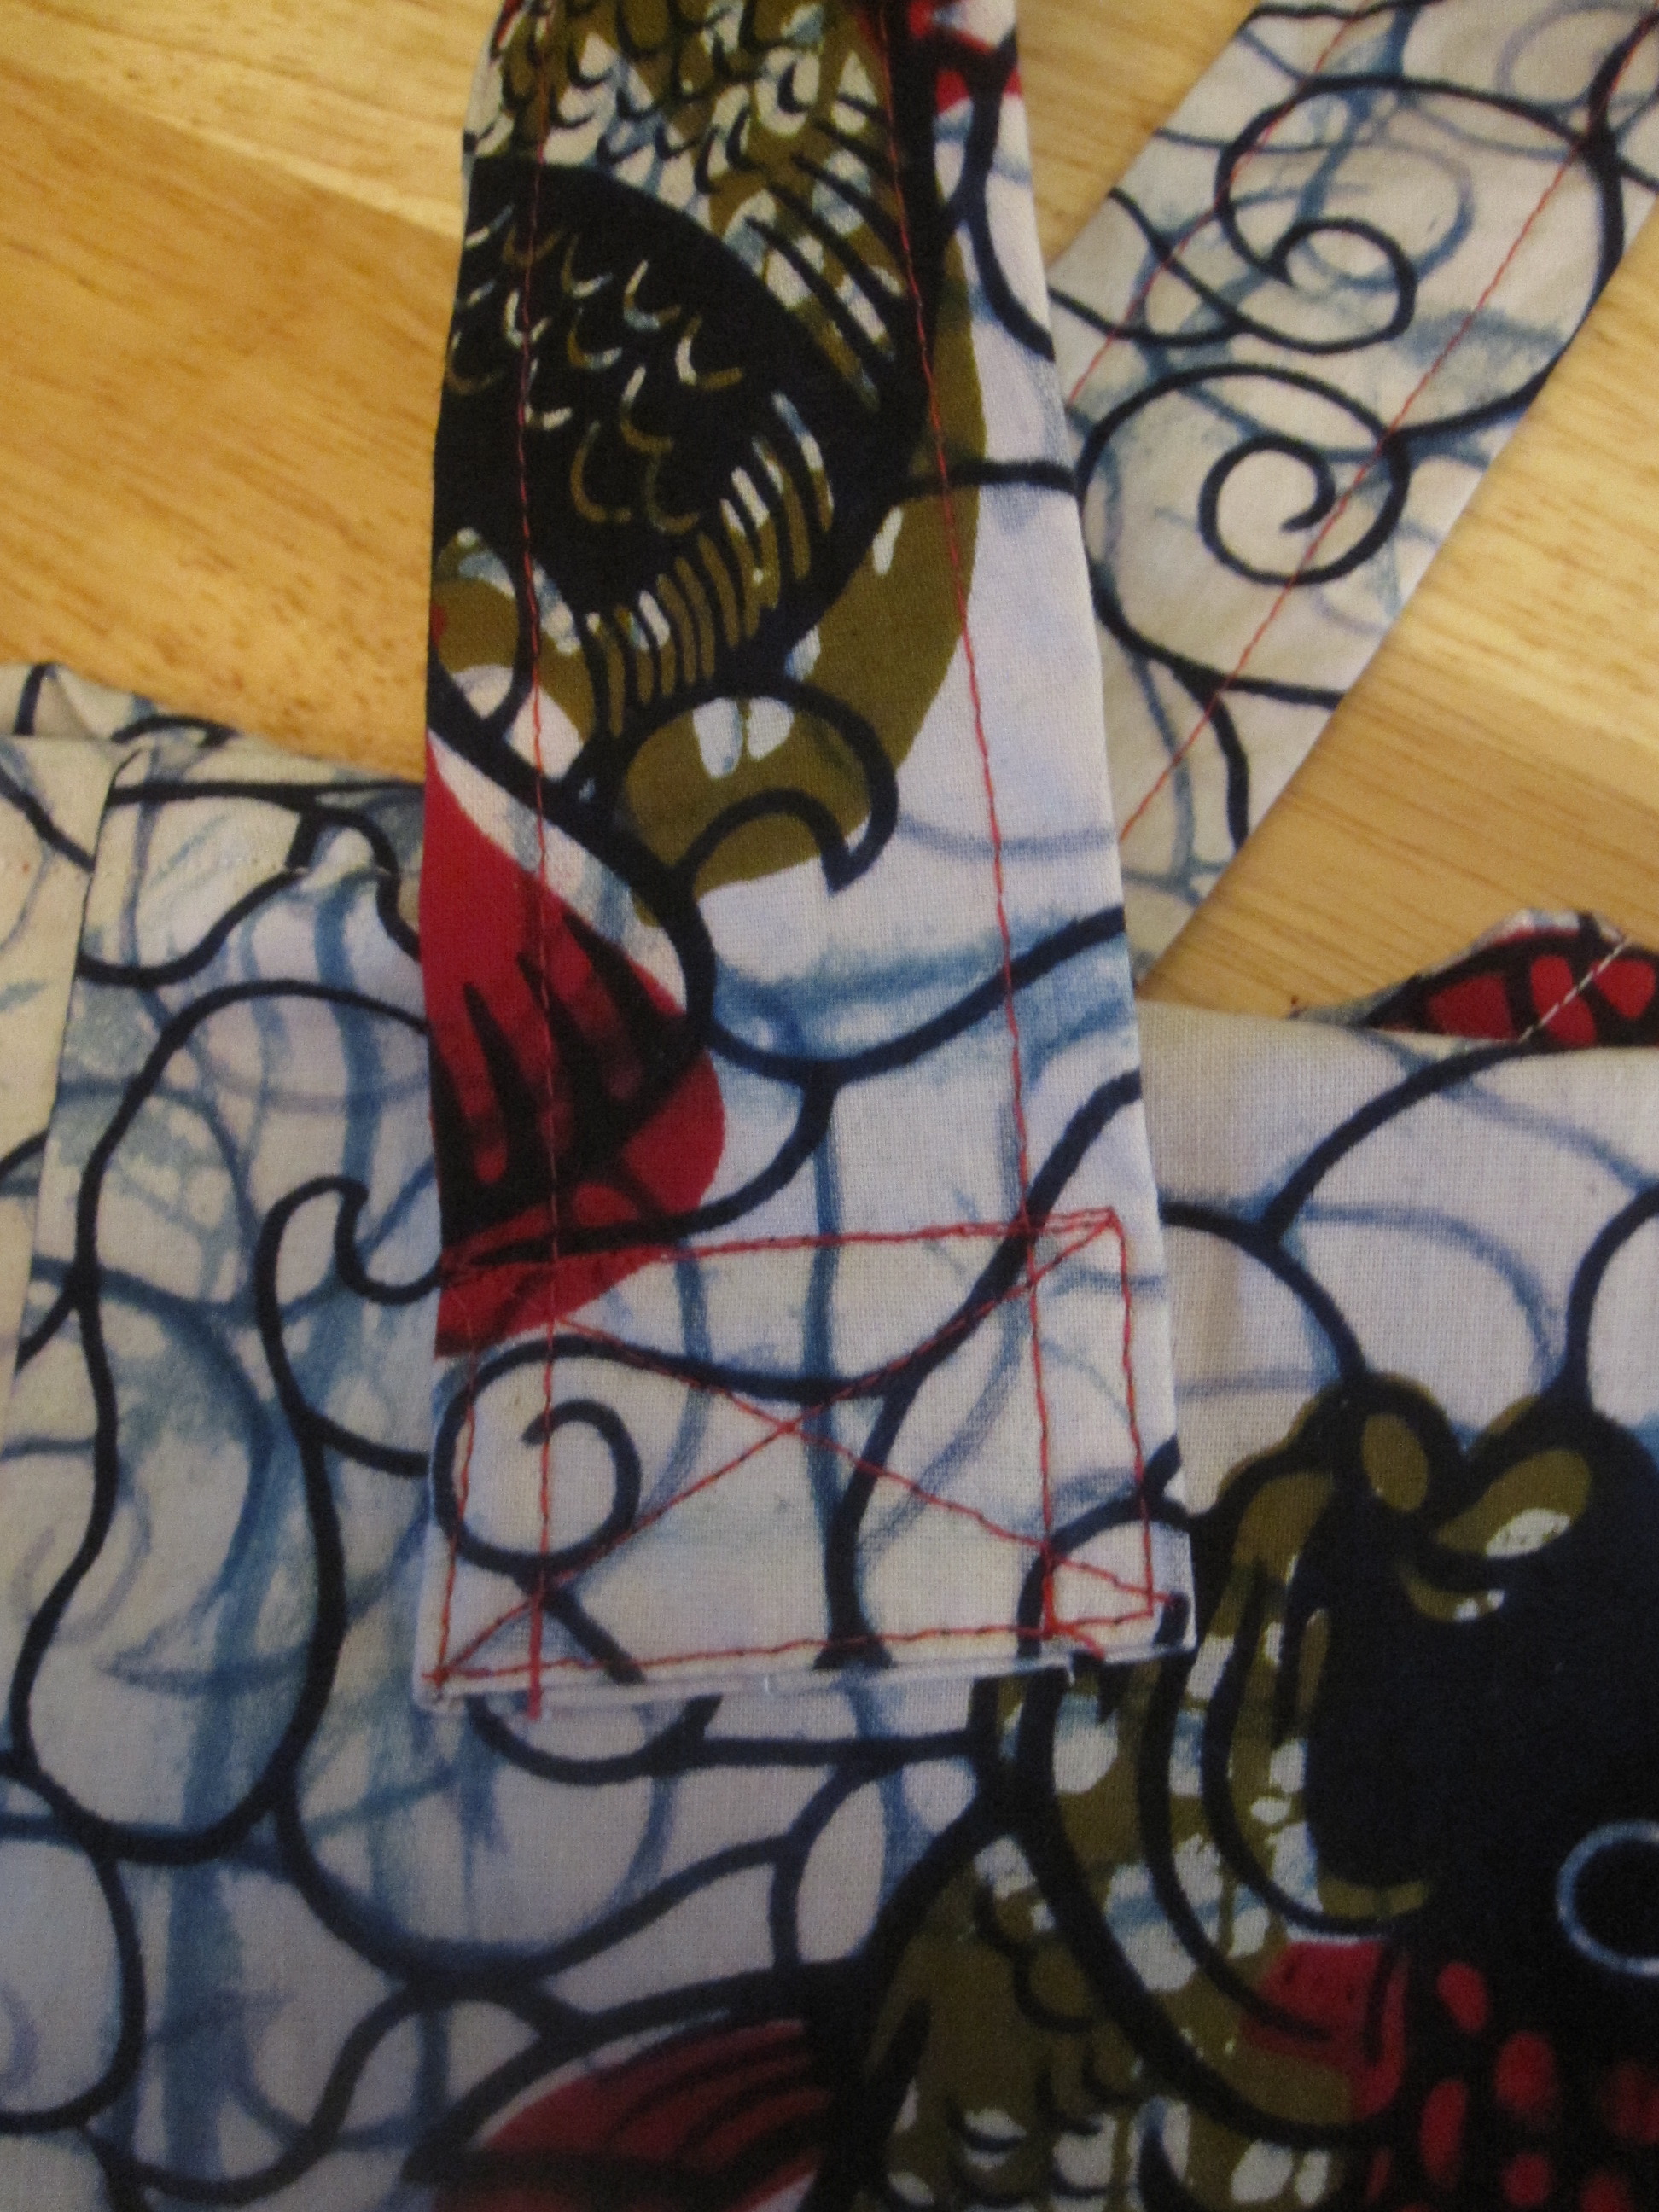


Sew Straps With X


Pin your handles in place, aligning the lower outside corner to your marking, having the seam allowance of the handle toward the bag.  Pin the other end of your handle in place on the same front/back piece (the handles do not go over the top of the bag's opening).  Pay attention to make sure you haven't twisted the handle when pinning it before sewing!  Sew in place using an X with a box around it for maximum sturdiness.
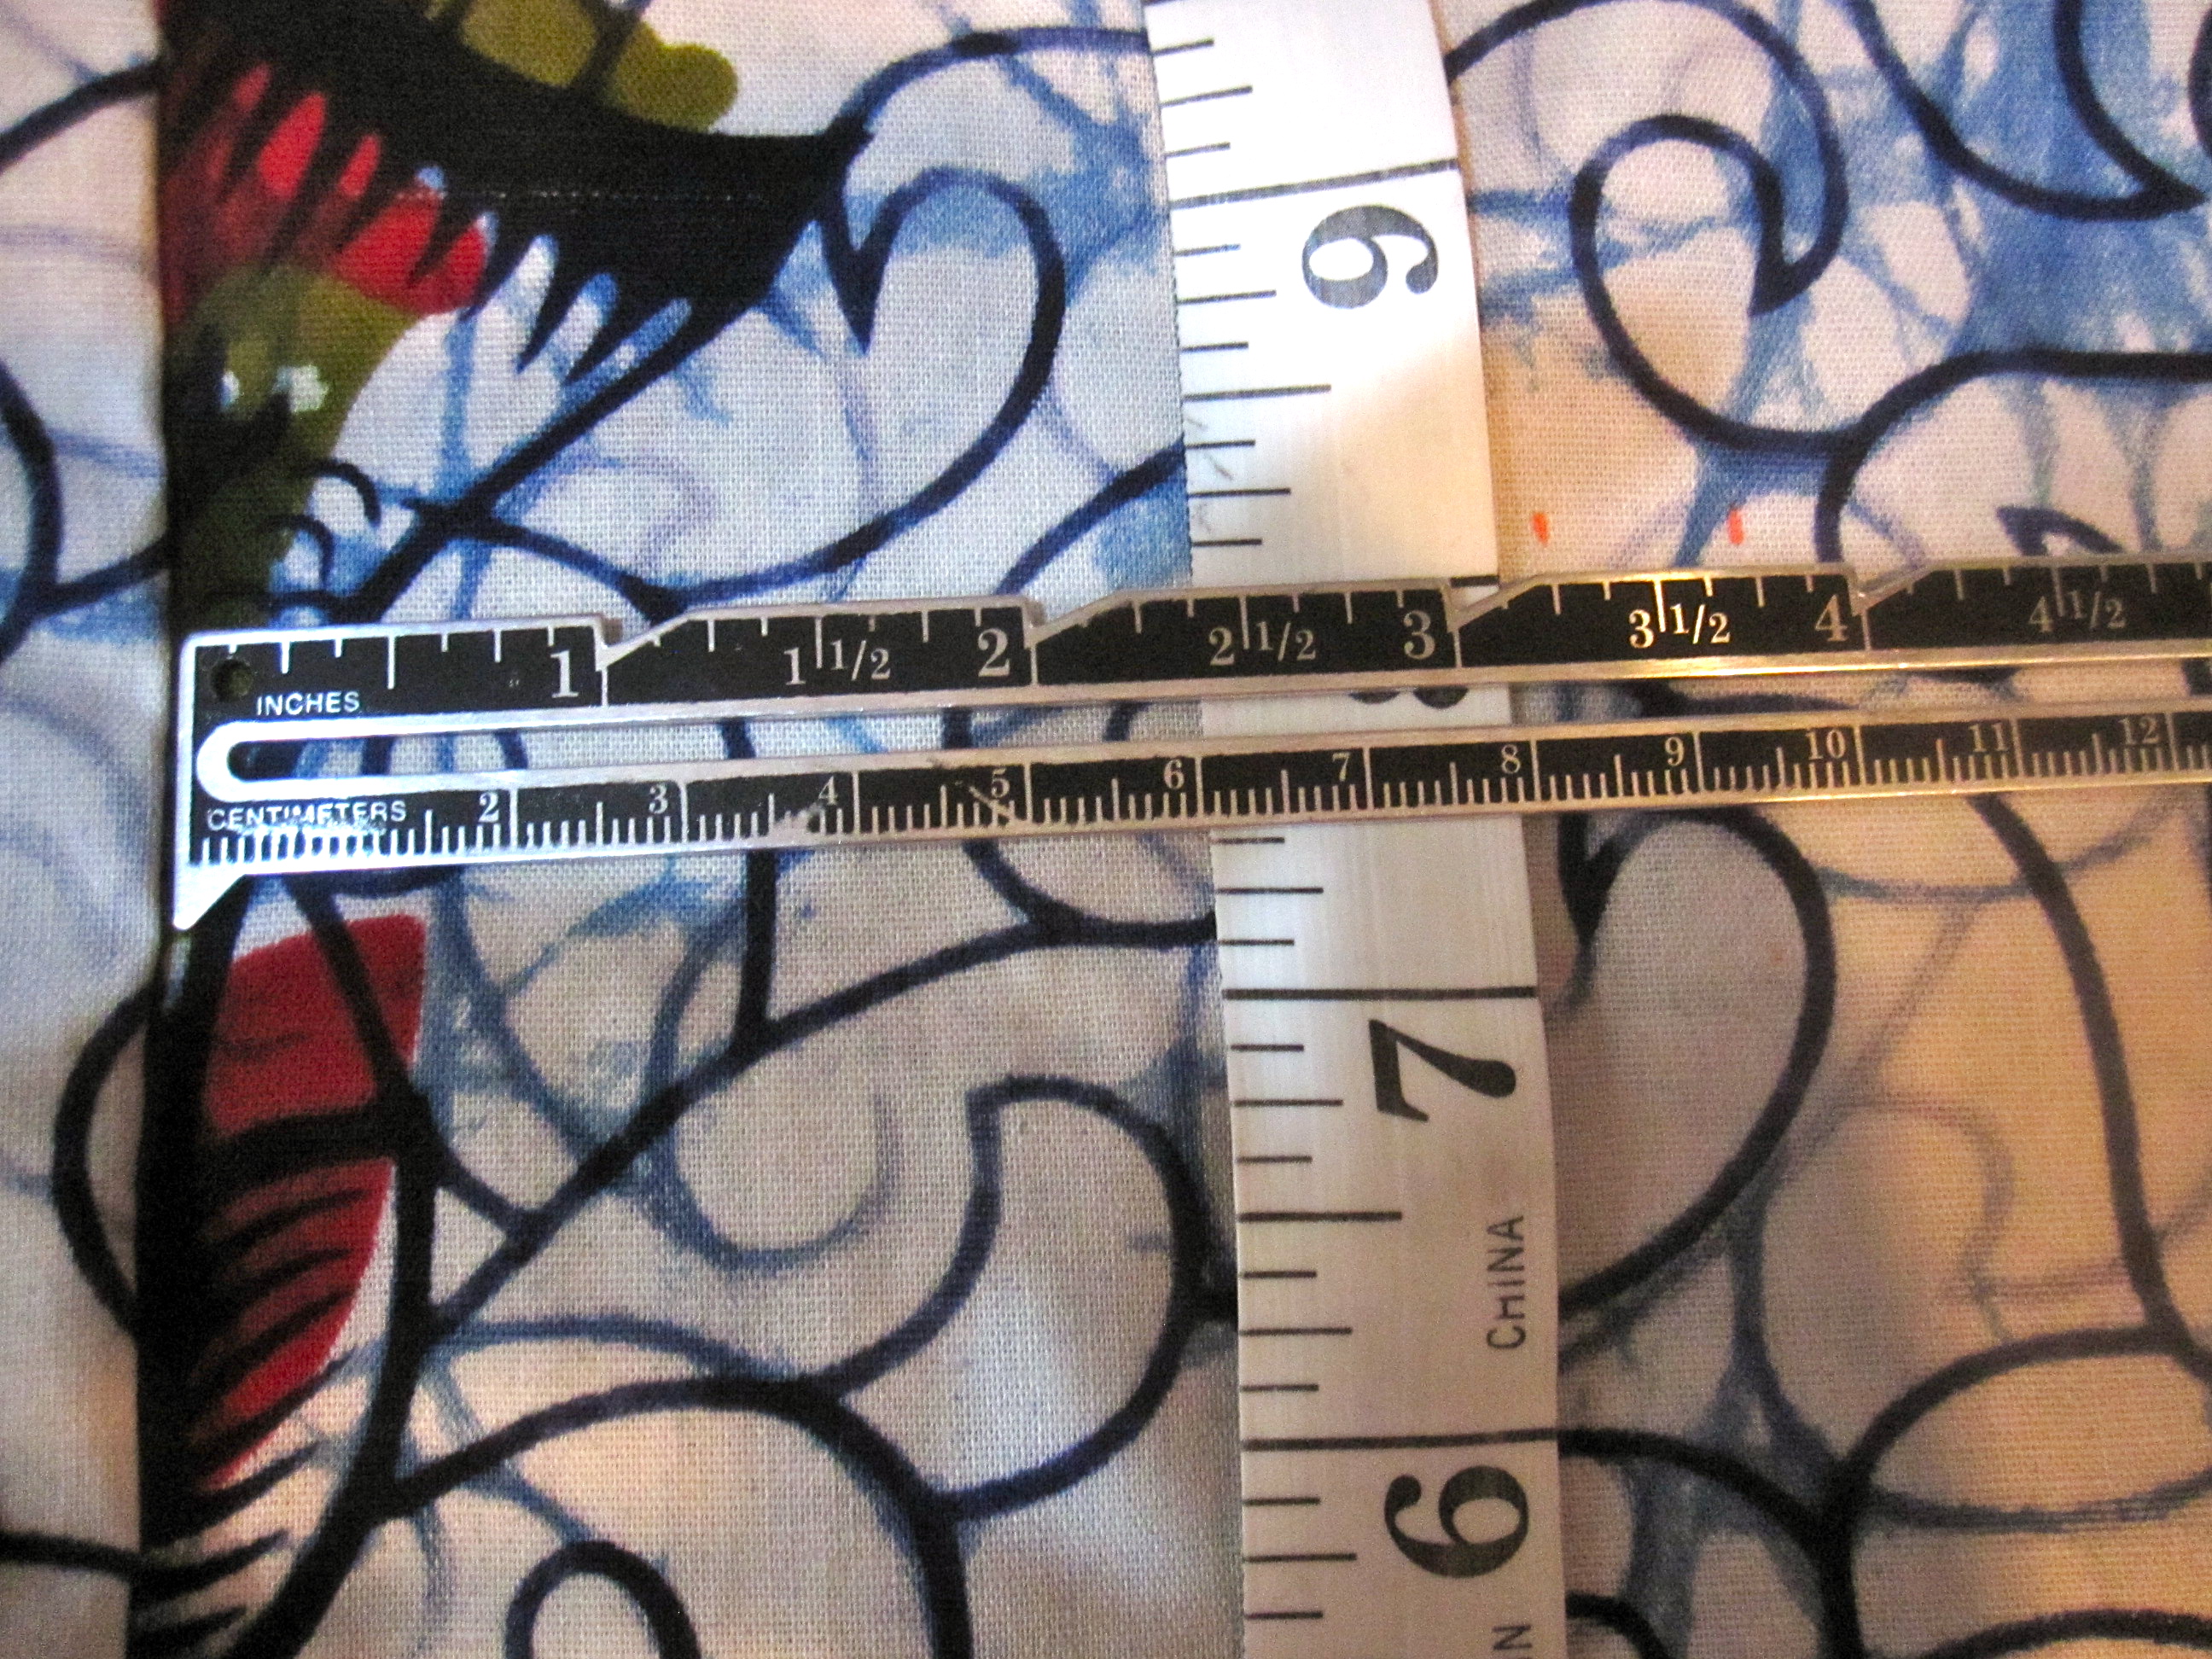


Measure Velcro Placement


The final step is velcro strips on the side to attach to the baskets.  On each side piece and measure down 8" from the top.  Measuring from a seam, make marks at 3 1/4" and 3 3/4".  Mark this spot.  Cut two sets of velcro strips 2 inches long each.
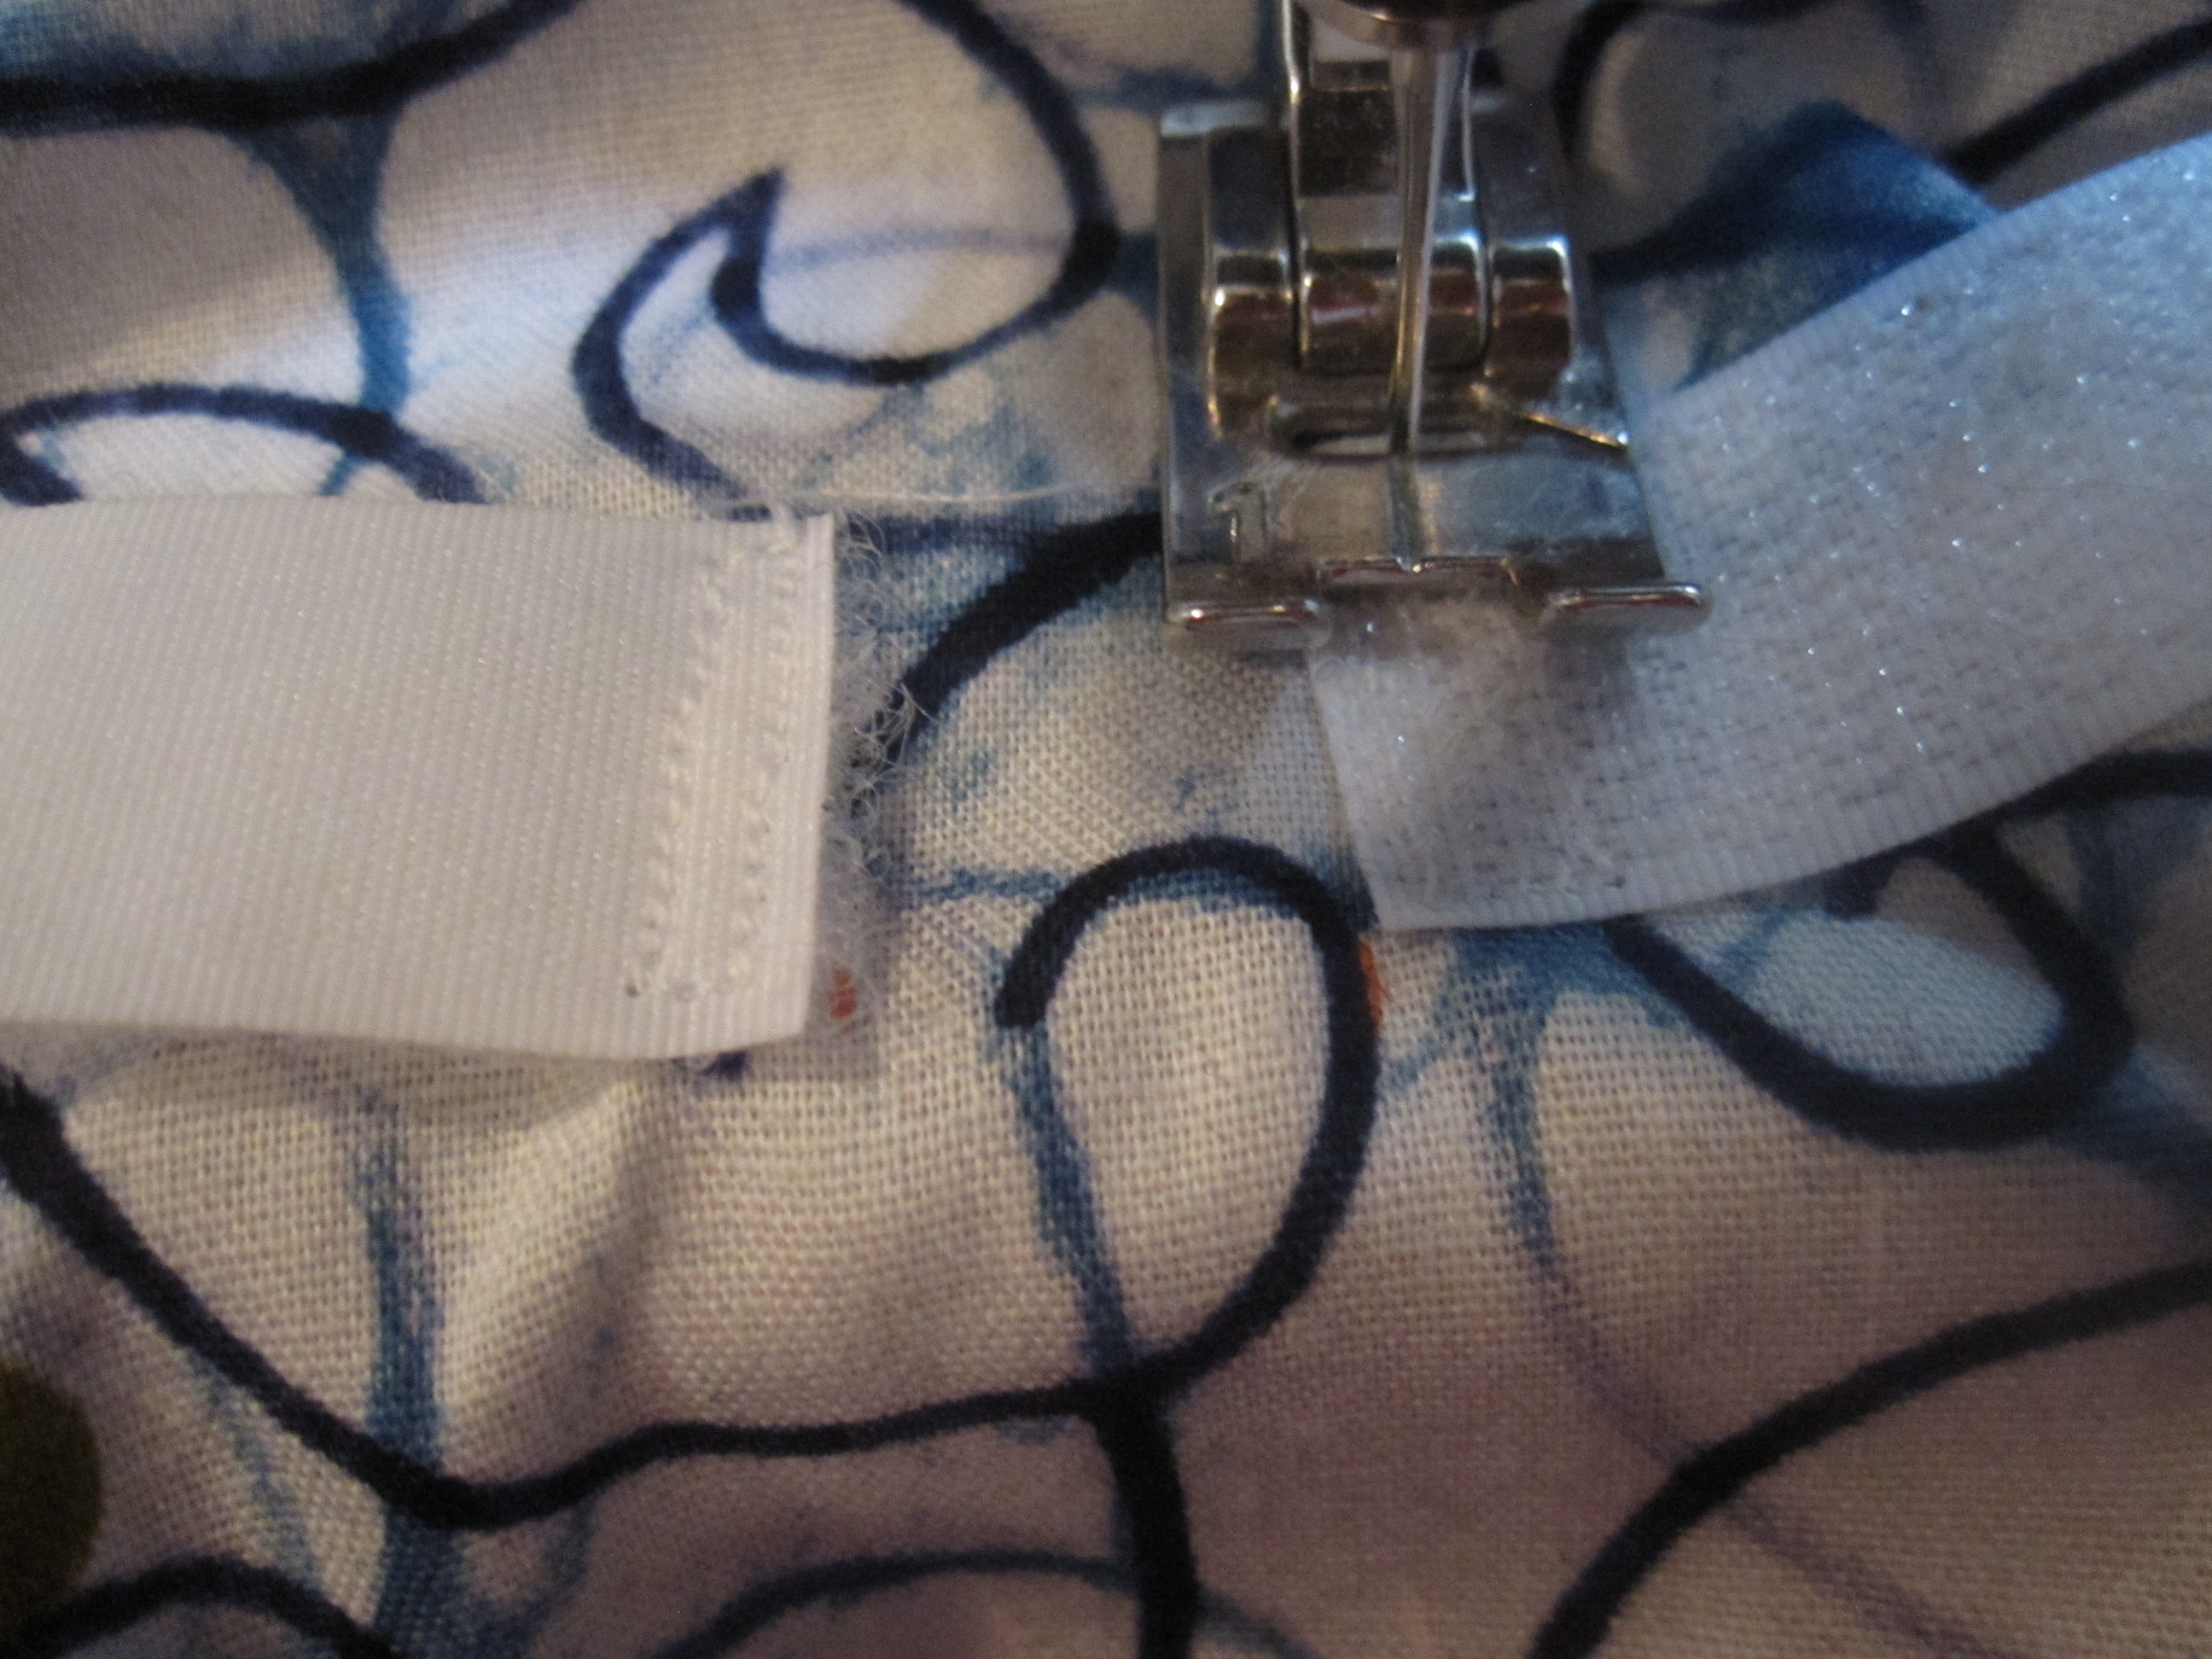

Stitch Velcro

Spacing them a bit apart from the center, sew with one side up and one side down (otherwise they won't be correctly oriented to attach).  Use a small stitch length and sew at least two rows of straight stitching.  I did the rough side up and the smooth side down because when they are joined together the rough side is to the inside.  However, it's probably better to do smooth side up and rough side down so that when they're open (i.e., when you're carrying them through the grocery store) the rough side is against the bag.

I really don't know if the velcro is necessary or just superstition on my part.  However, my bags have never fallen out of my baskets no matter how full they've been--and if you ride DC's streets, you know that is NOT from lack of jouncing from pothole to pothole--and I always velcro them in place (and never use bungee cord) so I'll stick with my superstition.

Done!  Making two of these took me about 2 1/2 hours--although that included documentation time.  They are not a hard project and a beginner should be able to make them in 3 or 4 sewing sessions of a couple hours each.
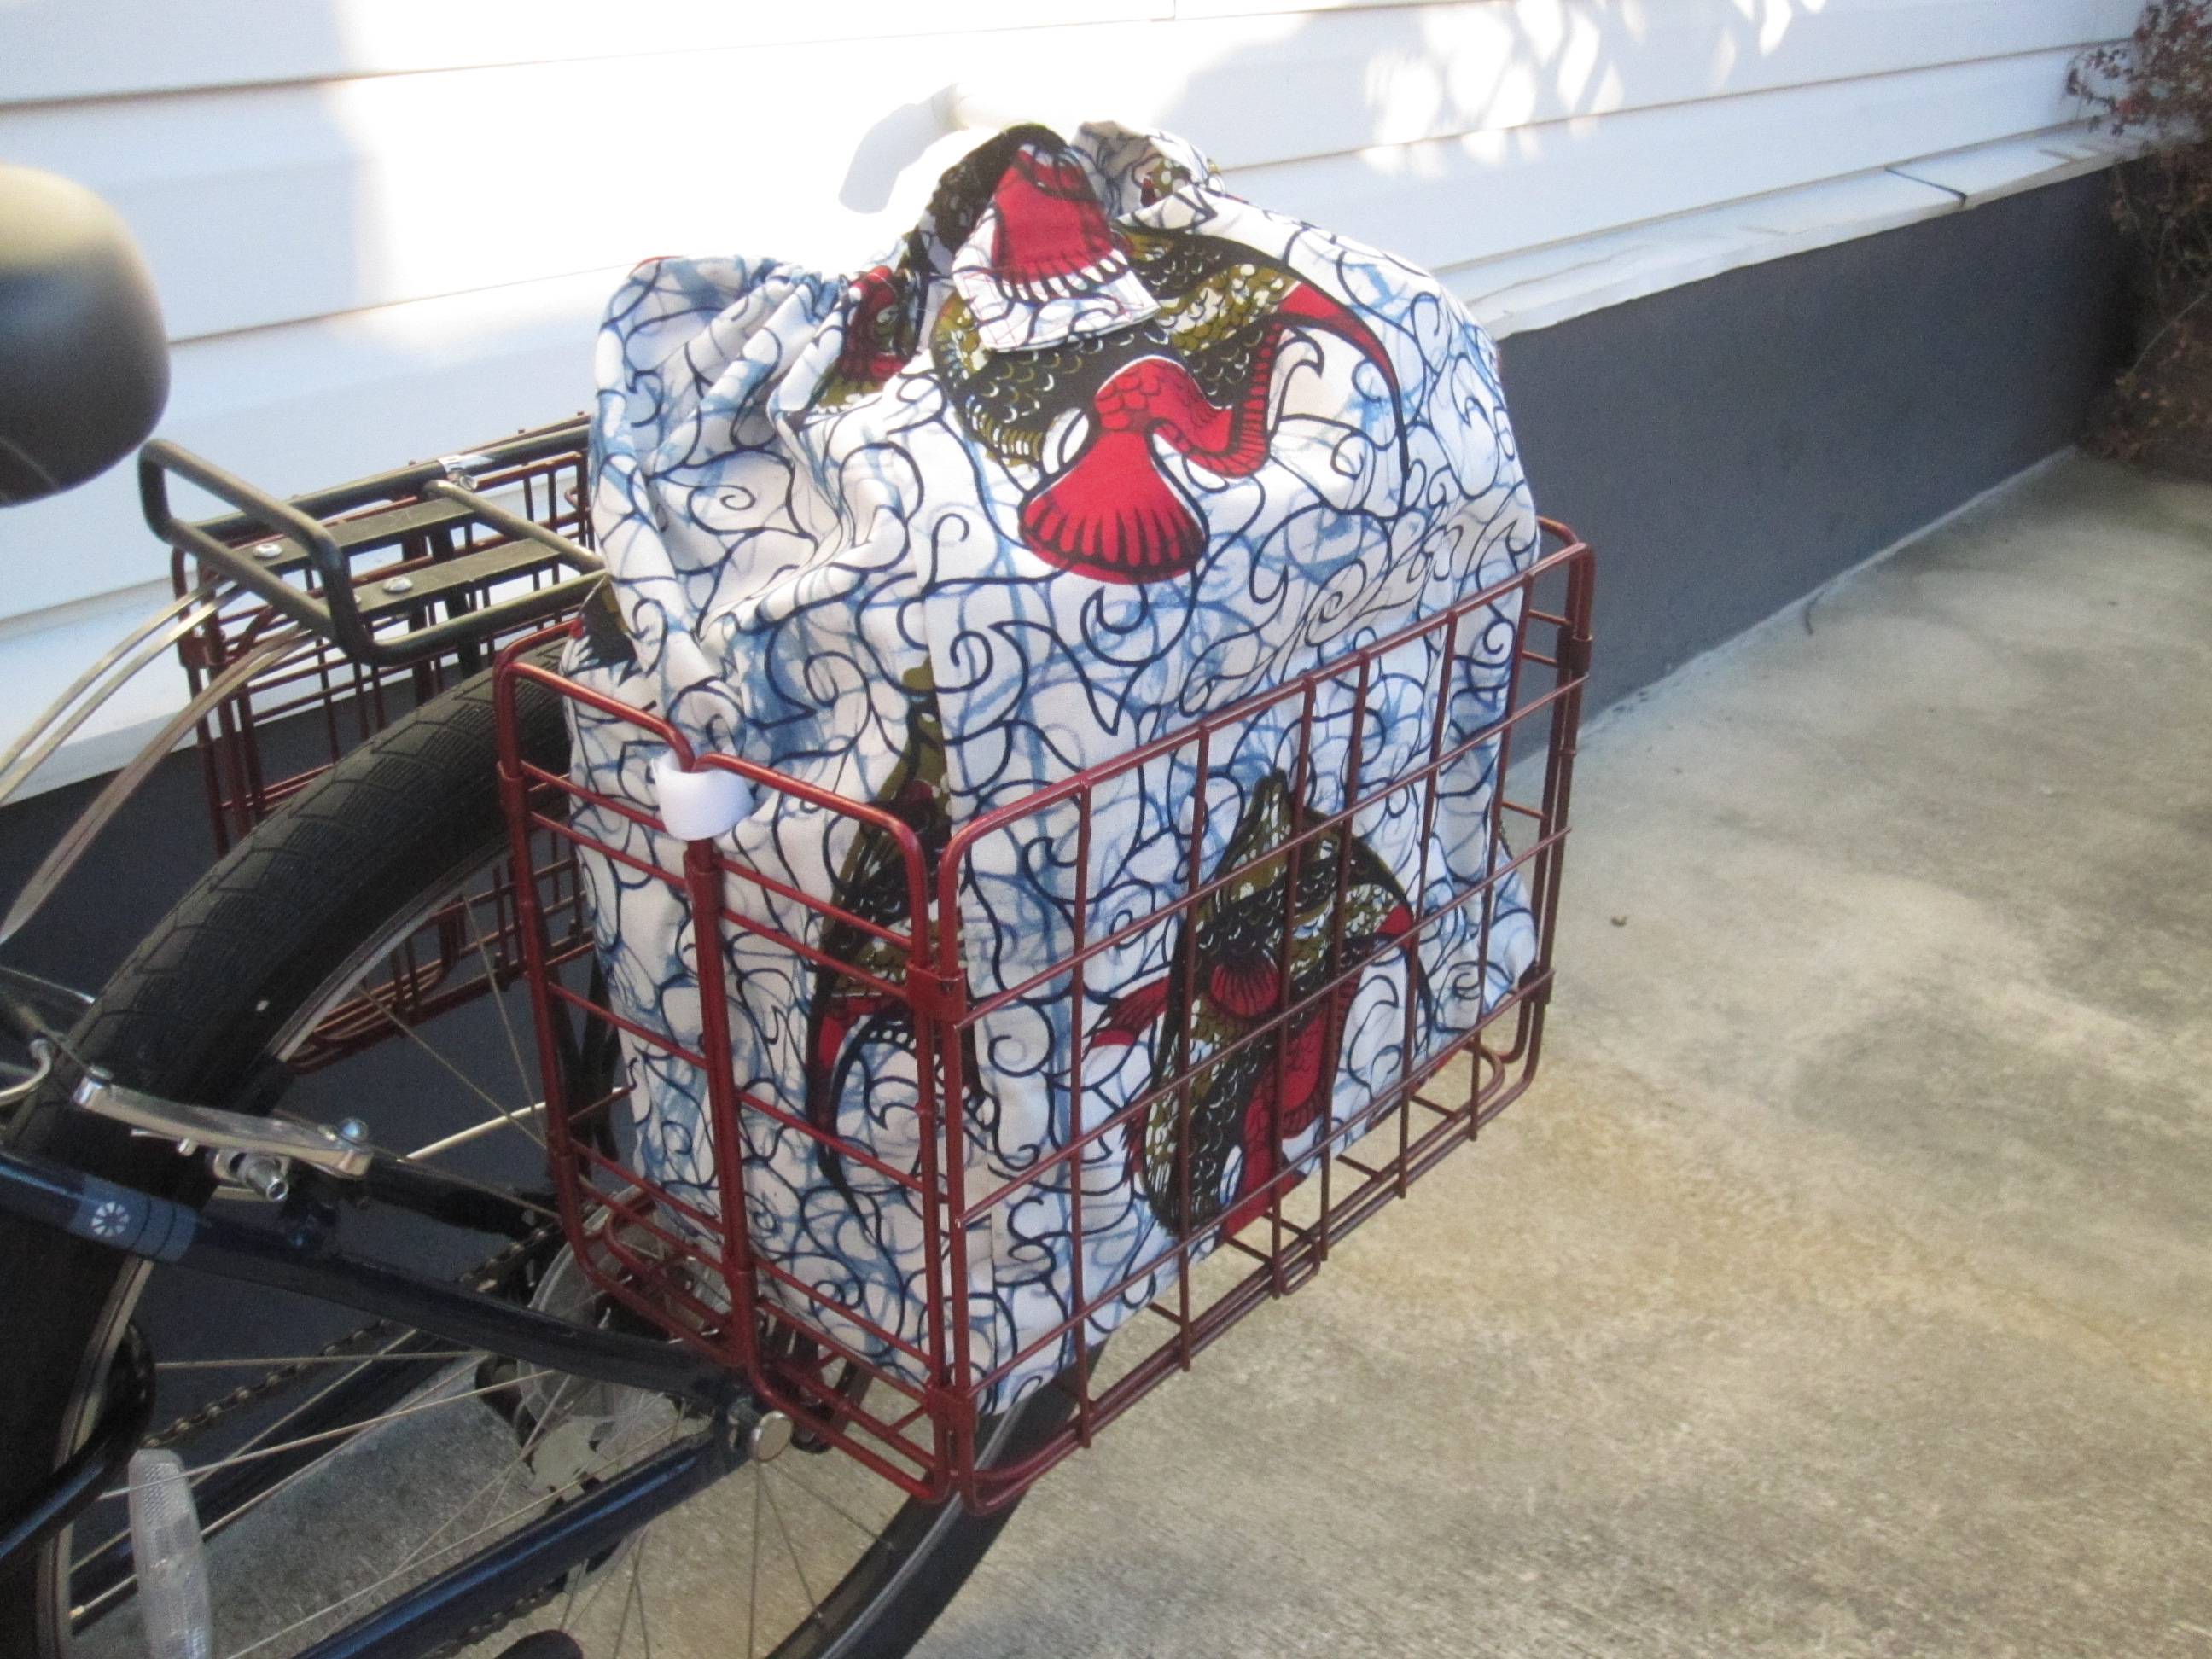
Bag in Basket
To use your bag, place it into the basket.  Pull the drawstring tight to close the top of the bag and snug the cord stop, then tuck the long loose ends of the drawstring into the little opening of the bag.  Tuck the handles into the little opening left at the top of the bag as well.  This is to keep the drawstring and handles from spilling over the side of the basket and getting caught in your spokes, which would be Very Bad.  Loop the velcro through the mesh of the basket and fasten it.  Ride off into the sunset (or off to the Potomac, where the shot of my bike "in the wild" was taken).
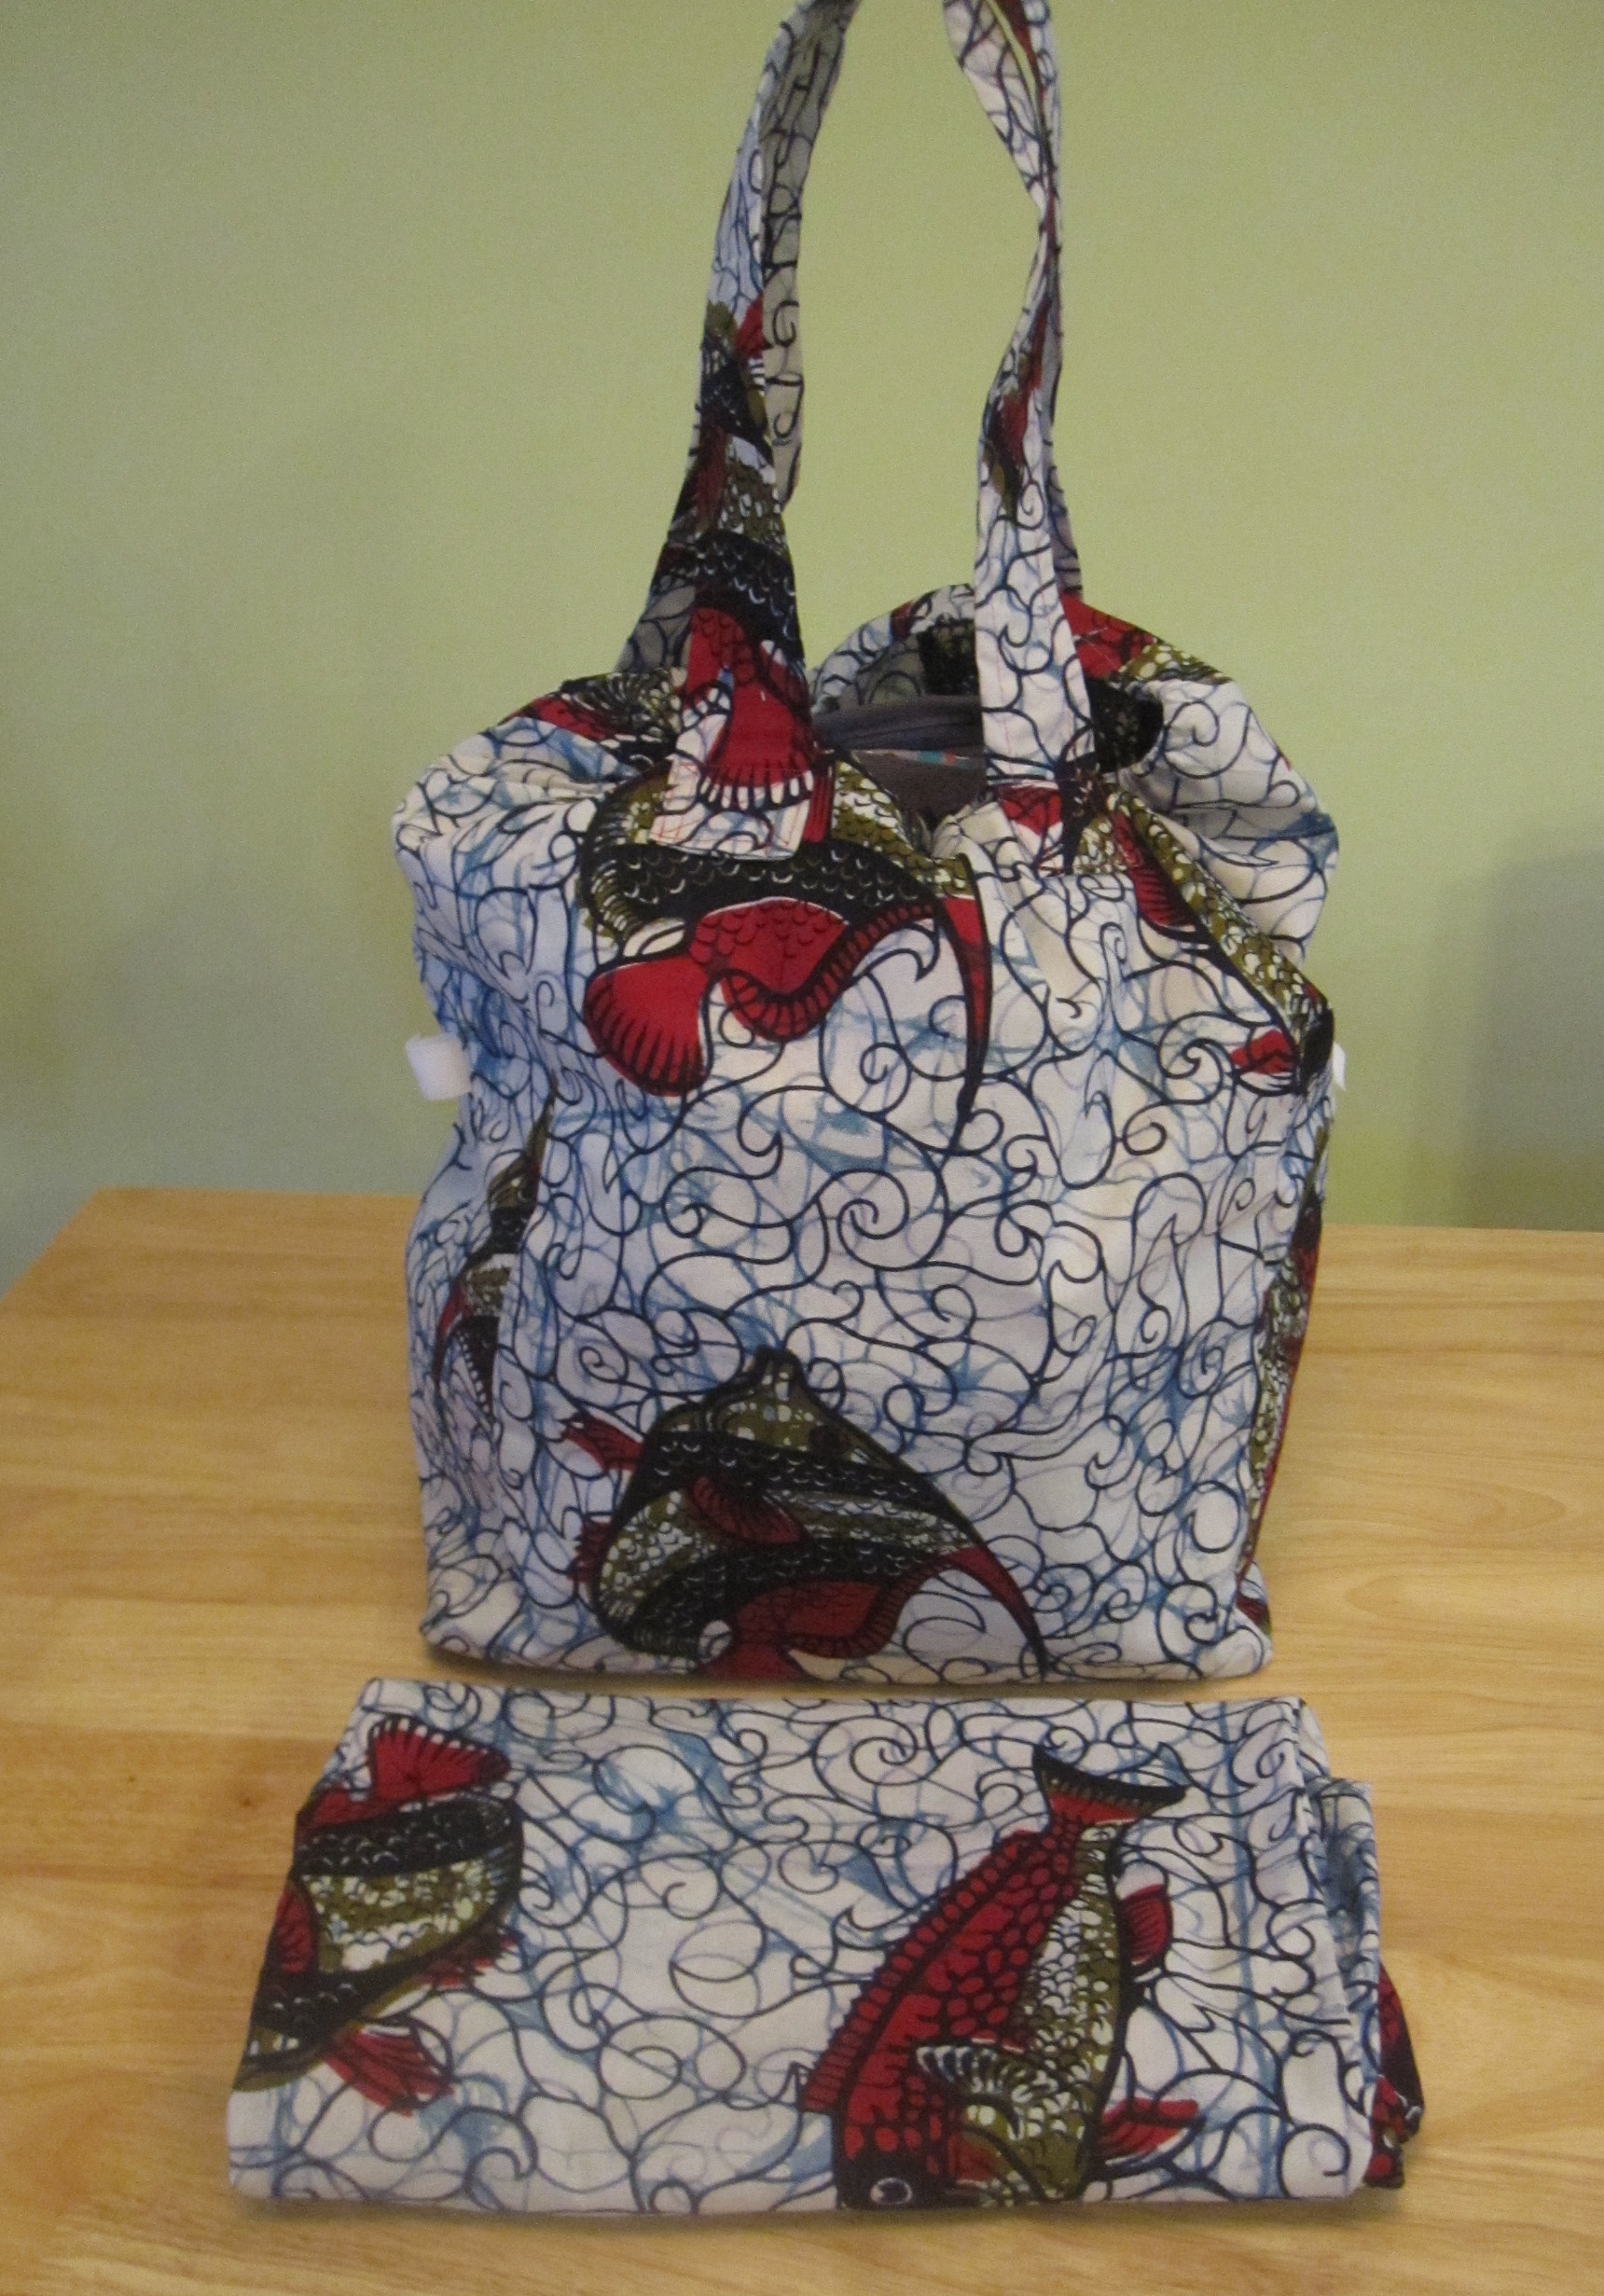
Size Full and Empty

My bags are plain fabric.  If I need something in them protected from rain, I wrap it in a plastic bag.  I like the fabric bags because they are light, fold down quite small, and most importantly can easily be washed and dried when groceries go awry.

However, you could use waterproof fabric for a more precipitation-friendly bag.  This blog is all about oilcloth.  Rose City Textiles/Fabricline has reasonably priced waterproof fabric for bags.

I made these forever ago and kept waiting to post this until I got more glamorous photos of me and my bike but I think we'll just go with what we have!

All photos are here.
Wednesday, July 18, 2012

Using a Covered Belt Kit (and a Rant)


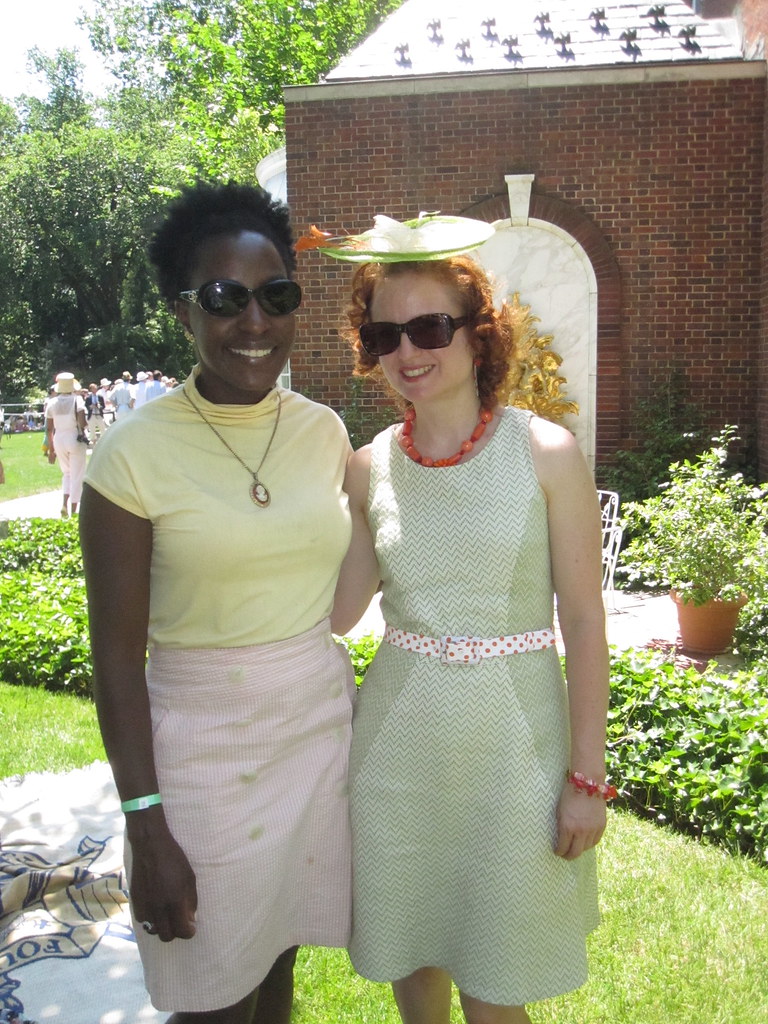
Cidell and Trena

Vintage Belt Kit


One of the things I did for my Seersucker Social outfit was to make a matching belt for the first time. I am so hooked! I used a vintage belt kit that I got in a big bag of random sewing crap at the thrift store. The kit contained belting, a two piece coverable belt buckle, a hook for the buckle, and even the eyelets for the belt.


Cut Xes


I started by interfacing the fabric for the buckle. I was using a bit of lightweight and fairly sheer swiss dot batiste (purchased in Vietnam and made into McCall 5426). The interfacing gave it a little more heft and opacity. I placed the top part of the buckle on the interfaced side of the fabric and traced the holes. Next, I cut x-es into the corners, so I could fold the fabric up into the belt buckle.

Spray Adhesive


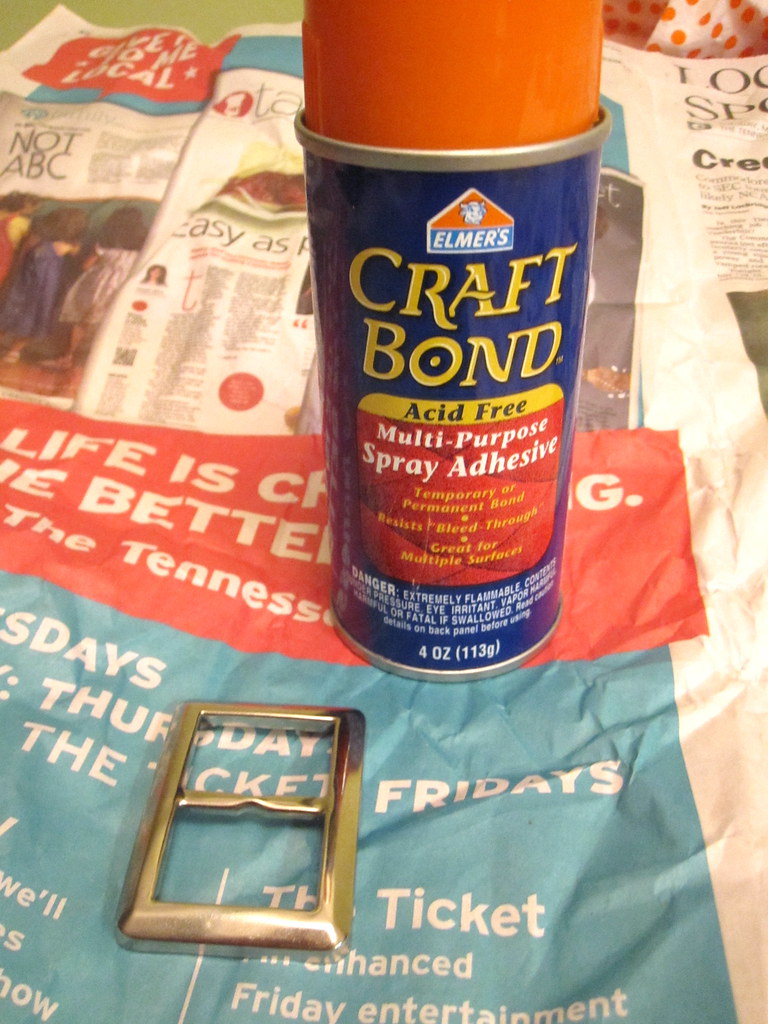
The only thing missing from my vintage kit was the piece of adhesive used to glue the fabric to the buckle.  I used a spray adhesive instead.


Fold Fabric Into Channel


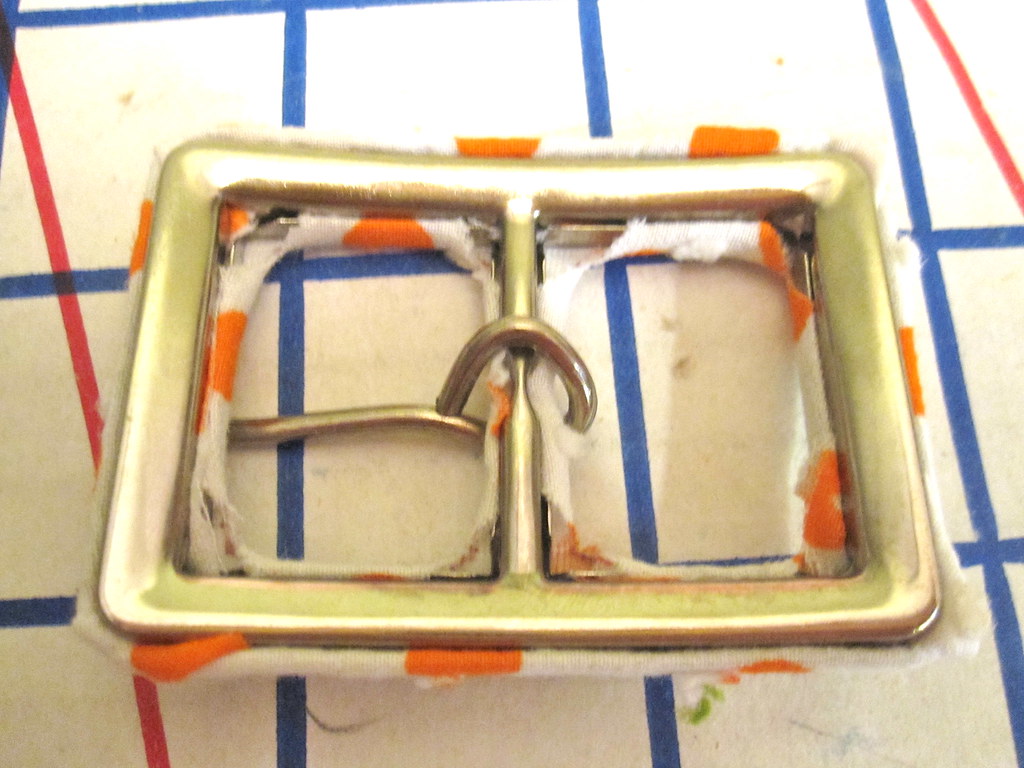
Once you've sprayed your belt buckle with adhesive, place it onto the interfacing side of the fabric and then fold the fabric into place over the buckle. It doesn't have to beautiful inside the channels. This was my first time, so I will admit it's definitely not the best job (it looks fine from the front). Next time I will clip deeper into the corners. Trim off any excess fabric that can't comfortably fit inside the channels.


Snap Back in Place
When the front of the buckle is covered, you snap the back part of the buckle in place. Before covering the buckle, I was concerned about the two pieces staying together. The back part of the buckle is significantly smaller than the front, and when the front is uncovered the two don't stay together at all. When the front's channels are filled with fabric, however, the back snaps and stays in place because of the tension. Use pliers to close the loop that holds the hook on the buckle.


Punch Hole for Hook


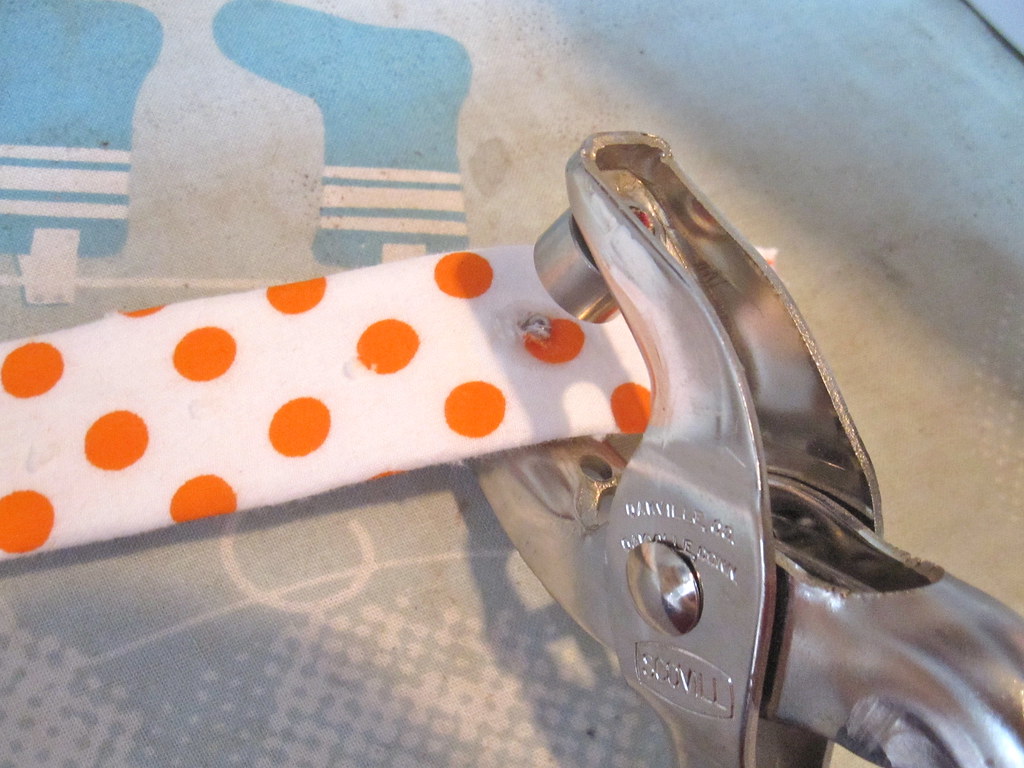
To cover the belt itself I followed this tutorial. I used my eyelet setter tool to punch a hole for the hook to go through. The last two inches of the belt do not have belting--I punched the hole about 1/2 inch from the end of where the belting is. I used fray check on the hole. The recommendation on the packaging was to use an eyelet for the hook, but this seemed bulky and made it harder to buckle the belt.


Stitch Belt over Buckle


I folded over the part of the fabric belt that did not have belting in it and hand stitched it in place.
Use Tool to Cut Holes


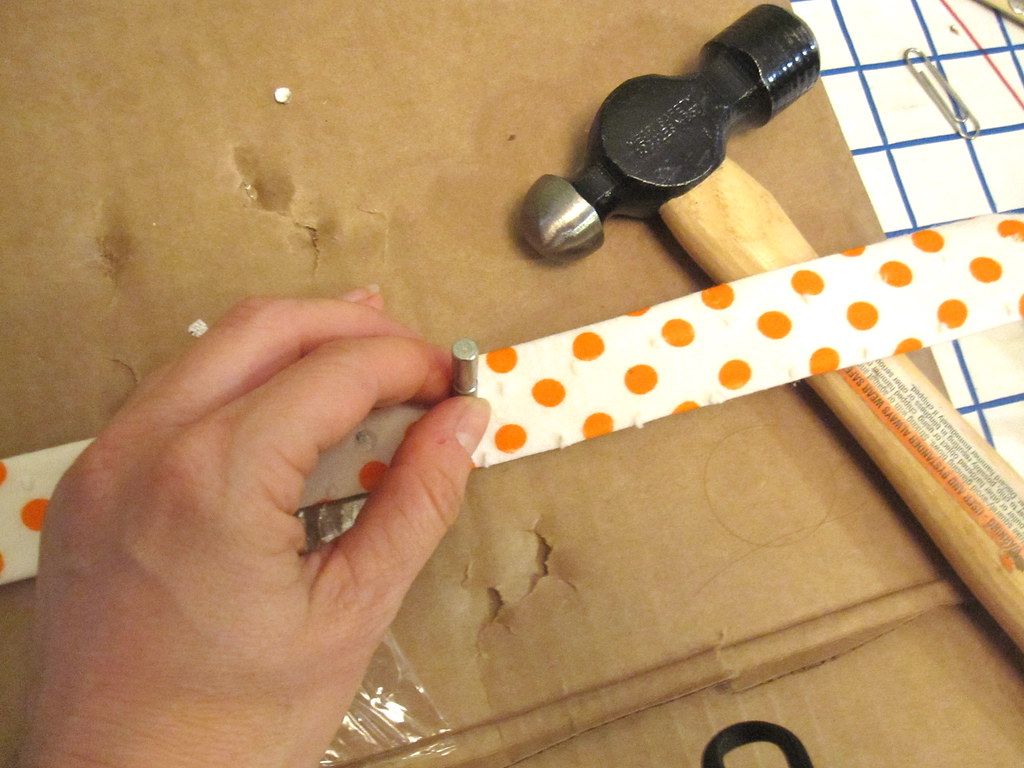
 My sewing goody bag also came with a set of vintage eyelets. I have an eyelet setter gun type thing, but this set came with the tools you use with a hammer. One of the tools was a cutter, and it cut larger holes than my eyelet setter (which punches holes, rather than cutting them). I found that with the belting, I needed the larger holes. Using a piece of cardboard to protect the table and a lot of hammering, I used the cutter tool and hammer to cut my marked holes for the eyelets for fastening the belt.

Fray Check Holes


I used Fray Check on the holes, just because I'm paranoid like that.
Snug Fabric Against Base of Eyelets


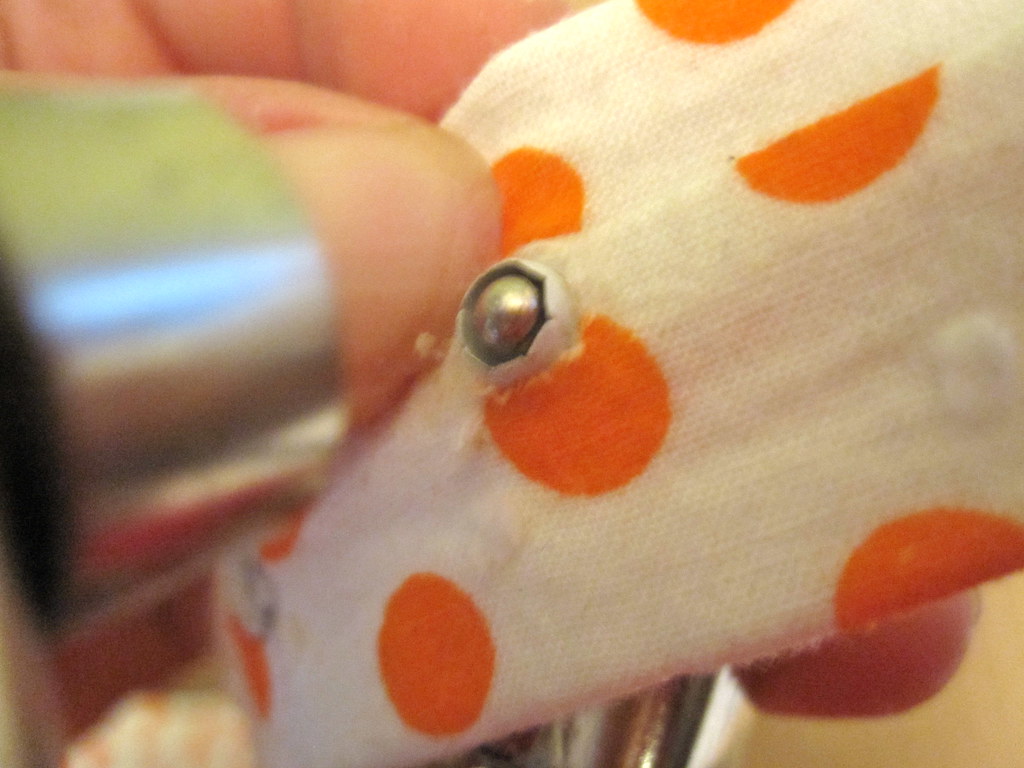
There is an art to inserting eyelets with the gun-type eyelet-setter tool.  If you don't do it exactly right, the back of your eyelet just crumples and it doesn't set properly.

1.  Punch the hole first.
2.  Place the eyelet into the hole and (very important) snug the fabric down to the base of the eyelet.  You must be able to see the neck of the eyelet all the way around.  The photo at right illustrates how far down the eyelet neck you must snug.
3.  Put the stalk of the eyelet gun through the eyelet and recheck your snugging.
4.  Now you can squeeze the gun and set your eyelet.


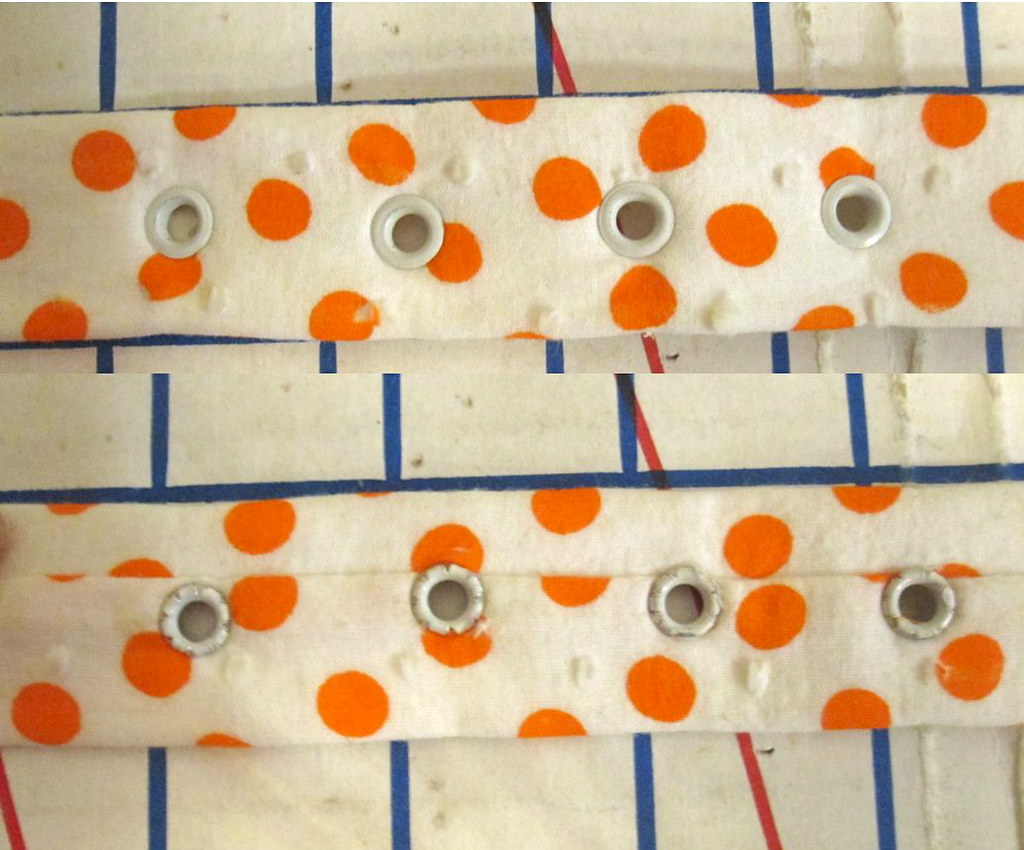
Belt Eyelets

If you do not do the pre-punched hole and the super duper extra triple check snugging, your eyelet will mess up.  If you do it as described, 90% of your eyelets will go in perfectly.  I have not found any way to avoid the other 10%.

Luckily, all of my eyelets went in perfectly.  Phew!

 All photos of this project are here.


Love the little touch that the belt added!  I am now totally into the idea of making more.  I had never seen any covered belt kits except vintage ones but they are still made!  Most are by a company called Maxant and are available from a variety of sources (google "Maxant Buckle Kit").  I plan to order some soon from here, but I haven't used them before so can't recommend the store yet.

=====================

Anonymous left me a comment criticizing my shoes.  I am sure it was intended in a helpful spirit, but let me make clear:

YOU CAN PRY MY DANSKOS OFF MY COLD DEAD FEET.

I have crappy feet.  They are completely flat, I have tendinitis in my right foot, and they are unusually tender and unpadded.  I also have injury-prone calves.  It was only after I discovered Danskos (and I have tried other brands; Danskos are best for me) that I realized it was possible for your feet not to hurt all the time.

I don't have a car.  My feet are the way I get myself around.  Not to mention the fact that I am athletic, some might say to the point of fanatical.  Being able to put in a hard workout (or two, most days) is very important to my well-being.  Both of these things require that my crappy feet are in the best possible condition at all times.  Exchanging my transportation and my mental health for cute shoes is not an option.

I am sorry if my ability to walk for miles every day offends you.  But I am not going to endanger my health and my ability to remain active for as long as possible to satisfy your aesthetic standards.  In fact, I'm not willing to accept even the smallest amount of pain to satisfy your aesthetic standards.  Choosing pain when there is a pain-free solution strikes me as foolish.  I am willing to endure occasional discomfort in the name of fashion, but discomfort is *not* the same thing as pain.

Future comments regarding my shoes will be deleted.

In fact, I'm going to declare a new policy.  All inexplicably critical future comments, particularly those left anonymously (someone took issue with my ironing recently--what????), will be deleted.  They are annoying and upsetting, appear to be increasing in frequency, and I no longer feel obligated to let them stand.  It's nothing I would *ever* do, so why should I let it be done to me?

Wednesday, June 20, 2012

Alternative Finish for Sleeveless Lined Bodice


A while back I published my all-machine clean-finish bodice lining tutorial. I have used this method on every sleeveless dress and top I've made for the past several years, but when it came to my Seersucker Social dress, it wasn't going to work.

The all-machine method requires three open seams:  two side seams and a front or back.  Burda 05-2011-108 is drafted with a side panel rather than a side seam.  While you could theoretically leave the side front or side back seam unsewn, there would just be too much fabric to pull through the strap tunnels (especially the home dec fabric I was using).  The method generally prescribed by the Big 4 is nonsense.  Here is the alternative to the all-machine finish.

Interface Neckline and Armscye of LIning

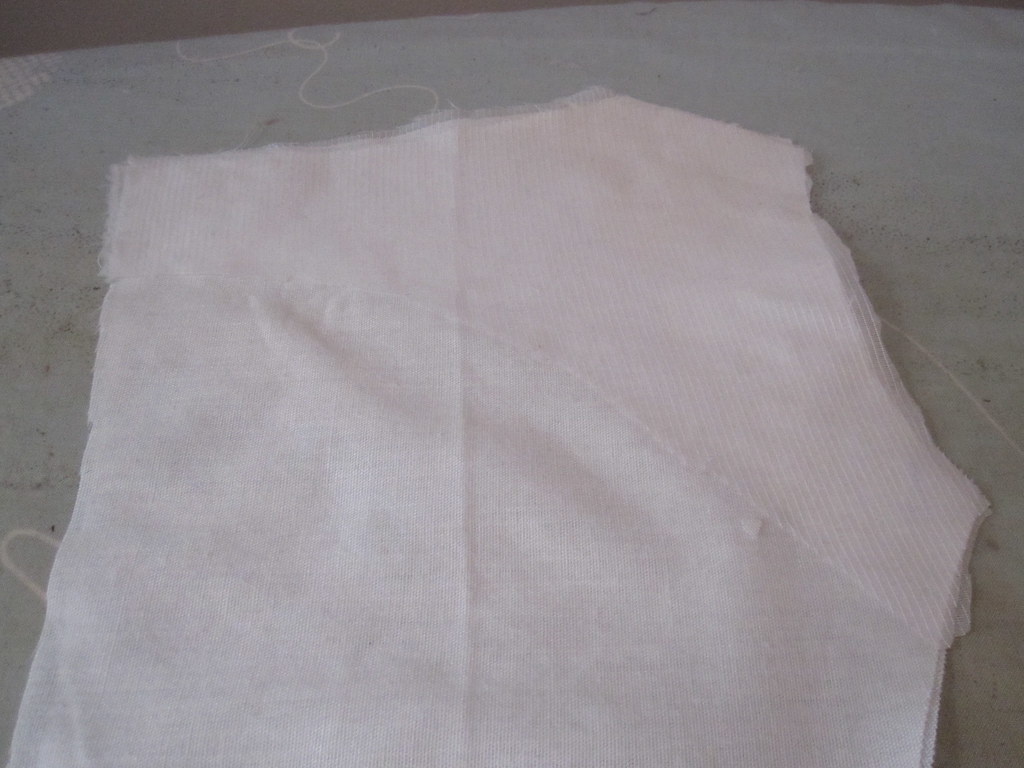
I lined the bodice of this dress with an Ikea Knoppa sheet, a lightweight cotton-poly batiste (and only $1.99 for the sheet!). Because my fabric was lightweight, I fused strips of interfacing to the neckline and armscye (a little hard to see because it's white-on-white).

 As with the all-machine method, trim a scant 1/8 inch from the edges of the neckline and armscye on the lining to make it slightly smaller than the fashion fabric.
Leave Unstitched 2 inches from Shoulder


Sew the side seams on the bodice and lining, or, in this case, side panel seams.  This will also work for a pattern with no center back seam (I think--I am terrible with the 3D mind, but as far as I can work out it should be fine).

Once your lining and fashion fabric are assembled, sew the lining to the fashion fabric, right sides together, along the armscye and neckline.  Leave unsewn for two inches from the shoulder seam.

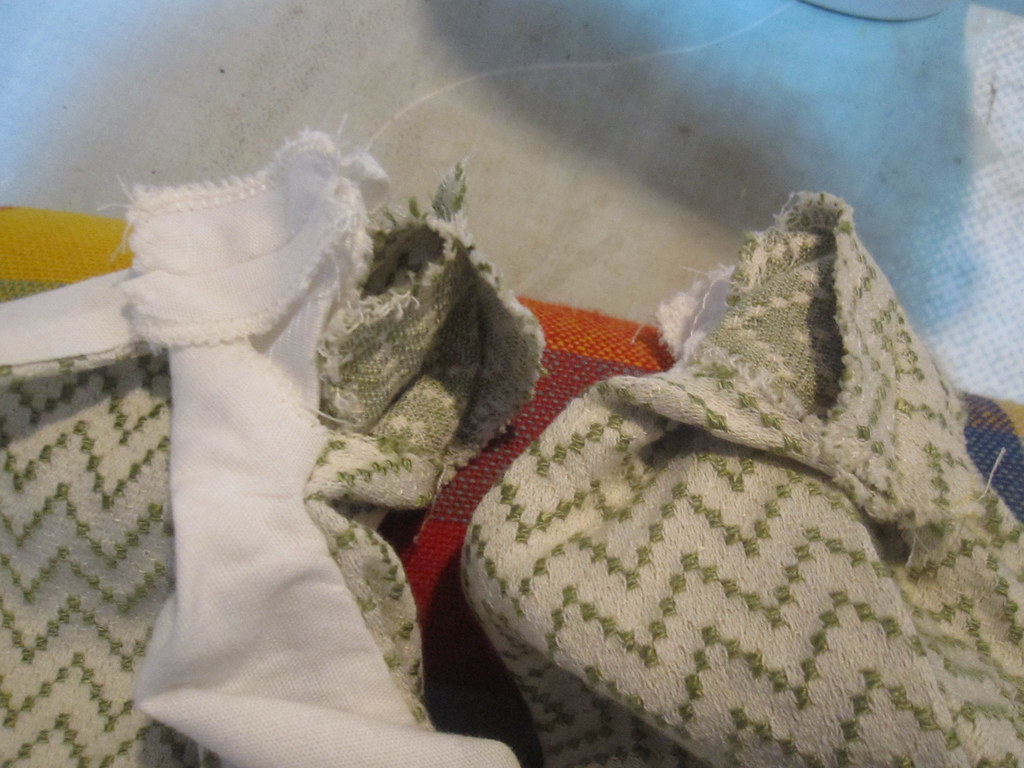
Turn the lining right side out.  You can see here the unsewn neckline and armscye edges leading to the shoulder seam.  I found it useful to finish the edges of the shoulder seams at this point.

Stitch Shoulder and Lining Seams


Next, sew the shoulder seams.  Treating the lining and fashion fabric, separately, place them right sides together.  Stitch and press.  This is why you need the extra two inches leading up to the shoulder seams, so you have room to maneuver the shoulders right sides together.


Shoulder Opening

Turn the shoulder seams to the inside and press the seams allowances of the lining and fashion fabric in place.  You can see how close it is to done here.

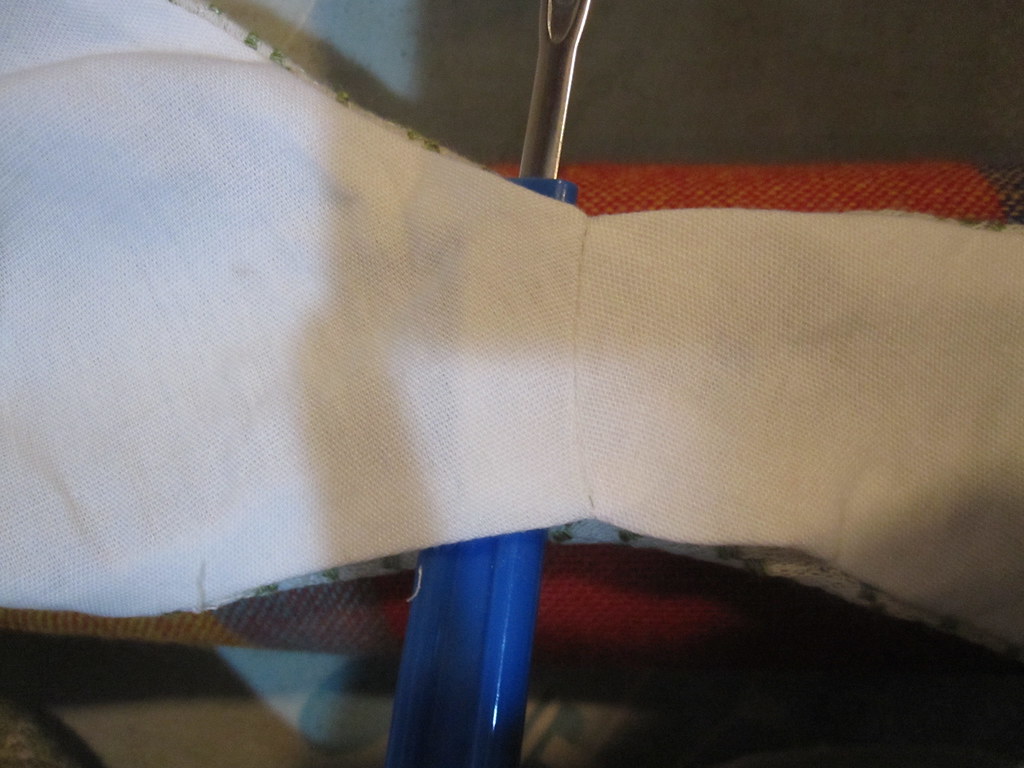
The seam ripper illustrates the part of the seam that is open.  This is that two inches (minus shoulder seam allowance) that you left open at the top of the shoulder.


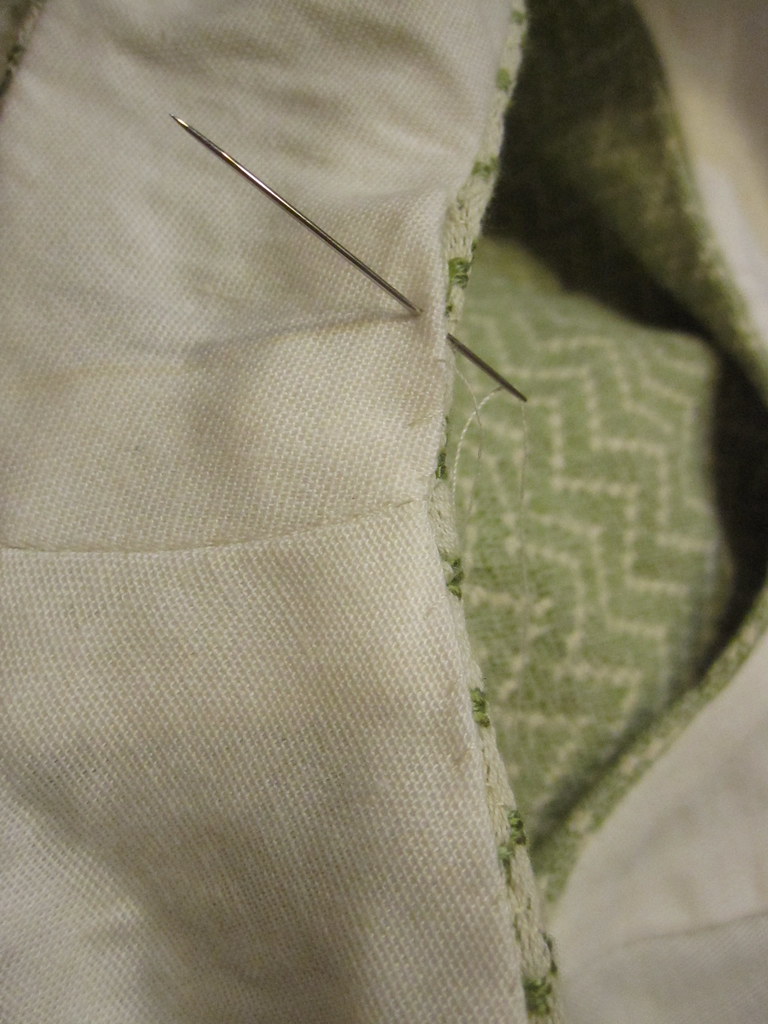
Finish Shoulders by Hand


Now all you have left is a little bit of easy hand stitching. I use a small whipstitch.

With the lining trimmed slightly smaller than the fashion fabric, it automatically turns under more and is easily hidden.  Both my fabrics pressed so well I didn't even need to pin.

I timed it, and the hand-sewing of these little bits of the shoulder took less than 10 minutes. 

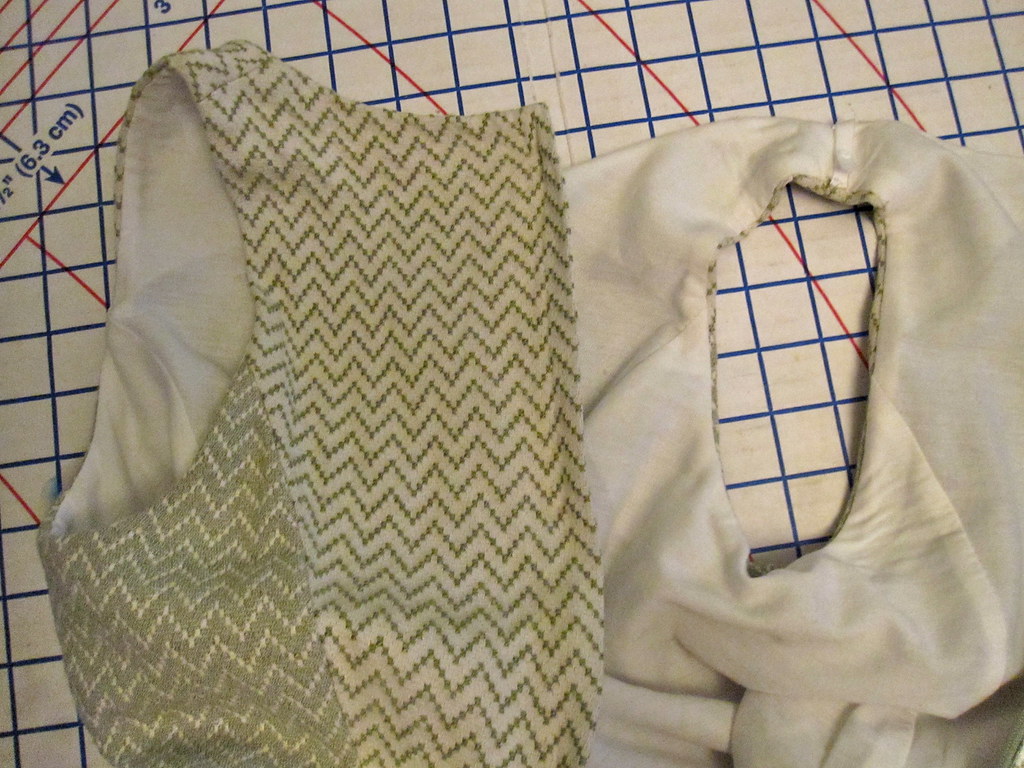
Completed Armscye Lining

And here is your completed finish (the shoulder seam is obscured by my bra strap keeper, sorry about that).  *Almost* as quick and easy as the all-machine finish, and does not involve any crazy steps or visible hand-stitching.

Friday, March 25, 2011

Pattern Giveaway Winner and Flickr Tutorial

I forgot to announce the Butterick 5451 big collar wrap dress pattern giveaway winner! It was a little hard to tell who was entering but based on my best guess of who entered the random number winner is

Stoffhamster!

============

I recommended a while back that you regularly check your recent activity on flickr to make sure the flickr nasties haven't gotten to you. It is an easy process to block unsavory users and I make a practice of it. To be clear, this does NOT prevent them from seeing your photos. The only way to prevent someone from seeing your photos is to make them private. But that means you can't share them with the sewing community either. I have made the decision to make my photos public knowing that they can be seen by flickr nasties; you have to make your own decision.

Anyway, when I brought it up I figured I'd do some screencaps the next time the opportunity arose and lo and behold! It has arisen. As always, click on the photos to see them larger.

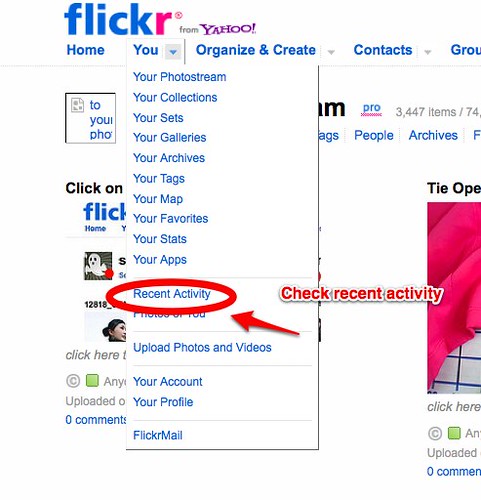
Check Recent Activity


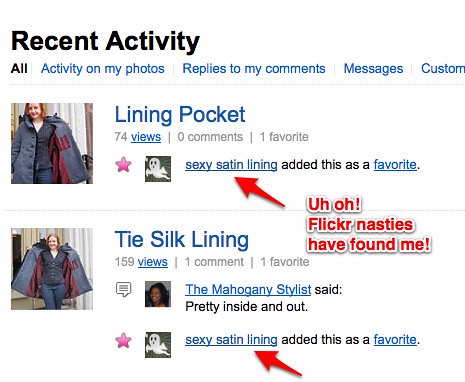
When you are signed in to flickr, there is line of options across the top with drop-down menus. Click on "You" and find "Recent Activity." Clink on this and it will bring you to a list of recent comments, photo favorites, and person favorites. I like to check this anyway to see new comments--sometimes people ask questions in comments and I try to answer them.


Check Recent Activity

Look at the names of people in your recent activity. The flickr nasties are usually pretty obvious, like this most recent "Sexy Satin Lining." That's probably not someone I want aggregating my photos! I don't check out everyone who has favorited a photo because often it's clear they are fellow sewists, such as if they favorite a photo of a pattern alteration. But if the name is ambiguous or they seem to be favoriting a certain kind of photo (the turtleneck fetishists are surprisingly numerous) I dig a little deeper.


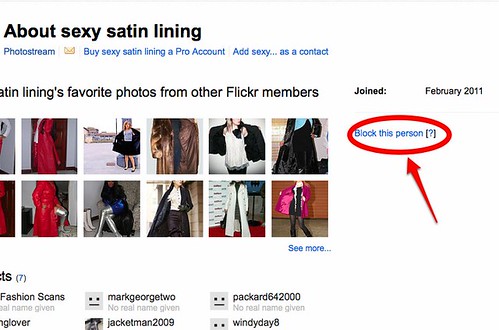
Click on Profile Clicking on the person's name brings you to their photostream. Often, the flickr nasties keep their photostreams private. Because they are realllllly into respecting privacy. Yeah, right. This one was unusual in that their photostream is public. Be ready to avert your eyes when you get to the photostream. Some of them are graphic. The blocking option is on the person's profile page, so click on "Profile."


Blocking Flickr Nasties


Once you're on the profile page, click on the option for "Block this person."


Block Page

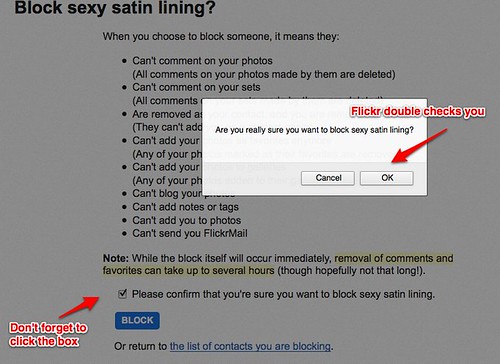
Blocking is a two step process. First, you must click the checkbox at the bottom of the list of things blocked persons may not do. Then hit the "Block" button. Once you hit the "Block" button, flickr gives you a pop-up asking if you're sure. That way you won't accidentally block a friend. Say ok and the deed is done.


As you can (sort of) see, when you block someone they can't
-comment
-favorite you
-favorite your photos
-add your photos to their albums or galleries
-contact you through private message

They can still see your photos, but they can't collect them, they can't find you or your photos easily by looking on their favorites list (unless they bookmark them in their browser--these people are after volume and I seriously doubt they'll go to the trouble), and they can't send you a message. I appreciate flickr for creating such a comprehensive blocking system! I highly recommend you take advantage of it. You can see all these photos in my Tech Support album.

Wednesday, January 19, 2011

Bound Buttonholes: New Technique for 2011, Checked Off

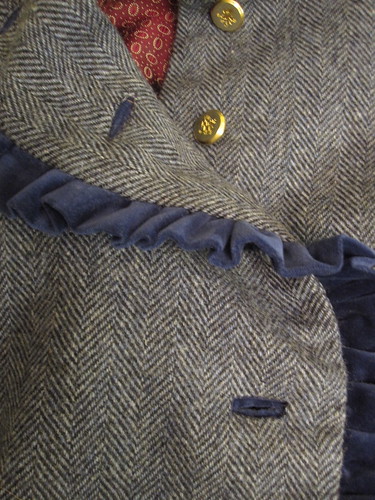
Finished Bound Buttonholes I am not one to make sewing resolutions, and although I have a list of things in my head that I don't know how to do but ought (*cough*fly front*cough*), I don't really feel the need to "grow" in my sewing. It is a hobby for *fun* and it clothes me quite well without knowing all that fanciness. I only turn to new techniques when they are the perfect touch for a project--I don't choose projects to try new techniques. My most recent coat project (this is a teaser for the finished product, which I have not yet photographed) involved velveteen trim and somehow I got my heart set on bound buttonholes with velveteen lips, so it was time to give it a try.

First of all, lest anyone accuse me of not being slapdash, let me note that I made ONE sample before going on to the coat, and it was rather wonky. My learning curve plan, an ingenious one if I say so myself, was to start with the bottom buttonhole and work my way up so that by the time I got to the top, where people were likely to actually see/notice the buttonholes, they'd be ok. It worked out pretty well for me. And where any possible shortcut could be taken, I took it (sewing the lips in a strip, marking only one side of the fabric, marking only the length of the buttonhole).

Though I have read many, many bound buttonhole tutorials over the years and sincerely appreciate every single one of them, the particular one that finally pushed me over the edge was Gertie's tutorial, with very clear step-by-step instructions with a photo for each step. This post is less a tutorial than a document of the blood, sweat, and tears that went into making my bound buttonholes.

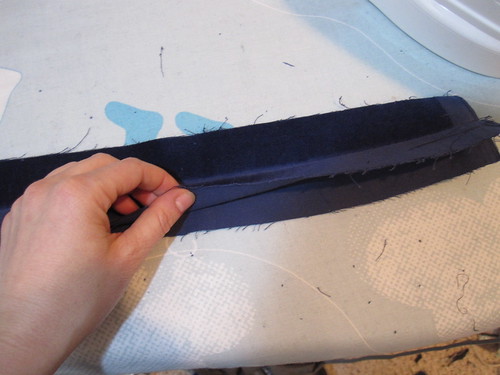
Lip Strip My first shortcut was to make the lips in a strip rather than individually. This is really only a convenient change if you have a serger.

Start by cutting two strips of fabric as wide as you want the final lips to be with a total combined length adequate for all your buttonholes. I cut mine two inches wide and allowed 3 inches of width for each of my 7 buttonholes (well, originally 8 but I re-cut the collar). This was generous and I trimmed them down once they were sewn in place, but I want to have plenty of room to maneuver.

Place the fabric right sides together and sew down the middle with your machine's longest basting stitch. Then fold each strip onto itself, wrong sides together, and press. Use the serger to trim and finish the long strip into individual lip units. The serging should be enough to keep the center basting stitch from unraveling while you're handling it.

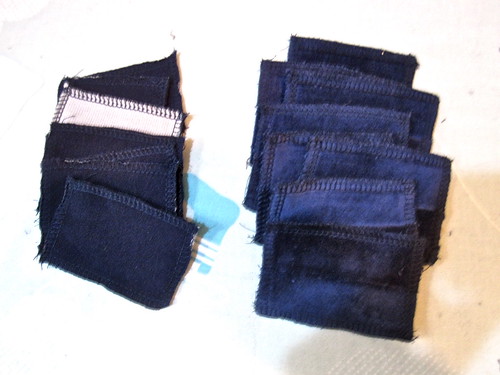
Stacks of Squares and Lips

You'll also need squares of fabric to sew into and pull through to the inside. For lack of a better word I call these "windowpanes." It's best to use the lightest weight fabric possible. Gertie recommended silk organza, but I didn't have any the right color and knew it was bound to show somewhere. I found some silky lightweight navy poly from the Carol Collection in stash. I cut it into a strip as for the lips, interfaced all at once (the white square in the photo was flipped over to show the interfacing), and serger trimmed to individual lengths. Once you have all your windowpanes and lips, you're ready to move on.

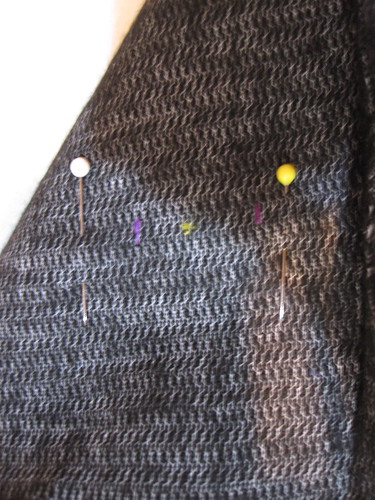
Mark Buttonhole on Wrong Side Now it's time to mark the buttonholes. I think technically one is supposed to do the bound buttonholes while the front is still a separate piece. I never use the marked position for buttons because isn't having custom-placed buttonholes in the exact right place for your body part of why we sew? I constructed the shell of my coat so I could mark the button position and then did the bound buttonholes.

I marked the buttonhole position on the wrong side with chalk, but unfortunately with a lot of handling the chalk rubbed off, so I did tailor's tacks to supplement. Although every bound buttonhole and welt pocket tutorial in existence urges you to mark the center line (the opening) of your buttonhole *and* the two legs, I don't bother. I just mark the two ends of the buttonhole and use the edge of the presser foot as the guide for the width of the space between the two legs.

The reason I mark on the back is so that I only have to mark once. After the markings are completed, just pin your windowpane squares to right side. They don't have to be perfectly centered over your marked buttonhole position, and therefore it doesn't matter that you can't see them while sewing.

Finished Windows Now you sew all the legs of the windowpanes. Using my tailor's tacks as a guide for length, I would sew one leg, then position the presser foot so that the edge was slightly past the first length (I wanted wide windows so my lips would really show) and sew the other leg.

Once the legs are completed, clip into the center and slit through the center to about 1/4 of the way to each end, then clip a Y to the corners. I really need to treat myself to a pair of nice embroidery scissors because my rinky dink thread snips are not adequate for this task, and shears are way too unwieldy and cumbersome.

Turn the windowpanes to the inside. They look like flowers! Until you press them. Then you have a nice set of windows, as seen at left.

At this point I was feeling cocky. All the preceding steps took little more time than making regular buttonholes would have, and were not at all difficult or fussy. Ah, hubris.

Hand Basted Lips Then came the lips. Hooboy, the lips. It seemed easy. Just pin them into the windows and sew to the cut out triangles and edges of the windowpanes. I don't know if it was a function of the nap of my lip fabric or if this is what is hard about bound buttonholes, but after many, many, MANY failed attempts I ascertained that the only way to avoid flying a scuba flag of 100% diagonal lips (I mean, truly, wouldn't chaos theory predict that at least ONE of them would accidentally be straight?) was to hand baste the lips to the little triangle and the side flaps. Pinning was a joke. Hand basting the lips to the windowpane square very near the opening but not actually along the stitching line made no difference whatsoever in the scuba situation, it had to be along the final stitching line. And even then they shifted during sewing.

The time efficiency I had just been crowing to myself about flushed itself down the toilet and into a black hole and installing the lips in my easy, breezy windows took a good five hours.

Although it makes logical sense in terms of construction order, I think the psychological sense of making bound buttonholes in the middle of construction rather than at the end is even greater. If you knew that a mere 7 hours of buttonhole work were all that stood between you and a finished coat, I don't think anyone would ever make bound buttonholes.

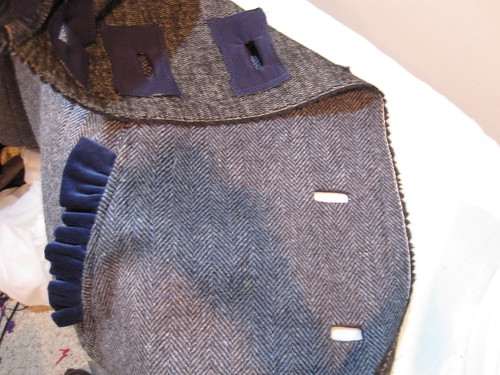
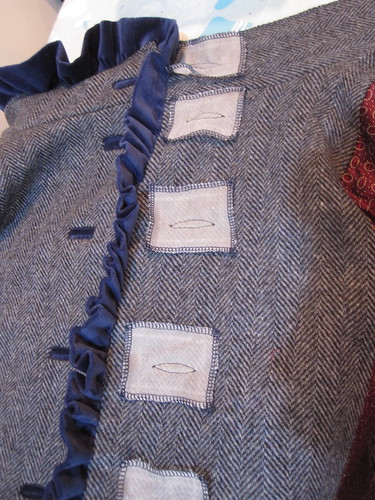
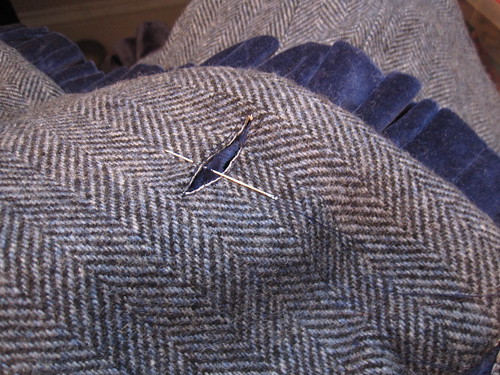
Spanish Snap Buttonholes for Facing But of course, you're not actually done. There is still the facing to deal with. My original plan had been to make windows as I had for the front, but of course without their own lips. But then I remembered a tutorial in Spanish Snap Buttonholes that Kay the Sewing Lawyer posted a while back. It sounded like a much better plan to make the windows all in one as an oval rather than messing with the Y cut and little triangle nonsense.

On this side I did use silk organza, figuring a little bit of white showing on the facing wouldn't bother me. I didn't actually look back at Kay's tutorial before starting so I didn't put my windowpanes on the bias.

The hard part here was that the coat was almost fully constructed. I knew the only way I would get the outer and facing buttonholes to line up was if I put in the facing buttonholes after the facing was sewn to the front. Especially with my thick velveteen ruffle between, there was no way to merely baste the facing on (broke 3 needles as it was!), mark the buttonholes, take it apart, and then sew it again in the exact same place. Absolutely no chance of that happening. So the hardest part here was maneuvering a giant lined coat under the sewing machine to sew the football-shaped buttonholes. I was actually panting by the end of it, and felt like I'd gone 3 rounds in a wrestling match.

Hand Stitch Facing Buttonhole to Outer Buttonhole The last step was to secure the facing buttonholes to the outer buttonholes, to make sure they'd stay lined up and to keep the button from getting lost in that void. Here, the thick velveteen of my lips was an advantage because I was able to whipstitch by hand, catching only the inner layer of the lip (remember, the fabric is folded on itself) and the edge of the Spanish snap buttonholes.

I ended up making 9 of these (in addition to my sample), as I put six buttons on the body of the coat, started with 2 on the collar but realized it just wasn't going to work (not enough length on the collar to place them properly), re-cut the collar and did another one. None of them are perfect, but they're all passable. And I realized to my chagrin that they hardly show at all when the coat is buttoned! I am a little concerned that the nap will wear off from the frequent friction of buttoning and unbuttoning, but as long as the fabric doesn't give I will survive.

All photos of this process are here.
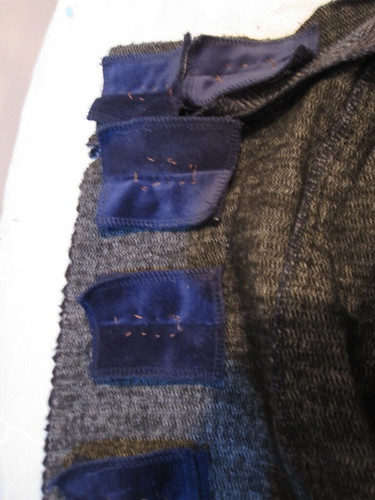
I don't think bound buttonholes will be making a frequent appearance in my sewing, but I'm glad that I've tried them. Now I can coast for the rest of the year, since I've already done something new!