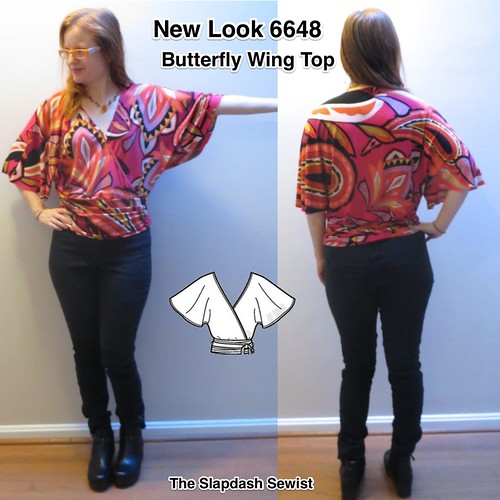
New Look 6648 has been a perennial favorite at PR, but for some reason very few people have made this butterfly wing view, perhaps because it is an insane fabric hog.
This was one of my quickie makes before my trip to Italy in October. We were going to have cool but not cold and probably wet weather, so I was looking for transitional tops. This is probably too much fabric to wear in the heat of summer, but for early fall it was perfect. I also wanted tops that could go with leggings. Though this isn't long (I seriously cannot find any long tops that will work for my wide-hipped, belly-pooched self), the volume up top is a nice contrast to a fitted bottom.
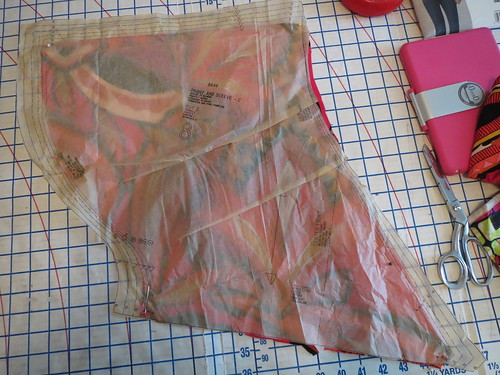
The top is very simple and only required a little bit of alteration. As usual, I shortened the crossover for a small bust adjustment.
This is still quite drapey and I ended up tacking the two sides together at center front. This is always a defeat for me--sewing should mean never having to tack a wrap style into place! But at least I didn't have to resort to the safety pin of shame.
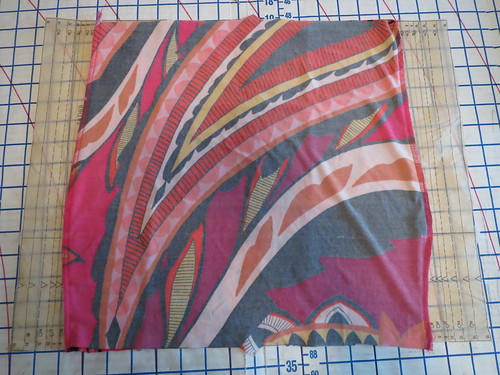
The lower band is drafted as a straight rectangle. I altered it to have a tiny bit of waist shaping--you can see the bulge about 2/3 of the way down. The bulge is the bottom of the band; only the top layer is gathered so the bulge is not in the center. The top and bottom edges are the waist and are a little bit smaller than the bulge fold/hip.
The instructions have you gather the side edges of the band, then stitch. I find it harder to do that than to sew the seam, then put in the gathering stitches on either side of it.

Once I pulled on the threads to gather the upper ruched band to the fit the under non-ruched band, I used my walking foot to zigzag the gathers in place.
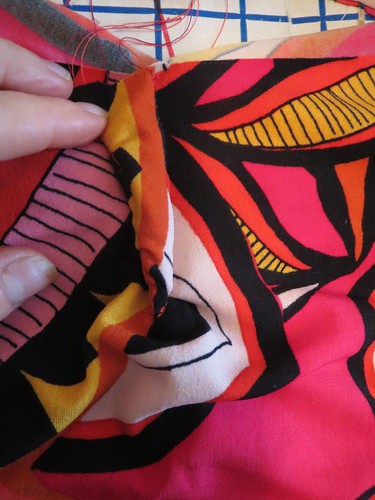
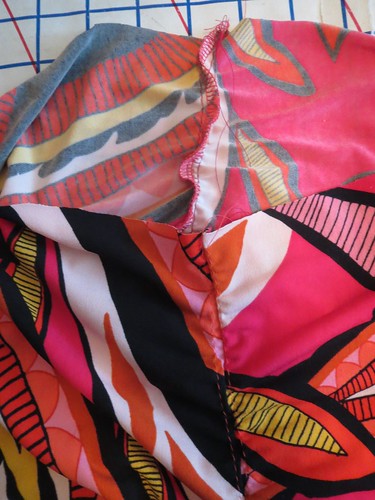
The small amount of waist shaping I did at the cutting/sewing stage on the band was definitely not enough to deal with my swayback. Before attaching the band to the bodice I took a large dart at the upper edge of the band at center back. Next time I will just cut it with a CB seam pieces and integrate the dart into the seam.

I gathered the outer layer of the band before stitching the dart, so there is ruching in the dart. It made for a very thick dart, which I cut open and trimmed before attaching the bodice to reduce the bulk. Taking out this width in the band required slightly gathering the bodice before attaching it to the band, but this is in line with the style.
I finished the neckline by serging clear elastic to the inside at the raw edge, then turning under and twin needling.

I wore this for our beautiful day of psuedo-hiking in Bergamo, Italy (we were mostly on a road, so it wasn't much like hiking). Admittedly, it looks a little weird with my athletic skants here.

However, it does look good with skinny jeans, which was the whole point!

The lighting in my new photo spot in the house is still quite challenging, but I'm sort of getting there.
With this closeup you can notice that the crossover is tacked if you think about it, but I don't think it's *too* obvious.
All in all, this fabric hog is worth the fabric in my opinion. It's a fun look that hides a multitude of pasta!
All photos are here and the pattern review is here.

.jpg)
.jpg)


.jpg)


