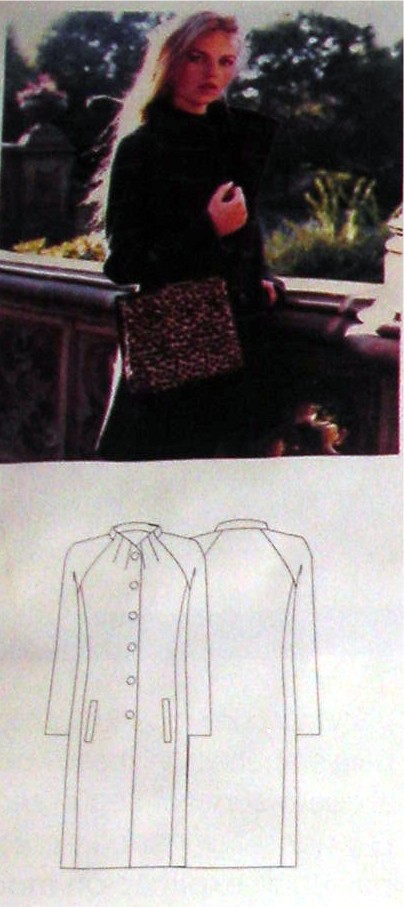
 Patrones in general has great editorial photos--they are model-y and artistic but still actually show the clothes. BWOF take note! This coat was an exception, unfortunately. Admittedly, my photo-of-a-photo at left is dark and shows no details, but it is really not much better than the original. They even chose this shot for the cover, which is a puzzling choice as it (1) shows little of the coat, and (2) what they show isn't interesting. There are about 25 other projects that would have made a more striking cover image, in my opinion. So I paid no attention to it in reading through the magazine until I got to the line drawing. Loved the line drawing with that darted funnel neck, princess shape, and slim line.
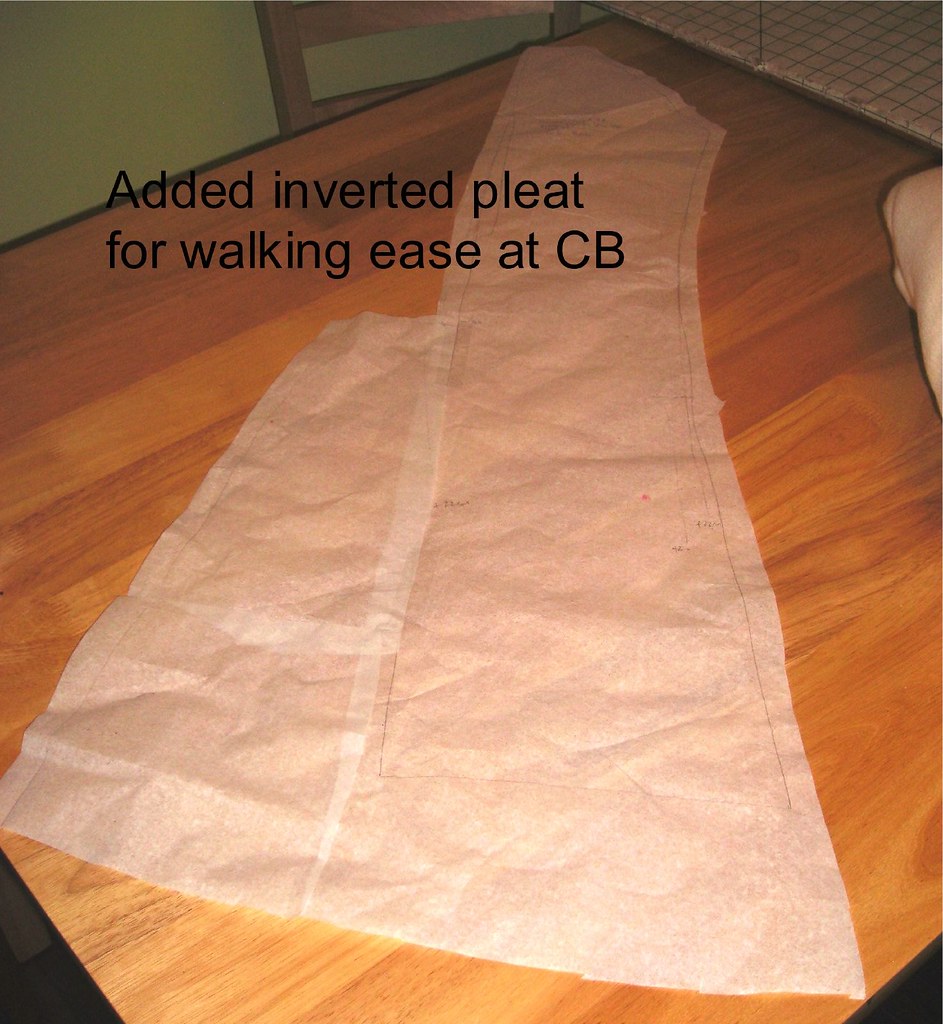
Actually, I wasn't quite sold on the slim line--volume is more my instinct--but I wanted to make a coat to last me many years. DC has a much longer winter than I care for but a limited very cold season (which I define as 30s or below) so I'll only wear it for a month or two each year. While empire lines and volume are all the rage right now, a slim-cut coat never goes out of style. However, I was concerned about walking ease. I didn't want to have a back slit because that would let wind in, so I decided on an inverted pleat at the center back. This meant adding a CB seam and re-drafting the pattern piece a bit, as shown at right.
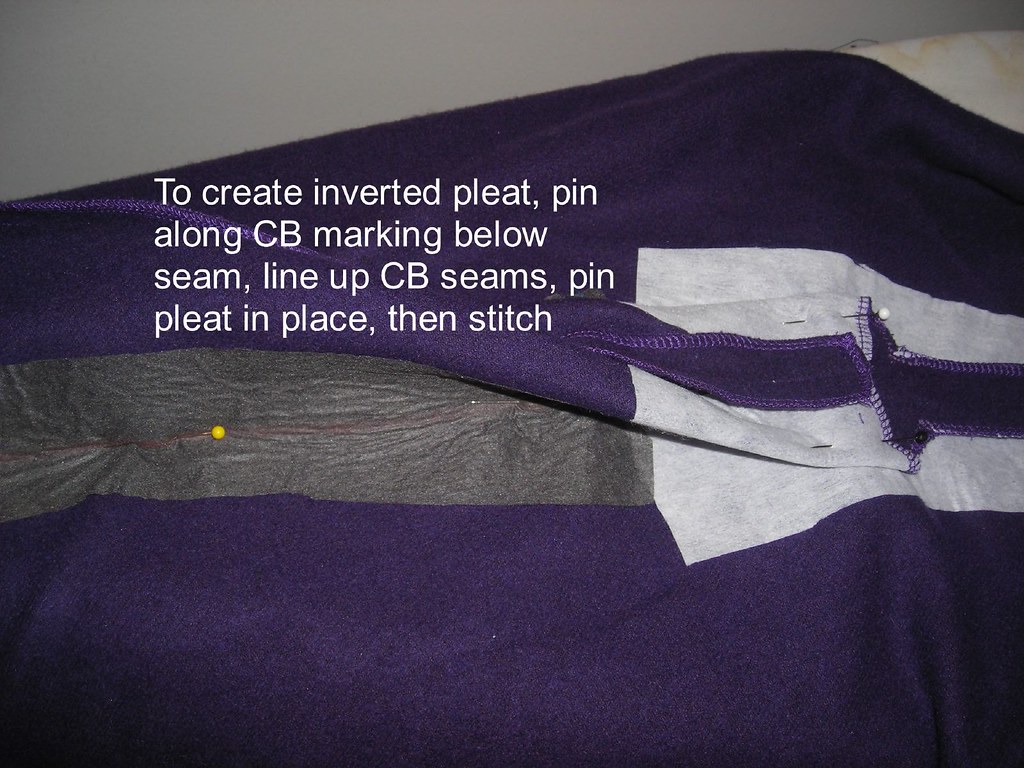 I wanted a nice looking inverted pleat in the back. I interfaced the pleat itself with heavy interfacing, and then used lighter-weight interfacing all the way down the fold line, as seen here. Then I marked down the fold line; I should have marked the fold line even with the seam line, rather than with the edge of the pleat extension. To sew it up, first sew the CB seam from neck and then down 1 inch past the pleat extension, and then the CB seam of the pleat extension. Pin your marked fold line together and center your CB seams, so that the pleat is flattened.
  To keep the pleat in place, topstitch in a triangle shape with the lower edge even with the bottom of the sewn pleat. To get the apex I measured 1 inch up from the bottom and drew chalk lines; I chose the 1 inch randomly, just based on aesthetics, not any kind of scientific reasoning. Then press and press and press that sucker in place. The pleat is holding up very well on the coat as I've been wearing it the past couple weeks. The folds have held their nice sharp edge.
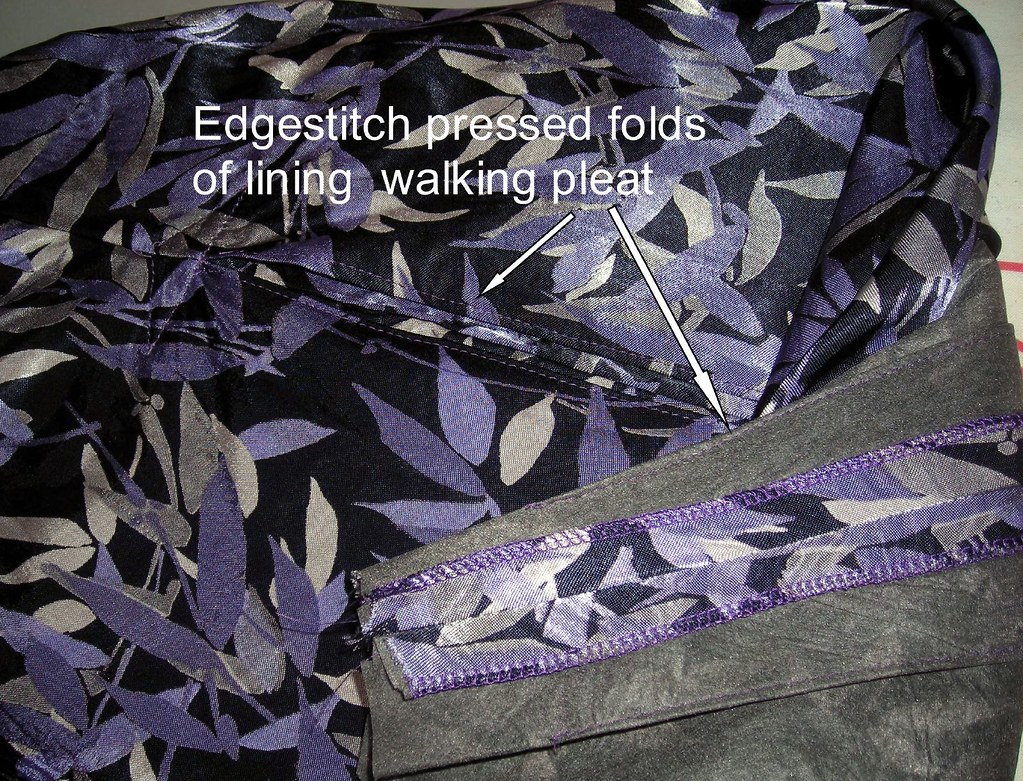 I repeated the process for the lining, with the added step of edge-stitching the folds, both the outside and the inside folds. I considered doing this for the body of the coat, but decided that the wool was too heavy and the edge-stitching would look clunky. On the other hand, my rayon lining was so slippery and unstable that it wouldn't hold a press very well even with the interfacing reinforcement.
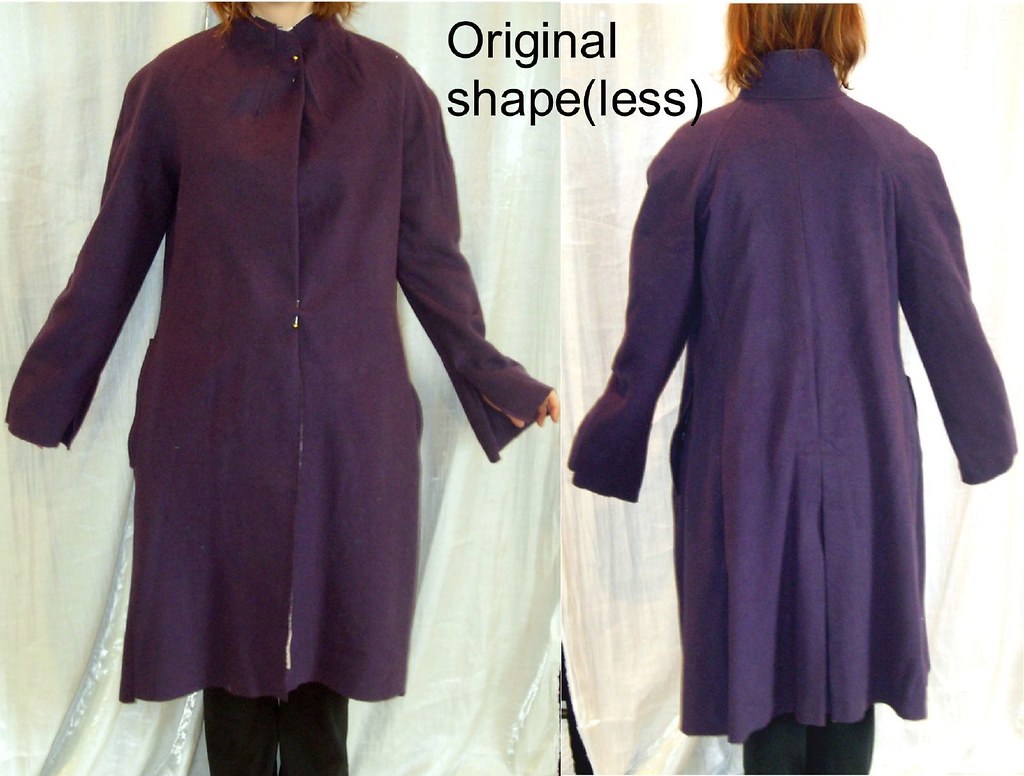 So I finished up the outer shell of the coat, and...ick. So incredibly blah. Patrones has limited sizes; this one comes in 40-44-48. I am a 34 on top. I have become pretty proficient in sizing down patterns as BWOF seldom publishes tops in a 34 (36 is usually the smallest size). I sized this coat down to a 36 to allow for plenty of ease for bulky clothing (not that I wear a lot of bulky clothing). So I will take part of the blame for not sizing down all the way to a 34, but really I think Patrones was a little misleading about the shape here. Or should I say the shapeless here. Not only that, but the pockets were too low to comfortably put my hands into and the inverted pleat started too low for my taste. Both of these are entirely my fault; I should have checked Patrones's pocket placement and I basically added the pleat extension in a random place.
Let's recall that I was doing this project in four days and I finished the outer shell on day 3. I really didn't know what to do. The purpose of the coat was to be warm. So can I live with a warm but unflattering coat? No. I really can't. I couldn't fall asleep until I'd figured out what to do. My choices were to take in the seams, which wouldn't help the pocket and pleat placement issues, or to cut it off somewhere between the bust and the waist and raise up the lower half. I decided on the latter.

I had intentionally not chosen a coat with an empire line so I didn't want to cut too high, but I had to cut it up high enough above the pockets that I could still lose some length, so I measured up one inch from the pockets, marked the line all around, took a deep breath, and chopped. Then I cut three inches off the (now) bodice. Next step was to take in the front and back princess seams, and add darts in the front (as the princess seams are very far to the side). Then I pinned the skirt back onto the bodice and marked the depth and location (back princess seams and front darts) of the new pleats. I fretted about the pleats a bit because my large inverted walking pleat in the back was about three inches down the skirt. I didn't want to add the pleats directly at the waist seam because I thought it would look weird to have pleats in two different places. Luckily, Cidell was visiting me and suggested that I sew the pleats down to the length of the large inverted pleat. A simple and perfect solution! I interfaced the pleats, though not all the way down to the hem as the were too shallow to press that far, sewed down three inches, and topstitched with triangles as I had the large inverted pleat. Stitched the pleats three inches down turned out really well, and fortuitously my pleats ended up being the same length as the darts I'd added on the front and the mirror images look quite nice. A stroke of luck!
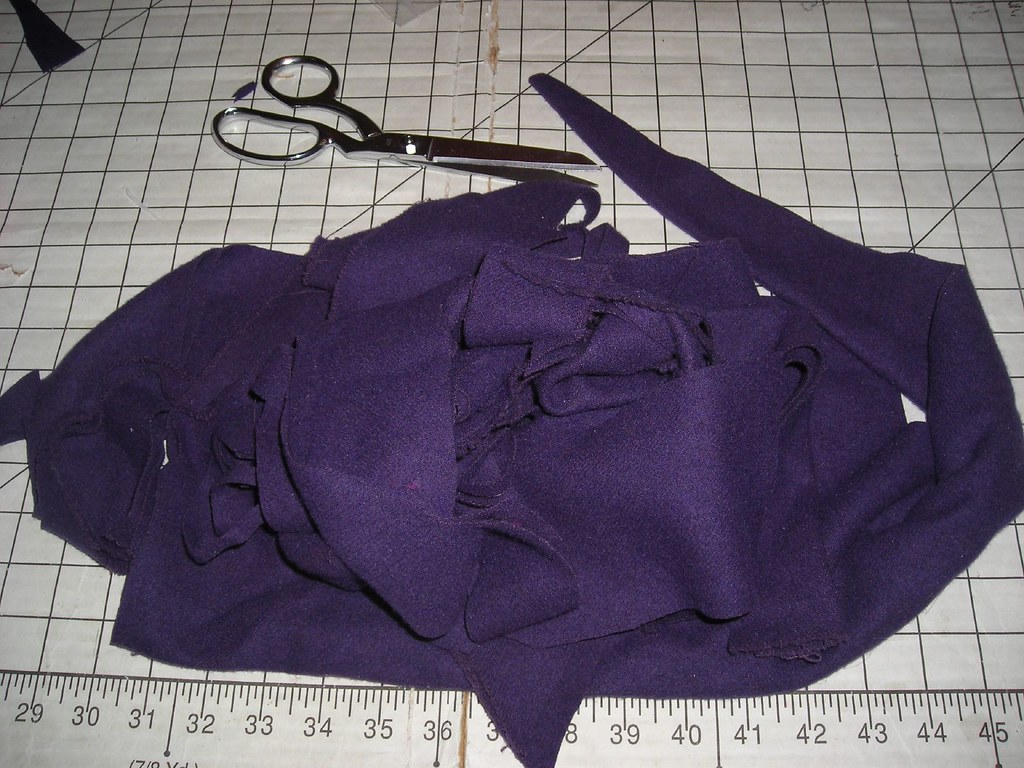 I got this from the wool remnants table at Jomar in Philly, so I was limited to however much they had, which was a little over two yards. When I went to lay out the pattern, I realized I did not have enough fabric. Argh!!!! I could have looked for another pattern, but I didn't see how I was going to fit any knee-length coat onto what I had and I really had my heart set on the Patrones pattern. I was able to fit all the coat body pieces on, but with absolutely nothing left for the facings, even if they were pieced (you can see my pitiful pile of scraps!).
So I thought about it. Went to my fabric stash. Looked through the amazing cache of wools I received in The Carol Collection. Considered the plaid I later used to make my mom's skirt (sneak peek) but the plaid is a pink-purple and my coat fabric was a blue-purple and they just didn't work. Wished I had some black wool. Decided on navy as my best bet. The combo has totally grown on me and now I think it looks much better than black would have--less expected and more interesting. Carol saves the day!
So I cut my facings out of the navy and tried to figure out how else I could tie it in. When I ended up shortening the coat to deal with its shapelessness, I decided to add the length back in as a hem extension, and to use the contrast as the sleeve extension as well (as I explained in the keeping warm post I wanted extra-long sleeves on this coat). I really love the little touch these contrast hems add. It makes the coat so much more interesting, but because the navy is a sober color it doesn't look garish or costumey.
Not only do the hems add an interesting touch, they also saved my button dilemma. Since I have a large stash of buttons from Fabric Mart I try to find something in stash rather than buy more. I really didn't have anything I liked for this coat; I have some gold buttons that would be great for a coat but I was not feeling gold with the purple. I was a little worried because my four day plan did not include time to go shop for buttons. Once I added the navy touches, I realized I had the perfect navy buttons in stash. Problem solved!
And that's how I made the coat pretty.
I promise I'm almost done prattling endlessly about this coat! Just one more post to come: the final analysis.
Previously:
-Keeping Warm
-Pockets
All photos are here.


.jpg)


.jpg)


3 comments:
A lovely coat! And finally someone who has the same problems with Patrones I have- everything comes out huge and shapeless! But you did a good job on making it slimmer. Have you already been to germany? If so, how was your trip? I know that you also have a traveling blog, but I couldn´t find a link.
hanna
Trena, I had to print this out so I can re-read everything you did. The coat looks great and the work you put into shows. I don't know if I would have continued. It probably would have ended up as another UFO. But that's one of my goals this year: to keep UFO's to a minimum. Meaning if I cut it out I have to sew it.
BTW-I sent you a package.
Phew, this was not a slapdash project by any means was it!? But all that work was worth the end result. I always thought Patrones sizes were totally different to BWOF - in my case a BWOF 38 corresponds to a Patrones 42 - but I am definitely no expert on patrones so I could be way wrong on that!
Post a Comment