I'm hoping if I hide the massive fabric infusion at the end of the post it will mitigate the damage.
Several months ago I checked out
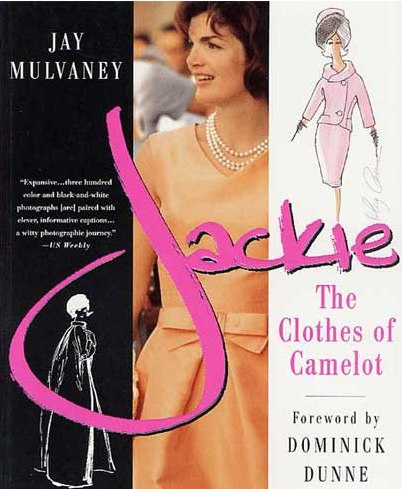
Jackie: The Clothes of Camelot by Jay Mulvaney from the library based on
Cindy of Colour by Numbers' recommendation. It is a great book! It is a bit of a hagiography, more Franklin Mint than trenchant political history, but that is exactly what I'm looking for in a book about the fashion of a public figure. I just want to read about what they wore, not their larger historical significance (for instance, the book skimmed right over the issues of infidelity and unhappiness in Jackie and Jack's marriage).
It is full of lovely pictures, mostly black and white but color when they are available. It's organized chronologically and by type of clothing (evening, daywear, casual sportswear). There is just the right balance of text and photos--adequate description and information on the designers and Jackie's personal taste without getting too much about the author or the story and not enough about the clothes. Although it is neither high literature nor high art, I think this is a superb piece of fashion history.
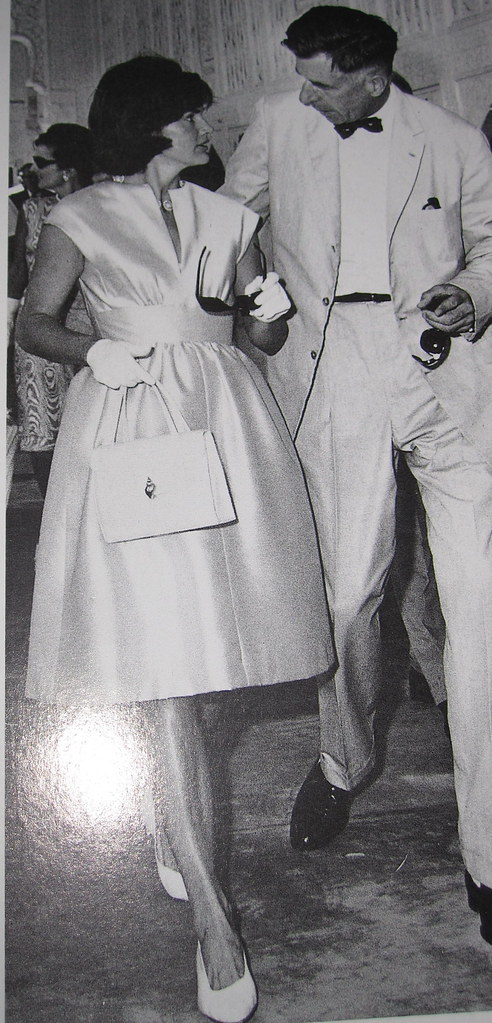

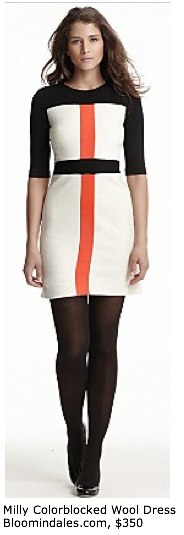
Love the day dress on the left; it's similar in style to the
Butterick 5209 retro reissue
I made last year. And check out the muscle definition in her legs--I thought they didn't believe in exercise back then and just stayed skinny by smoking and not eating? The Grecian evening gown is just gorgeous.

The girls on
Wardrobe Refashion are in love with
Alabama Stitch Book by Natalie Chanin. Amazingly, the DCPL had a copy so I checked it out.
I'm glad I borrowed it from the library rather than purchasing, because the Hipster Cowboy aesthetic is sooooo not my own. I deliberately put the words in order with Hipster first and Cowboy second; although Chanin has returned home to Alabama the look is pure Brooklyn (where she lived while developing her style).
The idea is to use old t-shirts as the raw material for all the projects in the book, which is kind of cool (but, again, not my thing). The first section contains useful and well-written information on sewing basics; all the sewing is done by hand so there's nothing on using a machine. After the preliminaries come the projects. There are a good number of projects and the book includes patterns for a skirt (loose fitting, A line) and corset-style t-shirt refashion. I found it a little frustrating on behalf of beginners that she doesn't make clear the corset thingy is corset
style, not an actual corset; it has no structure and being made of a t-shirt won't do anything corset-y or foundation-y. But that's a small quibble.
The book also includes extensive information on applique, reverse applique, beading, and stenciling. I admire the look of the reverse applique projects, but cannot picture incorporating it into my garments. Even though my style is Retro Fantasy, and you'd think the "fantasy" element would include room for lots of embellishment, I am very wary of embellishment. It doesn't come naturally to me and can so easily cross the line into
Crafty Crazy, Dated, Dowdy, and just plain Hideous so I usually just leave it alone.
I like the tactile nature of the book, if that's the proper way to describe it. It includes
a cardboard stencil (in addition to some additional stencil line art printed on the pages that you are to enlarge on a copy machine and create your own stencil from); two paper patterns at the end; and a postcard to bead.

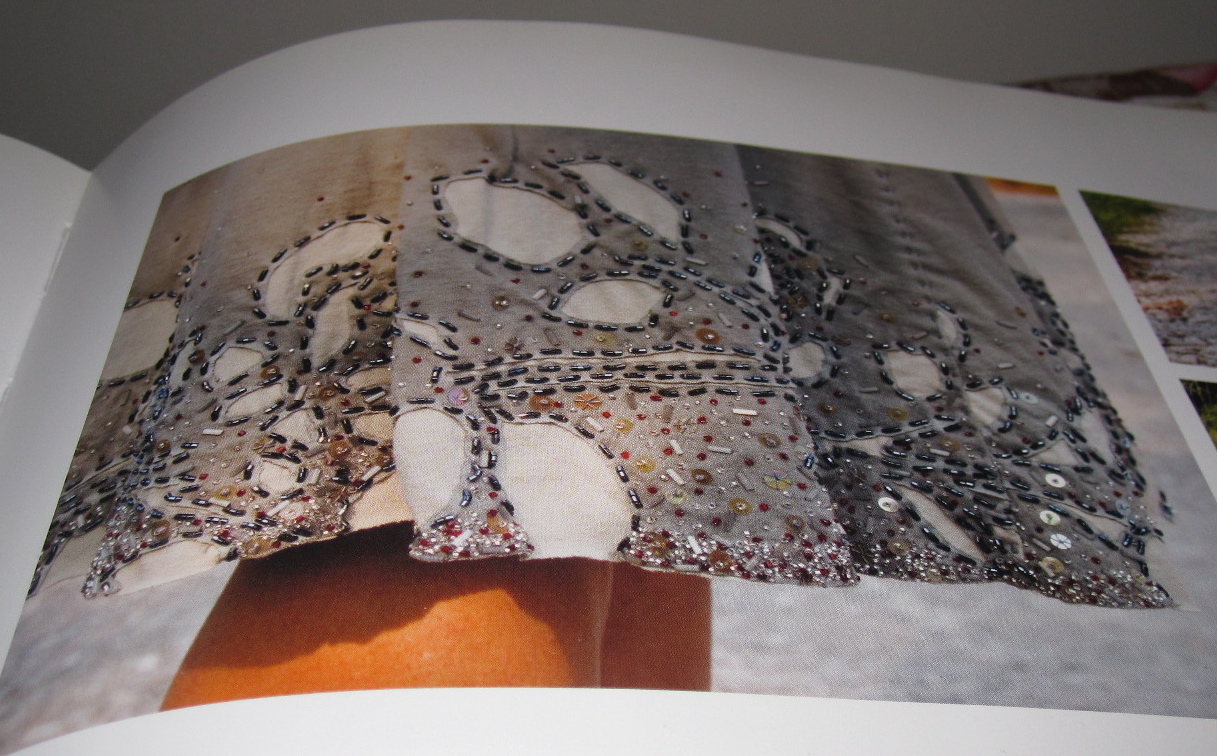
Although the clothes didn't do much for me, I did love the chrysanthemum fabric flower project. As with the rest of the book, I don't think I'd make these flowers; I have pretty much zero interest in non-functional decorative objects. But I will keep the idea in the back of my mind should I ever need to create decorations for a shower or party for someone else. As mentioned, I found the beading and reverse applique projects inspiring. The skirt on the right definitely does not look Dated, Dowdy, or Hideous and if it's Crafty Crazy it's in a sweet way, but I just don't know that I could ever get there. Asymmetry is ridiculously hard for me, and looking as though I've casually scattered an assortment of beads on a skirt would in truth be an arduous, laborious mental process (leaving aside the physical work of it!).
I only snapped a few photos from each book so as not to go beyond "fair use" and violate the authors' copyrights, but all images from both books are
here ====================
A friend wanted to see
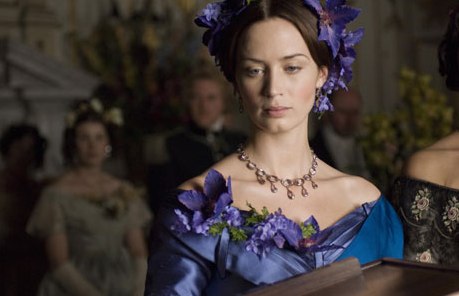
The Young Victoria for her birthday and I was all over that! The costumes did not disappoint; they were sumptuous and breathtaking. It was annoying that there was so much black, but I can't blame the filmmakers for the mourning rituals of the time period. The menswear was just as lovely as the women's clothing. Tall, skinny plaid pants are sexy! I didn't know anything about Queen Victoria other than having a vague idea of her as a prude (based on the colloquial use of the adjective "Victorian"). It was well done and extremely interesting. I highly recommend giving this movie a view; I might even say to see it in the theatre so the costumes have maximum effect.
====================

And now we come to the confessional portion of this post. Based on a seriously enabling
post on the PR message board, I ordered a lot of the Vera Wang closeout fabric on
fabric.com. It was $1.95 yard, and with free shipping and discount codes it was really too good to pass up! Well, that is what I tell myself. In truth, There Will Always Be More Fabric.
Clockwise from left in the photo above, we'll start with the silk/rayon satin. I couldn't get a photo that looks anything like the actual colors but they are beautiful. The fabric is a heavy satin with a beautiful soft finish. Unfortunately, I have already ruined the purple. :( People had posted that the finish of the fabric "crackled" in the wash. I started with the emerald and put it as flat as I could into a bathtub with a few inches of warm water and some mild shampoo and mushed it around, not crinkling it up to the best of my ability. Then I hung it to dry. In the morning it was softer but the smell of the sizing washing out in the tub had been heinous. It seemed very toxic. So I threw it in the wash. It survived with only a few stretch marks. Then I got cocky with the purple. I filled the washer and let the fabric soak for 20 minutes, thinking it would dissolve the sizing and the surface would be ok. I was wrong. It looks like it is covered with dirty chalk marks. I will try over-dying and see what happens. Otherwise I have a lot of pajamas in my future. Actually, I bought these fabrics thinking to use them for linings and it will still be great for lining coats--I love the heavier weight and the satin slide is perfect to pull over clothes. I've not touched the olive yet. It's my favorite color and I don't want to ruin the surface of it.
I ordered the rayon satin the next photo for linings as well, and it is really nice! I didn't happen to have any light colored lining so I tossed it in the cart and am glad I did. Next to that is fuschia silk chiffon. Yes, I know I
swore off silk chiffon but the color! It is gorgeous! The fabric! It is soft! I recently made the high-necked version of
McCall 5708 in silk/cotton and love it. I think this fabric would be sensational in that pattern, with an underlined body and sheer sleeves.
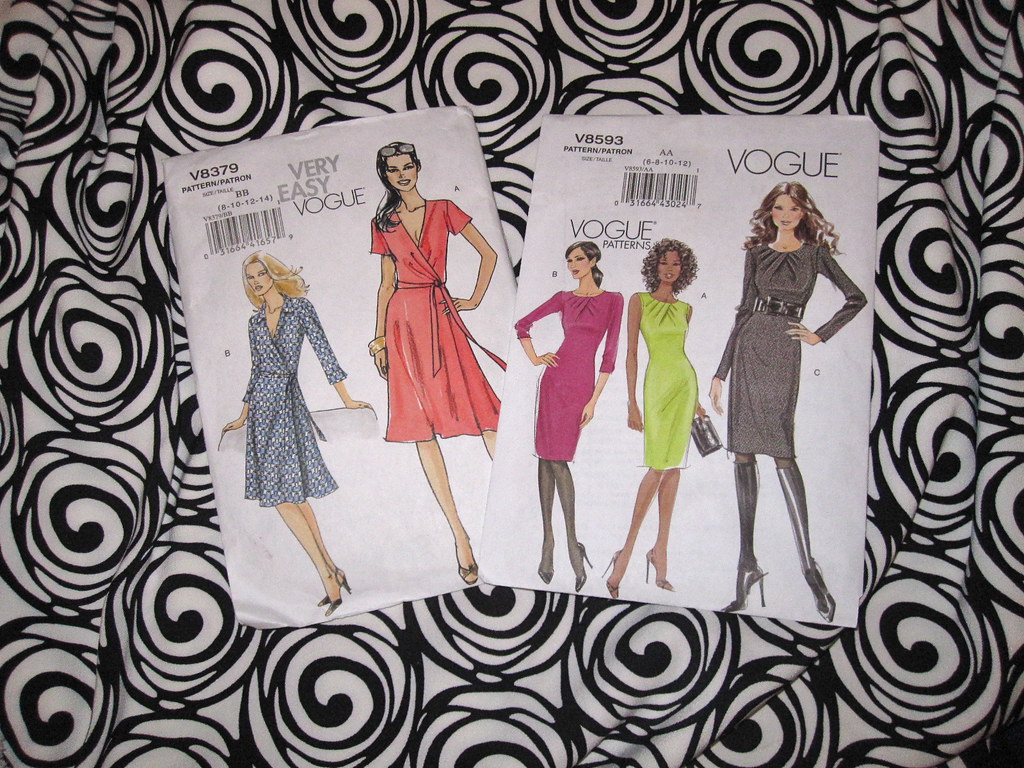
Continuing around the clock we have a polyester/spandex print. I expected this to be a jersey, probably because I didn't read closely enough, but it's more like a cross between a stretch and a woven. I have two ideas for patterns, the current version of the classic DVF wrap dress, which I've made before,
Vogue 8379 or
Vogue 8593 with the interesting pleated neckline. I ordered four yards of this fabric and by laying out both patterns at once and with some judicious cutting I might be able to get both dresses out of it, the wrap dress with 3/4 sleeves, collar, and cuffs and the pleat neck dress sleeveless. Also, can I give a big annoyed raspberry in the direction of Butterick/McCall/Vogue for their website redesign that has broken three years worth of links in my blog archives and creates web addresses that are no longer intuitive like Simplicity did? What was wrong with a web address like
"http://www.mccallpattern.com/item/M6723.htm"
for McCall 6723? Why do we have to add a bunch more crap to it?

Now we come to the wools. I got fuschia flannel, off-white boucle, lightweight wool/silk/cotton suiting, stretch black suiting, and brick-colored melton.
I was hoping for more of a hot pink in the fuschia flannel and was initially disappointed in this purple fabric, but it is definitely growing on me. I will start with a skirt and see where we go from there.
The boucle is very lightweight and has a square texture almost like a thermal waffle weave. I have been craving a winter-white coat for several years now but not done it because it will get so dirty so fast. Although the price of fabric for a coat pales in comparison to the amount of work, maybe I will just bite the bullet and do it. I will likely felt the fabric first, though. Right now it is drapey enough for a dress and won't hold structure. Will test that out.
The wool/silk/cotton was a surprise; I bought it for interlining (the cotton content isn't ideal for interlining, but wool and silk are both so warm I figured it would be ok). But the sheen and hand on this fabric are gorgeous. The problem is, I cannot wear this color. It is the same color as me. I would look naked in it, and not in a good way. It would make a beautiful dress, though; I'm thinking particularly of the cowl-drape version of
Vogue 8413. Maybe I will experiment with dyeing. I will likely lose the sheen and the herringbone pattern, but I really can't wear that color. Really.
Next is the stretch wool "suiting." This is super lightweight. I would never consider it for pants, for instance, and I really don't see how it would work as a jacket. I ordered three yards of it thinking that you always need a black skirt in the current shape and so I'd just stock up and be done with it for the next 6 years or so (assuming a skirt lasts two seasons). But I don't know that this fabric will work as a structured pencil skirt, for instance, which is what I'm looking for now. It is nice fabric and has a great stretch, but it's not what I hoped for.

Last is the brick-colored melton. I ordered it hoping that it would coordinate with my favorite
Carol Collection plaid. I love the idea of making the plaid into the
Burda 01-2009-114 jacket with the bias strips around the edges and then a skirt in the rust color. Although really, who am I kidding? Although I make the occasional coat, I neither make nor wear jackets. Ever. Alas, the brick does not match the rust in the plaid; seeing them together I realize I would need something more on the burgundy spectrum than the rust spectrum to match the plaid.
However, the brick fabric is really nice and after your comments on orange I was thinking I should have ordered enough for a coat! I got 2 yards, which wouldn't get me much of anywhere. Also, the color edges toward 70s orange (the color is closer to in the wool composite picture above than the photo with the plaid); it's not a pure, bright orange. I will think of what to do with it. I could still make a skirt, but then it occurred to me that I would really have nothing to wear with it. I wear cools, jewel tones, and blacks, and pretty much never wear browns or warms. I'd hate to have a one-trick pony skirt with only one top made especially to match it, creating an outfit that in truth I would likely never wear. Although I do need to justify the purchase of some brown boots. But the fabric is so nice that I'm not ready to let go of it.
So, um, 46 yards. It took me three days to carry all 24 pounds of fabric home from work (my commute is about a mile and a half on foot, and uphill of course). That's almost half of what I sew
in a year. Bad.
To atone for this in some manner, I did some stash cleaning last night and culled out an approximately equal weight of fabric (didn't measure the yardage). So Laura, is
DC Threads still looking for fabric donations?
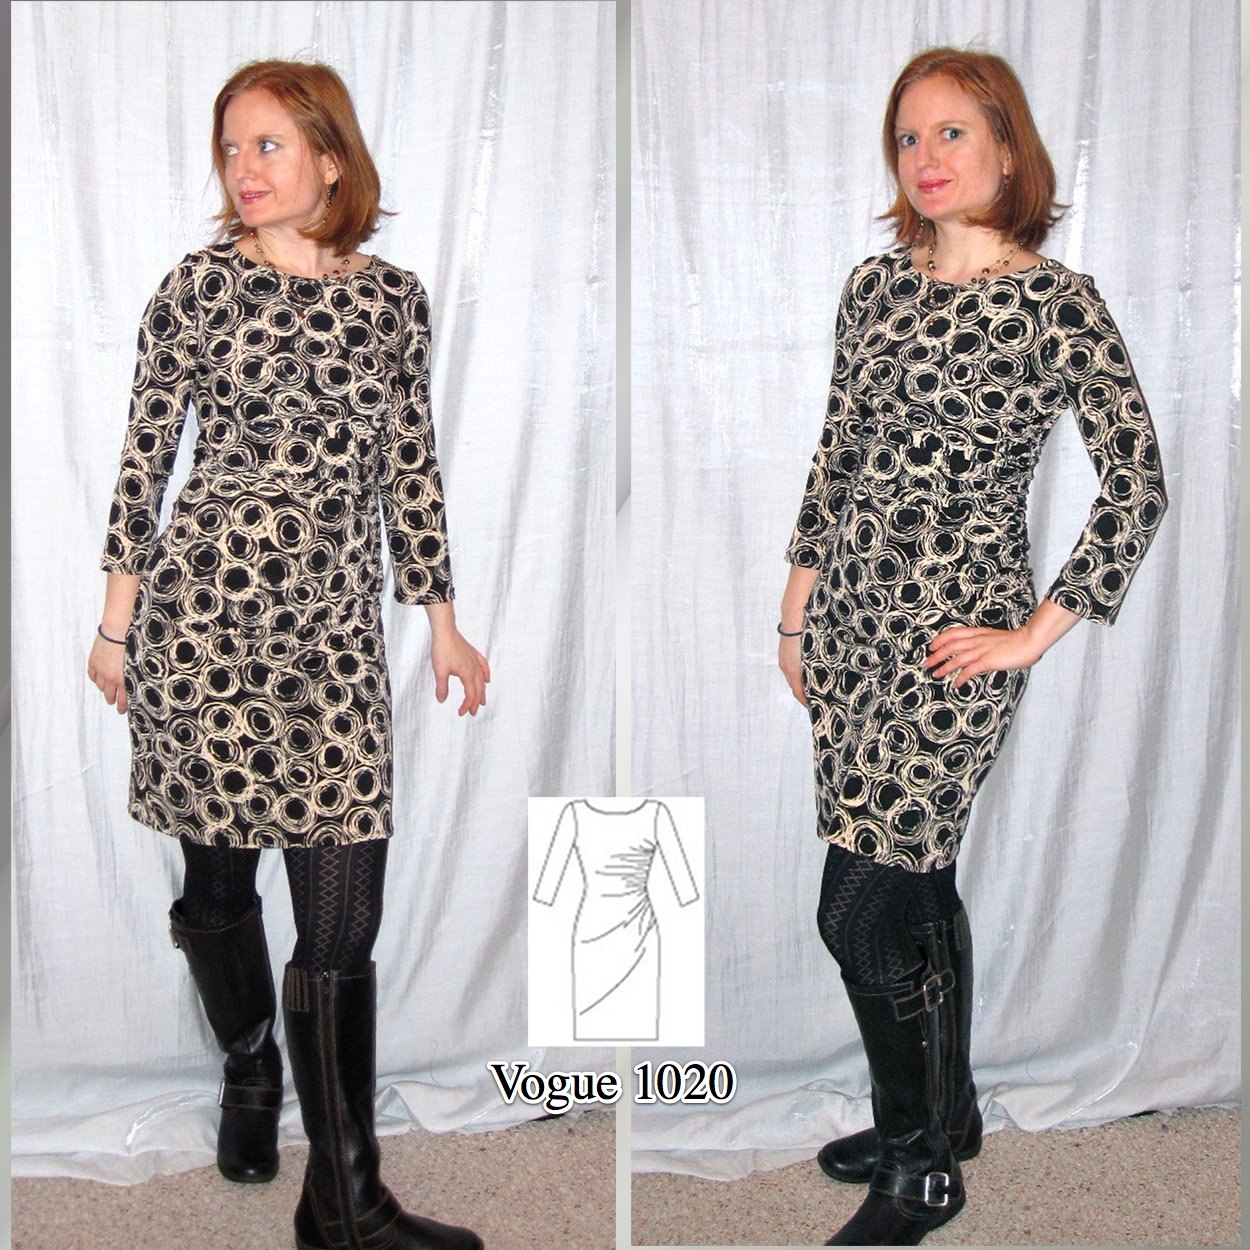
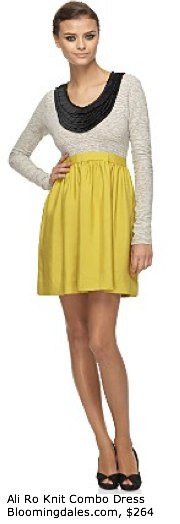
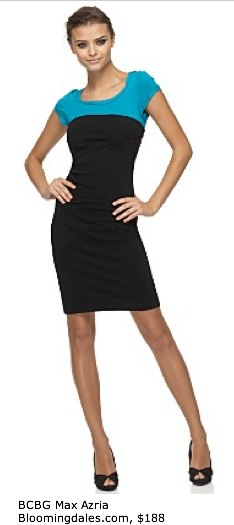
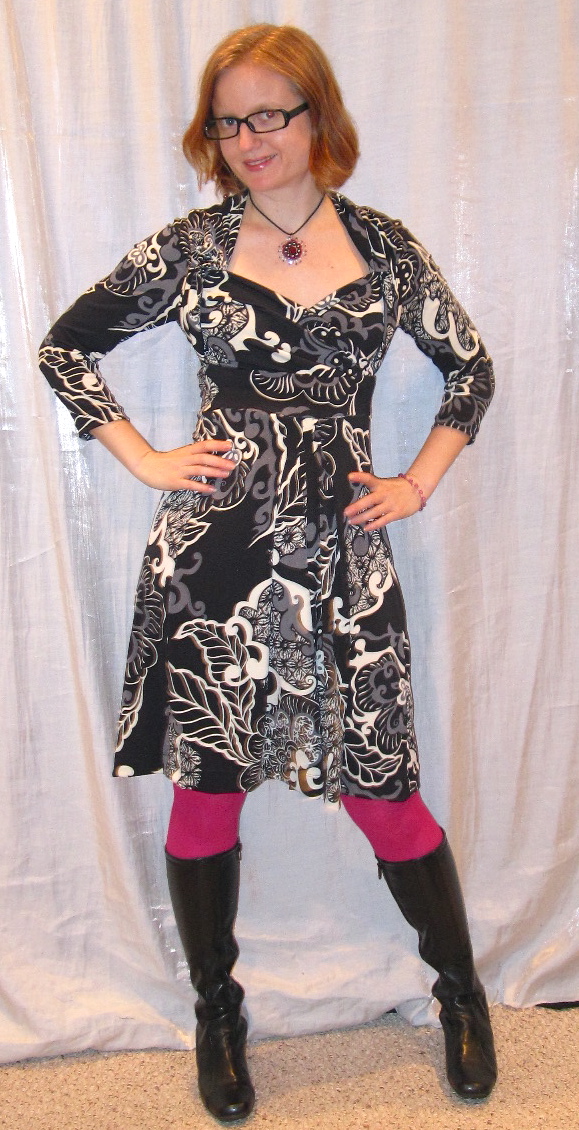
 I was drawn to it for the dress--you all know what a sucker I am for a knit dress. However, I also really dig the skirt and the jacket, if I ever had the urge to make a knit jacket (no urge so far). I think the waistband of the skirt could be a little ick, because it's designed with that wide yoke and then you put some elastic at the top. I haven't made it yet, but I fear the design would create an unattractive dowdy pouchy elastic waist look. If you have a firm stretch knit with good recovery you really don't need elastic at the top, or you can use elastic for security but don't need any ease at the waist (the line drawing shows some ease gathered in with elastic. The pants hold no appeal to me. This has been well-reviewed on PR.
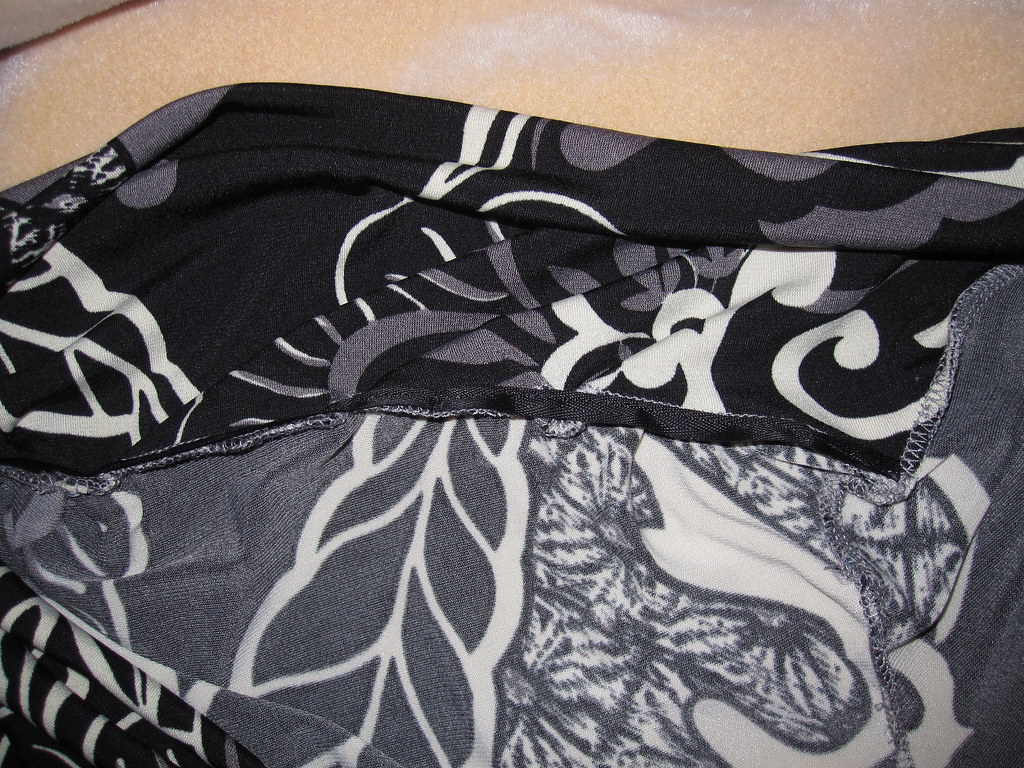
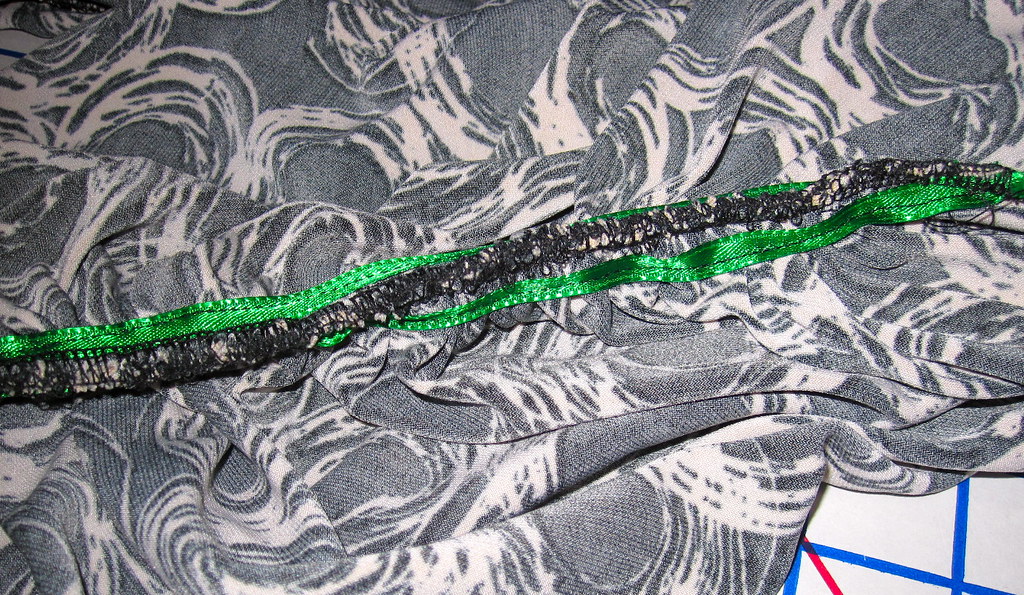 I also ignored the instructions for gathering the side, rather to my peril. Well, it's not much that I ignored them that I didn't read them until after I was done (it's a t-shirt dress, what's to know?). I gathered the front and back sides separately and stitched them to ribbon stays cut to the length the pattern instructs you to gather, then I sewed the side seams. In the past on projects calling for tight gathers this has always worked better than sewing the side seam then gathering it up as one. However, either Vogue's finished measurement for the gathers is off or I cut the stays too short, because the hem of the gathered side is about three inches higher than the hem of the ungathered side, so I have to hike up the ungathered side to wear it.
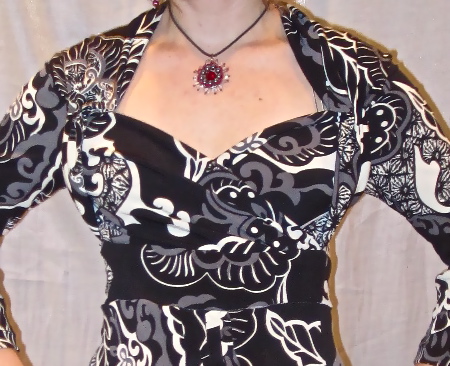
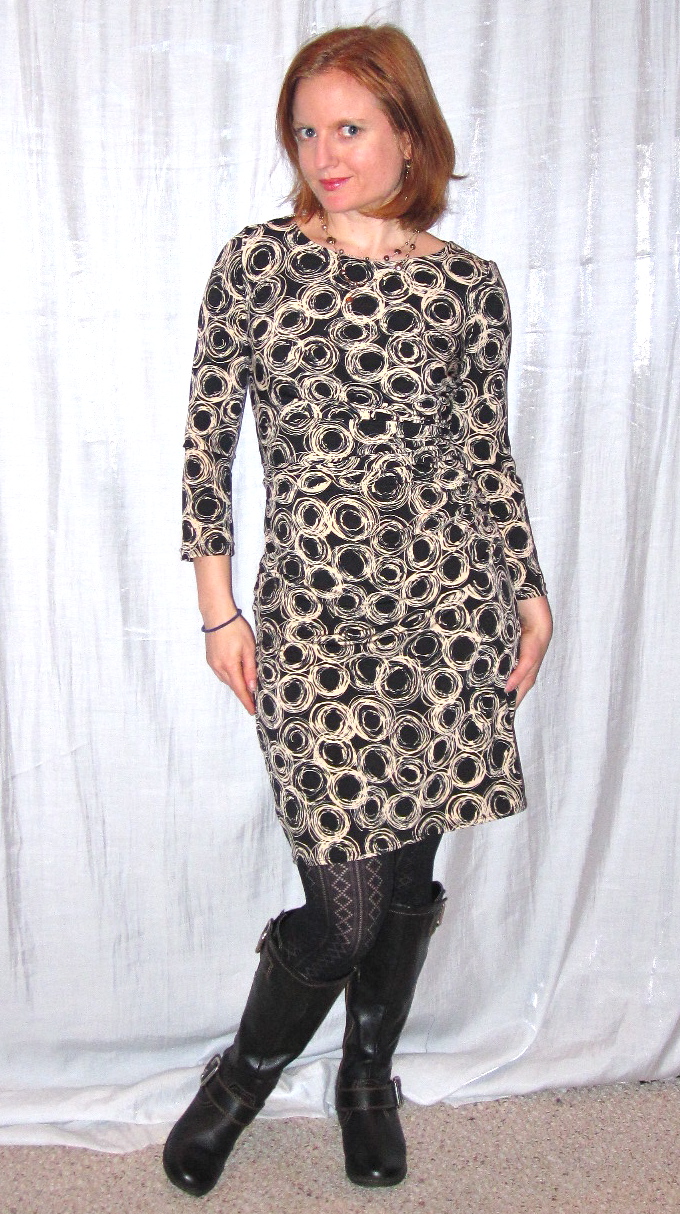 Anyway, yanking up the hem of the ungathered side allows the fabric to ruche (nicer than saying "bunch") over my belly so I am a little less uncomfortable. But I am pretty uncomfortable anyway. You all know how I feel about my belly and in this dress there is no hiding it. I made it back in November and wore it for the first time the past weekend. I was at the flattest-belly point in my cycle so figured it was now or never. It was appreciated, but I still felt self-conscious. In the photo at left I am trying to be sultry.


.jpg)
.jpg)


.jpg)


