
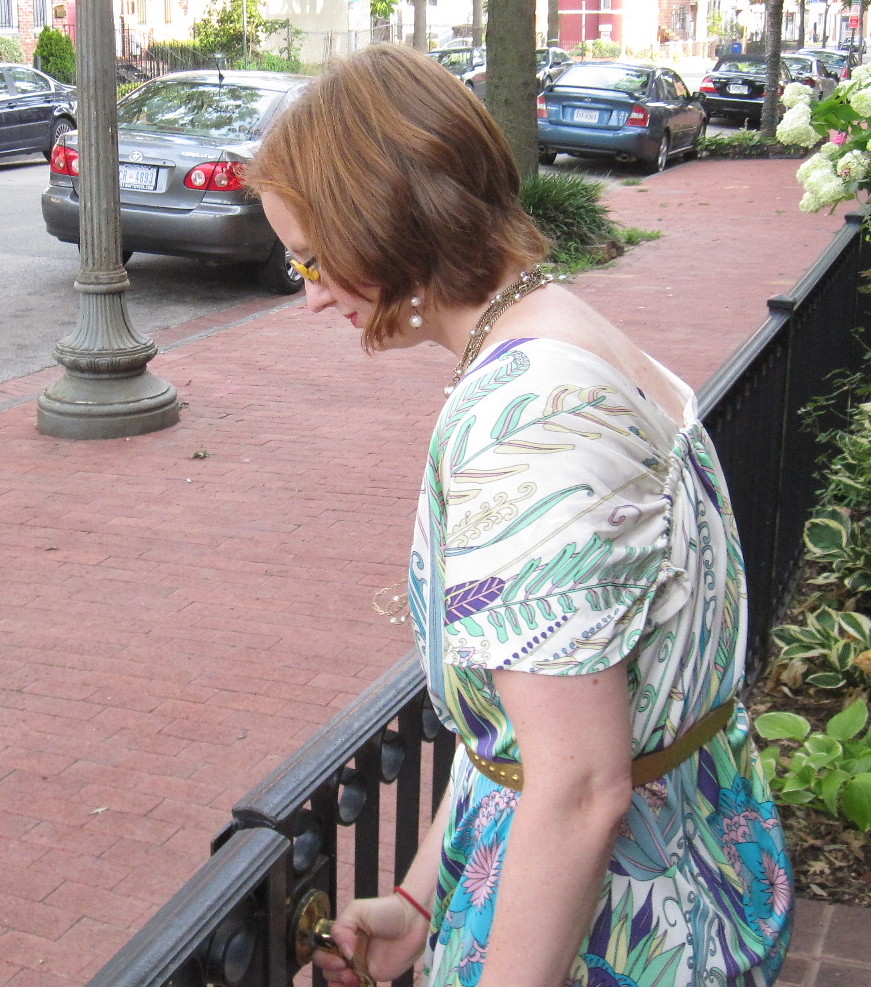
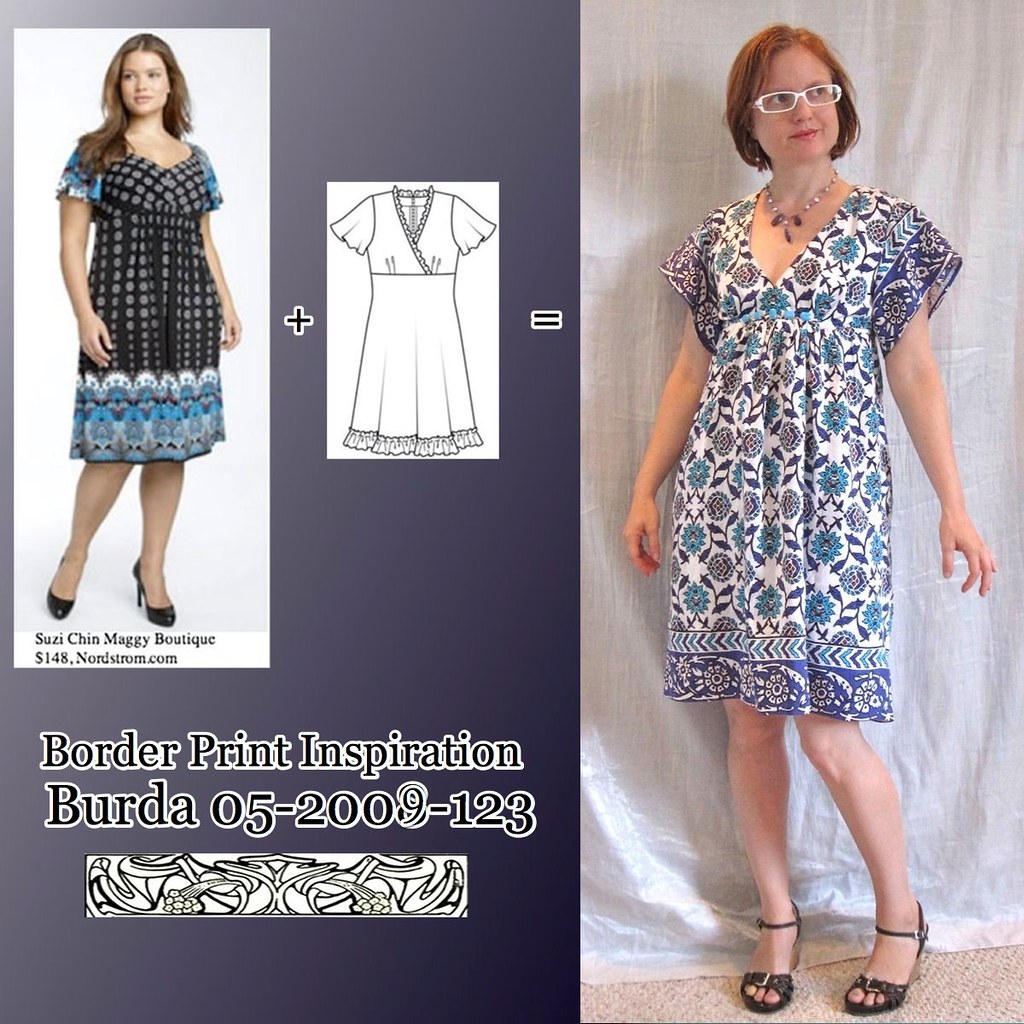
I bought this stretch silk charmeuse in Hong Kong with AllisonC (I think I paid about $3/meter for it). I enjoy subtle stunt dressing and thought it would be perfect for a 4th of July dress, as it is red, white, and blue but not covered with stripes and spangles. Of course, I didn't think so much about the pattern--you can't sit on the ground in this because the skirt isn't very full. I'd had it in mind for this pattern for a year, and in my frenzy of activity leading up to PR Weekend Montreal I managed to get it done! Unfortunately, with this fabric I got what I paid for and it is not holding up well and keeps getting snags. Hopefully it will last a couple years.
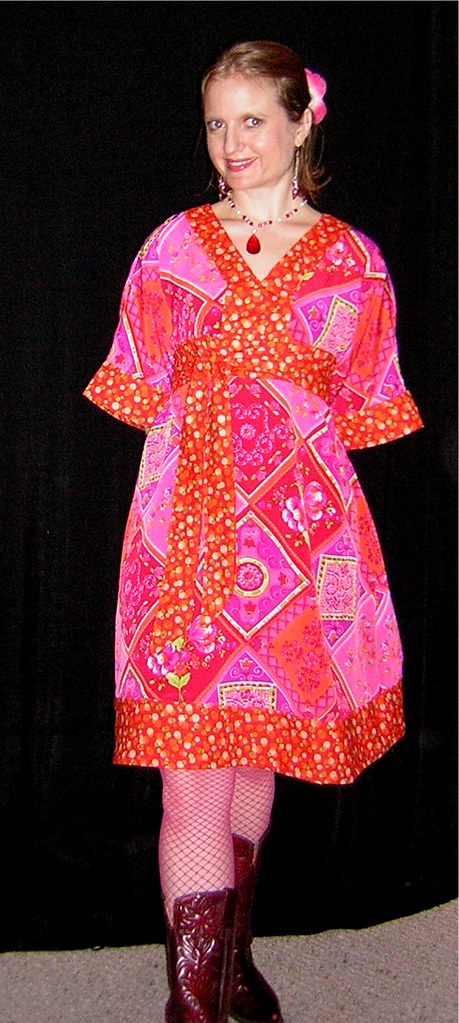
The whole time I was thinking about the dress I was debating whether to do contrast bands in red along the neckline and at the midriff. In the end, I decided not to. I don't know that the Duro look (see my Simplicity 4072 version at right) is now unfashionable, but the rage that lasted a good 2.5 years has definitely subsided.
A kimono look is always in fashion, so I went plain old, figuring I could always dress it up with an obi. The one I'm wearing on the left is from Burda 06-2009-151 obi. The reverse side, which you can see in my Montreal collage below, is a silk brocade a friend brought me back from China many years ago. I have no idea what to do with it, so I was glad to finally use a piece!
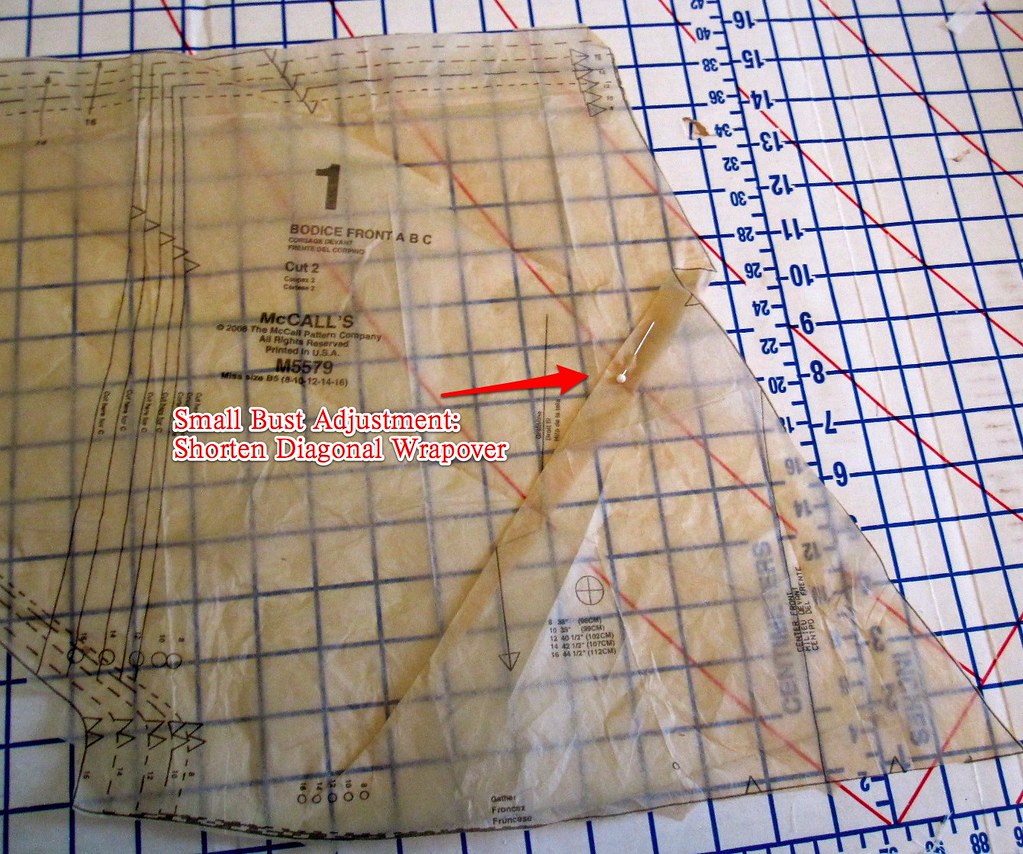
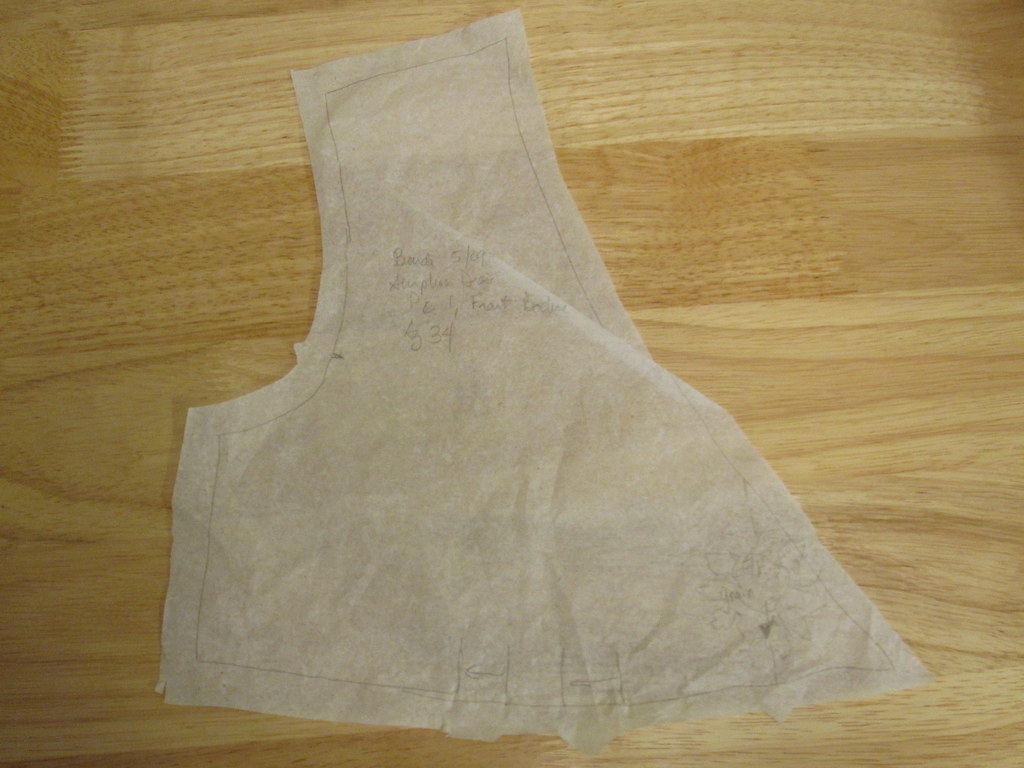
I did my usual small bust adjustment for a crossover top of shortening the diagonal wrap line. This doesn't have any problems with gaping.
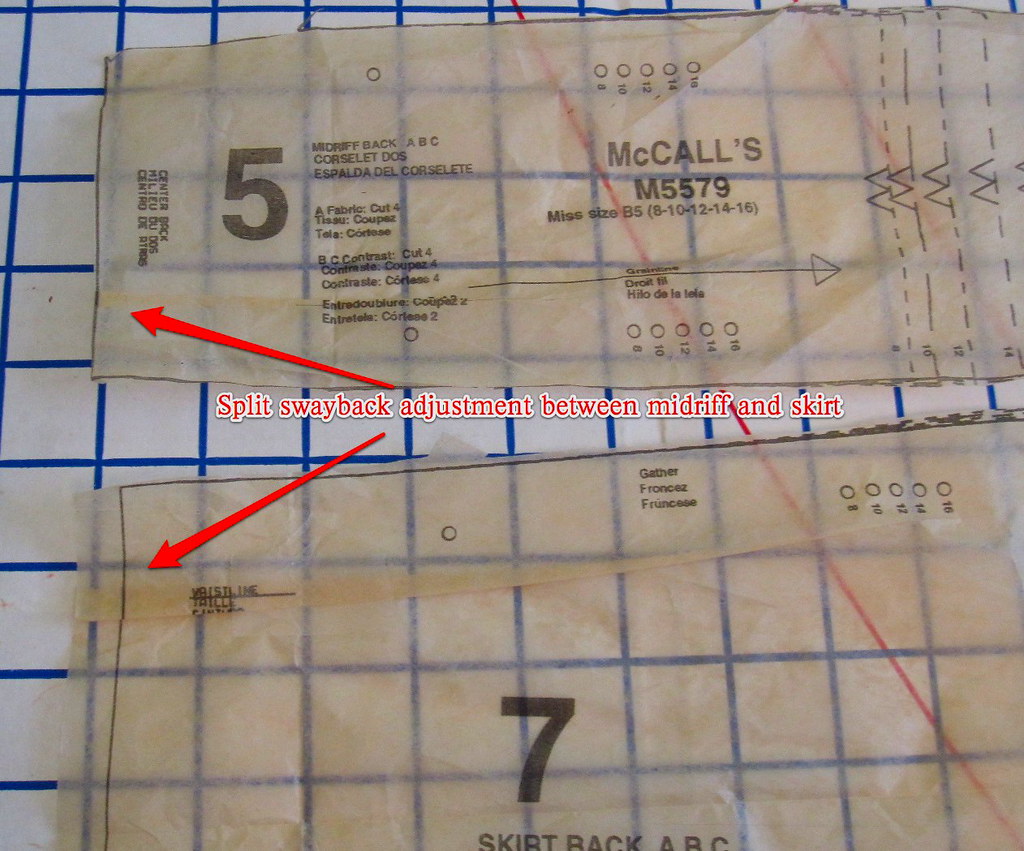
For the swayback alteration, I split the length reduction between the midriff and the skirt, which worked well. No swayback puddling.
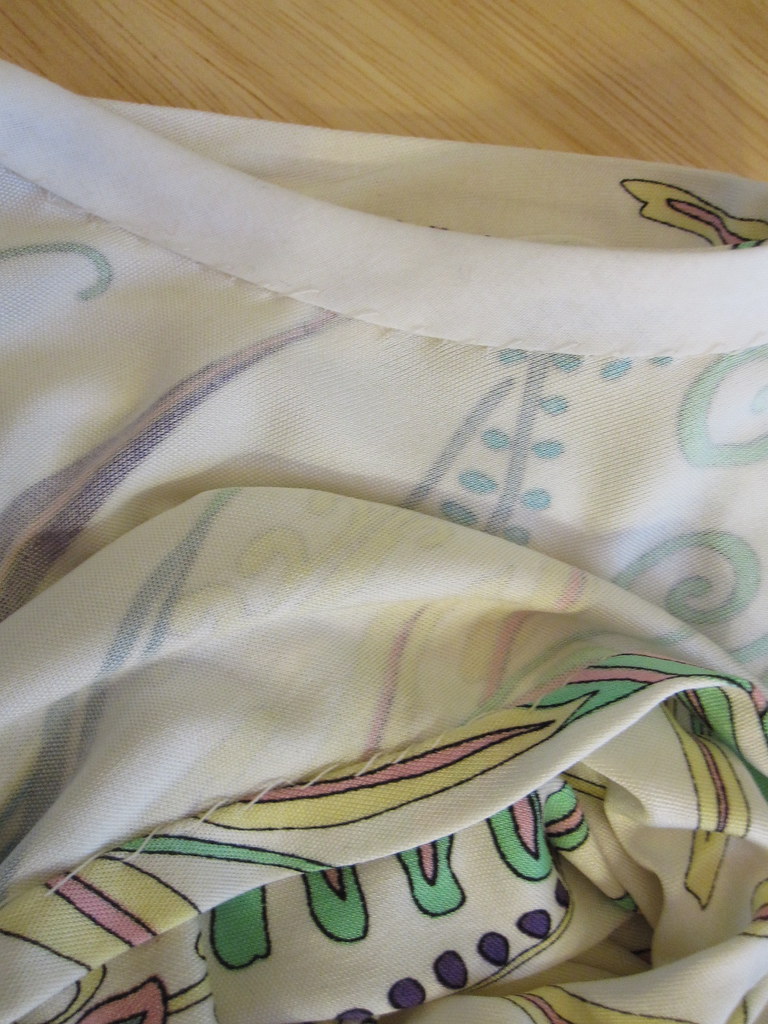
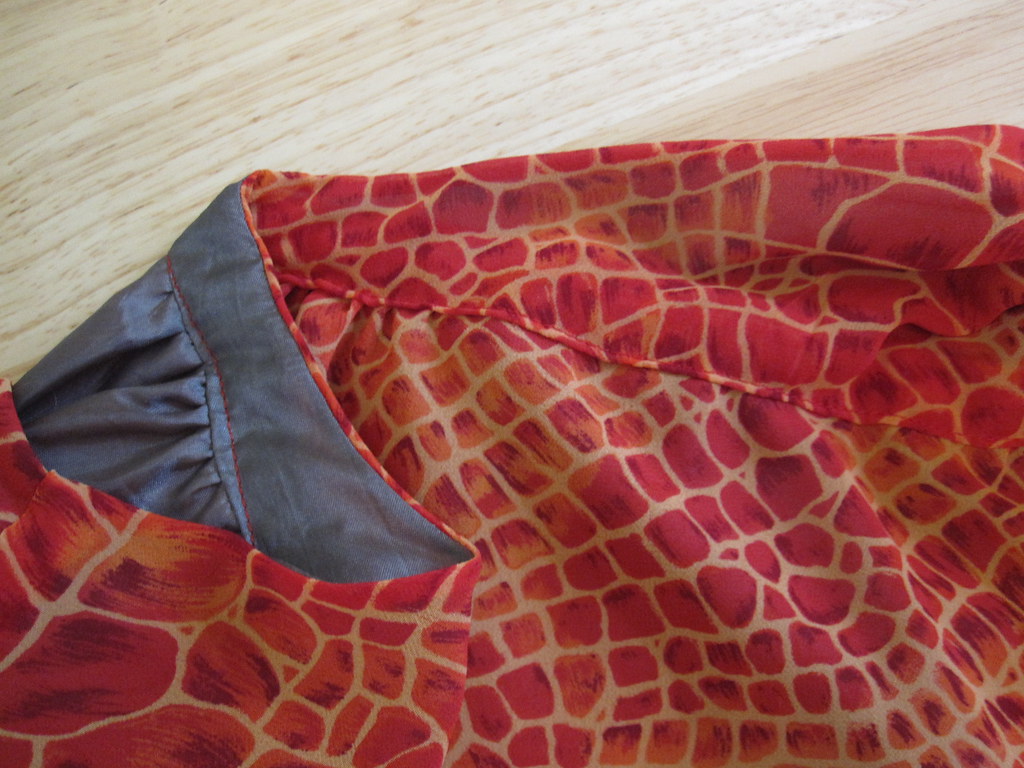
Rather than use facings to finish the neckline, I just used a self-fabric binding. As I recall, I didn't even cut the binding on the bias as the neckline curve is never extreme. I just cut the binding about two inches wide on the crossgrain, pressed into a double fold, sewed one edge to the wrong side of the neckline and then folded over and topstitched on the right side. A nice clean finish without any floppy facings.
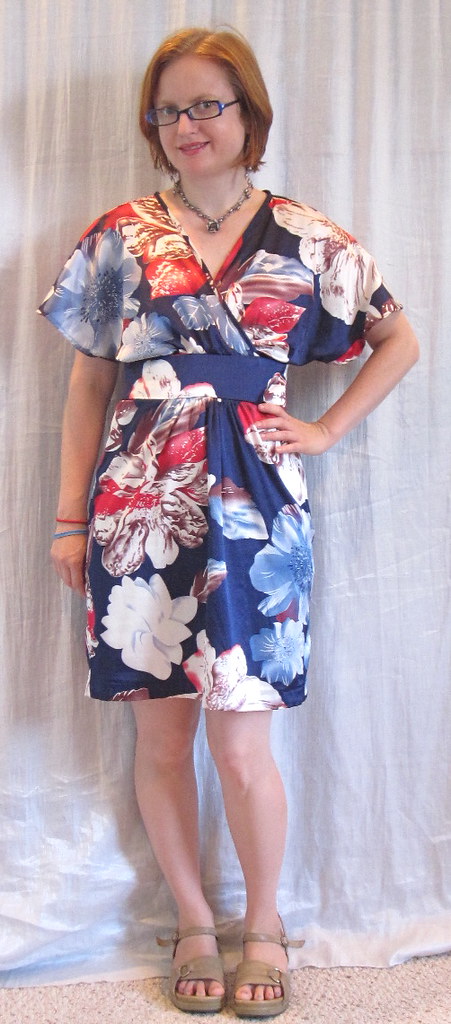 I cut the skirt a little wider than drafted, the full width of my 45 wide fabric, for comfort.
As depicted on the pattern envelope, the sleeves ended up elbow length, which was entirely unflattering on me. I shortened them about 3 inches at the shoulder seam, tapering to nothing at the underarm.
There are zero reviews of this pattern on PatternReview (well, now there is one) and the pattern is now out of print. I am so surprised by both of those! It is a cute pattern and not too complicated, suitable for beginners. This look never really goes out of style, or if it does it has not done so yet. It's as cute or cuter than several other patterns in this vein. Why it didn't get any love, I don't know. If you have it in stash pull it out and see if you have anything that will work for it!
All photos are here and the pattern review is here.
===========================
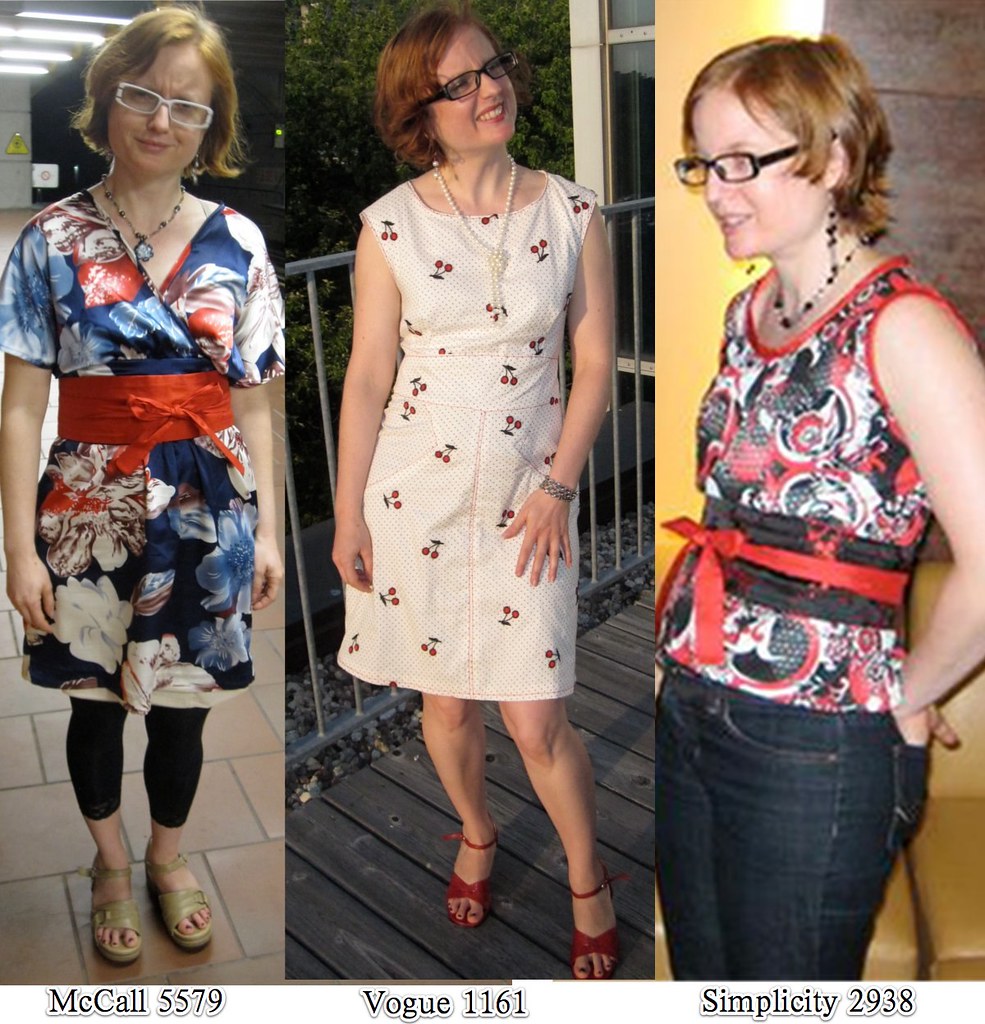
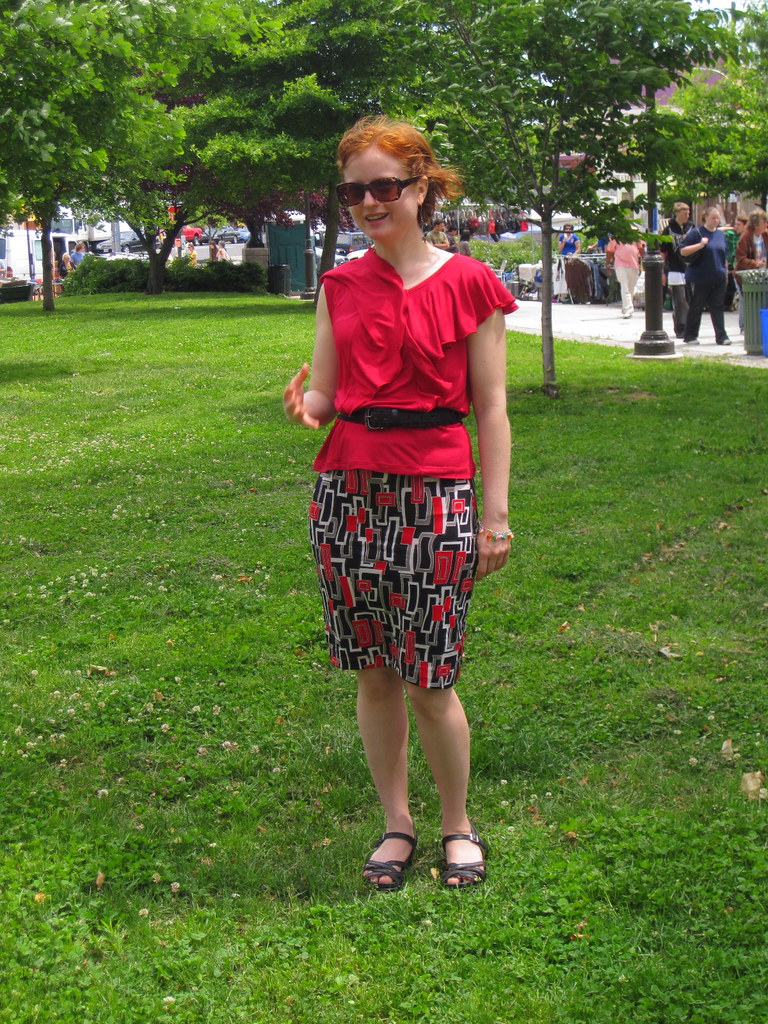
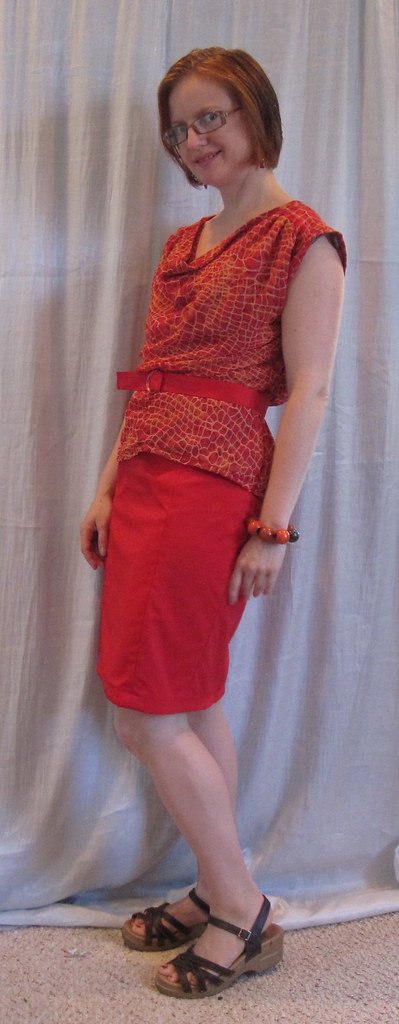
My theme for my trip to Montreal for PR Weekend was red and white because I have a RTW red and white hat I wanted to be able to wear with everything. I had several pieces in my closet, but of course what is a trip without new clothes? Somehow over the weekend before leaving I managed to make two dresses and a top before flying out Monday morning: this dress, the Vogue 1161 Rachel Comey, and another version of the Simplicity 2938 princess seam tank top. That one was quite a coup. I had saved the fabric, leftover from Vogue 2787 for almost 3 years. The fabric I had left was in a long skinny piece. I knew that someday I would find a pattern that would work. And finally, I did. Although, it's probably a bad thing that it reinforced my tendency to save small bits of fabric.










.jpg)


.jpg)


