A while back I published my all-machine clean-finish bodice lining tutorial. I have used this method on every sleeveless dress and top I've made for the past several years, but when it came to my Seersucker Social dress, it wasn't going to work.
The all-machine method requires three open seams: two side seams and a front or back. Burda 05-2011-108 is drafted with a side panel rather than a side seam. While you could theoretically leave the side front or side back seam unsewn, there would just be too much fabric to pull through the strap tunnels (especially the home dec fabric I was using). The method generally prescribed by the Big 4 is nonsense. Here is the alternative to the all-machine finish.
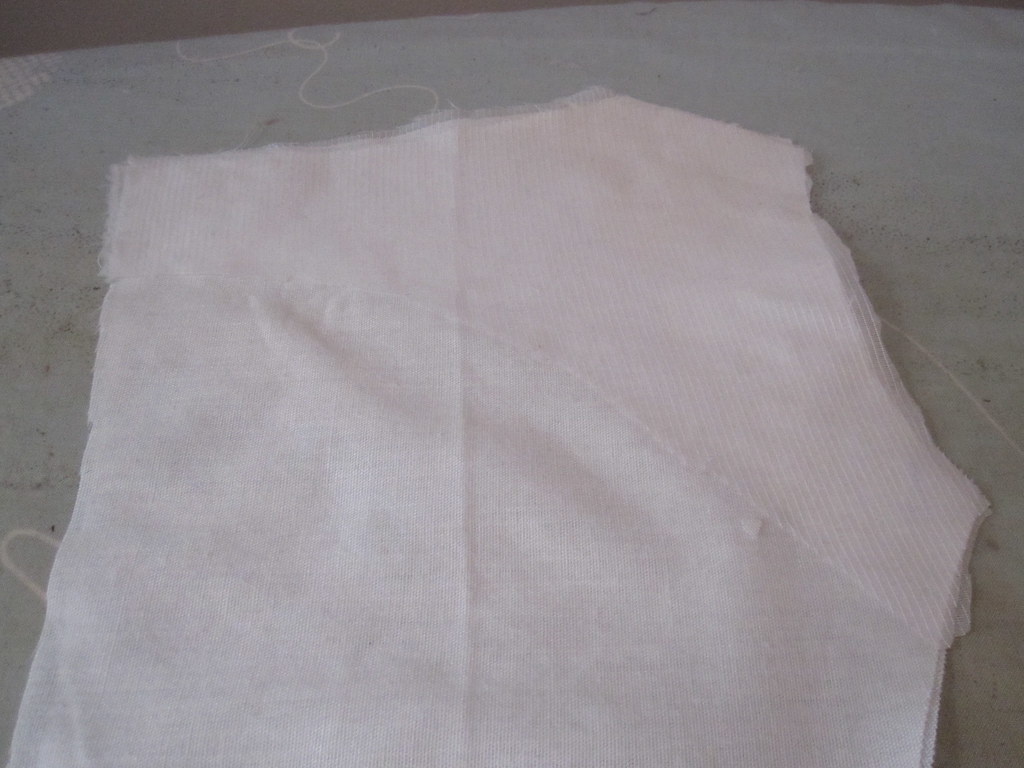
I lined the bodice of this dress with an Ikea Knoppa sheet, a lightweight cotton-poly batiste (and only $1.99 for the sheet!). Because my fabric was lightweight, I fused strips of interfacing to the neckline and armscye (a little hard to see because it's white-on-white).
As with the all-machine method, trim a scant 1/8 inch from the edges of the neckline and armscye on the lining to make it slightly smaller than the fashion fabric.

Sew the side seams on the bodice and lining, or, in this case, side panel seams. This will also work for a pattern with no center back seam (I think--I am terrible with the 3D mind, but as far as I can work out it should be fine).
Once your lining and fashion fabric are assembled, sew the lining to the fashion fabric, right sides together, along the armscye and neckline. Leave unsewn for two inches from the shoulder seam.
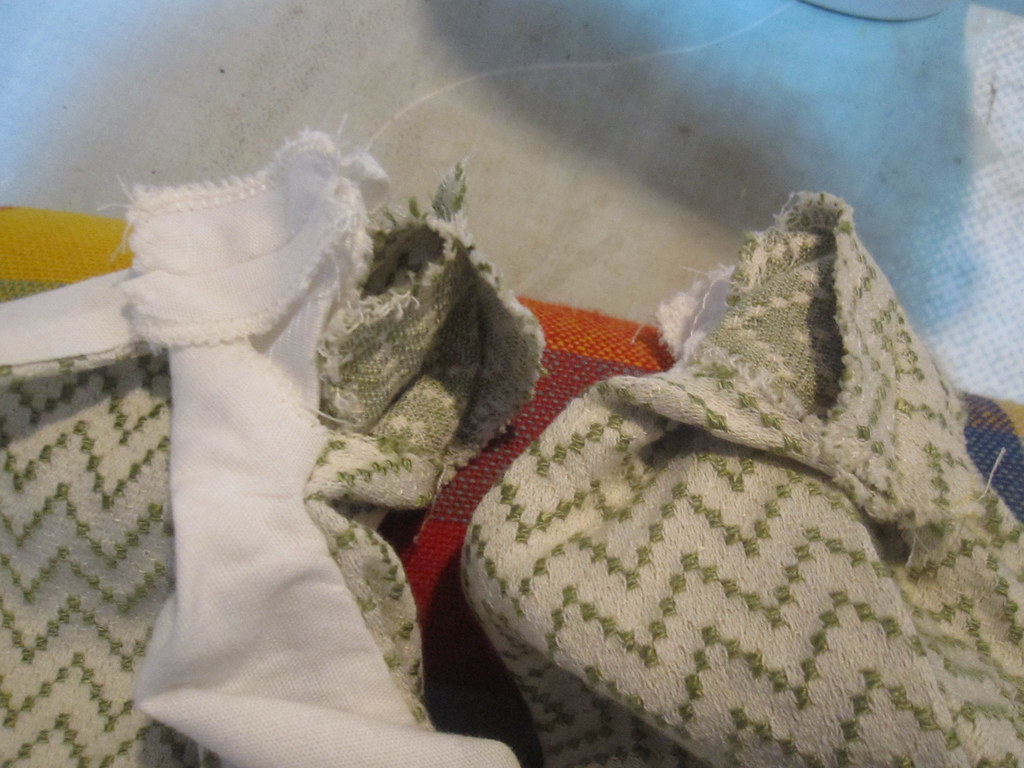
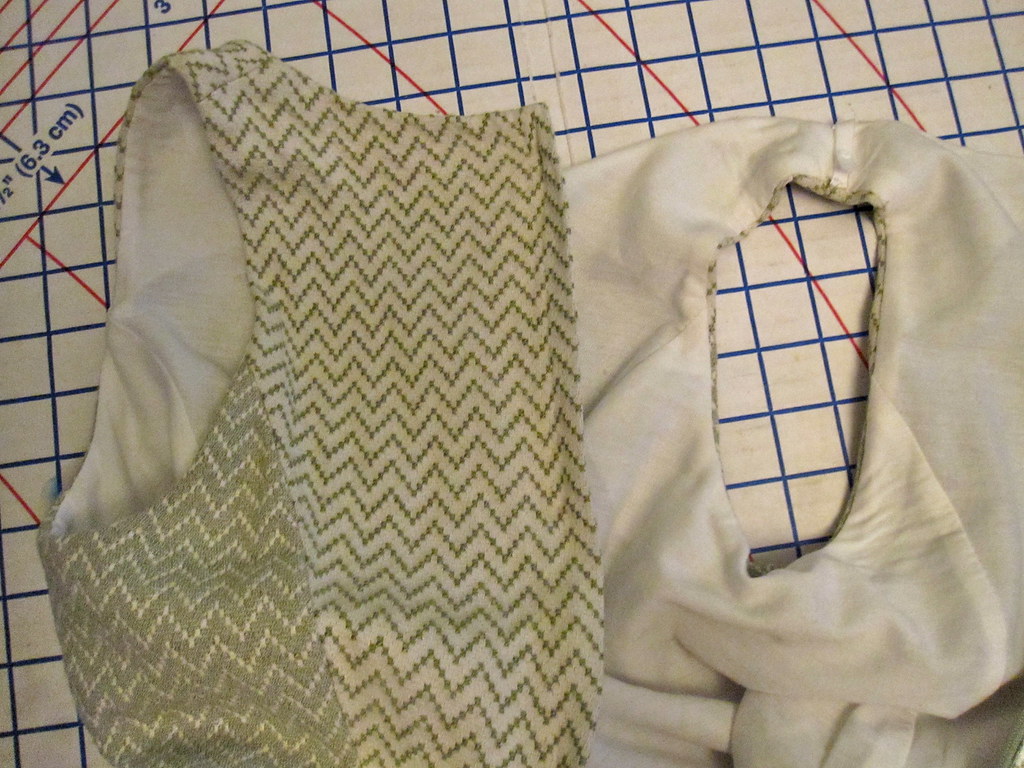
Turn the lining right side out. You can see here the unsewn neckline and armscye edges leading to the shoulder seam. I found it useful to finish the edges of the shoulder seams at this point.
Next, sew the shoulder seams. Treating the lining and fashion fabric, separately, place them right sides together. Stitch and press. This is why you need the extra two inches leading up to the shoulder seams, so you have room to maneuver the shoulders right sides together.
Turn the shoulder seams to the inside and press the seams allowances of the lining and fashion fabric in place. You can see how close it is to done here.
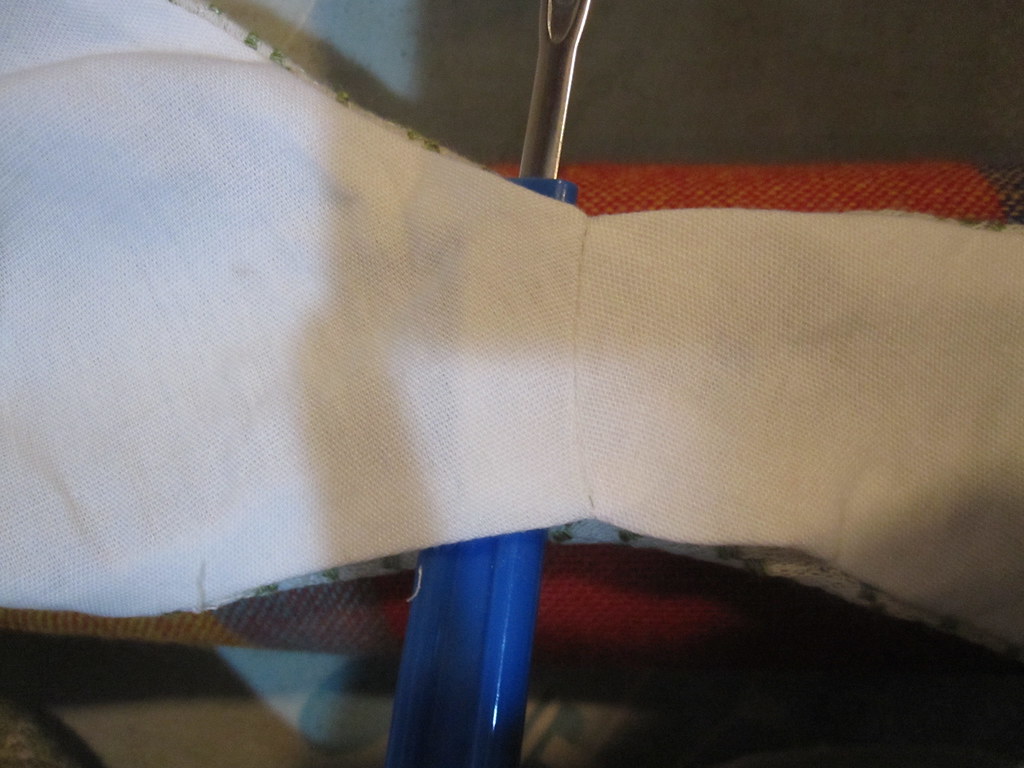
The seam ripper illustrates the part of the seam that is open. This is that two inches (minus shoulder seam allowance) that you left open at the top of the shoulder.
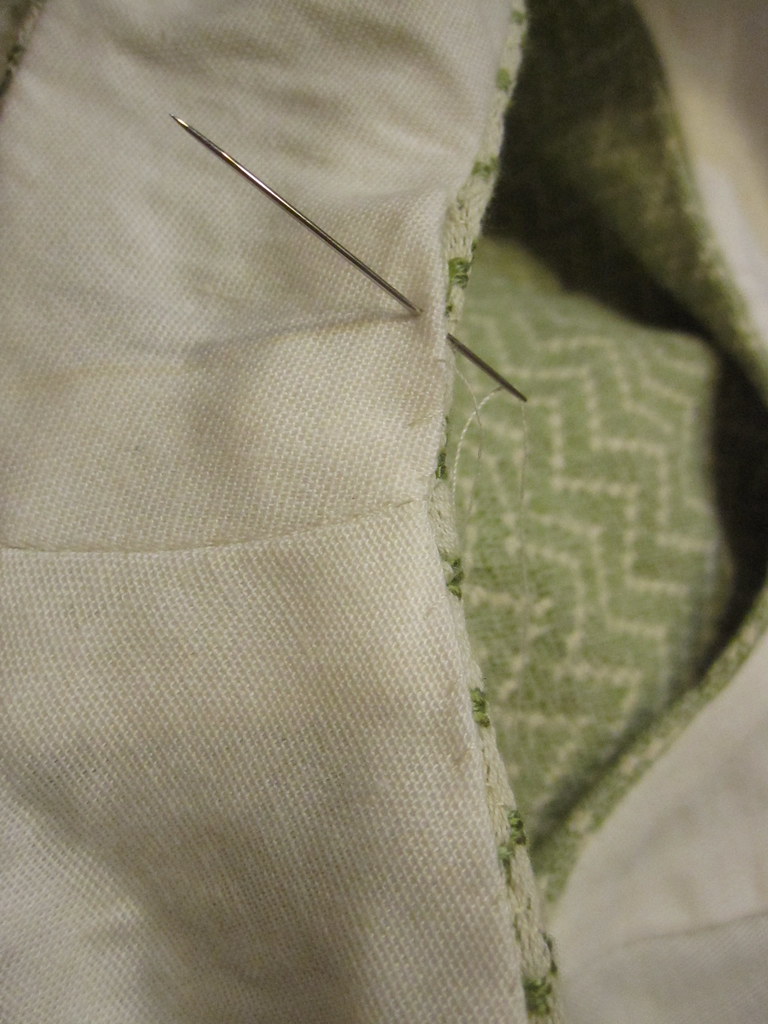
Now all you have left is a little bit of easy hand stitching. I use a small whipstitch.
With the lining trimmed slightly smaller than the fashion fabric, it automatically turns under more and is easily hidden. Both my fabrics pressed so well I didn't even need to pin.
I timed it, and the hand-sewing of these little bits of the shoulder took less than 10 minutes.
And here is your completed finish (the shoulder seam is obscured by my bra strap keeper, sorry about that). *Almost* as quick and easy as the all-machine finish, and does not involve any crazy steps or visible hand-stitching.


.jpg)


5 comments:
Great tutorial, Trina!
I have seen this or something similar in 60's vintage patterns (more or less), where you close it at the shoulders last. Nice.
Beautifully done, well explained & illustrated. And you look very elegant in the dress.
What a nice clean finish, and thanks for the heads up on the IEKA sheets--I can't justify the price of lining right now with as much as I added to my stash recently.
Thanks for the tute. I love learning from great sewers like you.
Post a Comment