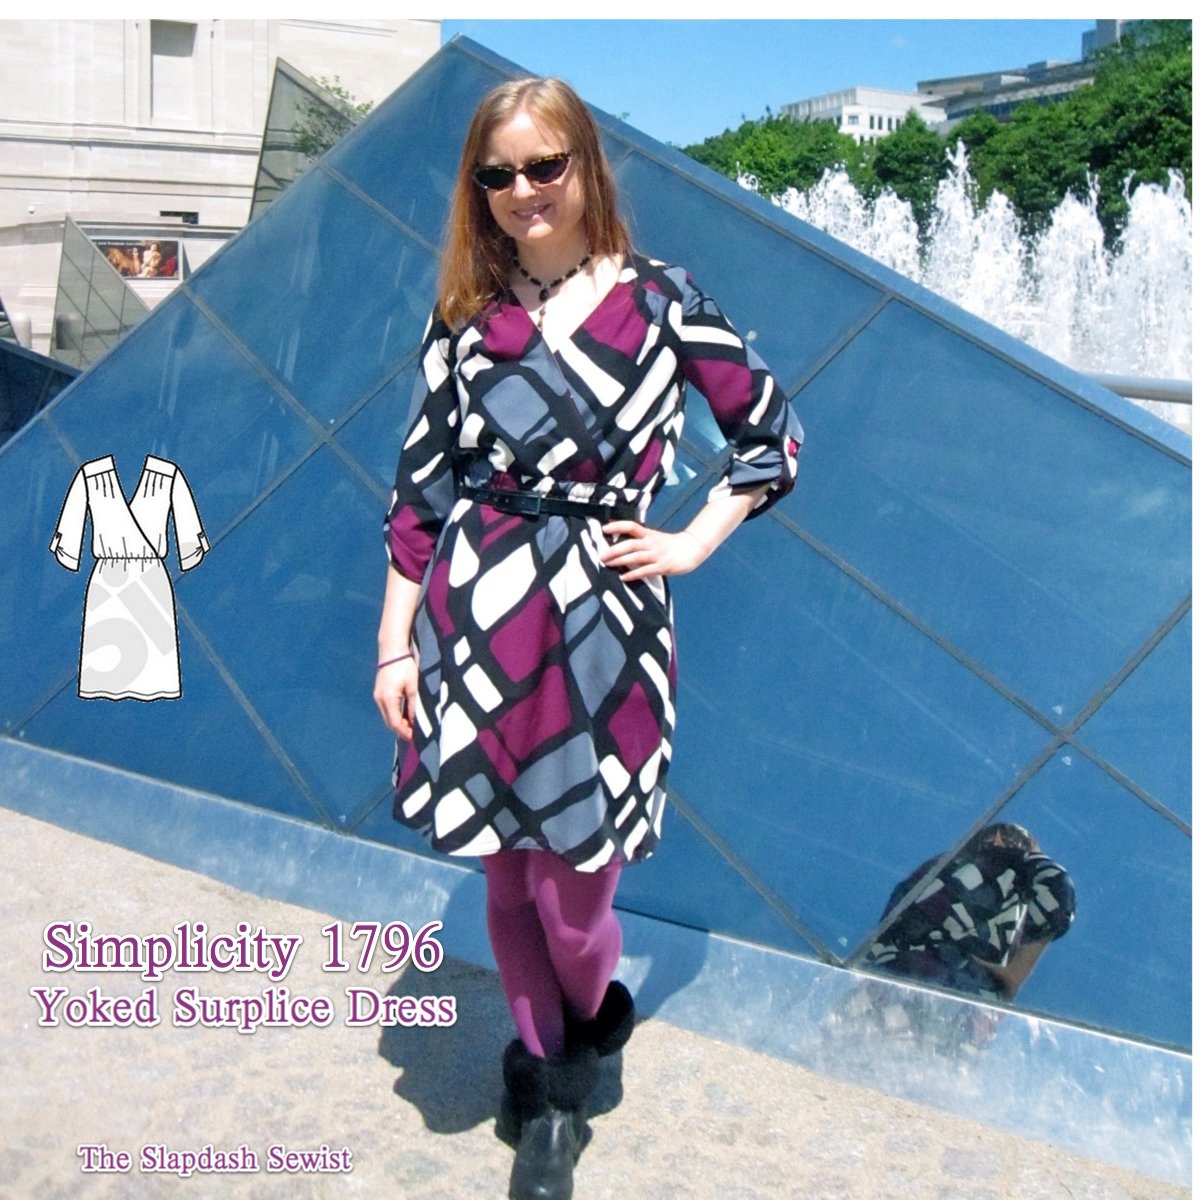
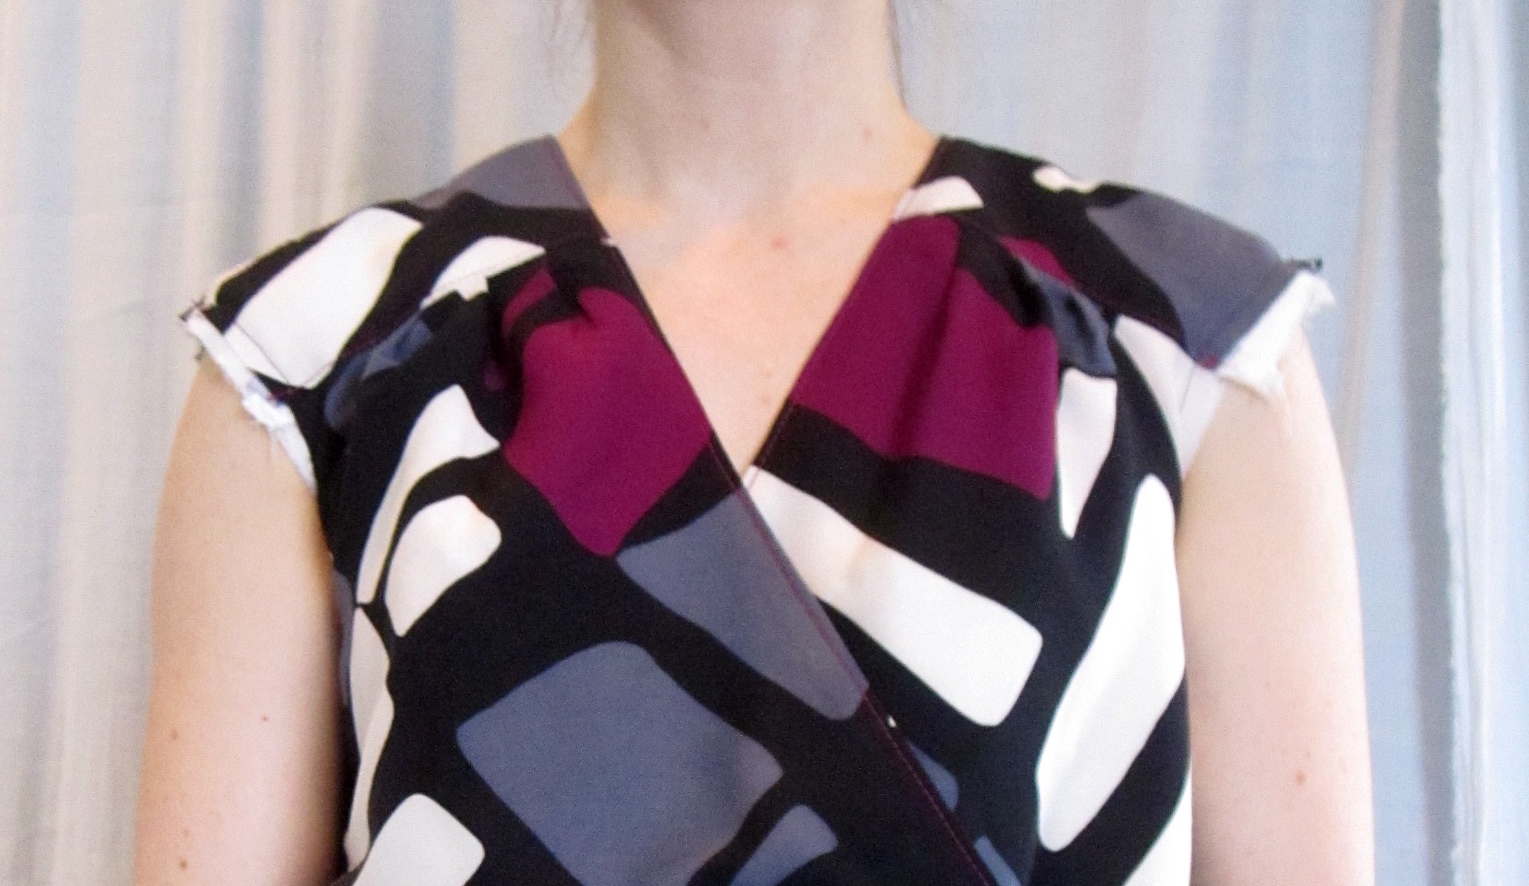
Why does Simplicity choose such heinous fabrics for their envelope pictures? Case in point, Simplicity 1796. They made two dresses for the envelope, and they are both out of some sort of horrible undrapeable poly blend broadcloth. You can practically smell the artificial fiber fumes coming off the photo. I paid no attention to this pattern whatsoever until I saw it reviewed, and suddenly noticed the nice details: the shoulder yokes, the pleated bodice, the cinched waist. I appreciate that solids are the best choice for an envelope, but how about some high quality fabrics? Yuck. On the plus side, this pattern comes in a huge range of sizes: 10-28W. I graded down to an 8 at the shoulders and bust.
I used the silk/wool I got at Paron last November for the absolute steal of $6/yd using a Groupon and shopping in the 50% off section. In the end, I'm glad I got a bargain because the pink ran in pre-treatment. :( The fabric is still useable, but it is slightly less awesome with pink patches in the white areas. Fancy fabric is generally meant to be dry cleaned, but I'm just not going to do it and I'd rather sacrifice some fabric at the pre-treat stage than lose a garment after sewing it.
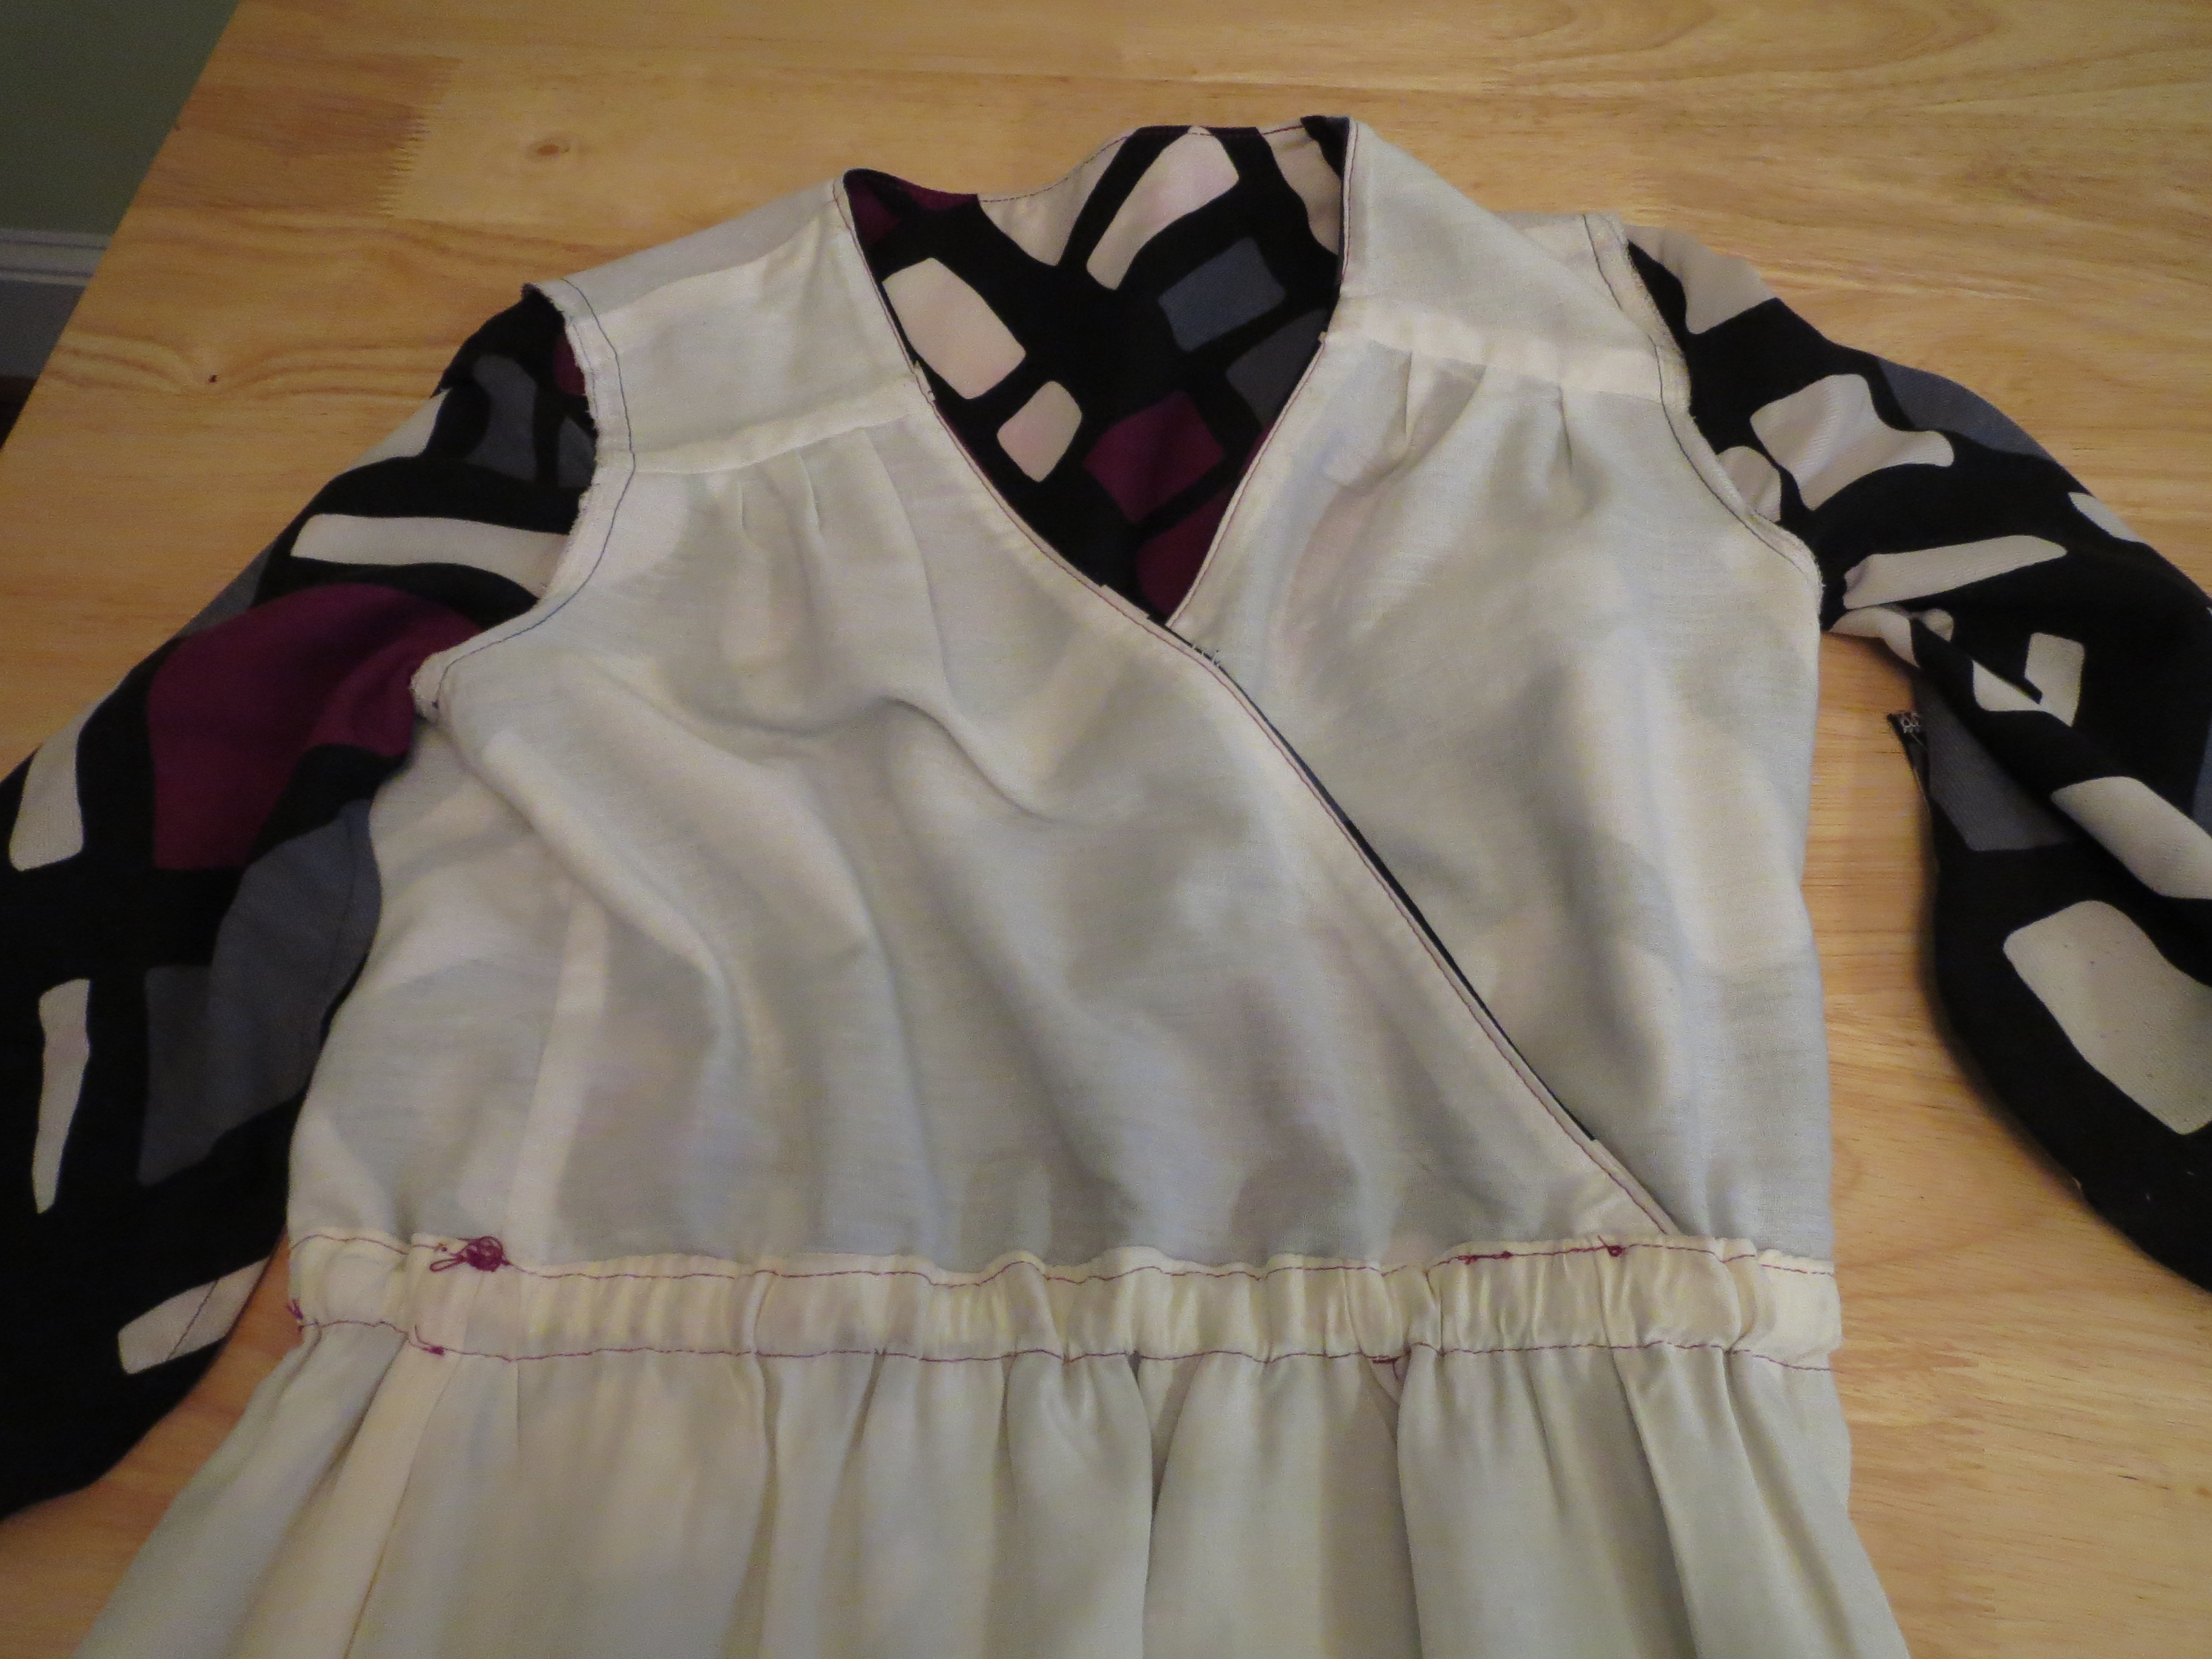
It's a lightweight fabric so I lined it to give it body and opacity, using an Ikea Knoppa sheet for the bodice and a rayon satin for the skirt (but somehow got confused when sewing the whole thing together and put the satin face toward the fashion fabric and the matte face toward the body).
To keep the neckline from stretching out during sewing, I fused strips of interfacing in place along the stitch line of both the fashion fabric and lining. Since the yoke supports a lot of fabric, particularly as the bodice is pleated into it, I interfaced the entire yoke.

To get good turn of cloth, I trimmed 1/4" from the neckline edge of the lining before sewing it in place.
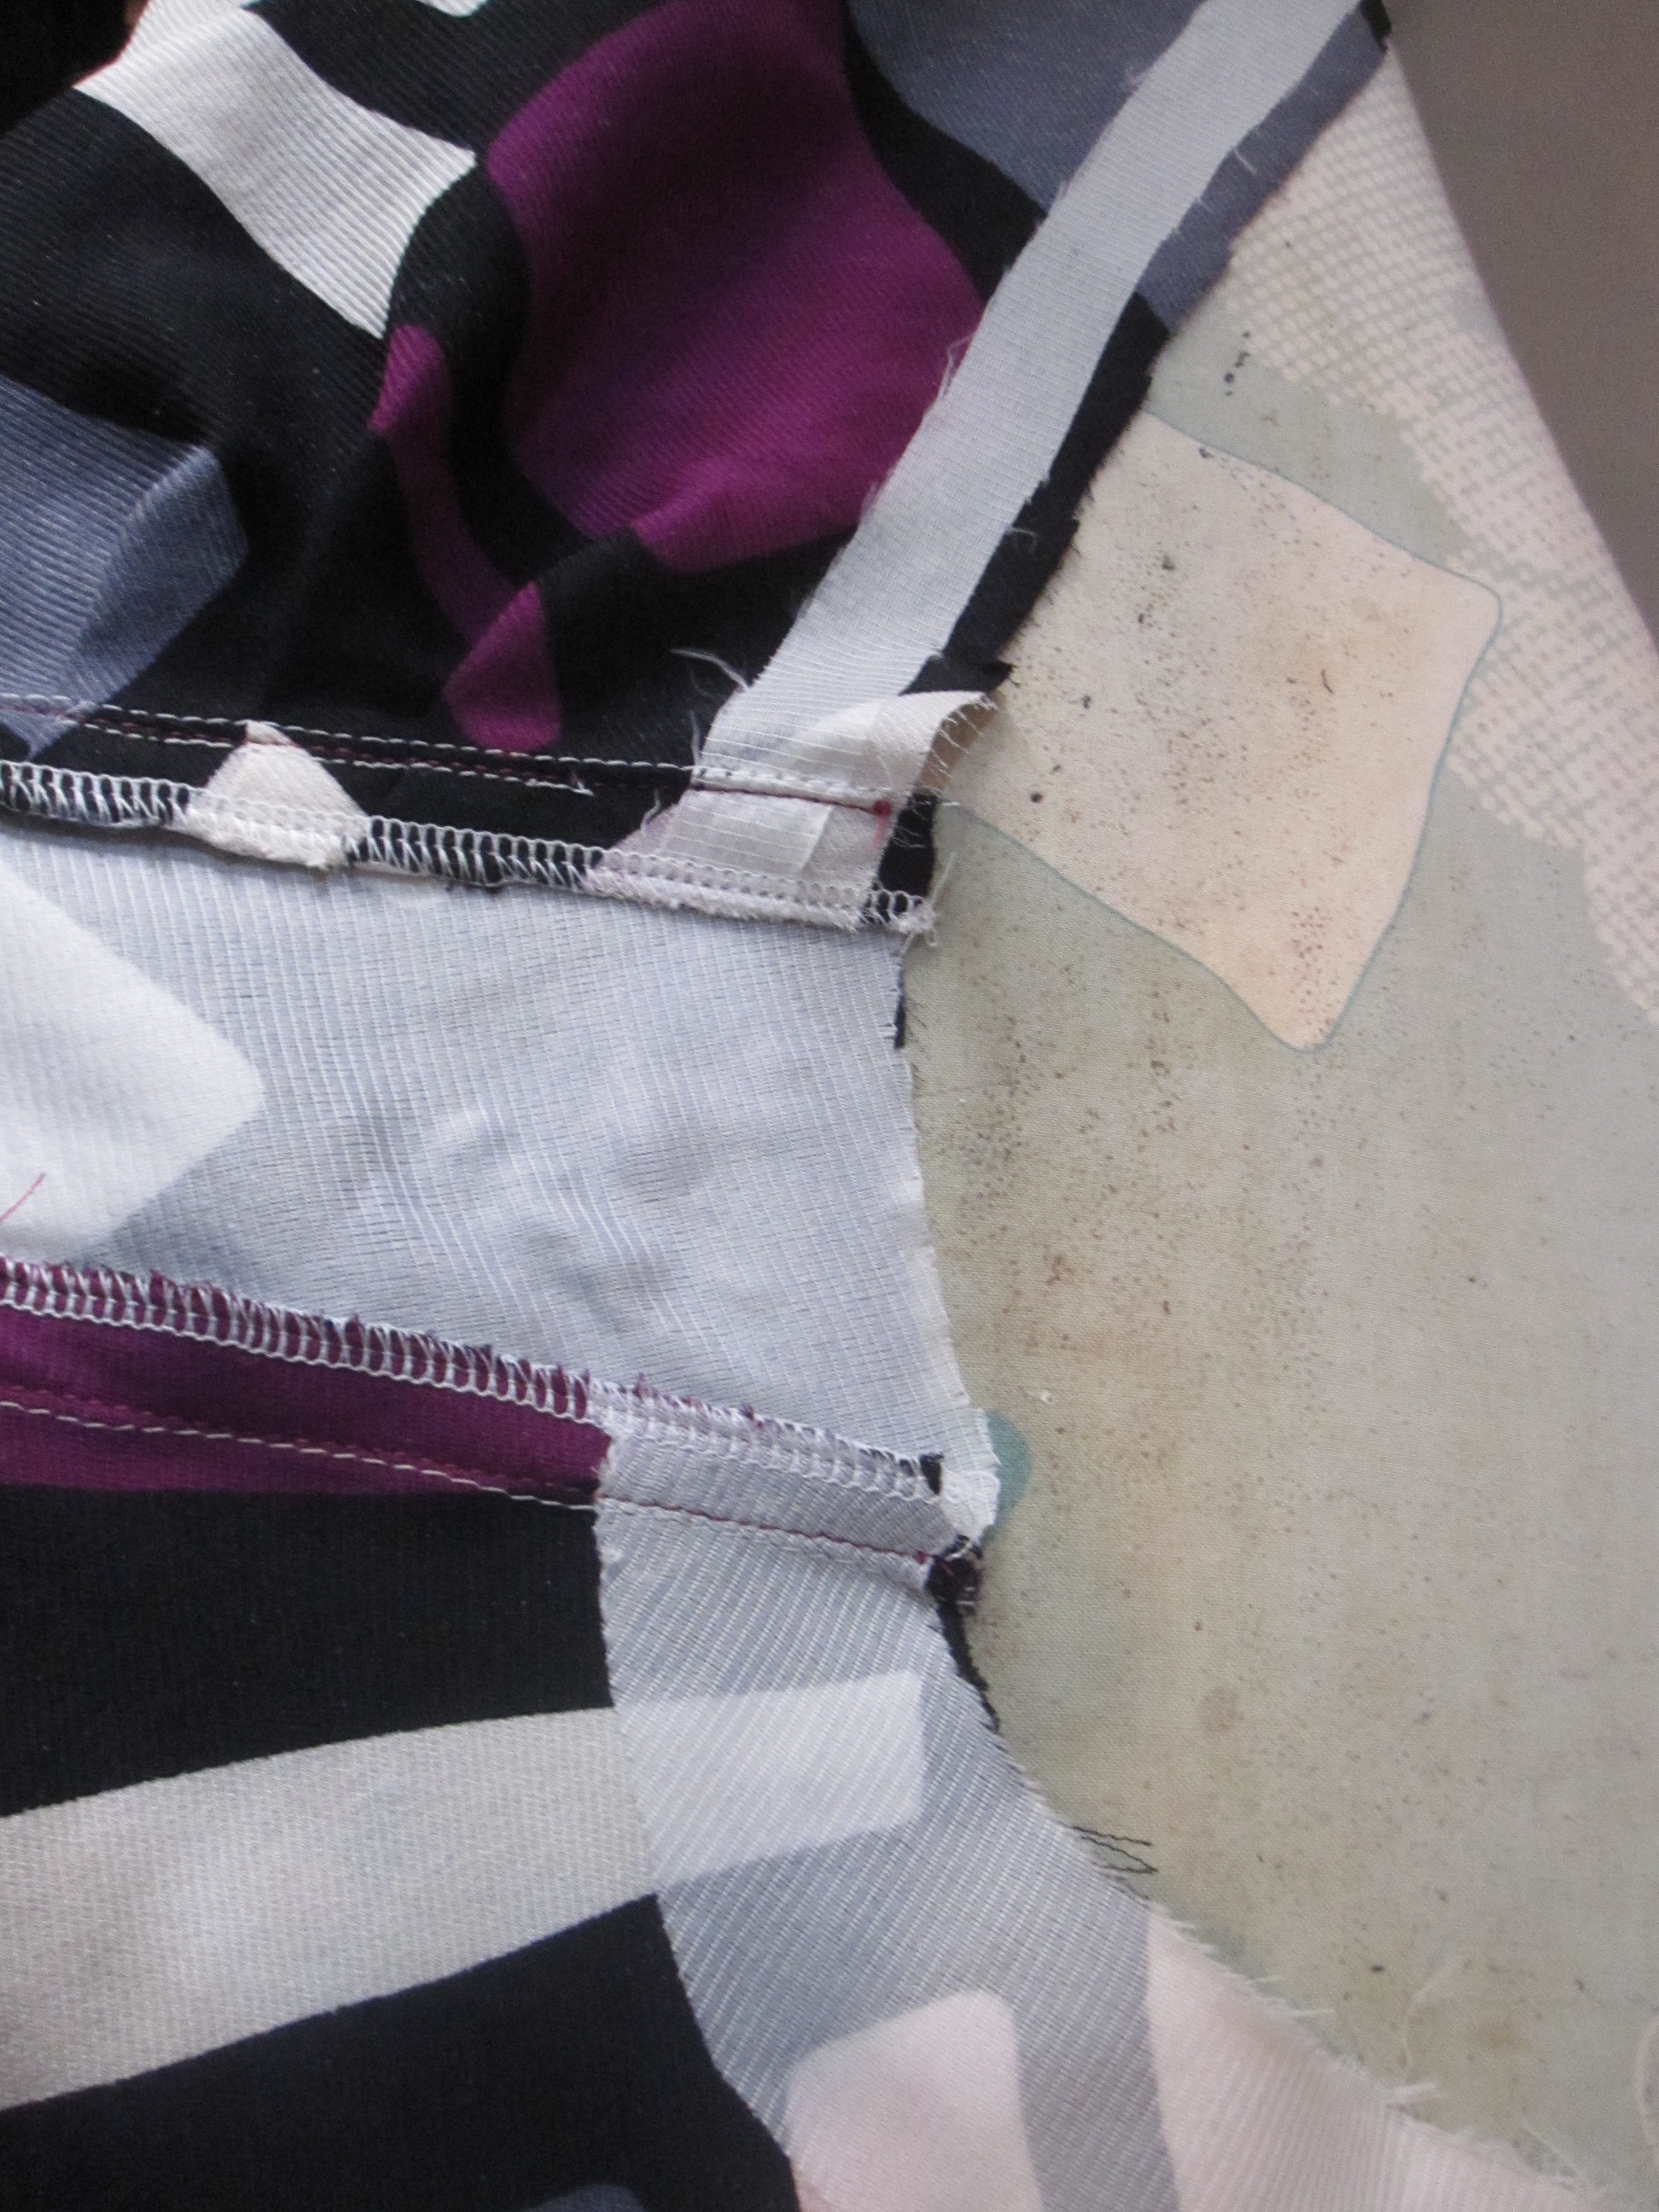
I also reinforced the pocket opening edges with interfacing. I sewed the fashion fabric using French seams as it is somewhat delicate, and followed my tutorial for sewing the pockets in (even though I'm the one who made the tutorial, I still have to look at it every time!). The fabric presses so beautifully, I think these are the most attractive French seam pockets I've made.
To line the dress, I constructed and lined the bodice and then constructed the skirt and its lining. Then i matched up the bodice center front and stitched the fashion fabric skirt to the right side of the fabric and the lining skirt to the wrong side. When you flip everything right side down, the skirt's seam allowance is enclosed between the fashion fabric and the lining.
I pressed this down and then stitched the waist casing through both the fashion fabric and lining of the skirt. This turned out to be somewhat of a mistake as the casing was SO INCREDIBLY THICK that pulling the elastic through it was absolute torture on the hands. I think it took me 3 days to do because I could only handle doing it for a small mount of time. Anyway, to get the width of the casing (with which I should have been much more generous!), I lined up the elastic with my waistline seam and then stitched a little below it. This would work on a casing that does not have so many thick layers, I promise.
As drafted, this dress has a serious drop shoulder. It's a great width for the sleeveless version, but would have looked terrible had I set in the sleeves there. I trimmed it back to my normal shoulder width.
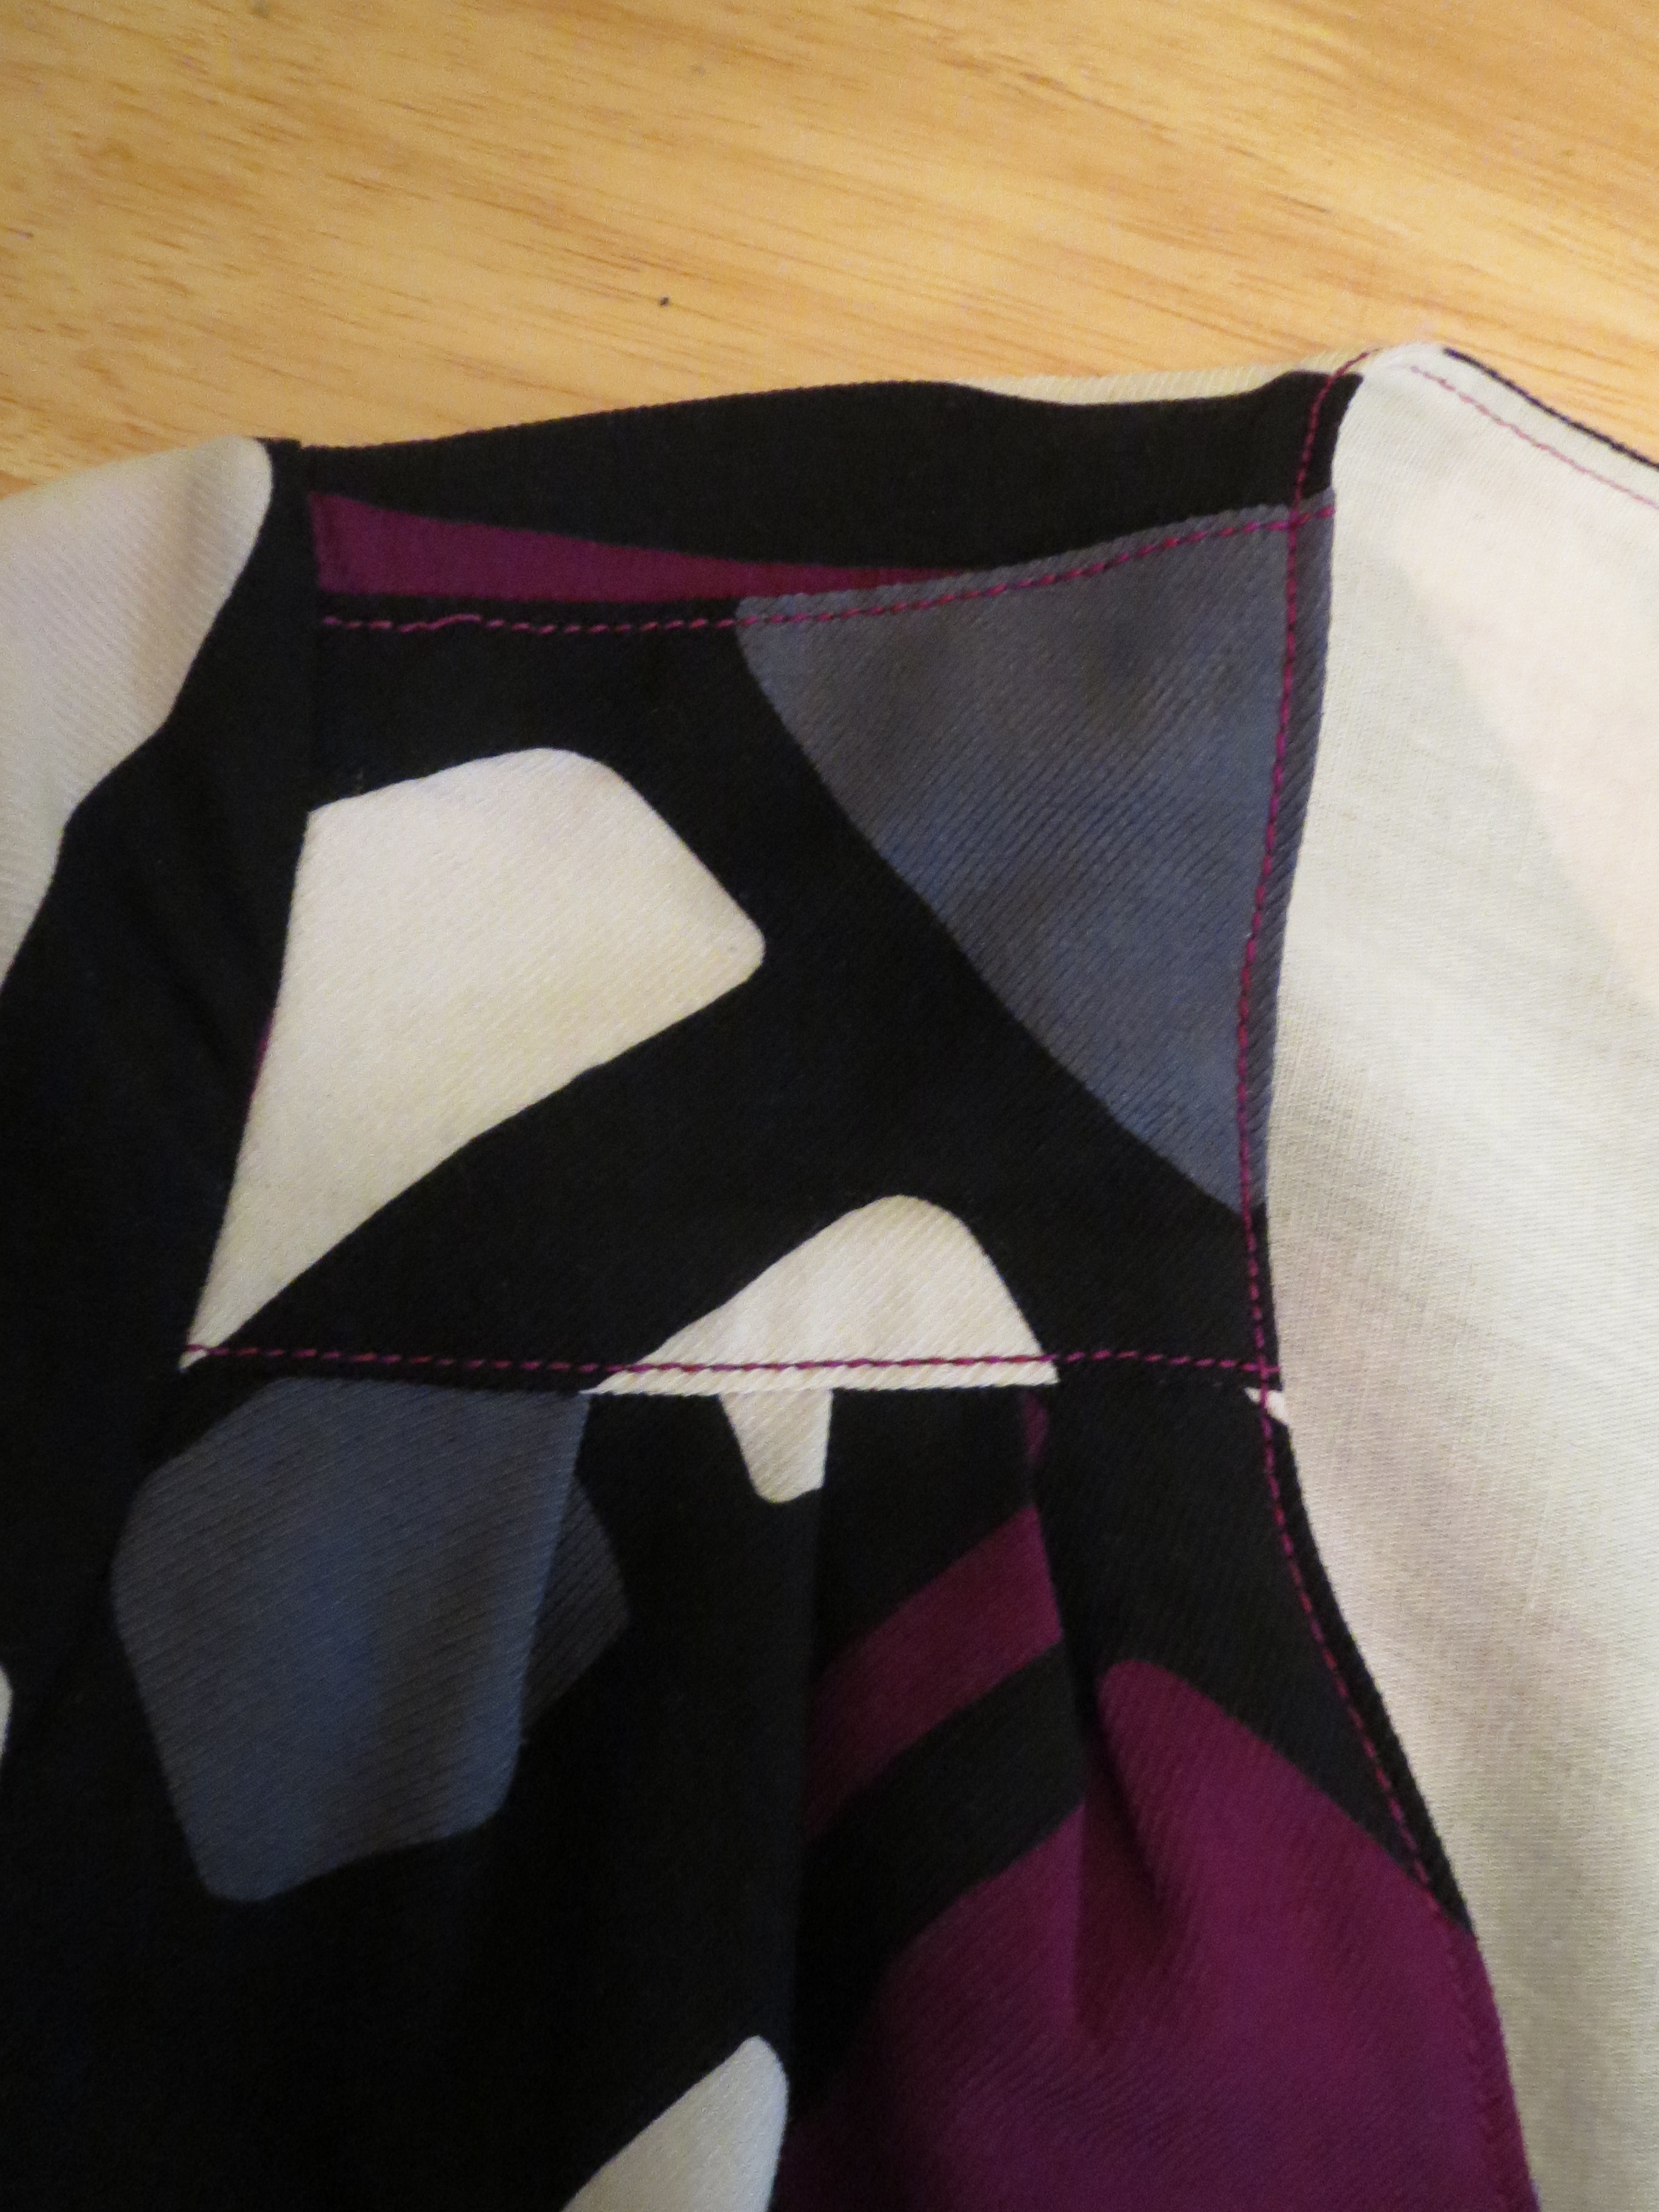
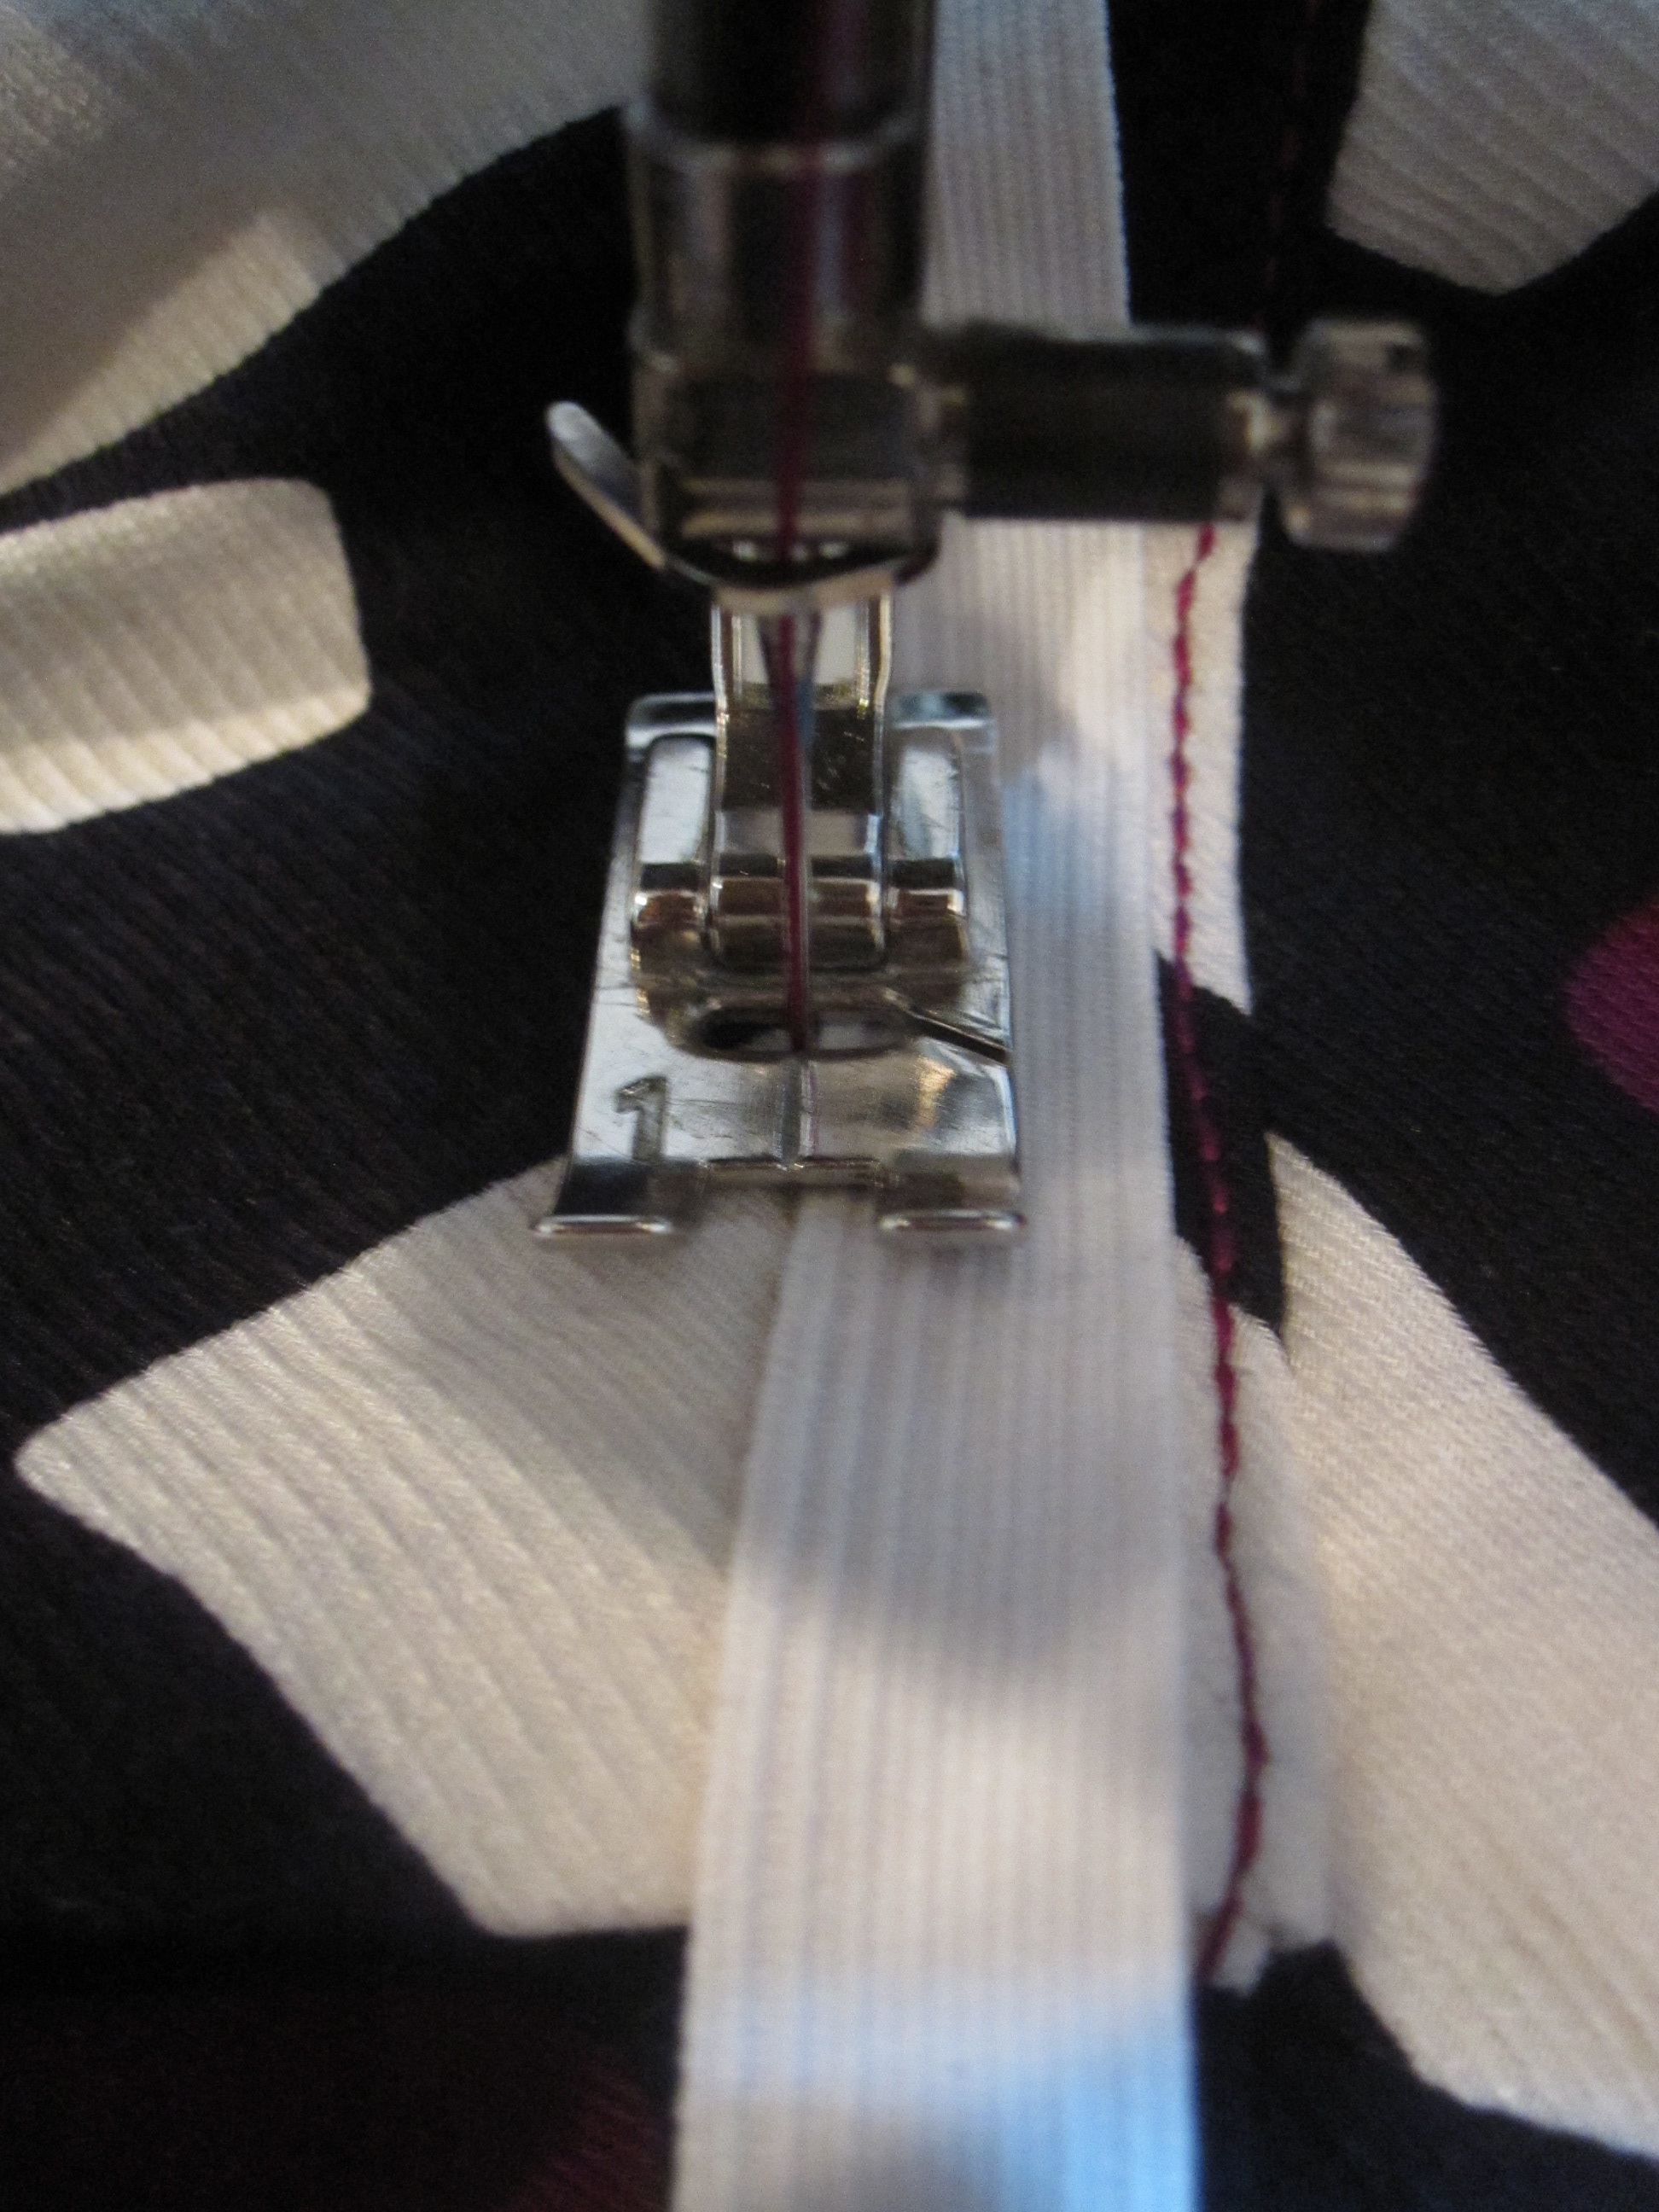
I think it was at Pennsylvania Fabric Outlet that I bought a large Guterman spool that I knew would match some wool I had at home. Somehow I didn't notice until I got it home that it was topstitching thread, not sewing thread. So now I have this giant spool of magenta topstitching thread. I decided to use some of it on this project. I topstitched the yoke, neckline, waist casing, and did two rows of stitching on the hem.
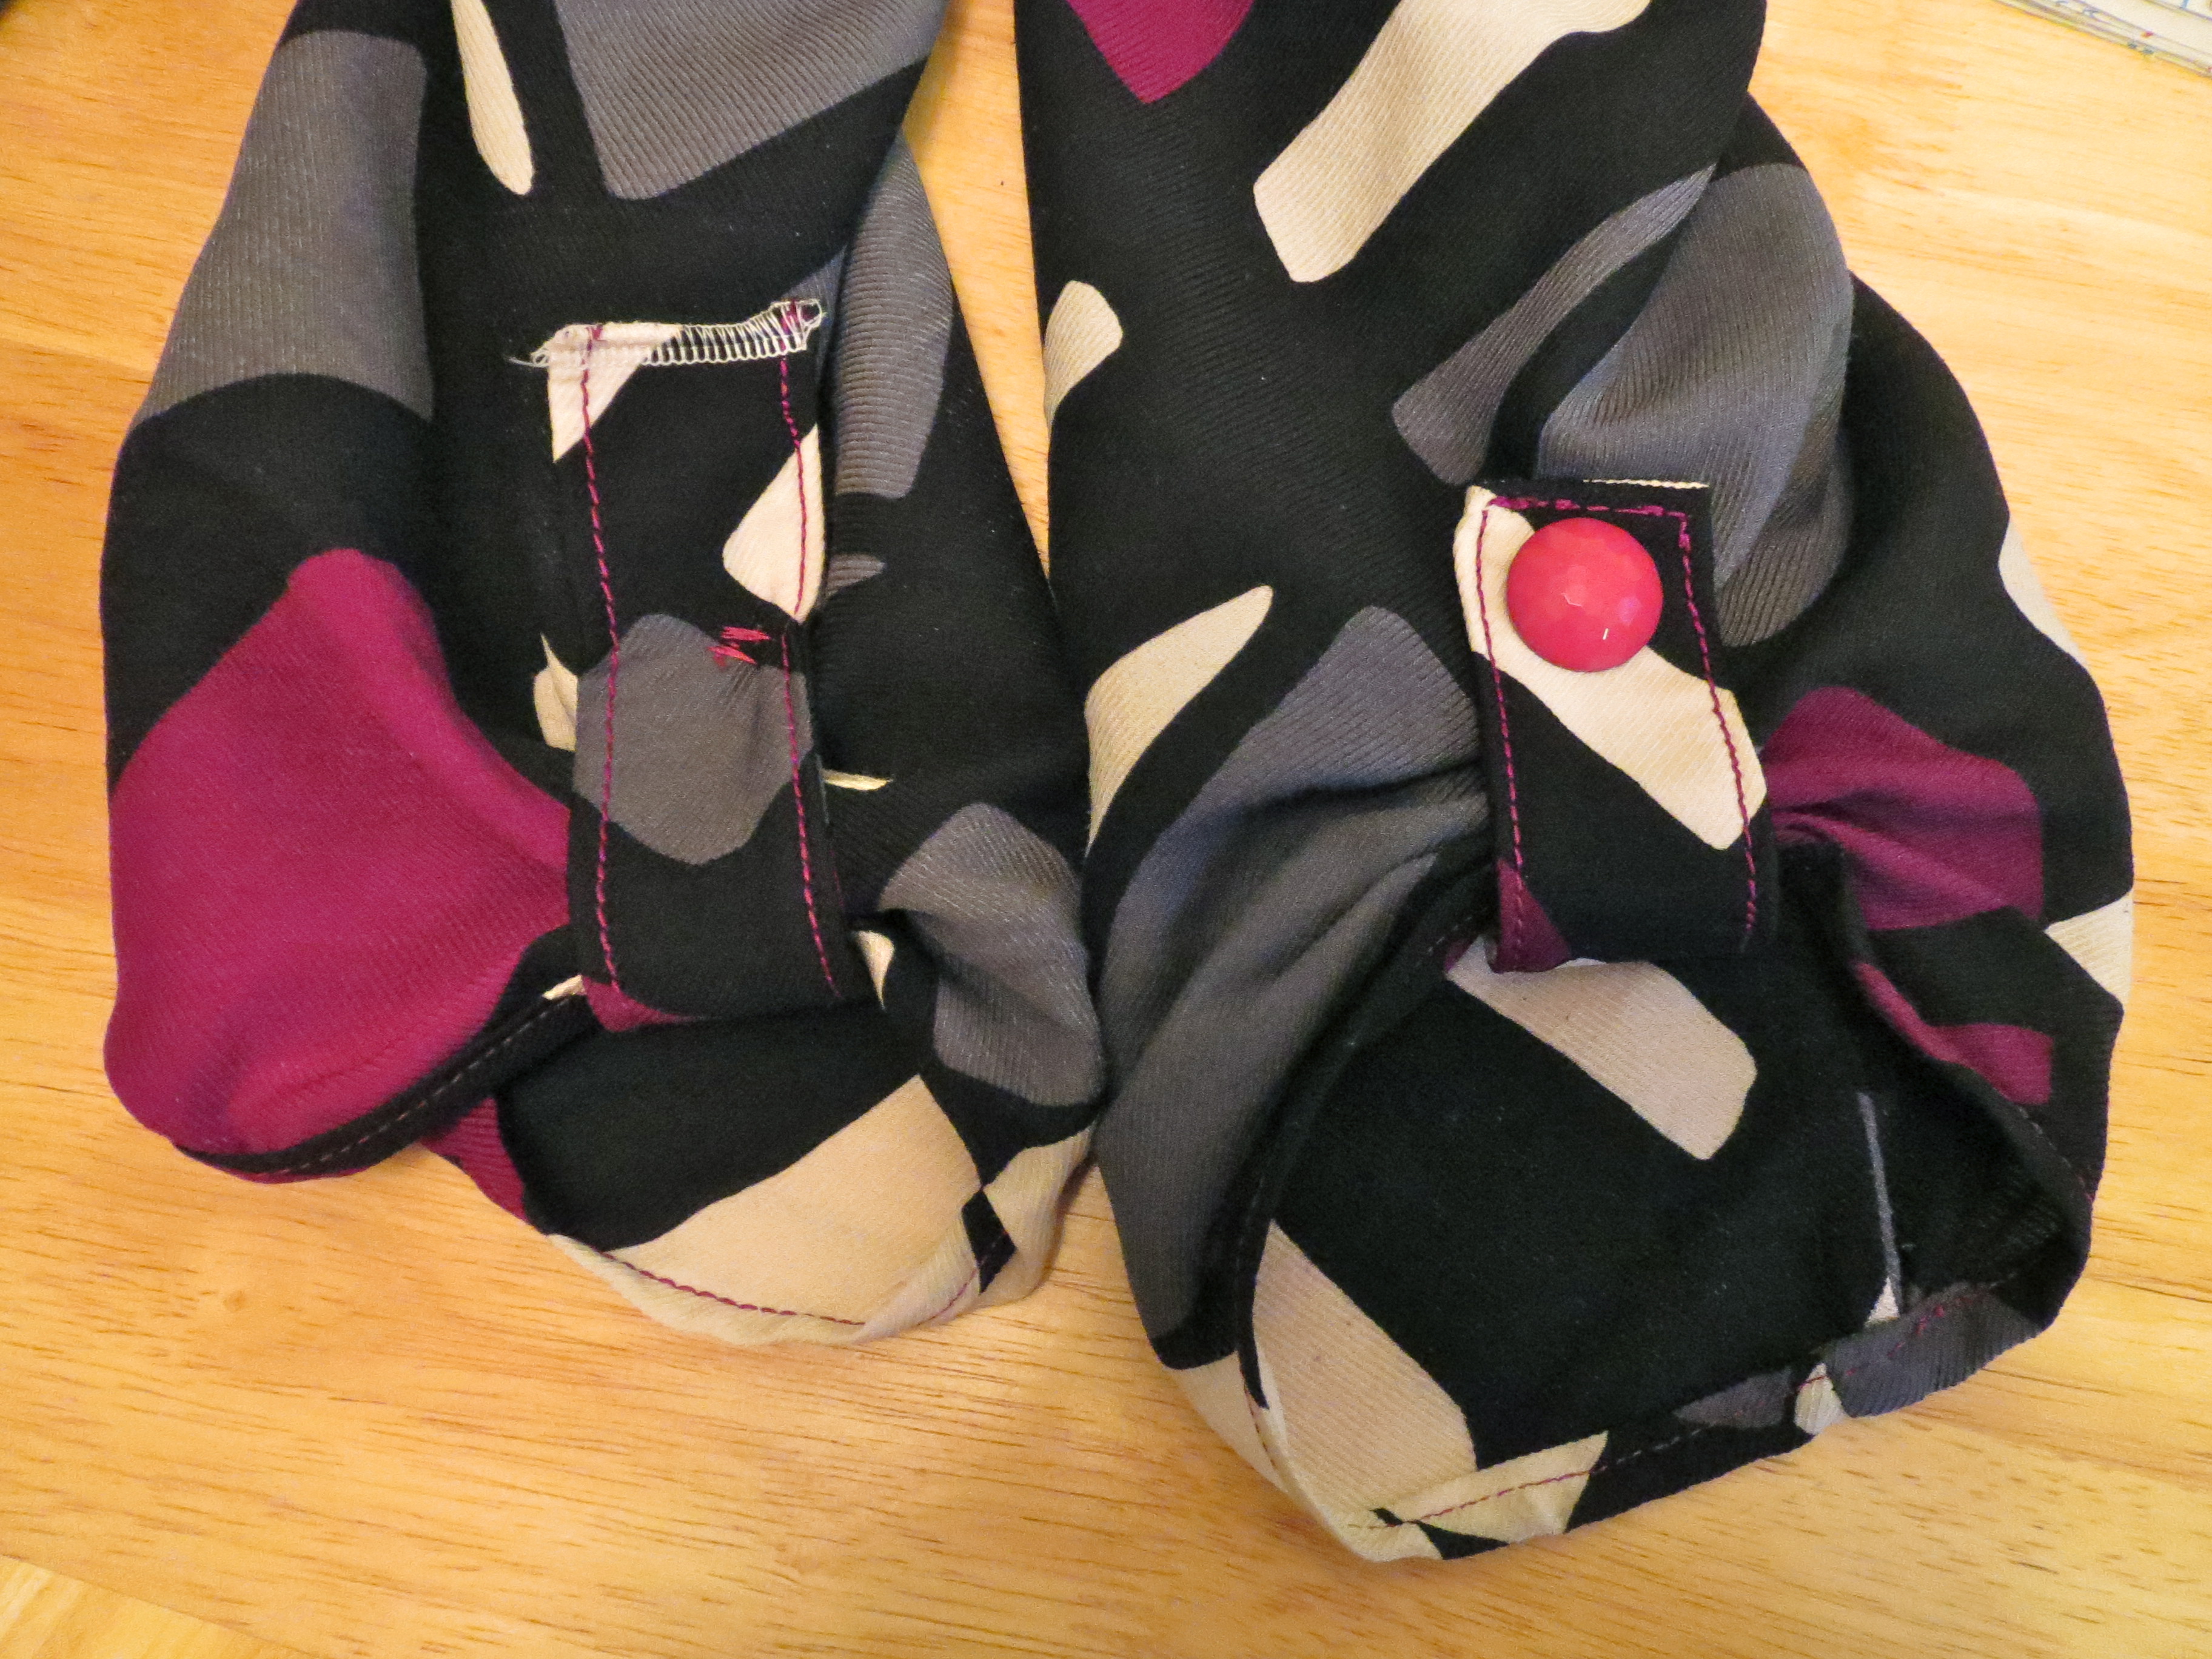
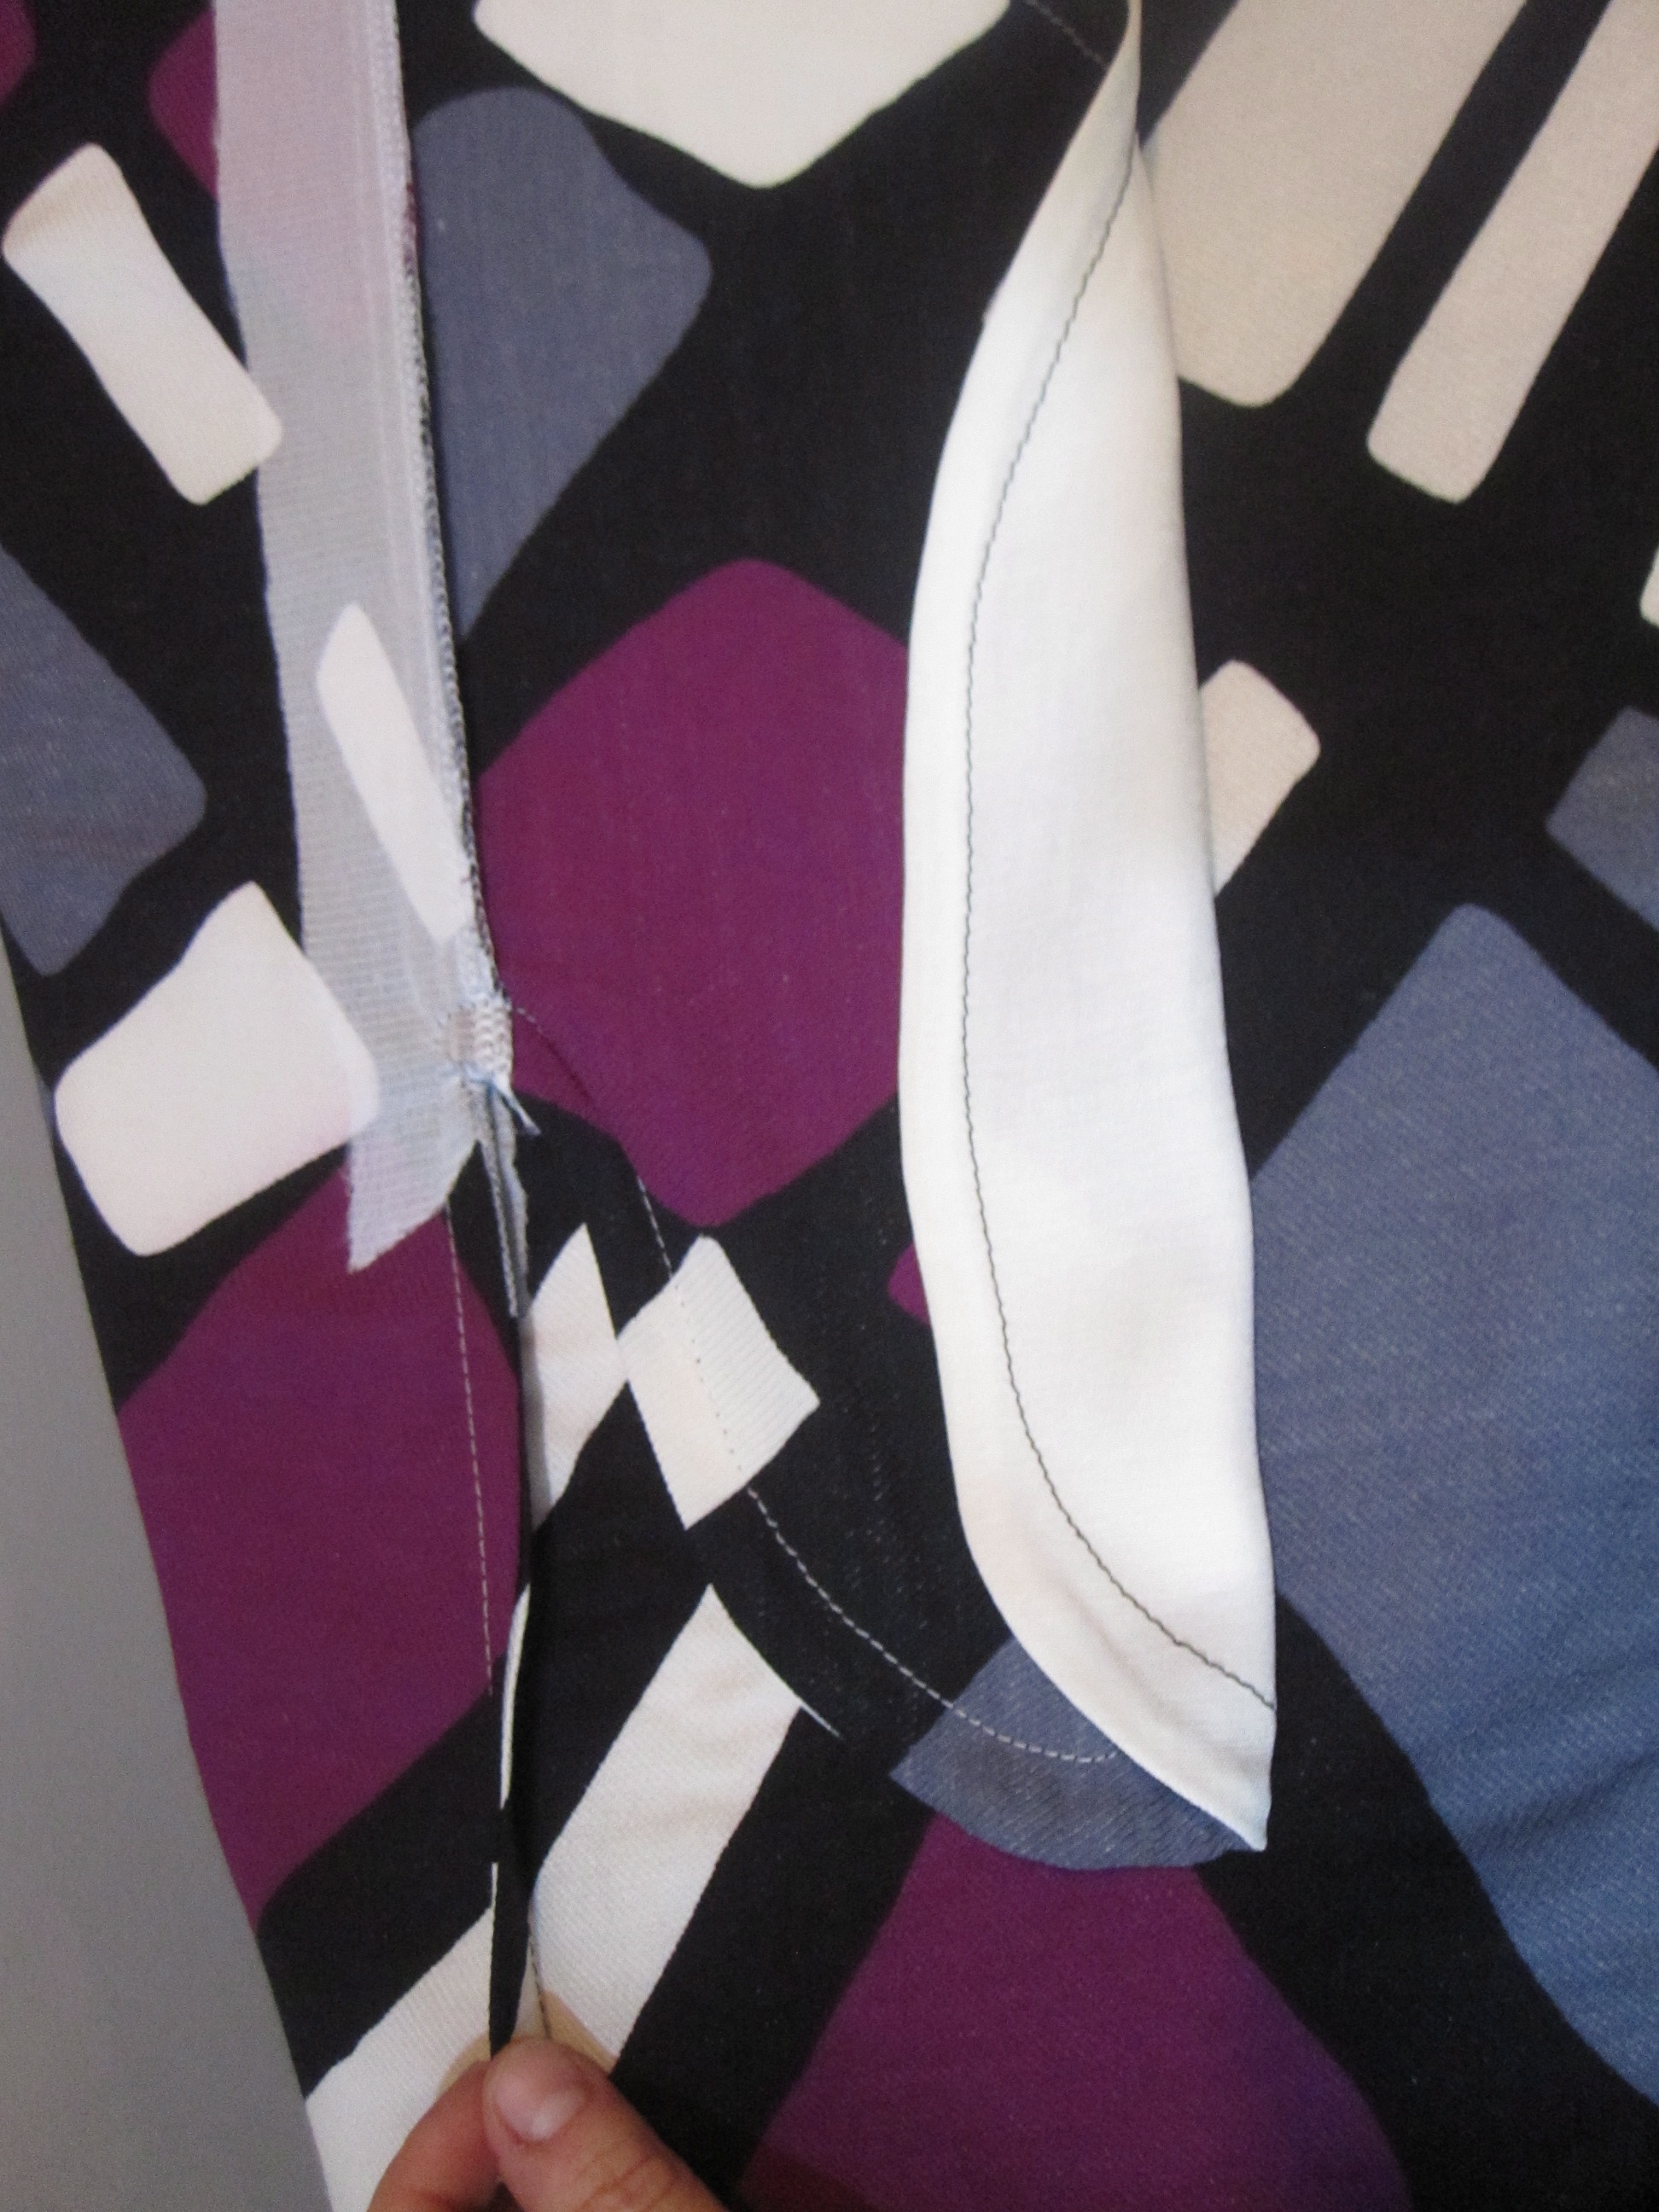
I liked the tab detail on the sleeves, though I didn't use the instructions. I just made some tabs, placed them in an aesthetically pleasing place on the sleeves, and stitched them in place using a decorative button. I got a whole tube of these at a vintage store a couple years ago--I was glad to finally use a couple.
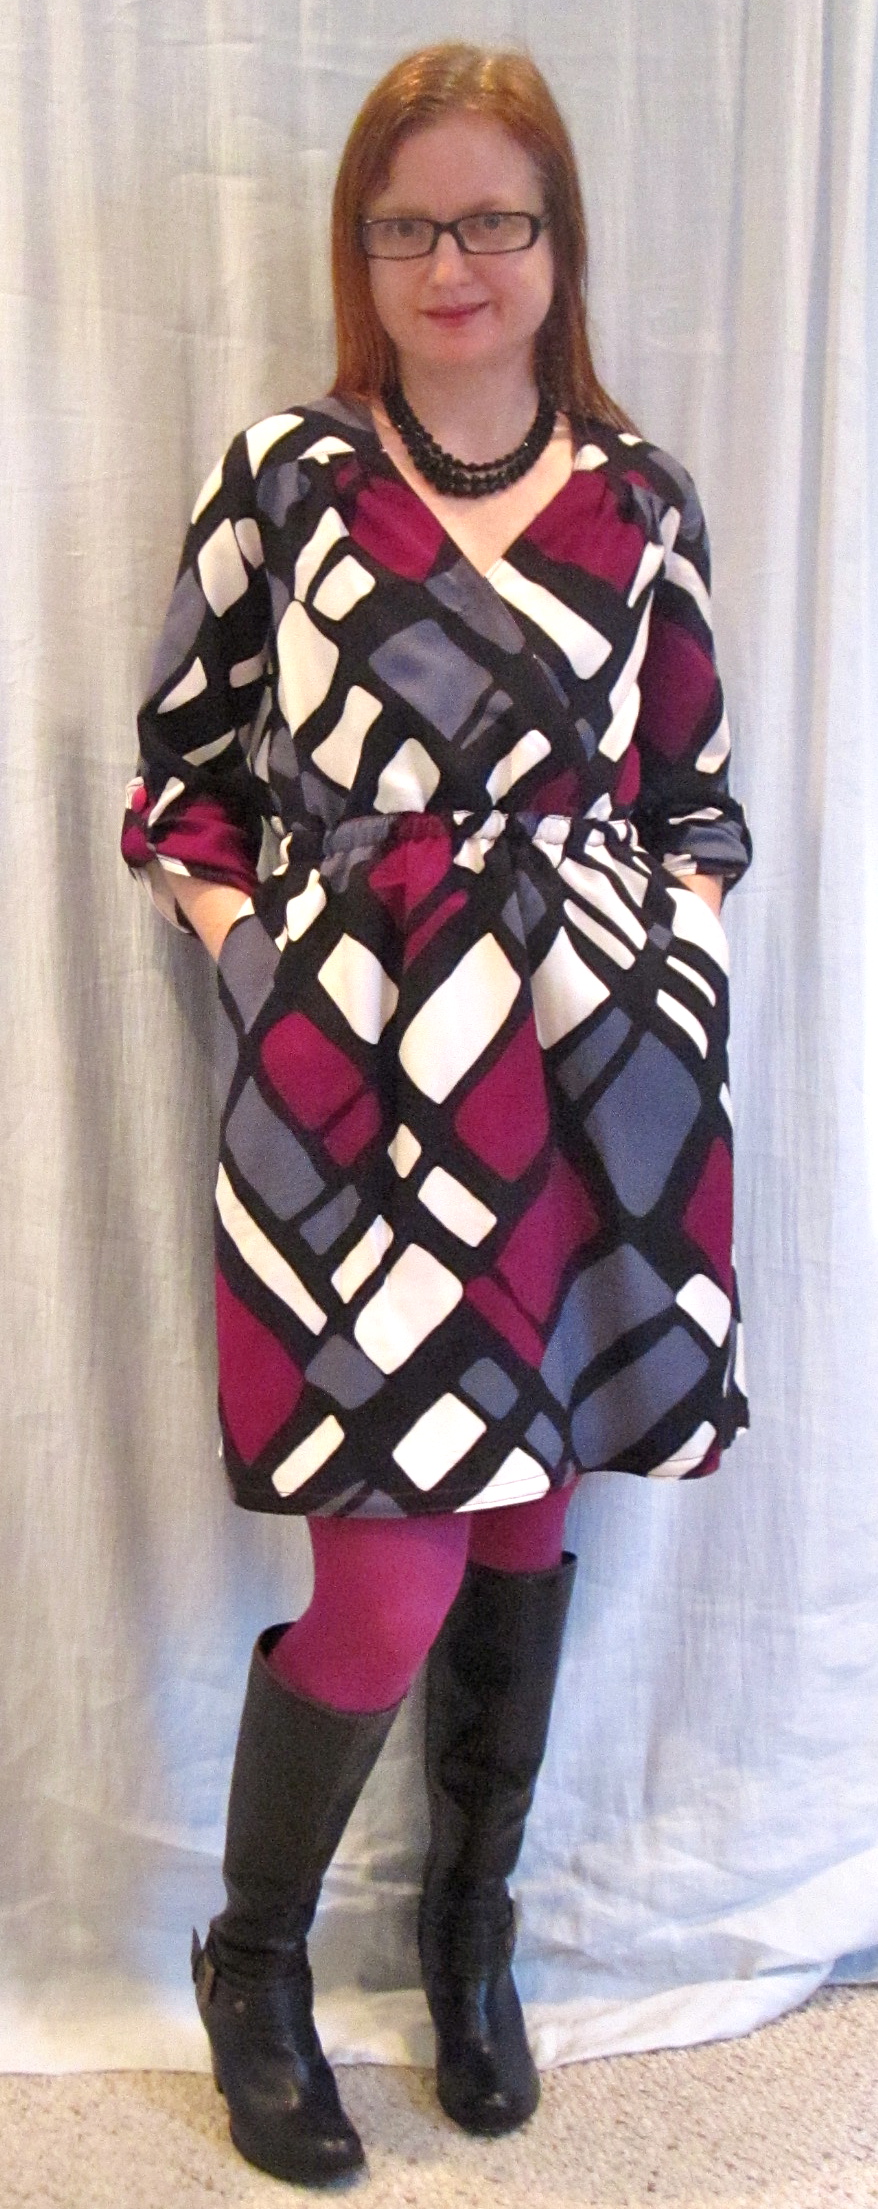
I was a bit skeptical of the elastic waist on this, thinking it might look cheap and lowbrow, but I think it works with the style. It certainly made fit easy! The belt in the thumbnail photo was misguided (or at least I should have tightened it a notch), but outdoor photos are so much nicer! That is at the National Gallery of Art in DC, which has glass pyramids like those of the Louvre, though not quite as majestic. It's much better without the belt.
The only thing I don't like about the pattern is the pleats in the bodice at the shoulder yoke. They look terrible on the pattern envelope, and even in my drapier fabric--it is about voile weight--still don't look awesome. I'd like to make this again converting the pleats to gathers (folding out some of the width), maybe for summer to take advantage of that wide shoulder. It's a pattern that requires a careful fabric choice. I'll have to be on the lookout for a lightweight cotton or cotton/rayon. Rayon challis would be ideal but I just hate how non-durable rayon challis generally is. I had a RTW rayon skirt that was a workhorse in my wardrobe for a good 7 years until I got sick of it--and it still looked great. But I've never found that quality rayon in yard goods. My lightweight woven rayons generally shred at the seams after a couple of years.
All photos are here and the pattern review is here.


.jpg)


7 comments:
I think it looks great! I hardly even notice the elastic waist in the busy fabric, and plain elastic is bothering me less and less anyway. It's a very flattering shape! I always try to ignore the photos and go straight to the line drawings when looking at new patterns. I don't think I always make good fabric choices, but at least I can say I'm better than the pattern companies!
Such a cute make! I love how you personalize for your shape and look...which I know is a big part of making our own clothing -- you just have an exceptionally good handle on it. Well done!
Cute! I love the sleeve tab details. The fabric is really pretty, even if it does like to run in the wash...
Love the colors on this one. (Yeah, the picture on the envelope is horrible. Do they not get they idea that you should use the finished item to market the pattern? Sometimes I wonder.)
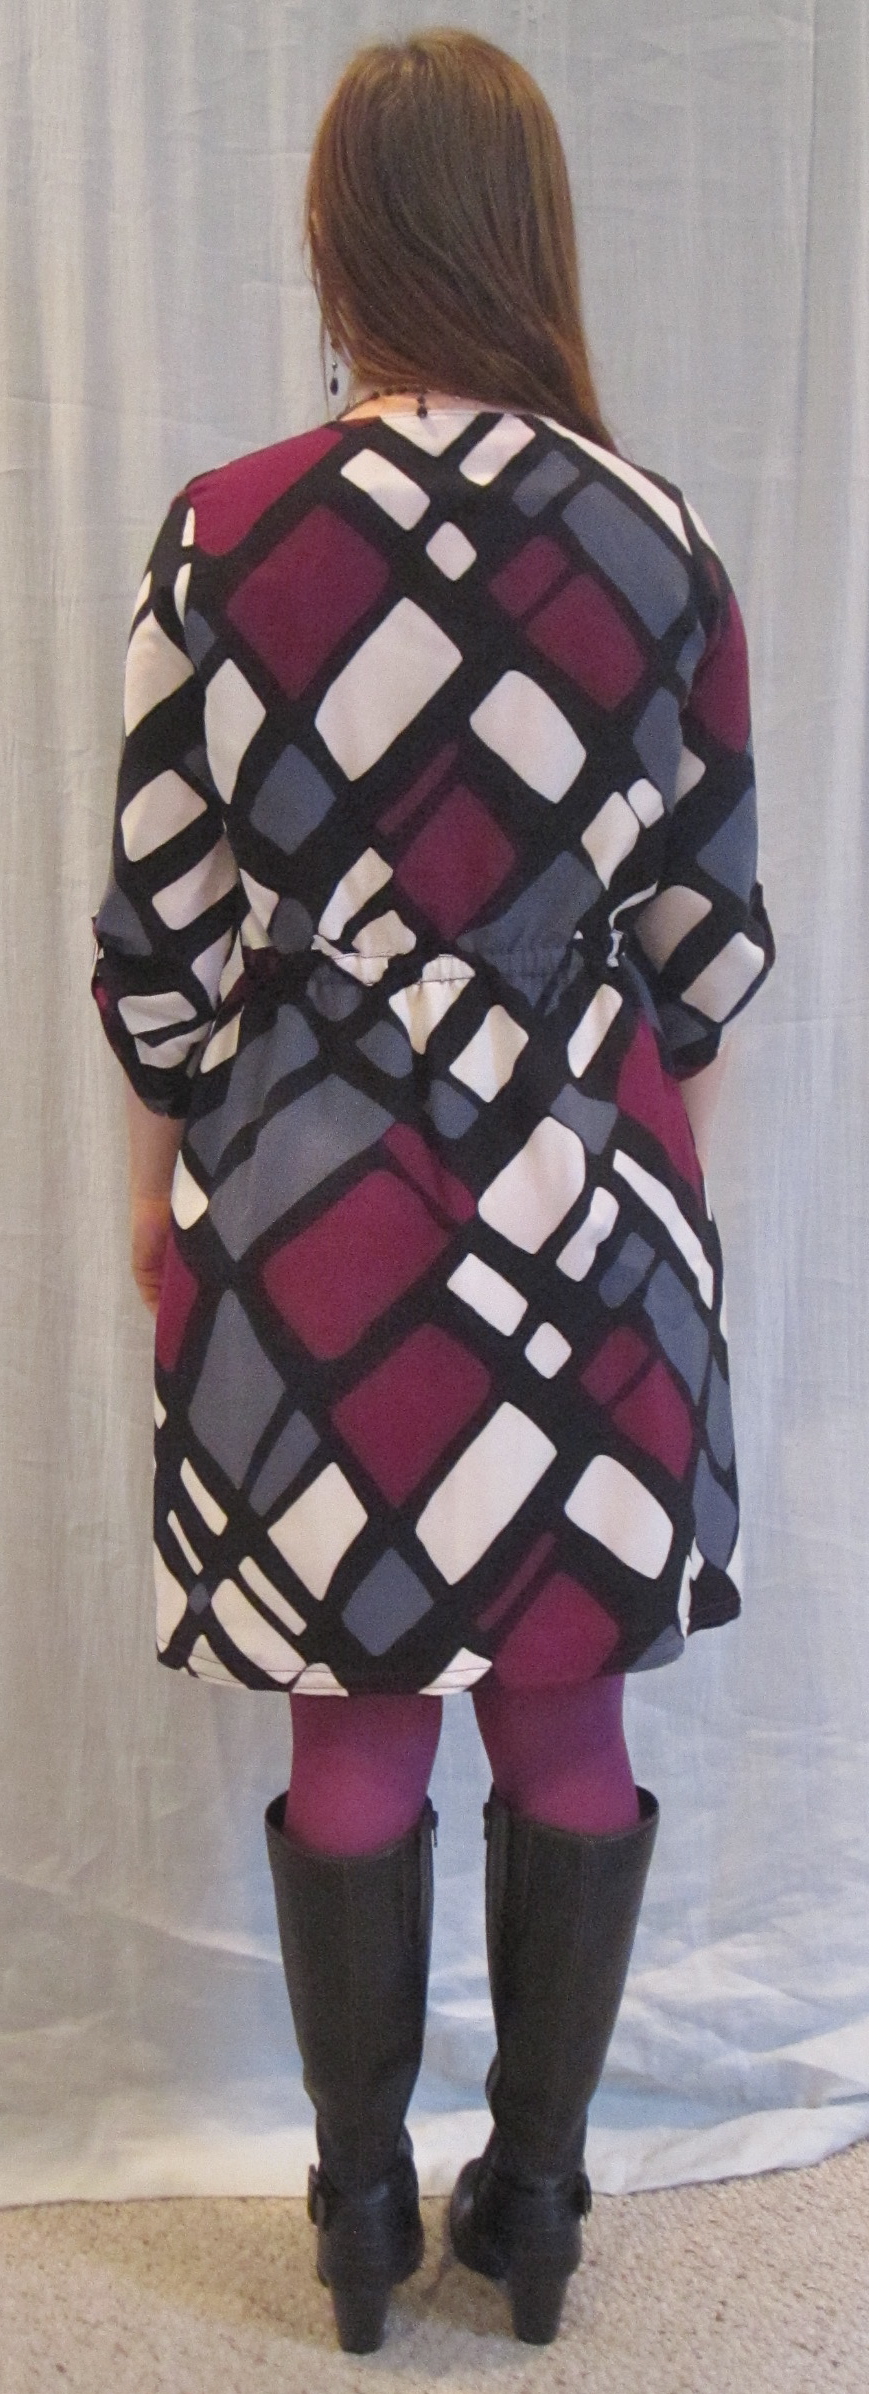
I really like the dress. I am impressed by the great job matching the print at the waist.
You might be able to remove the pink spots with synthrapol or some other dyer's detergent. They are formulated to suspend dye molecules that are not permanently bonded to the fibers. That way, the dye can not "back-stain" the lighter areas when the fabric is washed.
Even if the pink doesn't come off, you may want to keep a small bottle of dyer's detergent on hand. (It's super concentrated and a capful does yards and yards of fabric.)
http://www.dharmatrading.com/chemicals/synthrapol-detergent.html
or
http://www.dharmatrading.com/chemicals/dharma-professional-textile-detergent.html
Love the colors of the dress - just what is needed at this time of year! I love it with colored stockings and high heeled boots - very cute!
What a gorgeous dress! Your work and efforts paid off. Thank your for a very helpful review.
Post a Comment