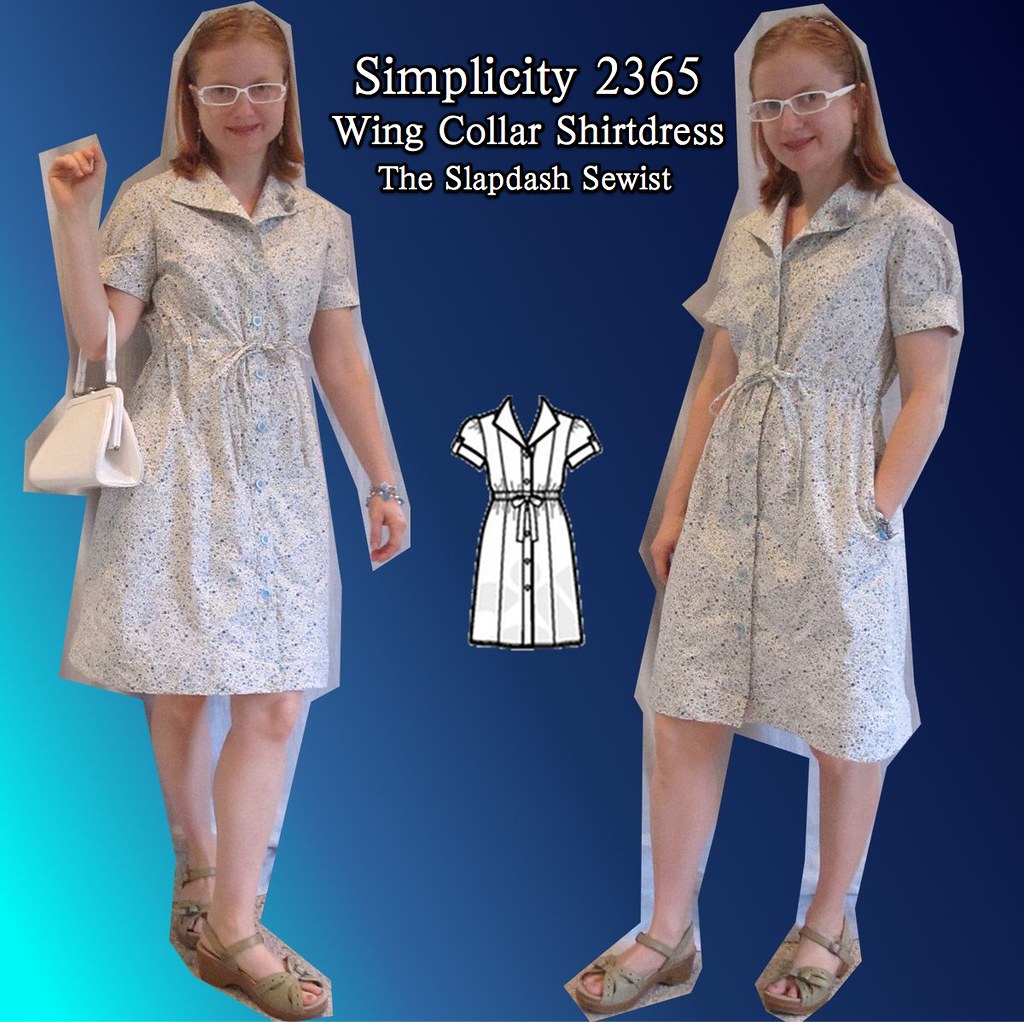
I bought this pattern,
Simplicity 2365, sometime last year, I think. Shirtdresses have been popular the past few years, but I find dresses tricky to fit without a waist seam (see, e.g.,
Burda 10-2011-123). However, this one works as one piece because it is not fully fitted, while the empire drawstring gives it some shaping so it's not a sack.
I also really like the collar. Incidentally, what do you call this kind of collar? Google-searching indicated wing
collar or revers, but for all Google's knowledge I haven't found it to
be overly smart about fashion technicalities.
The pattern includes another variation, a more traditional tunic with pintucking, which has been very popular.
To get a dress I added two inches to the tunic length (view C), but it was way too short. I didn't have much choice on this project because of limited fabric, but next time I would add 5-6 inches for ample length and hem allowance.


I started with broad back and small bust adjustments. LOVE a princess seam, man. So easy for bust adjustments. With the amount of ease in the dress, I'm not sure my SBA really made a difference but it makes me feel better.
The collar and placket are a single pattern piece--with a seam at center back--which is really nice design touch. Without a seam at the neck, the collar sits really nicely. I love that there is no bulk from the placket/collar intersection, which is the bane of my existence on standard blouses.
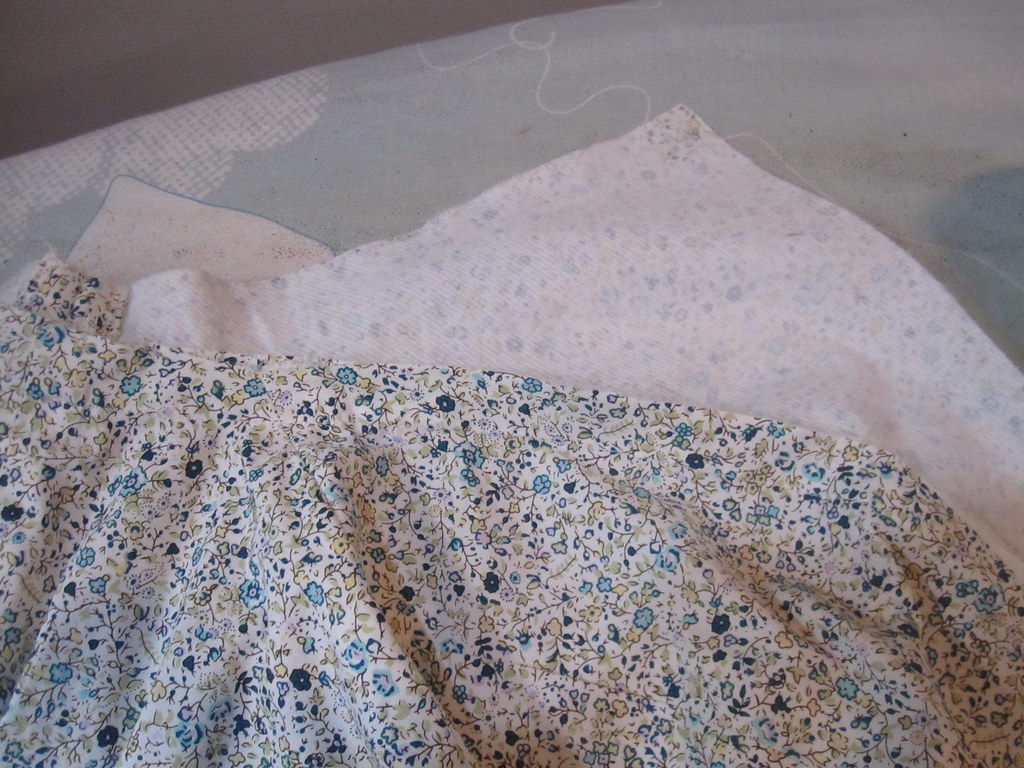
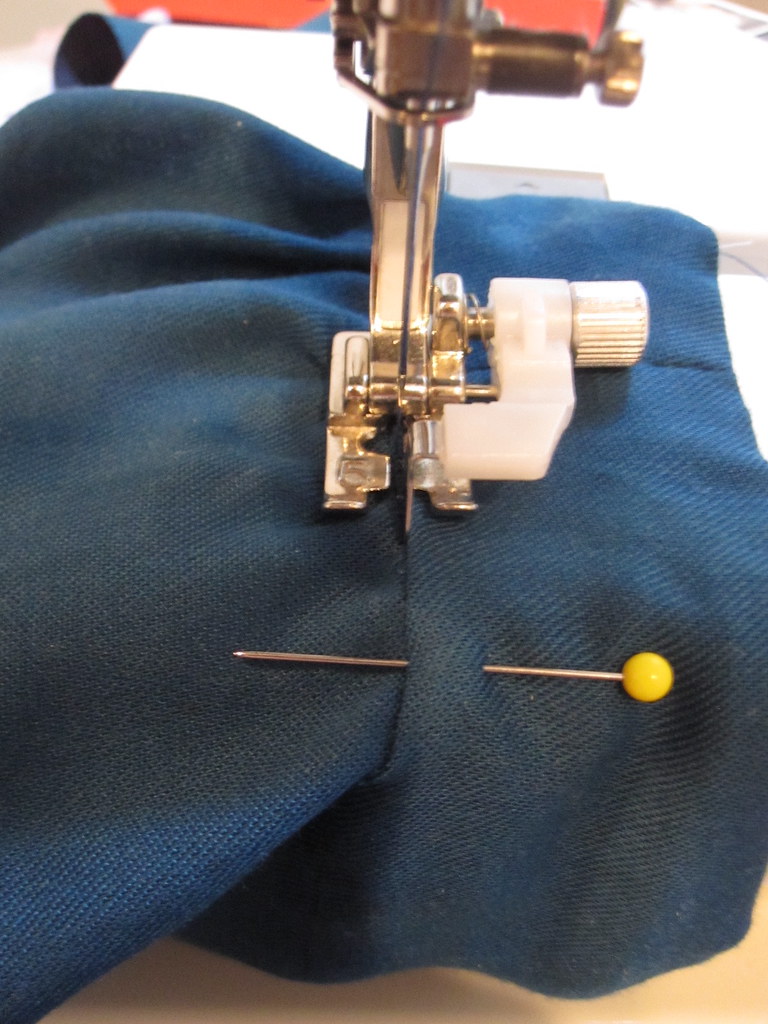
As per my usual procedure, to make things easier and allow for a machine finish I applied the collar/placket facing to the wrong side of the fabric first.

Next, I sewed the "outside" collar/placket to the facing (not really outside because the "inside" or facing collar/placket is folded out for the collar) along the outer edge of the facing.

Turn under the seam allowance of the outer collar/placket and pin in place.

Finally, I topstitched the turned under the seam allowance of the outer collar/placket close to the edge. Very easy, nice clean finish, no tedious hand-sewing or nerve-wracking topstitching from the top and hoping you've caught the folded seam allowance on the underside (as per the pattern instructions). With this print, the
topstitching is fairly invisible.
I used some
vintage buttons, which is always fun. I bought them at a
Goodwill trunk show in 2009 for $1.99. They were made in Japan and originally cost 29 cents, but I have no idea what that means for the age. As it turns out, the buttons are pretty much decorative--with the drawstring untied I can just slip the dress over my head. I wouldn't have opened the buttonholes if I'd known that (and won't if I make this again). I realized after sewing the buttons on that they are very dusty inside, LOL. I never thought about it, but I suppose they have been sitting around for several decades and were bound to be a bit dusty! I hope the color doesn't look too different after they come out of the wash.

Since I was making a dress and not a top, I thought I would move the casing for the tie down about 1 1/2 inches, as I felt the marked height would have been too empire on a dress. However, when I got the dress try-onable I pinned a piece of elastic in place to test various heights and I ended up pretty much at the marked line.
The casing is applied along the inside at the marked placement line, not at a seam which is my preference. This was a little nerve-wracking for me because a straight line gives me the vapors. I think it is a little low in the back. Rather than use packaged bias tape, I just tore off a cross-grain strip of batiste--the bias function is not needed. Where the tie emerges next to the placket you sew a buttonhole.
I made my tie with two fabric pieces connected by about 3 inches of elastic in the center so I wouldn't have to yank the casing straight to put it on and take it off.
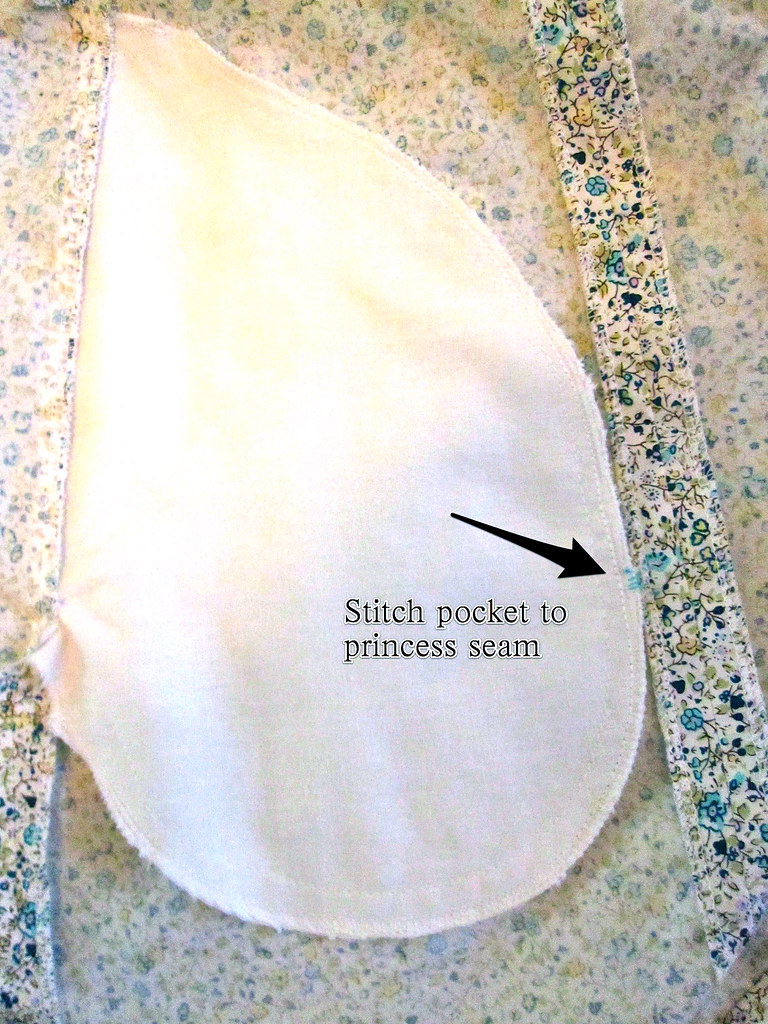
Also because it was a dress, it really seemed to need pockets. I did a little reorganizing recently and *finally* got around to putting up a
cork board to holds frequently used patterns/elements in plastic sleeves, including a couple different pockets. I didn't have enough fabric to cut self pockets so I used cotton batiste. I should have thought to face the pocket pieces attached to the back with small scraps of the fashion fabric because the white fabric shows if the pocket pulls open. I solved this by tacking the pocket to the front princess seam to keep the pocket pulled toward the front. It works pretty well.
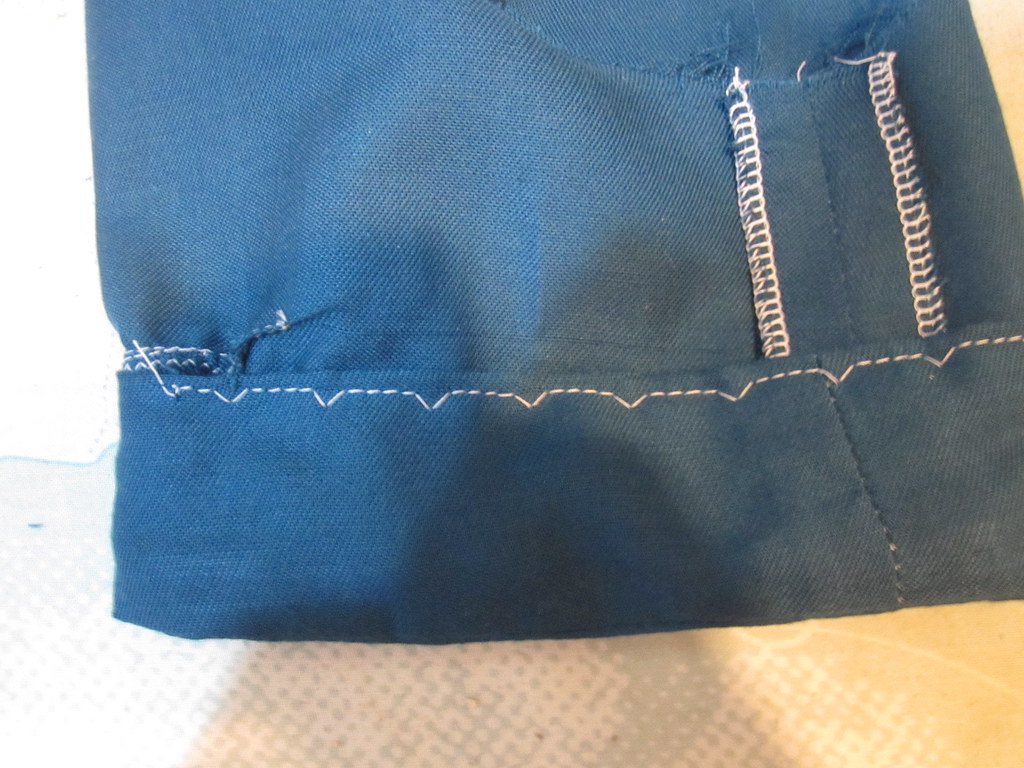
When the dress got try-on-able I realized it would be way, way short. I cut 3 inch wide strips of fabric from my scraps--and they were definitely scraps, as you can see by the
pile of what I had left after cutting my hem strips!--and pieced them together. I debated possibly making a ruffle, but in the end decided to do a simple faced hem band, using the same inside-to-wrong-side-first method described above for the placket/collar.
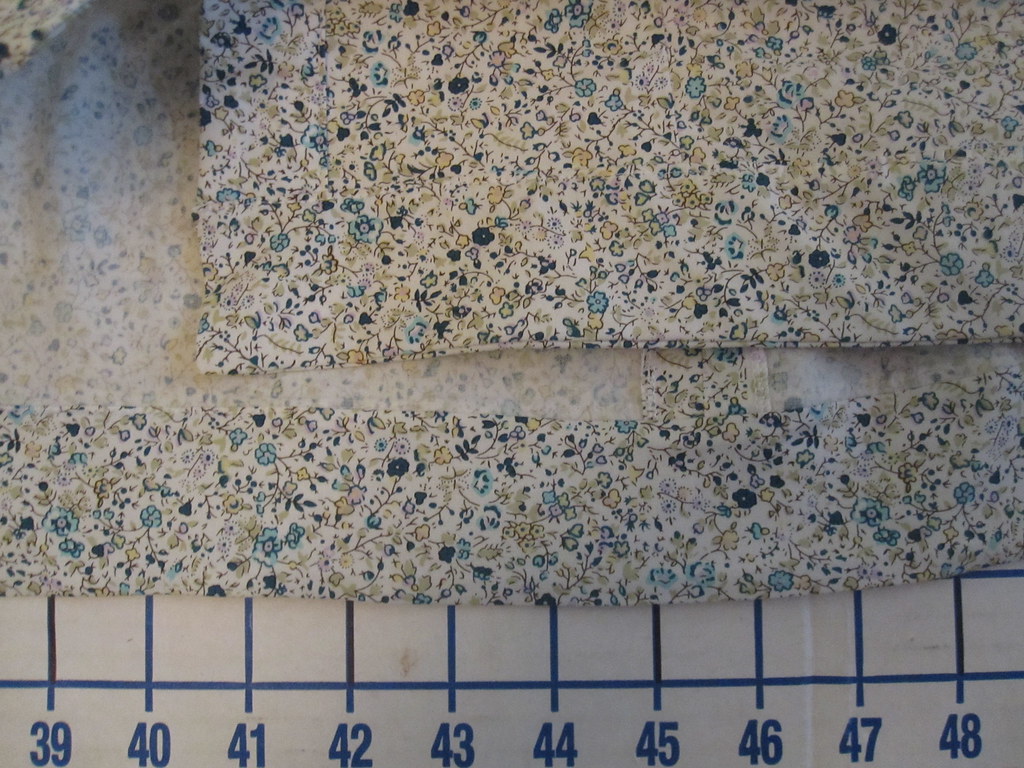
In the end, I actually could have done a 1 1/2 inch hem band instead of 2 1/2 inches, as the dress could be slightly shorter, but eh. I am sort of prudish about hemlines for work. I'm comfortable with right at the top of the knee; any higher and I think about it all day, wondering if I've gone too short.
For instance, I don't wear my
Burda 02-2009-124 lace dress very often because I feel that it is a whisper too short--only about 3/4 of an inch, best seen in
this photo, but enough to make me worry that I am lacking propriety. (BTW, I did go back and fix the zipper, trimming the lace to the edge of the finished zipper edge and hand-stitching it in place so there is only one layer of lace there.)

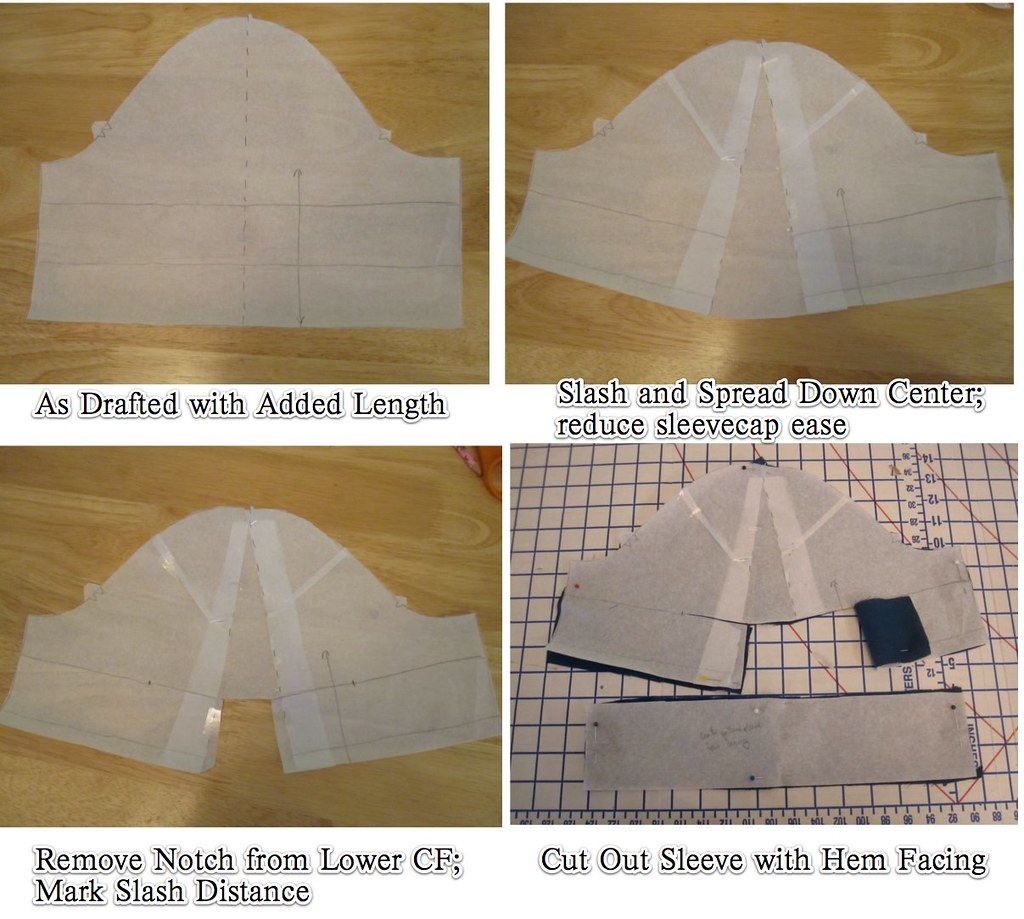
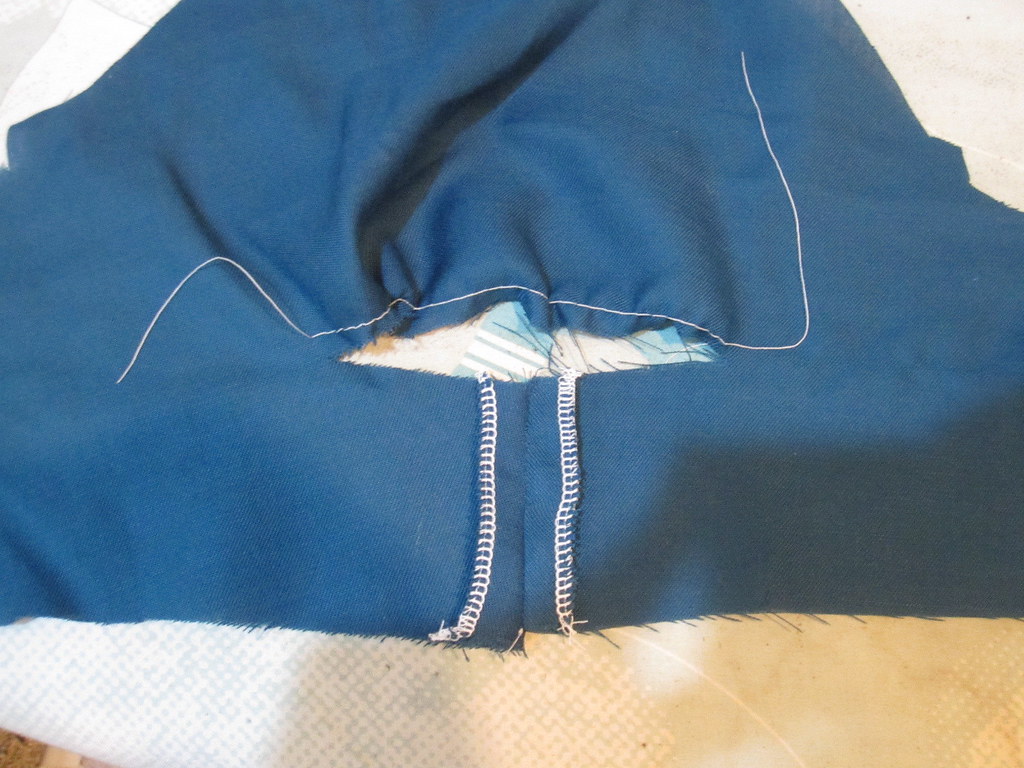
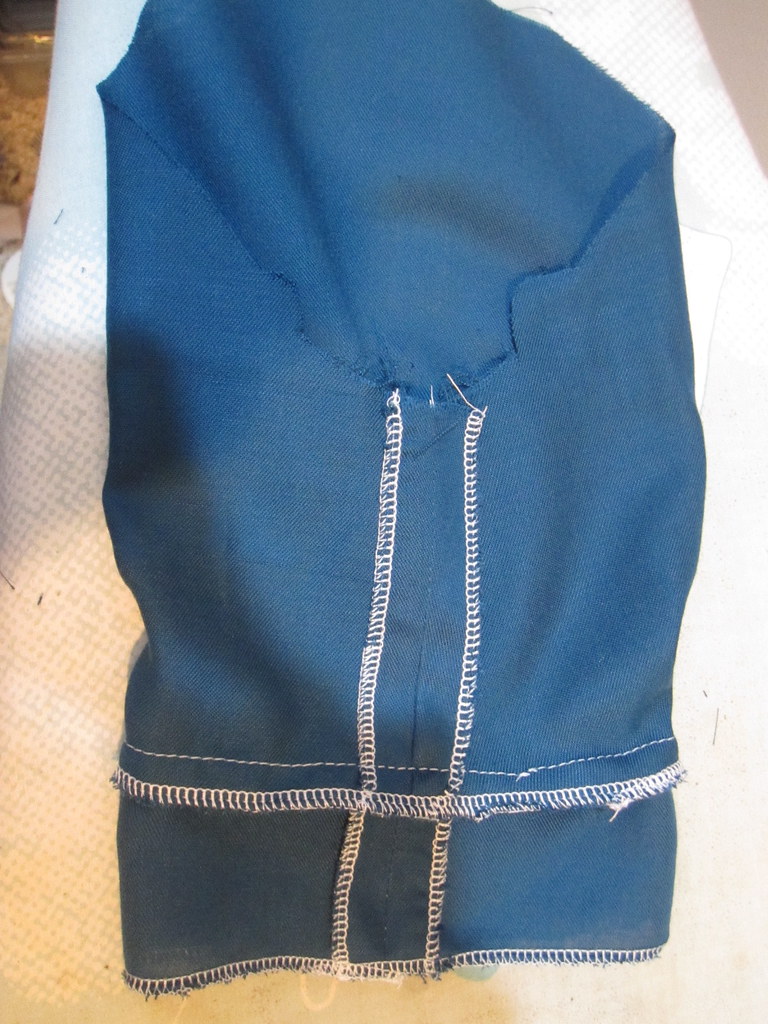
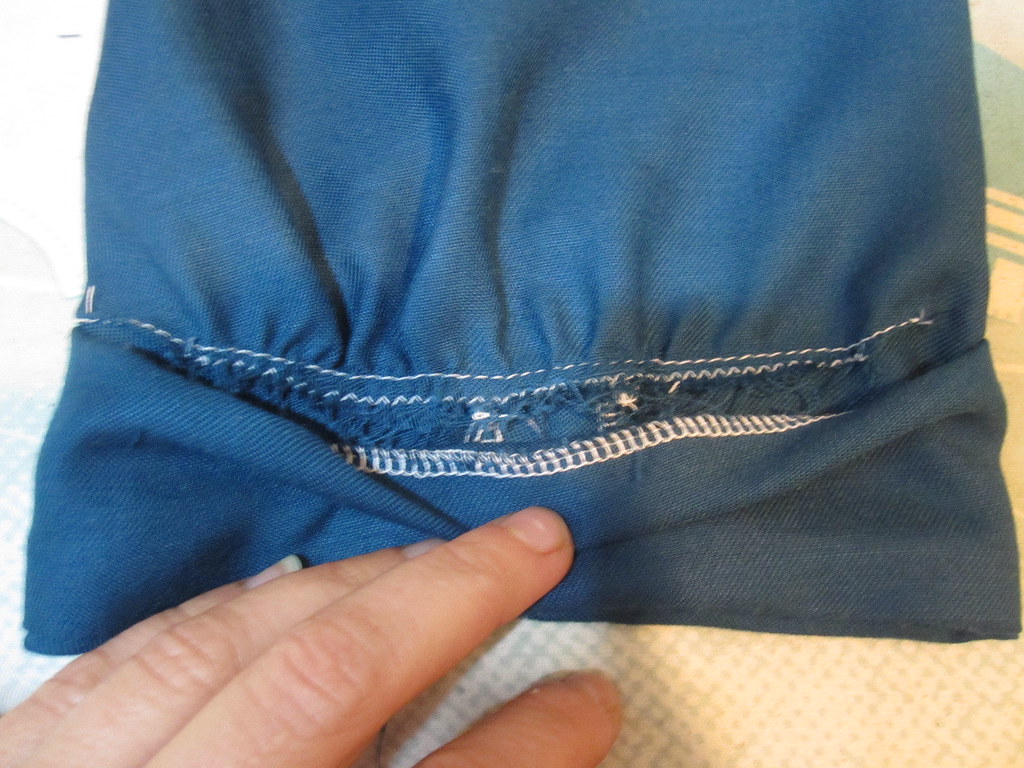
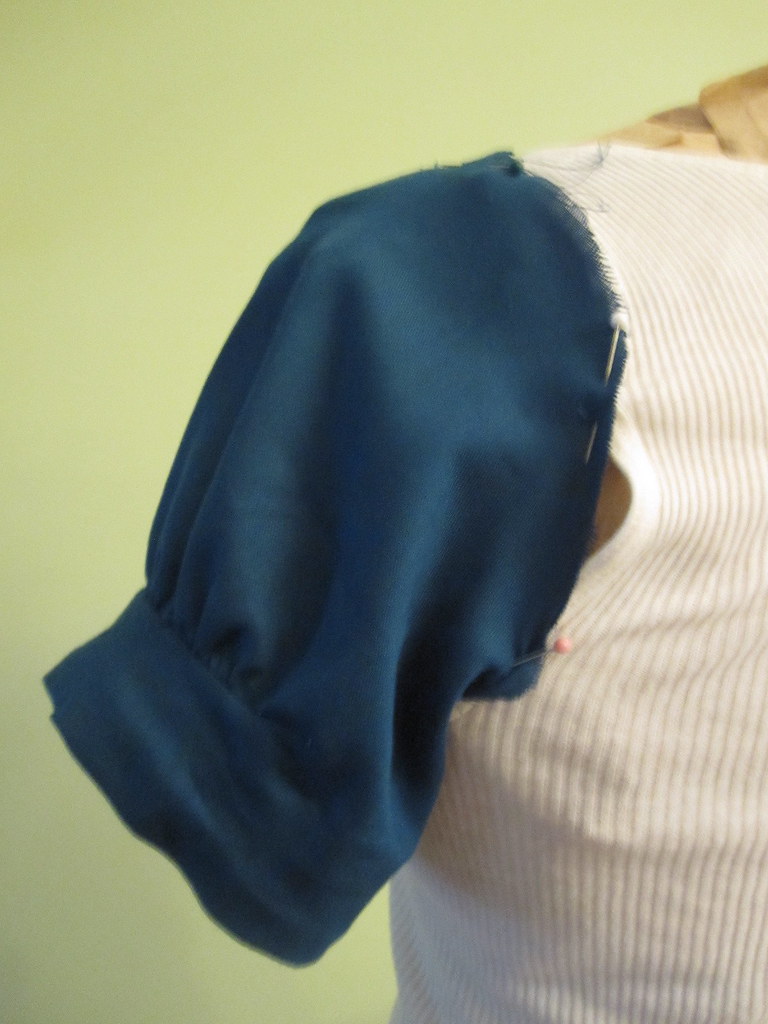
I used the faux hem band gathered sleeve variation described
here (
hand-stitching to the gathered seam instead of stitching in the ditch). I am really happy with the way it looks on this dress. It is a nice complement to the feminine style and so much more interesting than a plain sleeve! Though in Simplicity's defense, there is a drafted short sleeve with a cuff and tab detail that is more fun than a plain sleeve.


I bought this fabric nearly four years ago from Chic Fabrics in New York ($5/yd). The print is in my colors and I couldn't leave it there, but it took a while for these little Liberty-style florals to come into fashion.
I had considered various projects through the years but nothing really grabbed me until now. I think I aged it just the right amount. `-)
This pattern turned out just as well as I'd hoped. I really love the collar and it is a great place to showcase this brooch from my mom. I can definitely see making it again with long sleeves as a winter blouse.
All photos are
here and the pattern review is
here.













.jpg)


.jpg)


