
There are a lot of PR contests that I enjoy, and the Ready To Wear contest is one I look forward to every year. I am quite content to sew with patterns and very quick to correct real-life non-sewing friends who think I am a "designer," but drafting the occasional pattern challenges me intellectually and increases my knowledge of how to adjust and sew already-drafted patterns.
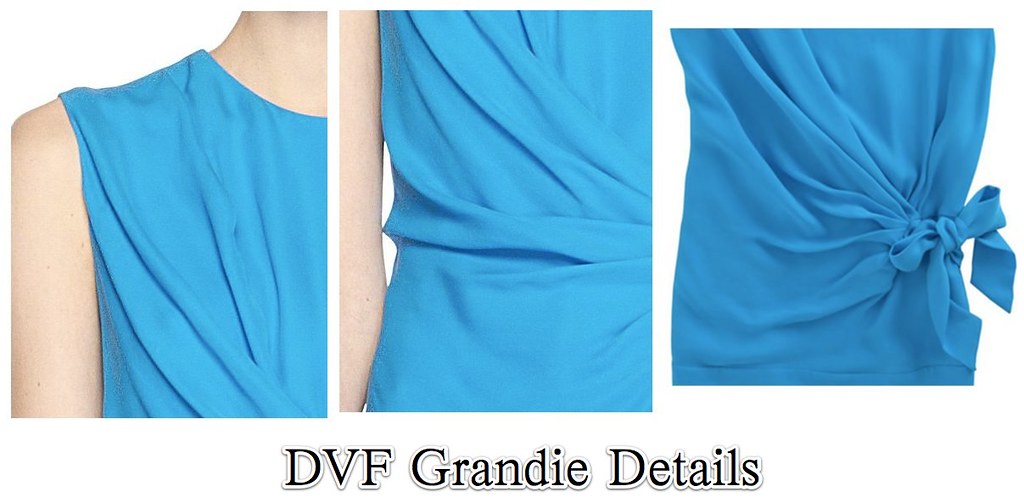
This year I went through my Pinterest boards and settled on Diane von Furstenberg's Grandie Top (originally $245). It's a (deceptively) simple shape, and would be lovely with sleeves for Fall/Winter. It's a great way to show off a beautiful piece of silk, and is office-appropriate without being boring. Kind of the holy grail of patterns! How hard can it possibly be to draft?
Oh boy.
The thing about this top, is that it has all that volume in the front, but after carefully looking at all available detail shots (it's available on multiple websites, all of which did their own photos, so I saw it from as many angles as possible), there do not appear to be any seams where fabric was added. So the front *seems* to be all one piece.
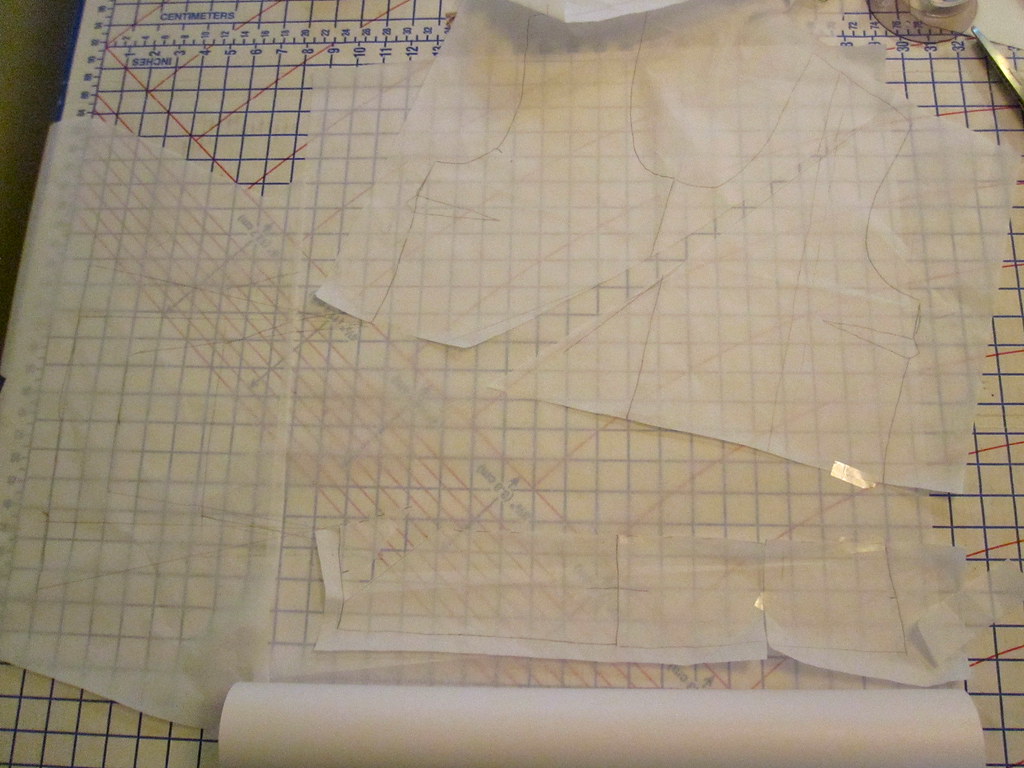
I started by developing my base pattern, which I'll have to write about at a later date because I haven't taken photos of that. I started with an old BWOF tunic because I don't have a darted woven pullover top base. I would like to finish the process of fully developing that pattern.
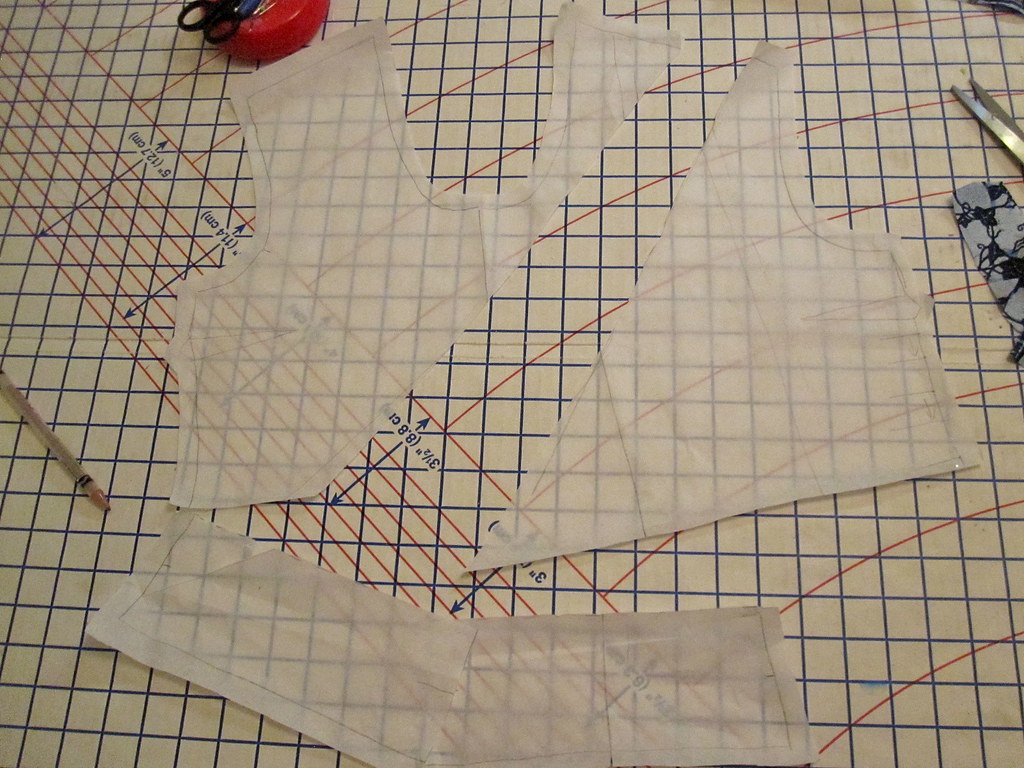
My first idea was to play off the pattern drafting for my McCall 6363 knockoff. I figured I'd truncate the growth and add a tie on the end and Voila!
I also thought I'd try out the idea I had at that time of splitting the pattern vertically about 1/3 in from the opposite side seam to reduce the growth. I do not have a 3D mind people; I did not realize that would add huge amounts of width to the neckline or the shoulder seam. So I split the pattern just along the waist as before.


Um, not voila.
It was absolutely nothing like the Grandie top. At that point I almost gave up on the idea. I was so sure that my plan would work and when it was not even close I had absolutely no idea where to go next.
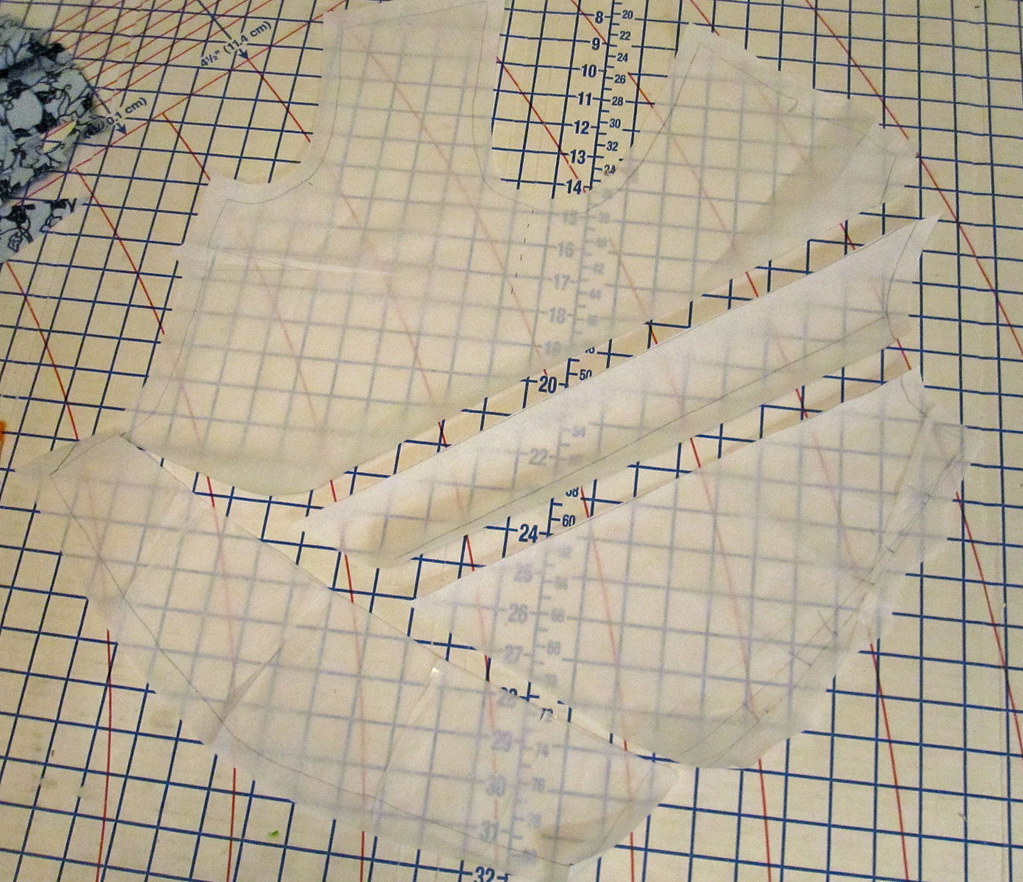
But after thinking about it for a while, I went on to muslin 2.0. I determined that the fabric all had to be added into the body of the blouse, no growths or extensions. That means slicing and spreading, but where? The Grandie top has a few small pleats in the side seam, so I started there, splitting at the side seam.
I was still not getting nearly enough volume. I took another look at the inspiration top and noticed it had a pleat in one shoulder. Another point for adding volume. So I split at the shoulder and the waist, adding volume from both locations.
Apparently I didn't take a photo of muslin 2.0, sorry about that. Suffice it to say there was not enough volume.
So I went on to muslin 2.1, splitting muslin 2.0 to add yet more volume. Although the top drapes and cascades down from the armscye, the armscye itself is smooth with no pleats. However, I thought that I might be able to get that cascade if I added some pleats there.
I stitched up muslin 2.1 to see what I had.

Just ok. Not that much like the original. A whole lot of length added to the side seam, which is not the case for the original, and not enough width underneath the crossover. The armscye pleats didn't add much to the volume needed for the front faux-crossover, so I did not keep that in the final pattern.
I was making progress but success was not guaranteed. I went back to the drawing board to do some more thinking.
All photos are here.


.jpg)


20 comments:
I went looking for more pictures of your inspiration top, and from the images here it looks like there's a horizontal seam hidden behind the fold and tie. I bet if you open it up there you'll have no problem adding the amount of volume you're looking for.
I agree, I see a seam behind the fold and tie, and I am fairly sure I see one coming down from the shoulder, tucked in behind the pleat. Very interesting post!
I'm hoping to start entering the pattern review contests soon, my kiddos have been keeping me way too busy lately (surgery a couple weeks ago, etc. etc. etc.). They look like a lot of fun, even though I don't remotely expect to win.
I think you're right, Angela - it looks like it may even be one curved seam that goes down and across.
It's a gorgeous top, I'm tempted to try making one for myself now.
argiope and Angela, sharp eyes! I see the seam running on a diagonal. I also see the zipper on the left shoulder seam. That's interesting.
trena, your muslin is so close and I'm looking forward to the next installment.
Can't wait to see the next version! That style has me thinking too... Good luck!
I totally understand about the two-dimensional mind - trying to think in 3D truly makes my brain hurt! All the more kudos to you for trying to make this. I think you're getting there, and it's a gorgeous piece, well worth creating.
Wow, cute top! Indeed there is a seam from the left shoulder to the waist and there is a horizontal seam from the meeting point to the right waist/side seam intersection. That should make adding the fullness so much easier. Can't wait to see how you get on with this one.
I too have the 3D mind inferiority complex. But well done for setting yourself this challenge. Maybe the designers want to make us think their prices are justified.
My own dabblings in pattern-cutting have given me anxiety dreams in which I'm drafting a pattern that defeats my capabilities.
Often it is the deceptively simple looking pieces that have the cleverest cutting. I can't offer any advice but I am very interested in how this turns out. Maybe a nose at the real thing in a store would help.
There definitely is a seam (like a big dart) coming down diagonally from the left shoulder with pleats at the bottom. One side of the tie is sewn in here. The horizontal seam at the waist ends up in this dart. with this construction you'll be able to add all the extra fabric into the middle of the garment and very little additional length (if any) at the side seams.
I would slash it vertically from the shoulder so there was a vertical line from the shoulder to the bottom hem, in far enough to not touch the armscye. Then pivot from the shoulder, and at the same time, curve the side seam until it's almost at 90 deg from where you'd expect it (parallel to the hem, but halfway up the length of the whole shirt).
Looks good, can't wait to see 2.2, or 3.0!
I see the seams too. That explains how they were able to maintain the grain throughout the bodice front. Interesting how the model has it tied so snugly that the left side seam is pulled way forward at the hem (they've tried to hide this with the tie and probably no one cares about this anyway except us highly critical sewing fanatics).
Good luck, and good for you for taking on this drafting challenge! What a sense of accomplishment you'll have when you nail it.
P.S. I almost get the impression that the lining is cut shorter, so as to create some of the blousing.
You've made a good start on this top. That's courageous.
I look forward to the next version.
For some reason, this site tied the bow on the other side (i think), exposing the front diagonal seam pretty well:
http://www.farfetch.com/shopping/women/diane-von-furstenberg-silk-pleated-top-item-10194760.aspx
There is definitely a seam under that shoulder pleat, in fact it looks like two pleats one folding toward the neck one toward the shoulder. The seam seems to curve into the waist seam. There is another vertical seam where the pleats are at the waist and the tie is sewn under. I think that you need to slice under that waist seam and you need quite a bit of extension to get that much volume as well as adding more volume to the shoulder. I wonder if this blouse was draped before making the pattern.
Ah, DVF makes me crazy with the complexity in her simplicity. It looks like you're making progress. I think you'll love it once you figure it out.
Can't wait for the next installment.
In the photo which you linked to I also think that there is something different going on from the pleat in the right side shoulder. That photo almost looks as though there is a piece which is free from below the stitching line, because the edge is wavy as a loose piece would be. That would give a bodice with a wrap over section fastened at the armscye and the shoulder. There is a waist seam too, at least on the left side where it ties.
I'll give you my take, I think this would be easier to drape on a dress form than done in the flat. It looks to me that there is no side seam on the draped side (that it is probably on the bias). You are very courageous to take this on, and I support your efforts, I look forward to your next installment.
Post a Comment