Anyway, I wanted to emphasize the corset-like lines of the lower bodice, and I decided piping was just the thing.
I started by cutting strips of fabric two inches wide. For the vertical piping I just cut on the grain; for the piping around the neck I cut on the bias so I'd have better flow. I chose the width based on seam allowances of 5/8". If you use wider or narrower seam allowances, adjust accordingly. Remember that part of your width will be taken up with the piping.

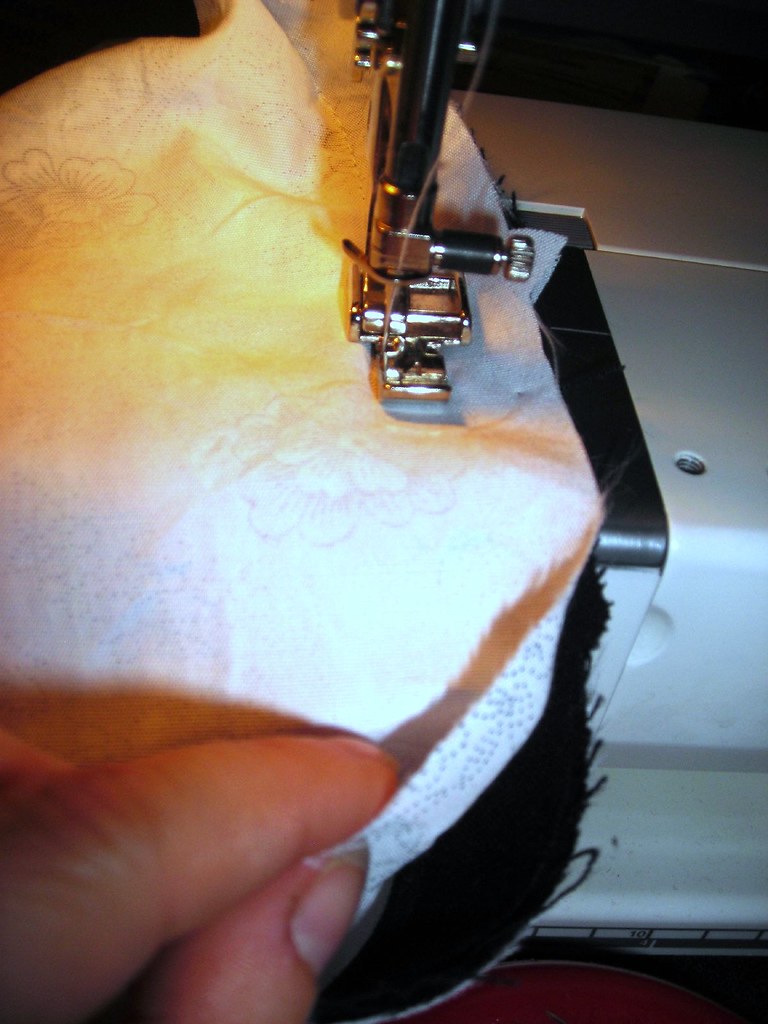
Using your zipper foot so you can get snug against the cording, fold your piping strips in half and run cording down the fold. I used rattail braid I had handy. After the piping is made and cut for the seams, I sew over the top to keep the cording in place but leave the bottom loose so I can trim the cord at the hem.

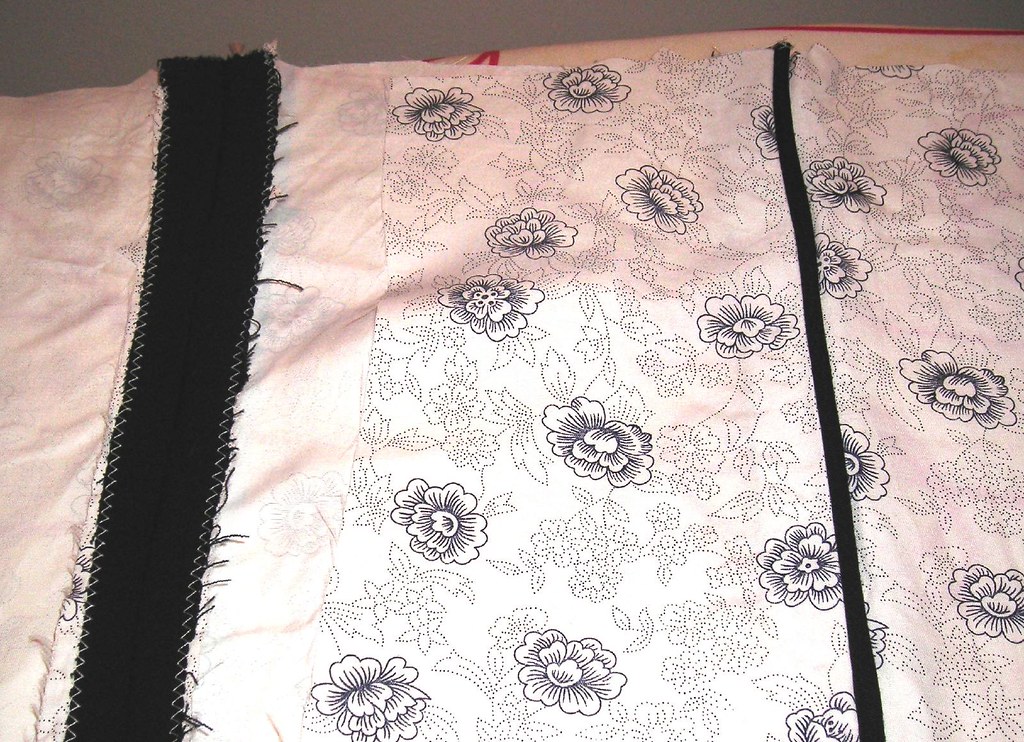
Again using the zipper foot, pin the piping into your seams and sew. As you can see, the two inch width on the piping strips ends up with perfect piping at a 5/8 inch seam allowance. Just line up the edges of the piping with the edge of the seam allowances and you're all set.
 Finish your seams and press them open. Pressing didn't smush down my piping, though you do have to pick which side you want your cording to lie. You can see that I made this before I got my serger. I kind of want to go back through years of projects and serge all my zigzagged edges.
 When hemming, you want to cut the cord slightly above the hemline so you don't have too much bulk, which can make your hem all bulgy. Press the hem under and then pull out your cording. Mine was easy to trim because I could see the fold that had been pressed into the cord and trimmed a little above the fold. You can also measure to double check. When you sew your hem, break the stitching at the piping so that you don't smush the piping and/or have glaringly unmatching thread.
The piping on this came out really cute, though I need to open up the right side of the collar and trim the neck piping even more, as it sticks out a little. All photos of this project are here and the review is here.

.jpg)


.jpg)


13 comments:
Very pretty blouse - the whole outfit looks really good on you !
Very cute shoes...and a great top to match! Thanks for the piping tips.
It's a beautiful blouse, well done!
That is so cute - I have that pattern and a gorgeous spot fabric to make it up in. The piping is a lovely feature. Thanks for the tutorial.
The piping looks great on this blouse! And, those shoes are the best.
ooo love it! I've got this on my to-do pile, also :) but I've not got the awesome shoes to match it...
I like that one!
yes, this blouse is definitely YOU. I love the piping detail, too
I love this pattern too, piping the seams is a great idea!
Very cute blouse! The shoes are also cute :)
Very nice! The end result is so 40s!
I always just use regular old cotton string from the hardware store in my piping, too. Extra cheap and I always have it on hand. :)
So adorable! I made a muslin of this one and haven't gotten around to making the final version. Need a cute fabric like yours!
Looks good. And you know, I never really considered making my own piping, but you make it seem reasonable!
Post a Comment