BWOF 05-2008-127 came in sizes 34-42. I decided to make mine a little roomy so that I could wear it for years. In retrospect, I think I went a little too roomy, but I do not have the model's figure and would never look like her in the dress anyway, so whatevs.
I cut a 36 for the bodice and midriff (though I added about half an inch to the midriff in cutting just to be safe) and just cut a circle skirt to fit the midriff rather than deal with the pattern pieces for the skirt. I really don't understand why Burda gives a pattern for a circle skirt. They're not shy about having you measure and cut your own facings and bindings and such.
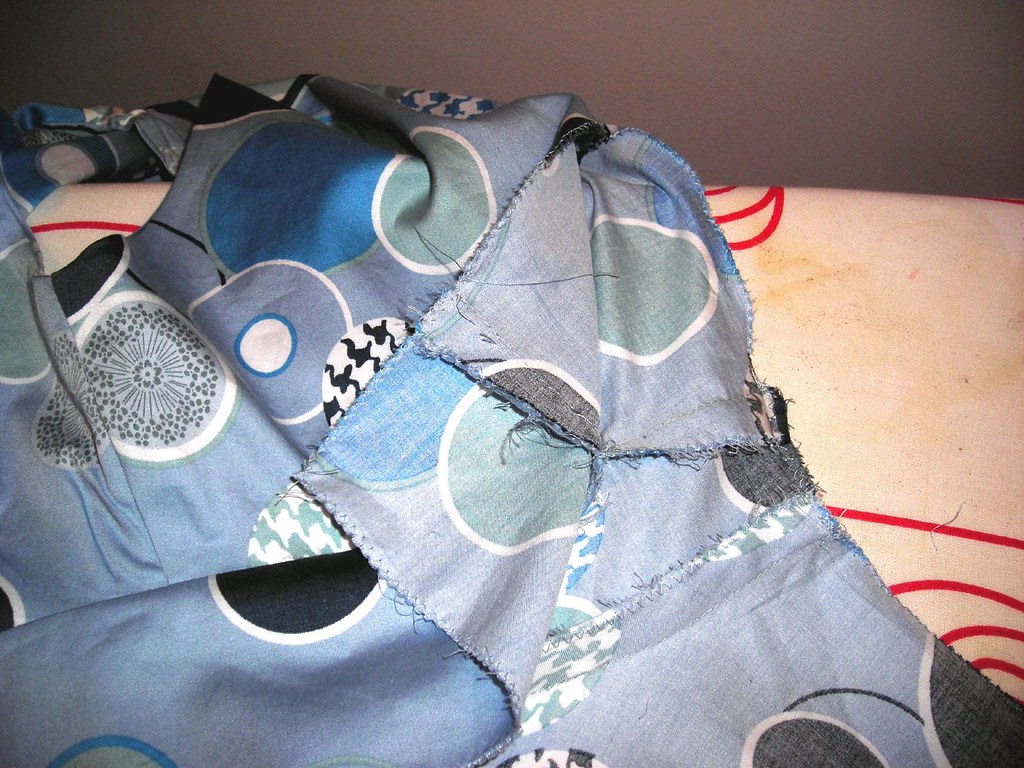
 A BWOF 36 requires an SBA for me, so I reduced the width of the gathered area and shortened the bodice a bit. I should have shortened it a great deal more; on the model it is right under the bust and on me it's about halfway down my ribcage. But, I think the look stands on it own, even if it doesn't look like the intended design. The front bodice was a little gapey when sewn on, so I further reduced the length of the center front by pulling the center edges of the bodice down into the seam between bodice and midriff; you can see the little points sticking out to gauge how much.
For the back, I took a wedge out at the lower armscye radiating out to the top of the zipper stop at center back (you can see I have marked that with a notch, to make it easy to find when sewing), taking more out at the armscye and less at CB.
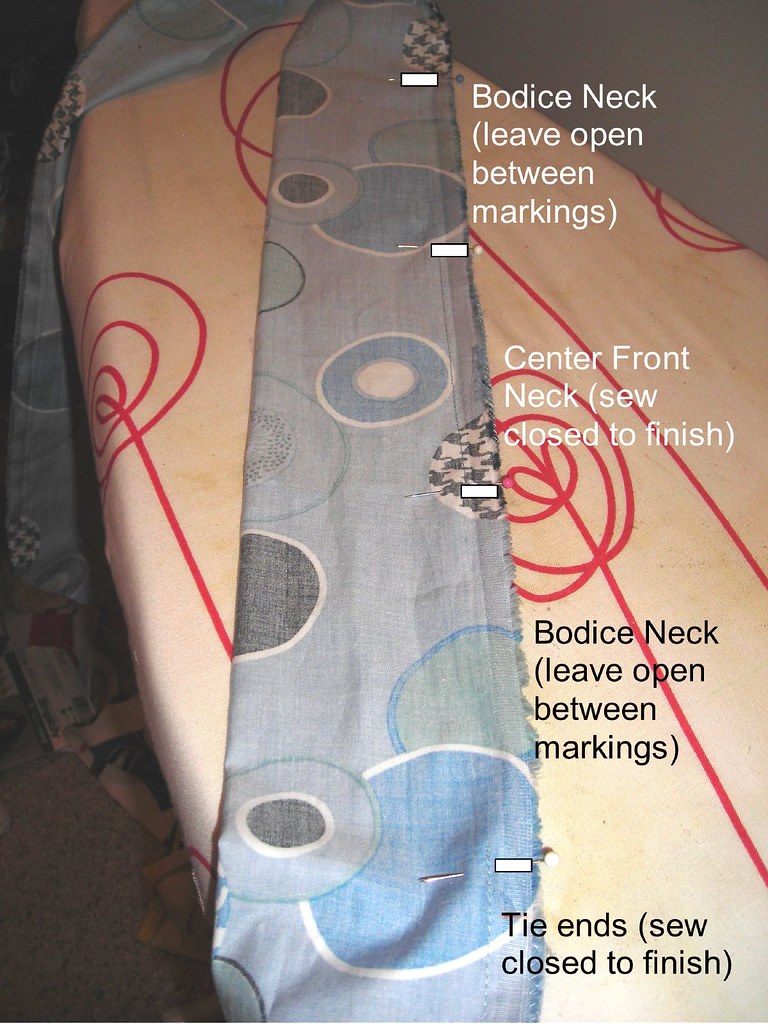
The pattern calls for batiste, though really their version looks like chiffon or some sort of semi-sheer silk or synthetic. In my sturdier cotton, the pattern for the wide tie looked way, way too wide. I cut it about half as wide as the pattern. The scarf is easy to attach as long as you mark well.

You sew all the way from the ends to the shoulder marking, leave open to attach to the shoulders, and sew across the front neck. Then turn it right side out, pin and sew the opened bits to the shoulders, turn under and hand sew the inner allowance to the seam allowance inside the shoulder and voila.
 BWOF wanted you to take the easy way out with the midriff lining, treating the midriff and lining as one when sewing to the skirt. I really don't understand why you wouldn't go ahead and put in a little extra effort to get the inside to look nice! I had followed their instructions to sew the midriff to midriff lining, sandwiching the front and back in between, but then it turned out that I wouldn't be able to turn the lining under to slipstitch to the zipper tape for a clean finish inside, so I ripped out a couple of inches and sewed back bodice lining to midriff lining and fashion to fashion. Then I sewed the zip only to the fashion layer and hand-sewed the lining down on the inside, for a nice tidy finish.
I didn't line the skirt, figuring I could wear a half-slip if it really needed it.
All the construction and completed photos are here.
.jpg)


.jpg)


1 comment:
A great dress on you!
Post a Comment