Showing posts sorted by relevance for query 2177. Sort by date Show all posts

Thursday, August 9, 2012

Simplicity 2177, Triangle-Insert Border Print Dress

S2177 Thumbnail

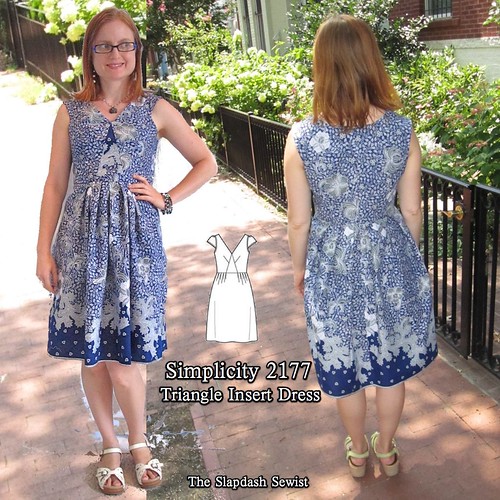
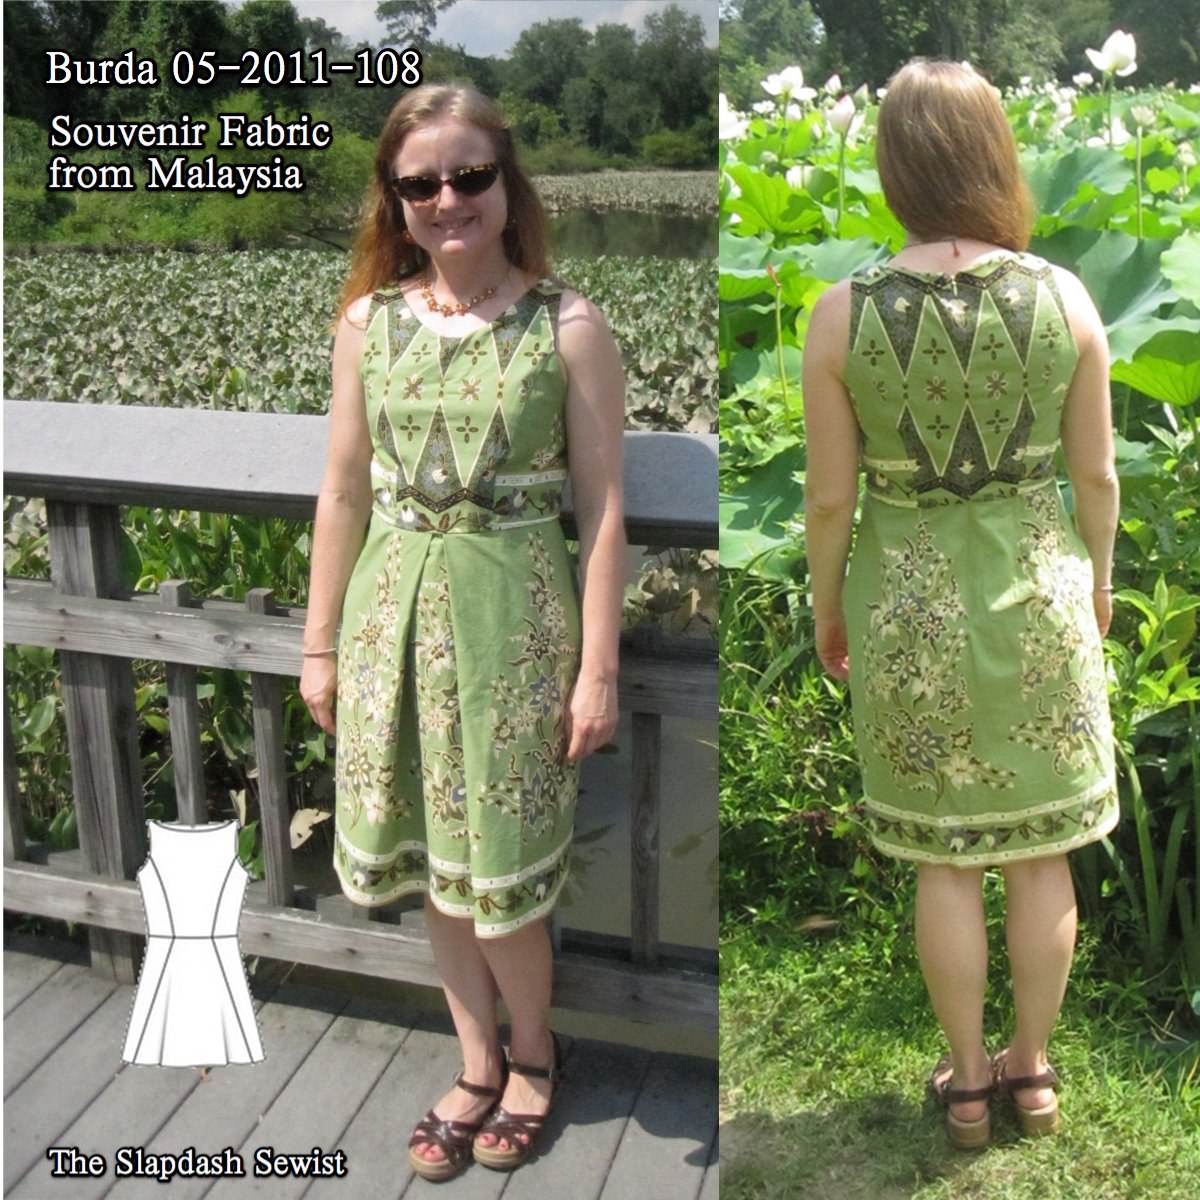
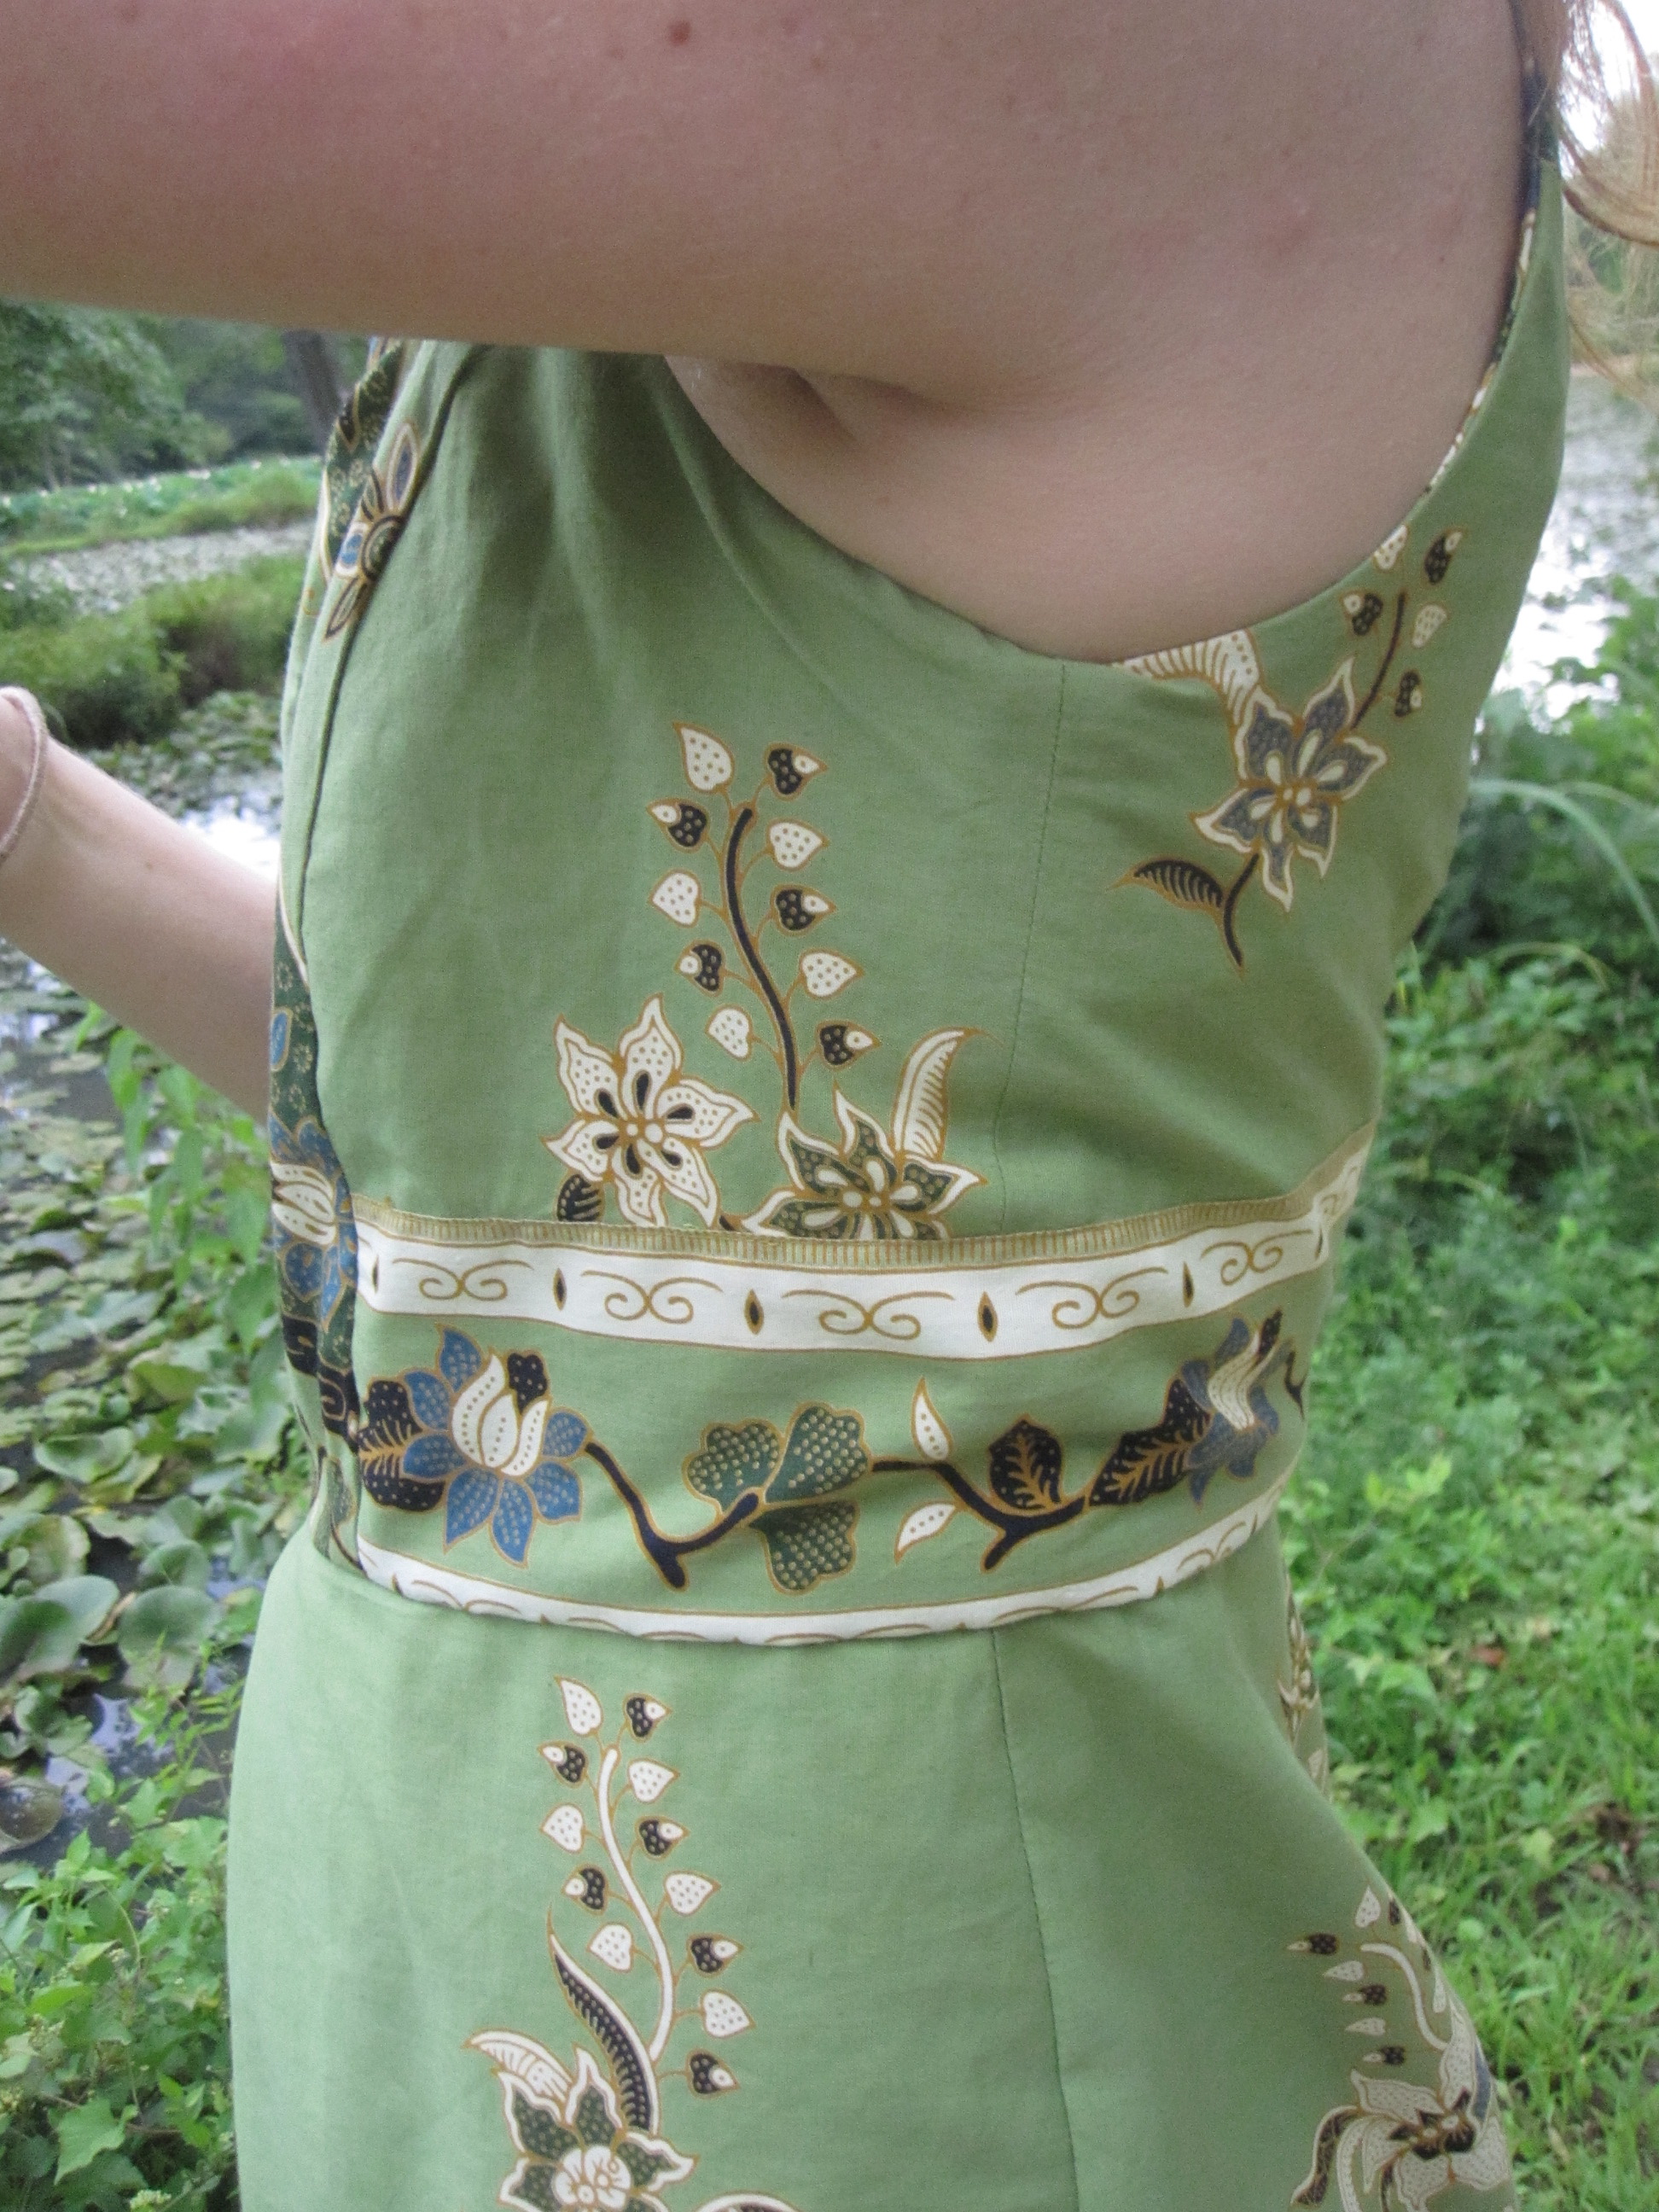
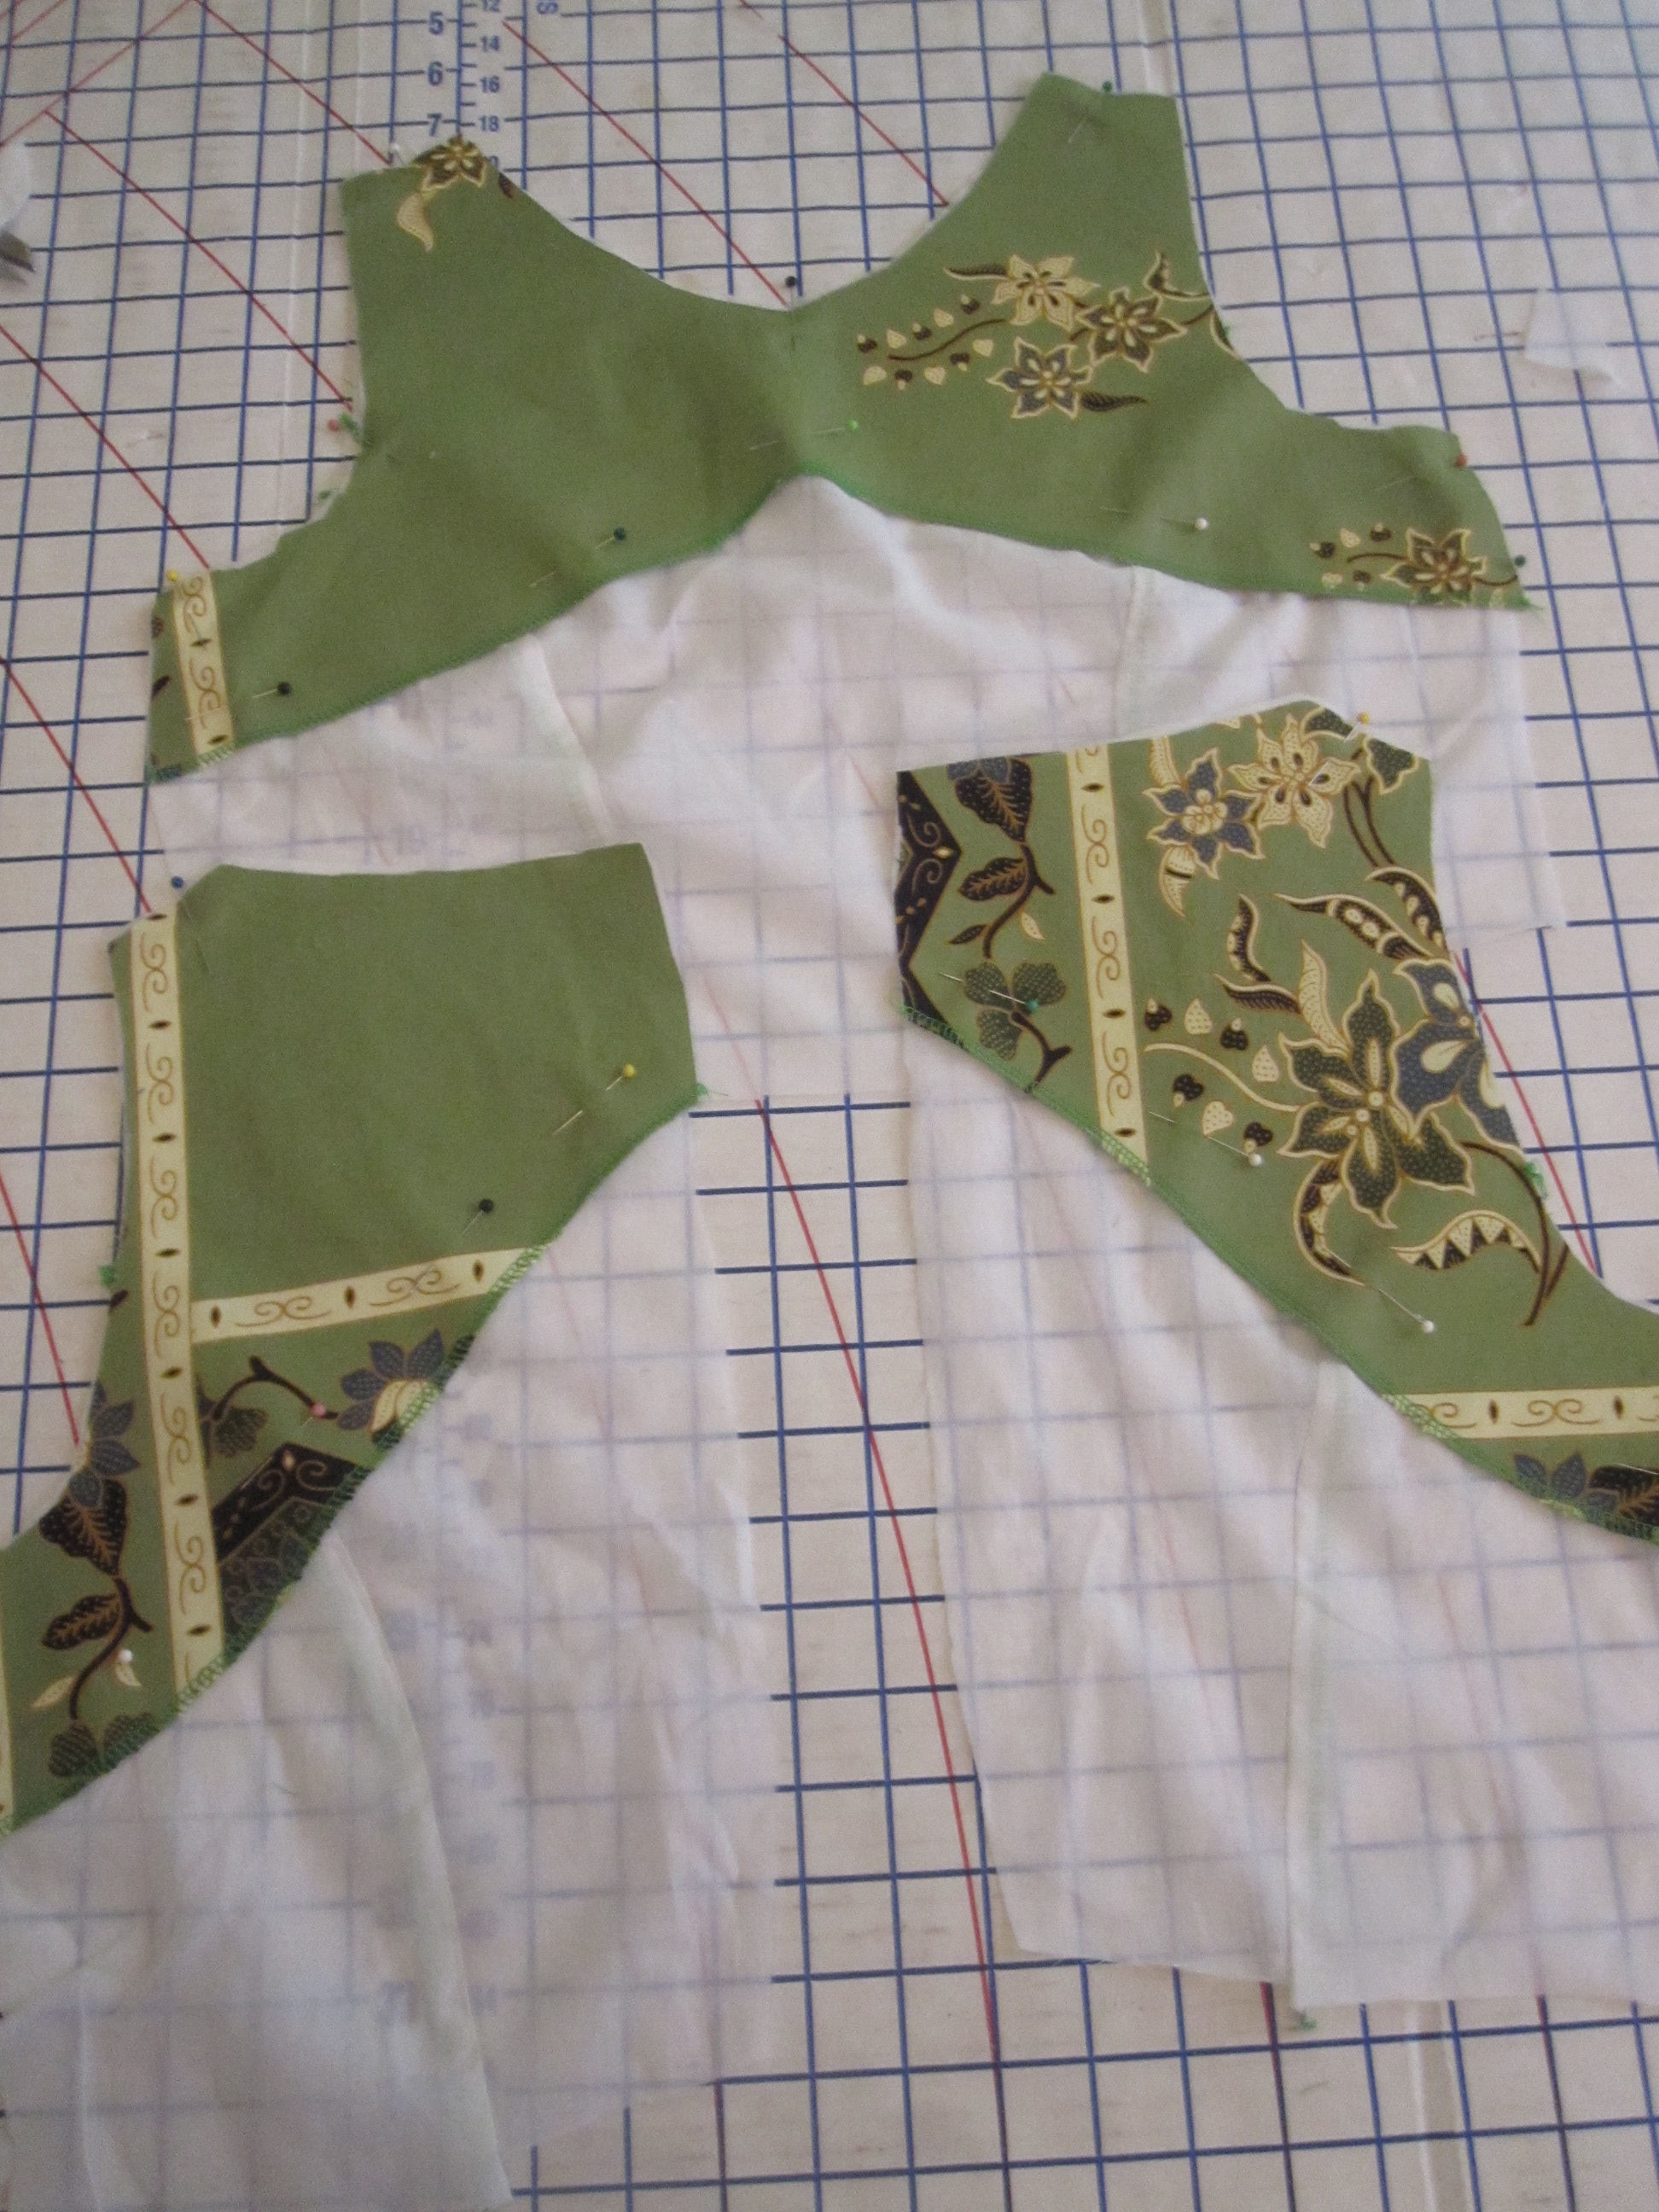
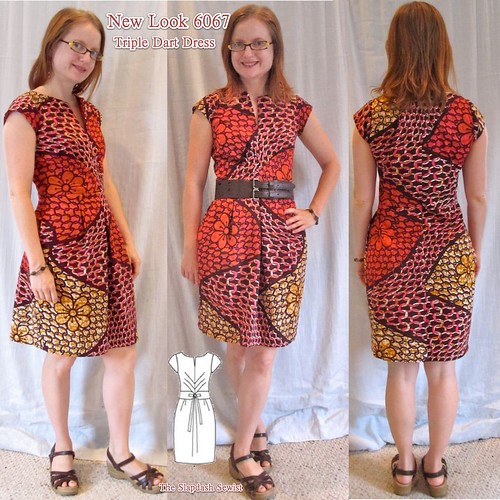
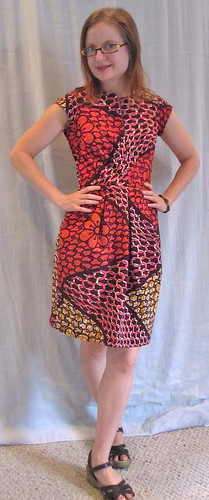
The second (and last) project I got done last month during PR's Pattern Stash Contest was Simplicity 2177.  I'd bought this for my sad orphaned Parisian fabric that I bought in 2008 that I just can't find the right project for.  It's a batiste, so it will need underlining, and has an embroidered motif that reads as very wide stripes.  It's a challenge.  I had considered this pattern for it, but in the end decided it wasn't quite right.  Then I got the inspiration to use it as this border print fabric, inverting the border at the bodice's triangle insert to emphasize it and add some balance to the dress.


Source: shefinds.com via Trena on Pinterest

After I'd finished my dress I found this virtually identical J. Crew dress on Pinterest.  The J. Crew's skirt many more and smaller pleats than the Simplicity and the J. Crew's bust darts come from the side seam, rather than the center bodice seam.   But still.  Very similar.

I'm not sure when this J. Crew dress came out--I could only find it referenced in a sale alert post from March 2012 (it's no longer available on the J. Crew website), but I'm guessing it post-dated release of the Simplicity pattern.  Maybe the Simplicity and the J. Crew are both copies of an earlier, designer dress, but the coincidence seems awfully coincidental.


I added more fabric to the shoulders and neckline toward the neck.  I wish I had added a little bit more toward the shoulders as well, which is unusual.  I have narrow shoulders and generally need less coverage there, not more.

Stitch to V

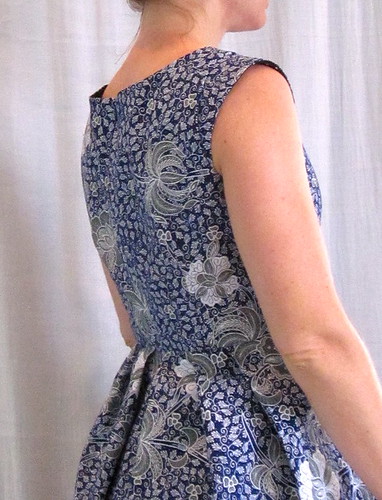
V necklines have not been my strong suit in the past, so I was very precise with my stitching on this one.  It would have been perfect, except that one of the many downsides of not having much time to sew and spending a lot of time on one project is that you make dumb mistakes.  Or at least I do.  Like not interfacing the neckline before sewing in the lining.  Ugh.  Excuse my gaping.  I retrofitted it with strips of interfacing after it was sewn, but it is obviously not the same. 

I used the cap sleeve from Burda 08-2012-133.  In the magazine it looked more like a flap or flange than a sleeve.  Cap sleeves can be somewhat restrictive and the Burda sleeve looked like a better way to get shoulder coverage while retaining full movement.

Cap Sleeves in All Machine Finish

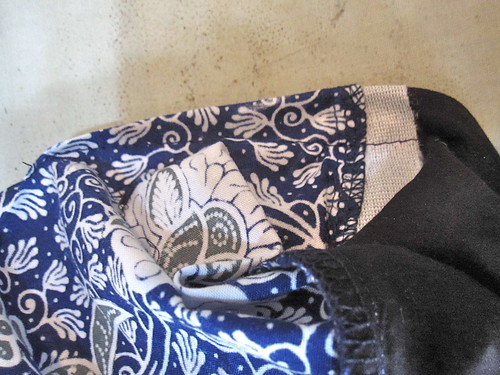
I used my usual all-machine clean-finish bodice lining technique.  It works with cap sleeves to a point.  These are itty bitty cap sleeves and I still had a difficult time pulling all the fabric through the strap tunnel.  I had to use a safety pin to get some grip.  So I won't be trying it with a cap sleeve any more substantial than this one


Bodice Lining


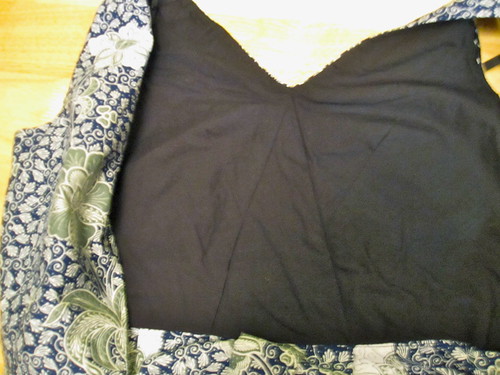
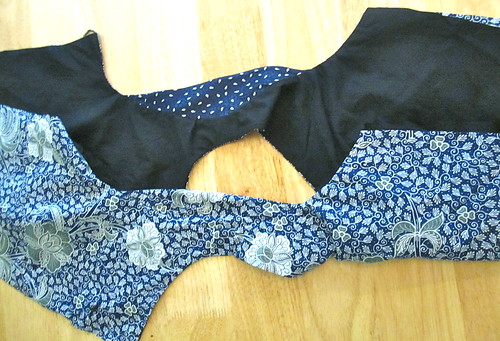
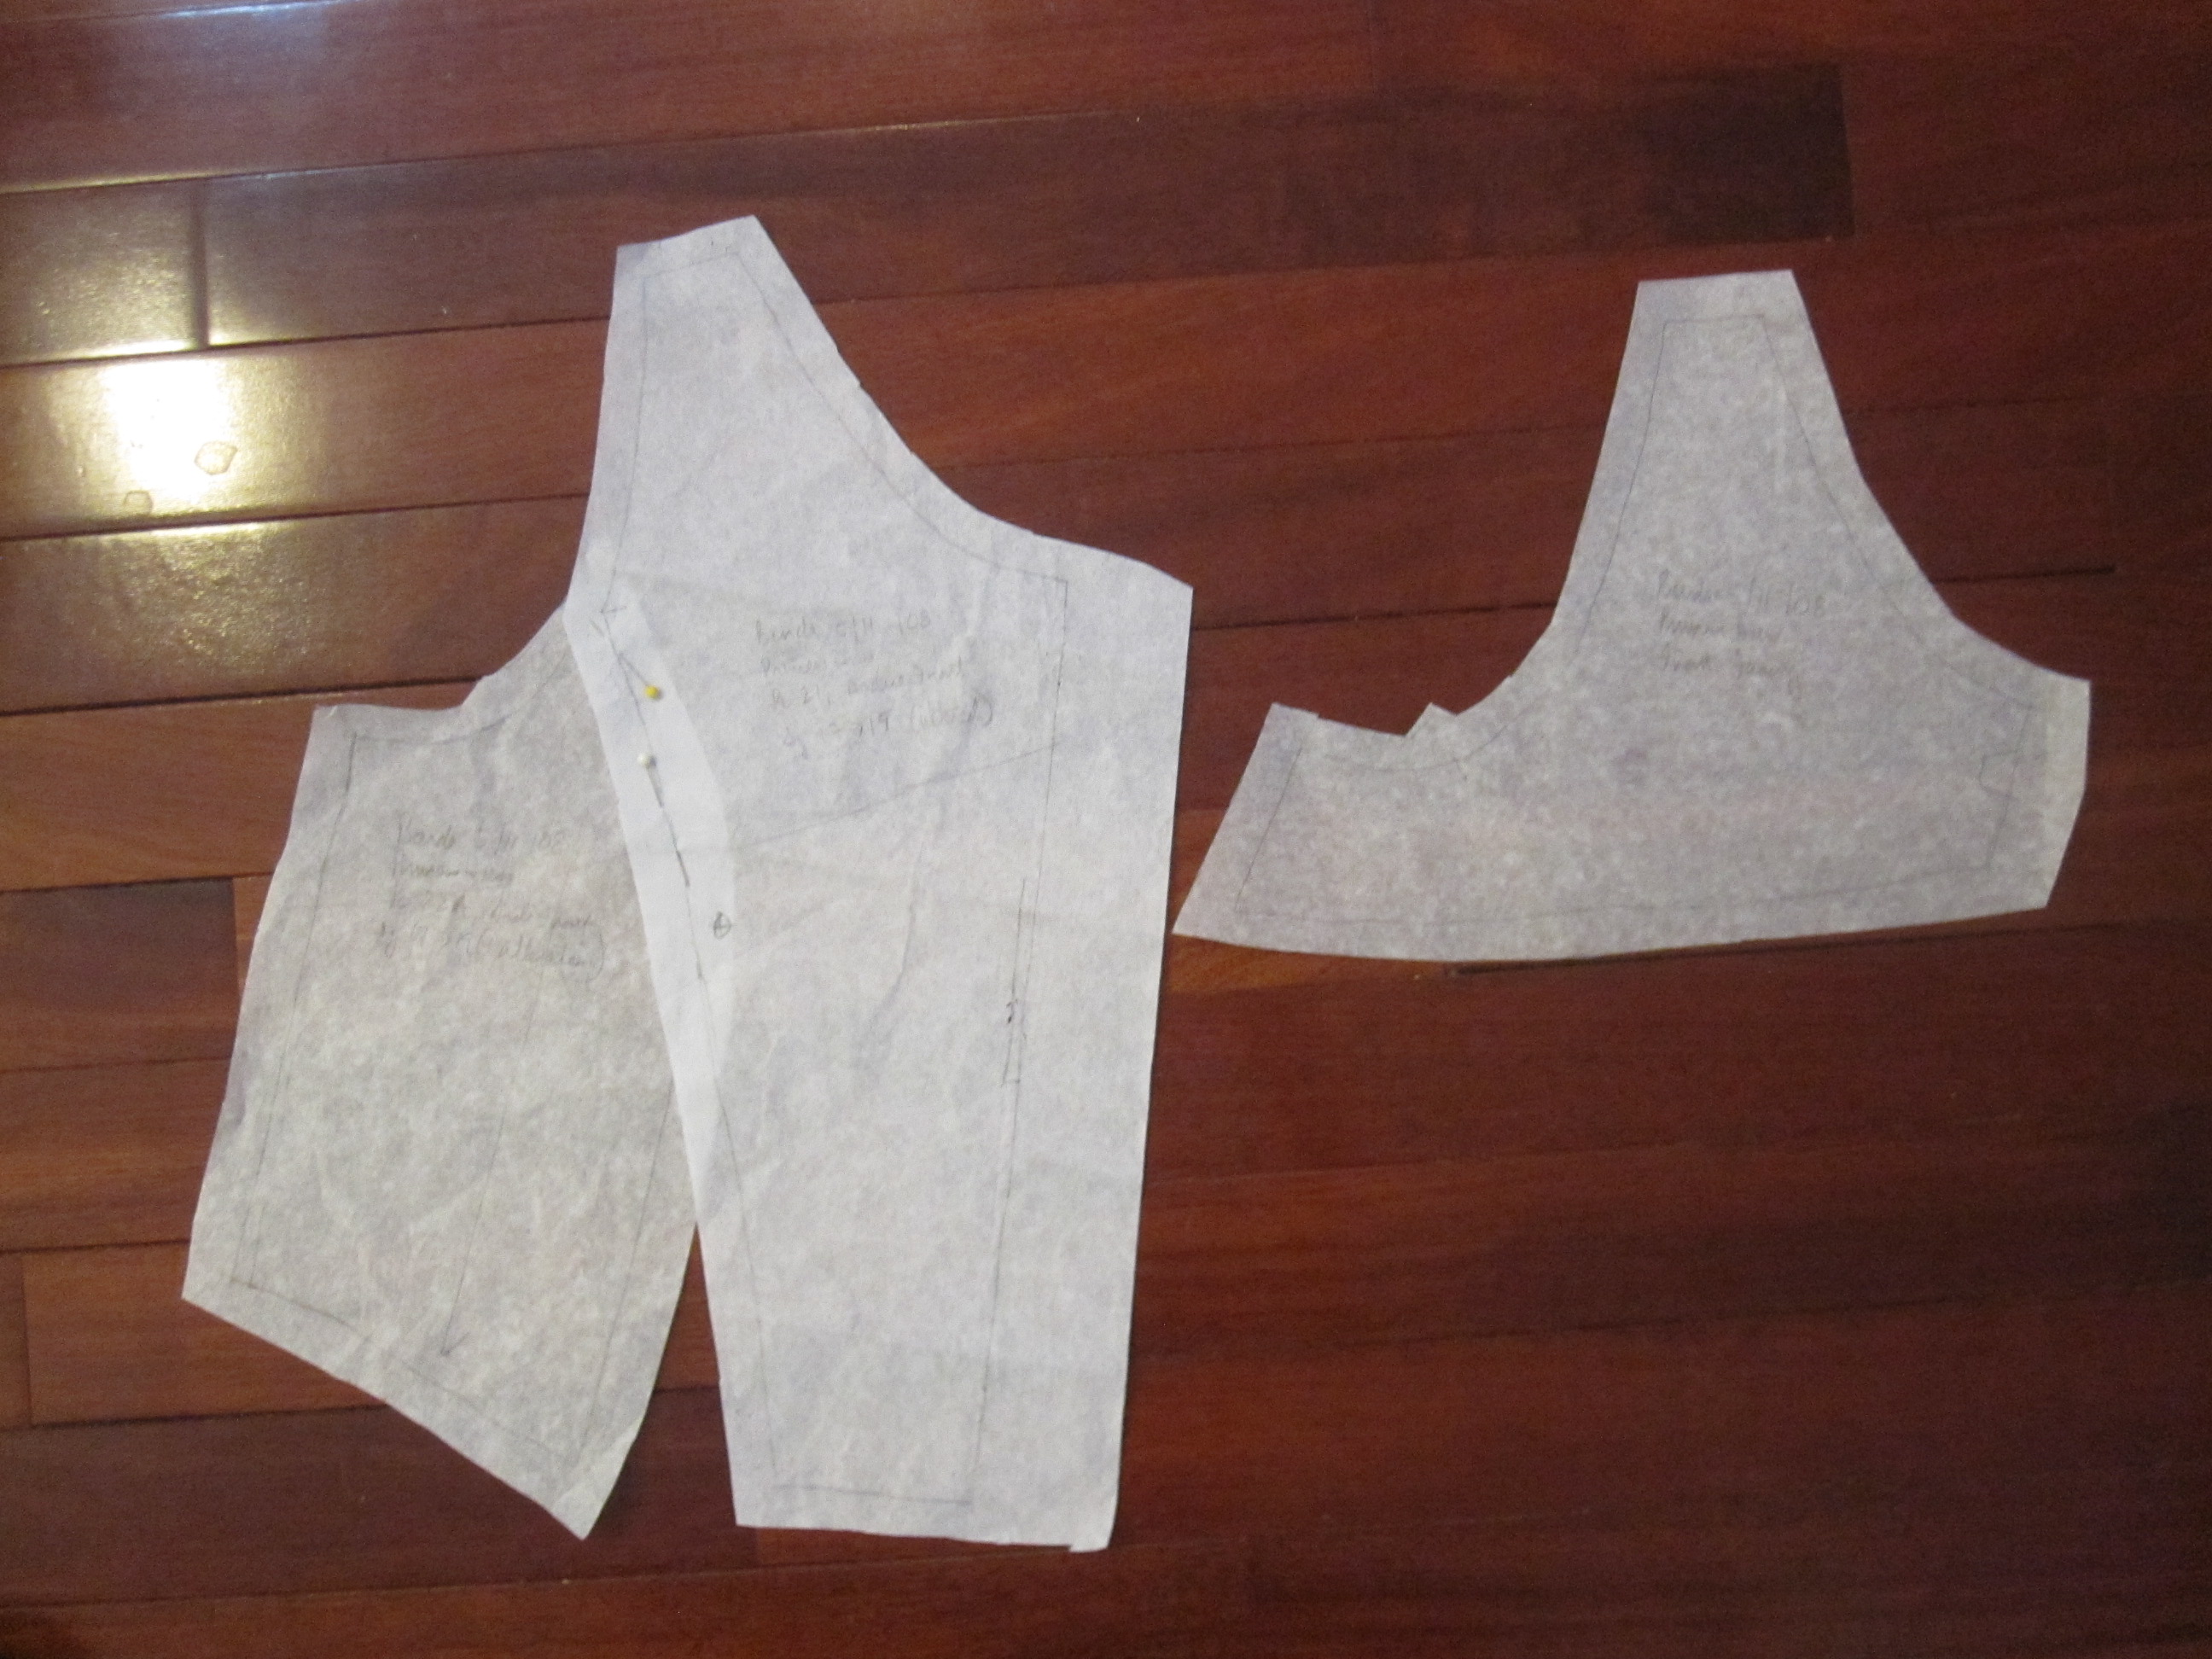
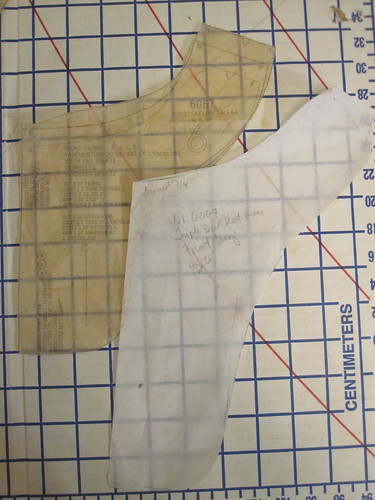
One of the things I like about the design of this pattern is the dart coming from the triangle inset.  It adds enough visual interest that I think this could be a great Little Black Dress (with a more sophisticated skirt); I lined the bodice in black batiste and I think it provides an illustration of this.  The pattern comes with facings, but I prefer a bodice lining to avoid the flapping and flounder of facings.

Odd Dart Placement


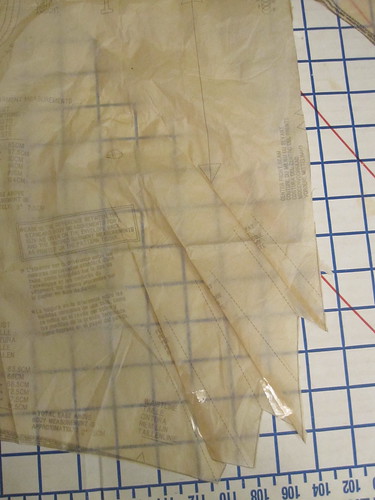
That said, the dart placement is weird.  And by weird I mean terrible.  The dart apex ends about 1 1/2 inches above my bust.  I do not have a particularly low bust, and I don't know many people who have a bust that hangs from their collarbone.  It's not really noticeable in my print, but definitely something to keep in mind.

Gapey Back Neck


Unlike Cidell, I am a tryer-on-er as I sew.  As soon as the pieces are in any semblance of assembled I start putting it on and taking it off at regular intervals.  However, when I got near the end of this one I made myself totally finish, including hand-sewing the bodice lining to the skirt.

Add Back Neck Dart


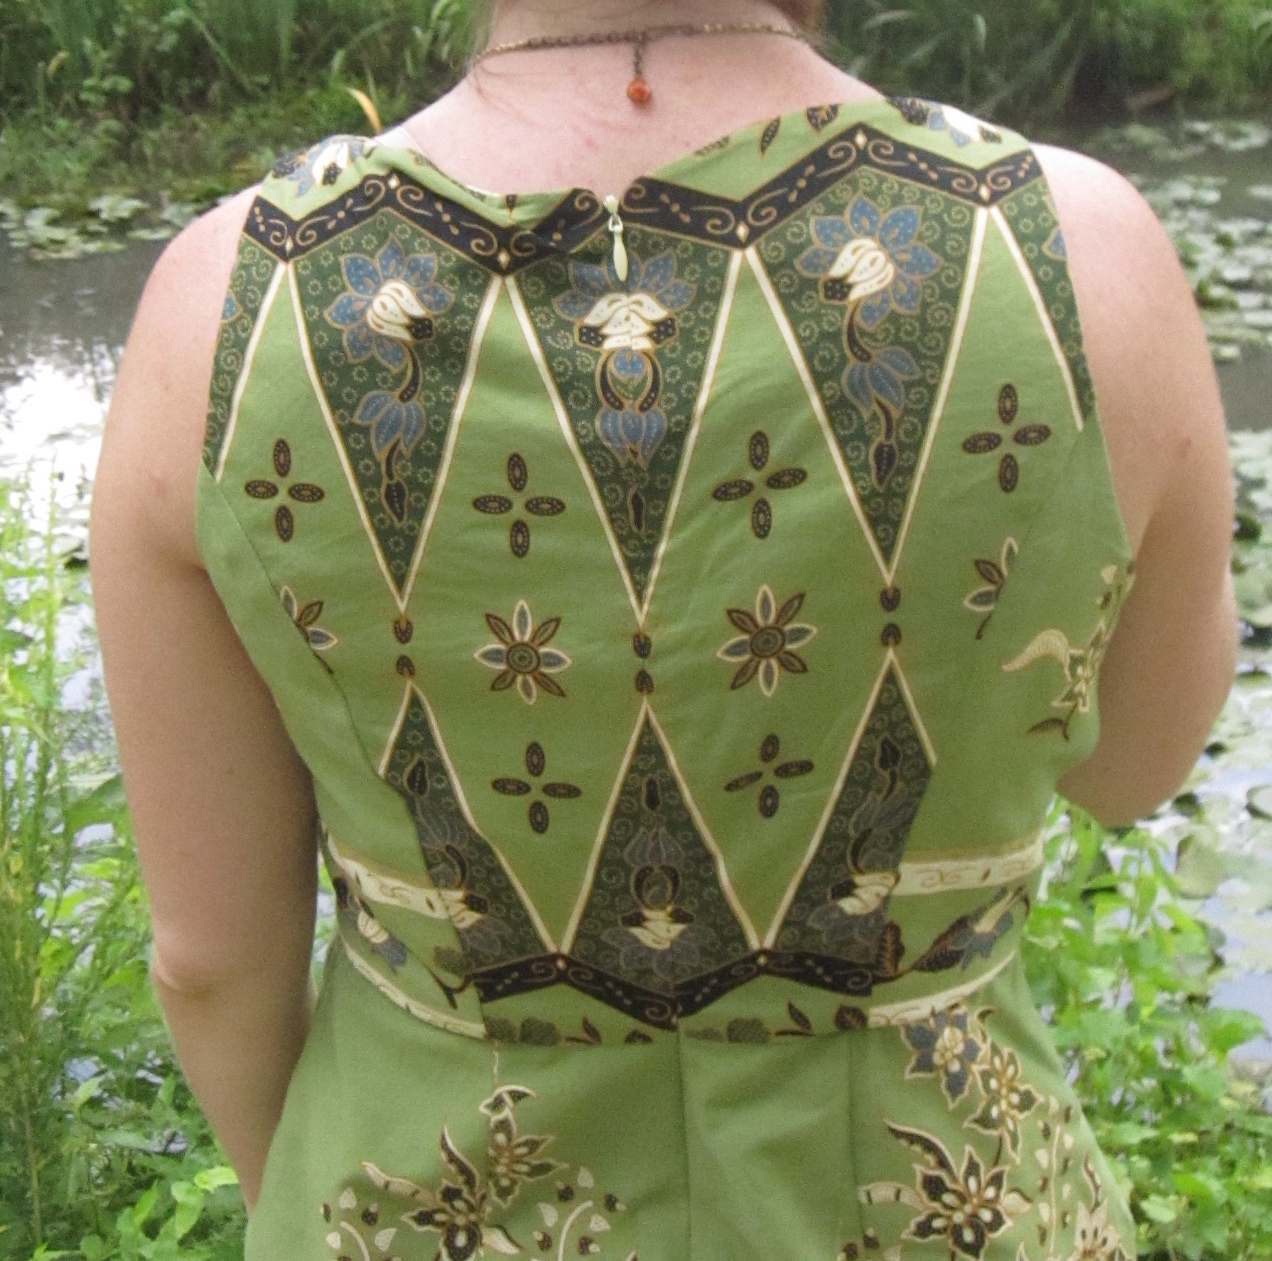
Well, the joke was on me because when I put it on I saw that the back neckline had horrible gaping.  I had to undo all my hand stitching and retro-fit it with back neck darts (sewing it as a fisheye dart continuously from the lining to the fashion fabric), which took care of the gaping.

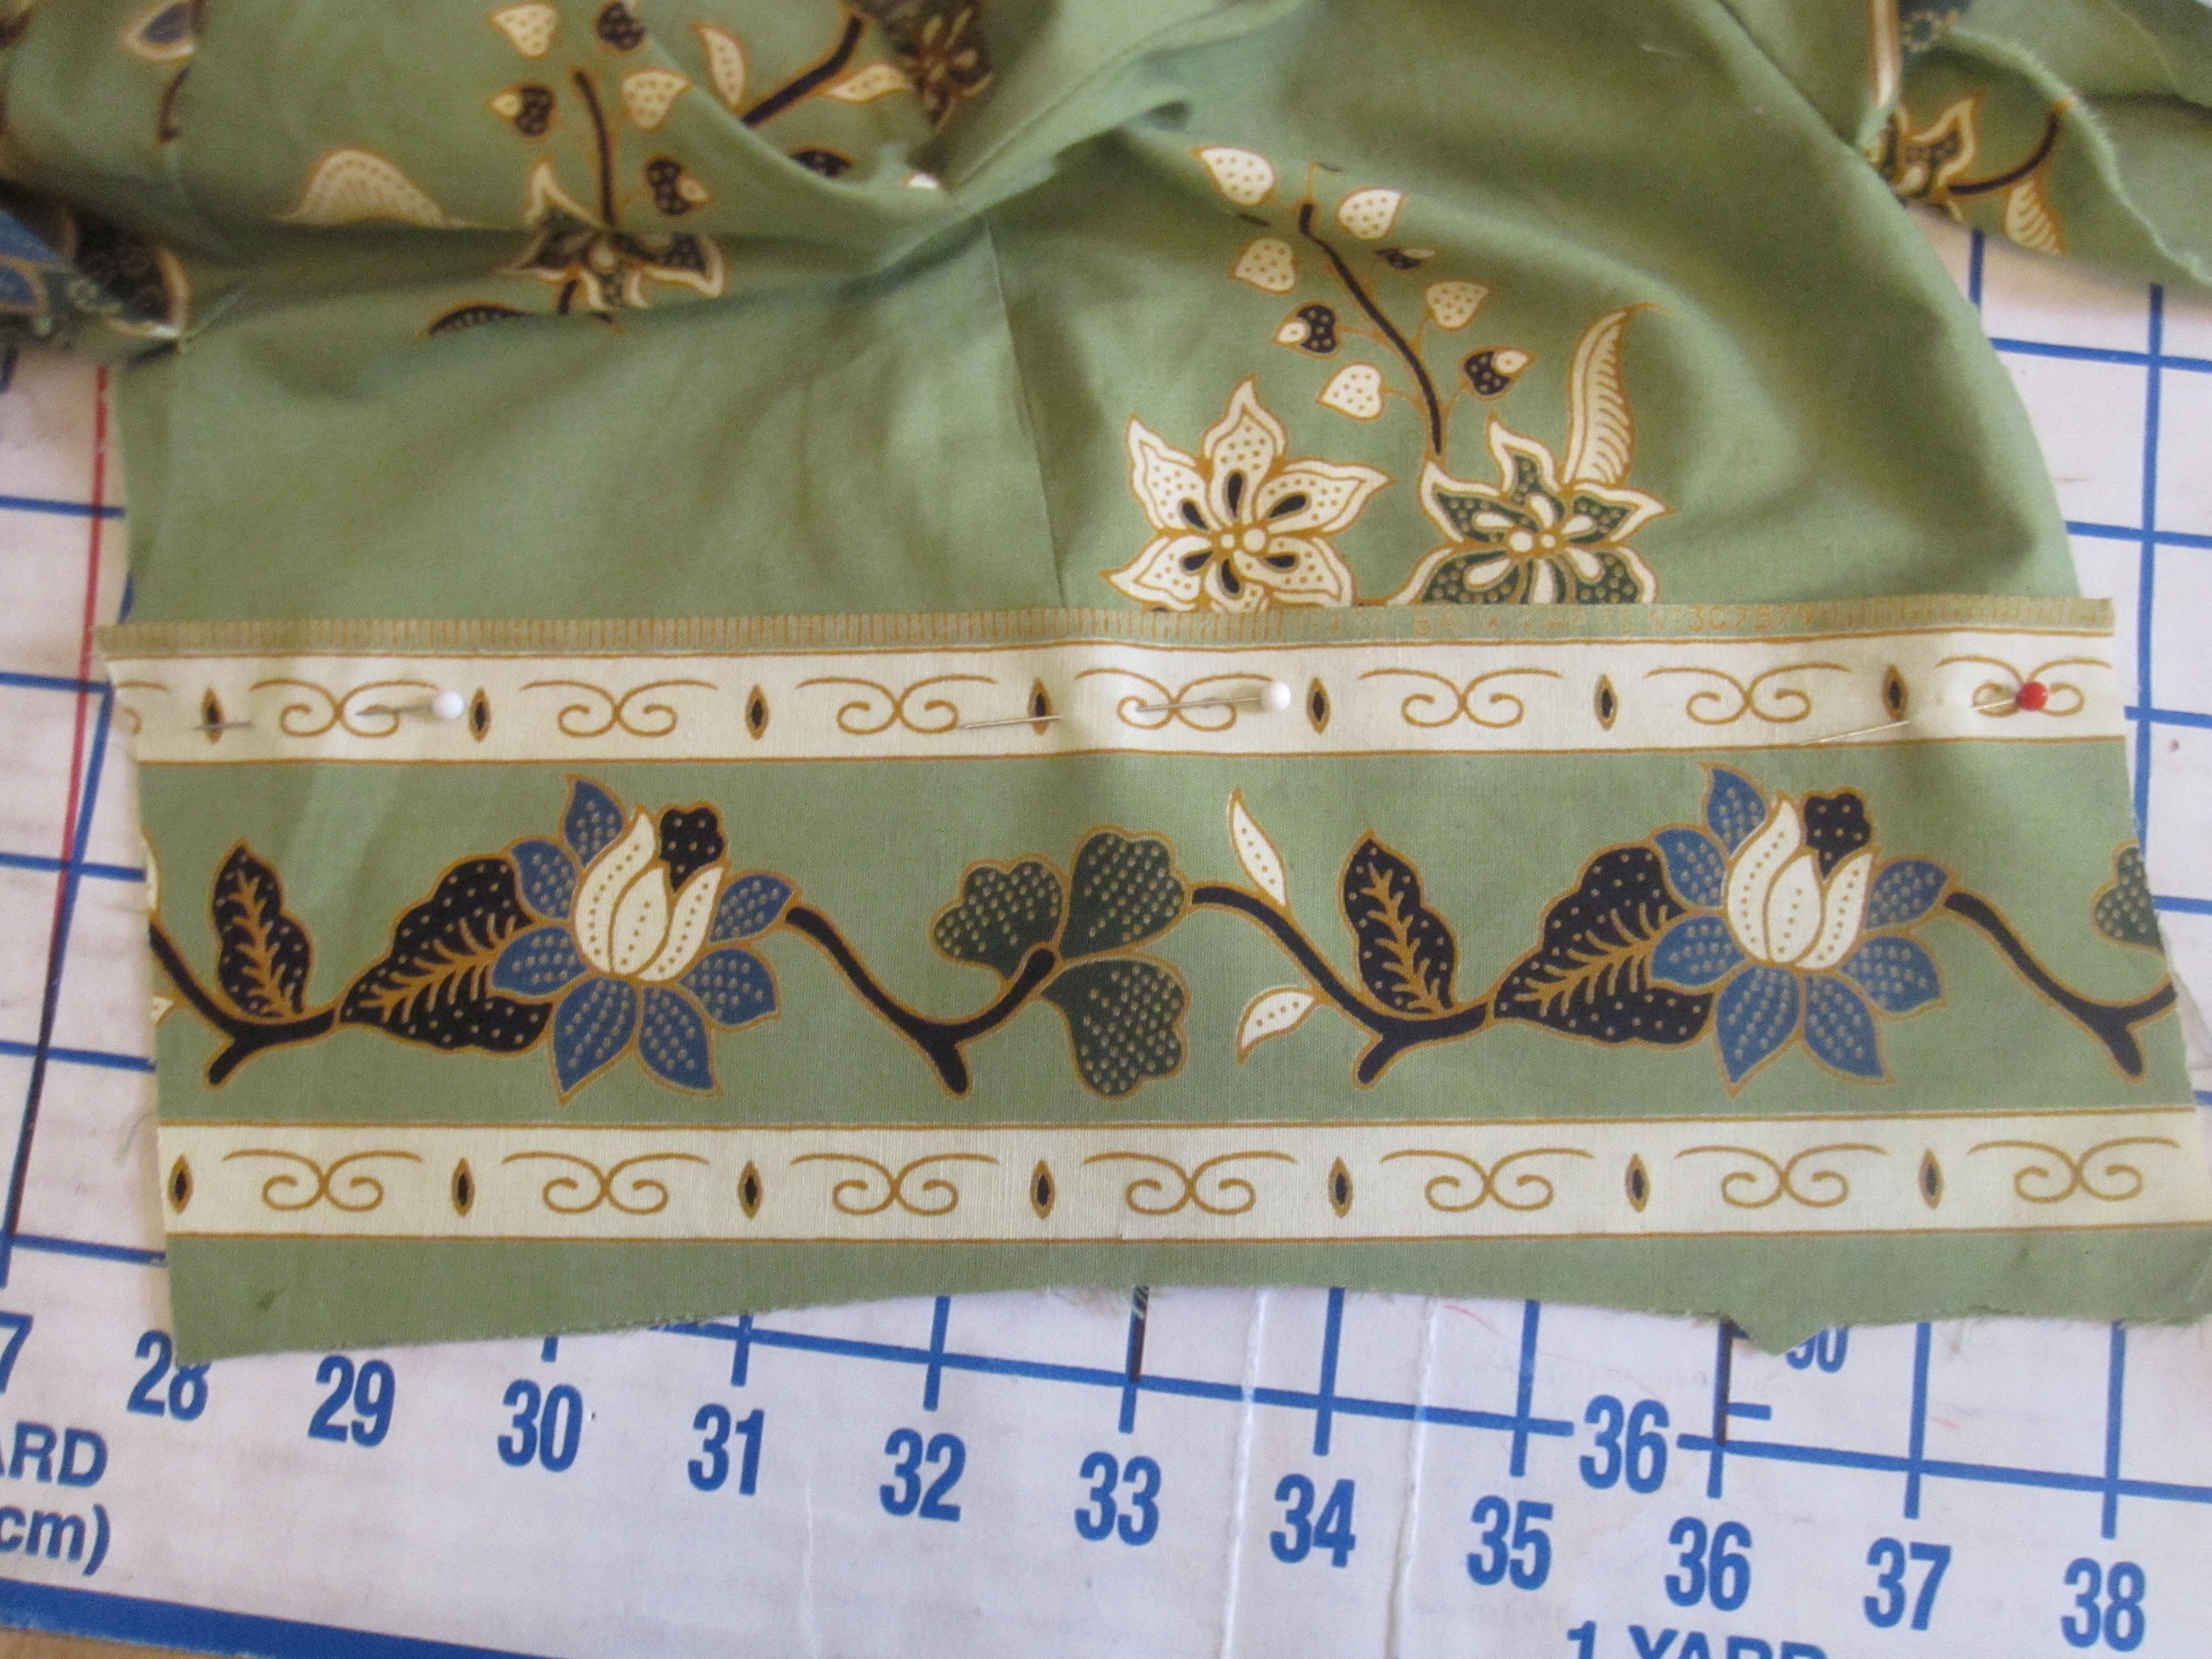
I did not use the skirt pattern, as the skirt's hem measurement was a little narrower than I prefer for being able to swing my leg over a bike.  I just cut the skirt as a long rectangle and then pleated it in place to my liking, with a center inverted pleat and lining up the second front pleat with the seamline of the triangle insert.  There is only one seam, at center back, the downside of which is no pockets.

Uneven Selvage Print

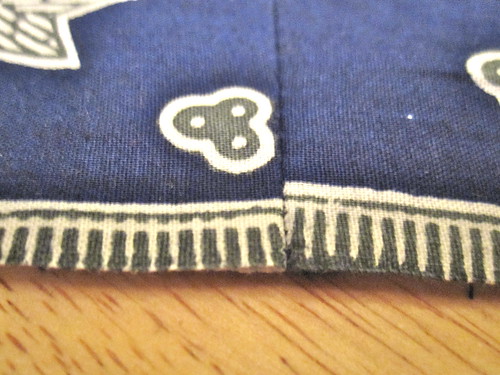
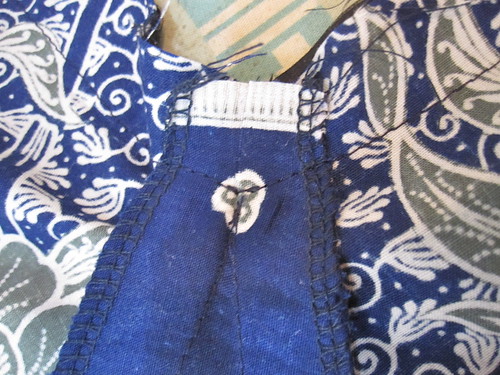
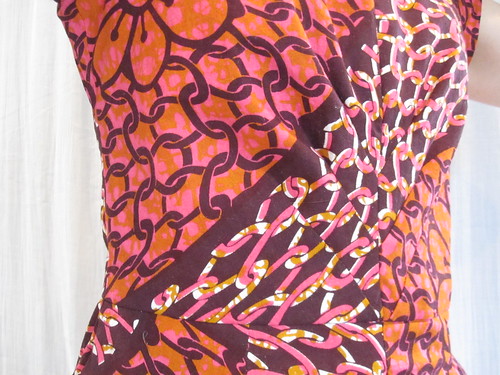
I bought the fabric for this dress in a department store in Malaysia as a souvenir.  Like African print fabrics, the selvage is decorative so I used it as the hem edge of the skirt.  The selvage print isn't entirely regular, as you can see at the center back seam.  I decided it was better to line up the edges of the fabric than the edges of the selvage print.

7-19-07

During hot summer weather, I end up wearing this dress, Stretch & Sew 1582, just about every weekend.  It's a good quality cotton that dries pretty quickly after sweating through it, it has shape from the elastic shirring but isn't fitted so there is no fabric touching me on most places, and it protects my shoulders from the sun.  I'm getting a fairly sick of it, so I wanted another dress that might work just as well.  Alas, this is not going to displace the favored dress.  The fitted bodice has plenty of ease but it is still cut much closer than that of the favored dress, exacerbating sweating and making it take longer to evaporate.  I'm going to have to suck it up and just make an identical dress out of a different print.

Side


However, on its own merit this is a perfectly lovely dress.  While I was making it I was thinking I'd definitely use the pattern again, but now I'm not sure.  That bodice front dart would definitely have to be moved down significantly and I think the neckline could be lowered just a tad.  I already know where and what size back neck dart it needs so that wouldn't be too much trouble.  The shoulders need to be widened a touch.  It's just a lot of redrafting.  But it might be worth it for the nice style lines.

All photos are here and the pattern review is here.

Wednesday, August 7, 2013

Burda 05-2011-108, Malaysia Fabric Sundress

Burda 05-2011-108 Malaysia Thumbnail

The piece de resistance of my stashbusting during the stash contest was finally making something out of this fabric I bought in Malaysia in 2009.  I was there for work, and one of our excursions was to the local department store (our hosts, understandably, wanted to show off their modern marvels).

Sarong Length

They had packaged sarong lengths for about $6, so I bought 3 of them.  This was the last one left (one of them was made into a shopping bag, the other into Simplicity 2177).  This print was meant to be shown to advantage when folded as a wrap skirt in the traditional manner, so it was a double border print with a decorative panel at one end.  In all, I had 75 inches of fabric.

My first plan was to make a simple darted sundress using Burda 08-2009-128.  I planned to use the decorative diamond-shape section as the bodice.  Well, with the double borders and relatively narrow fabric, I couldn't fit the whole bodice in the diamond-shape section.  Dangit!  I had to fall back on princess seams; since I had already fitted and made Burda 05-2011-108 for last year's Seersucker Social, I figured it would be easy.

Is anything ever easy?  I wanted to use some of the floral motifs in the side panels, but because of they way they were placed, I had to add a side seam to the pattern.  To find the side seam, I put on the previous version and marked with a row of pins what seemed to be the side.  Very scientific.  I transferred my pin marking to the side panel pattern piece, and then split it along the marking.  This allowed me to further refine the fit (and by "refine the fit" I mean "add more room at the waist").

Lay Border over Side Panel


But then once I got the bodice put together those side panels looked so plain, even with the floral motifs I had so carefully placed.  Ugh!

Border Side Panels


 I slept on it and decided to add some of the border fabric to the side panels to jazz them up a bit.  I traced the lower curve and panel seams and cut out lengths of border.  I put the border on "upside down"--with the selvage at the top--and stitched very close to the edge of the selvage using my blind hem foot to keep the panel in place.

Bodice Layout


The center back bodice is perhaps the pinnacle of my sewing to date.  I took great care in cutting so that I could perfectly match up the motifs along the CB zipper.

Print Match at Center Back


As long as you pay no attention starting at the dark border on the bottom of the lower diamonds (why did this happen?), the back looks seamless, much less zipperless.  While I have done projects in plaids and stripes, I have never matched a print before.  So proud, y'all.

Facing Pattern


I didn't have enough fabric to fully self-line the bodice, so I used batiste for the lining.  I didn't want the white lining to peek out the neckline or armscyes so I did yet more drafting to create front and back facings without the princess panel seam.

Facing Pinned to Lining


I found scraps of fabric to cut out the facings, interfaced them, serged the lower edges, and then carefully placed them on the lining and stitched in place at the lower edge using my walking foot.  This trouble was worth it to get a nice finish.

Luckily, the skirt part was easy!  I didn't want any seams to break up my print, so I made the panel as wide as I could and used the selvage as the hem edge.  I added darts in the back to align with the princess seams, and also put in darts to align with the side seam.  Then I did a large inverted pleat at center front with the remainder of the extra width.

Front

For a simple dress, this ended up being a ridiculous amount of work, especially given what I had planned in the first place!  When I first finished it I wasn't sure about the diamond shapes and wished I'd done a plain bodice and used the diamond panel in the skirt.  But the longer I wore it, the more I liked the exuberance of the bodice.  It seems like an appropriate way to use the fabric, where that panel would be the star.

This fabric is not, alas, my oldest piece in stash, but it was one that had been weighing on me to sew it up already.  So yay for that!  Only hundreds more pieces to go...

The photos were taken on a visit to the Kenilworth Aquatic Gardens in the DC area; you can read more about our visit here.  If you have access to a car and live around here, you really must visit!  It's gorgeous and free.

All photos are here and the pattern review is here.

====================

There are still a few more days to enter my swimsuit elastic giveaway if you haven't done so yet....

Wednesday, August 15, 2012

New Look 6067, Triple Dart African Print Dress

 NL6067 Thumbnail

Source: rstyle.me via Tatiana on Pinterest


I am still looking for a pattern for my special mustard wool fabric--purchased two years ago now!--and decided to give New Look 6067 a try.  The triple front darts add visual interest, and the slit neckline is a different look for me.  I like it in the dress at left (it was on Piperlime but no longer available; I have no idea who made it or how much it cost). Thanks to sewisewedthis, I now know this is the Milly Mariella Windowpane Tweed Pencil Premium Work Dress, $187.


Swayback Adjustment


I did my usual litany of adjustments (broad back, small bust, etc.), including swayback adjustment.  For dresses with a seam at natural waist, I split the swayback adjustment between the bodice and the skirt, as you can see.  Unfortunately, I should also have shaped the center back seam and taken just a little more length out.  Scroll up to the composite and you can see the swayback problem.  Ick.  I'll have to wear it with a belt every time.

Small Bust Adjustment
Since this was somewhat of a wearable muslin, I considered making the front bodice as drafted, but in the end I just couldn't see that ending well at the bust, so I took small tucks out of each of the three darts for a small bust adjustment.  The dress fits well across the bust, with comfortable ease but not Empty Sack Syndrome.


Modified Front Facing
The way the dress is meant to be finished is actually quite nice.  There is a separate front lining piece drafted with a normal waistline dart and facings.  You are meant to stitch the facings to the lining (the facing needs to be fashion fabric because it will show a bit at the front neckline).

This is a cool cotton summer dress and I didn't need an extra layer, so I just did facings.  To ensure plenty of facing coverage and avoid flipping and flapping, I lengthened and widened the front facing, as you can see at right.

Back Facing Modified to Match Back Neck 
Dart
As I suspected when cutting, the back neckline gaped a bit so I added 1 inch wide darts and modified the back facing pattern to suit.

Facing Finish


I used the Sunny Gal technique for a neat-finished facing of sewing the interfacing and the facing right sides together along the outer edges, then flipping and fusing the interfacing.  The saggy neckline on my Simplicity 2177 fresh on my mind, I interfaced the fashion fabric of the front neckline in addition to the facing.

A nun might find the front neckline as drafted just a tad prim, so I lowered the front neckline by 3/4 inch and lowered the slit opening by two full inches.

To get the slit to show, I gradually increased the seam allowance as I got closer to the neckline, adding 1/4 inch in total to each side (for a 1/2" opening).  I might go in and take out even more, as the slit still doesn't show very well in wearing and it just looks like a very high-necked dress.


Hand Rolled Sleeve Hem
The cap sleeves are meant to be lined, with the lining used to finish the edge.  Again, I didn't need lining so I hand rolled the sleeve hem.  I serged the edge then folded the width of the serging to the inside and then the inside again.  This is not an official blind stitch, but I took up only a few fibers of the outer fabric for each stitch. (click on the photo to enlarge and see the stitching)

Hem Lace


I ended up cutting the skirt a bit short and therefore had only a 1/2" hem allowance to work with.  Hem lace to the rescue!  It's sewn with a machine blind stitch.  I used maroon thread in the bobbin to coordinate with the lace and brown thread in the top thread to coordinate with the fabric so everything would look nice.

I lengthened the back slit for bike riding and it is very easy to bike in. I originally cut the skirt a little wider in an A line, but I mocked it up along the stitch lines for the drafted tulip shape, and with the slit I had plenty of leg movement.

I added side seam pockets, but side seam pockets are not a great match with a tulip-shaped skirt.  I may have to just hand-stitch them closed as they gape a bit. Not enough to notice they're pockets, but just enough to make my hips look even wider.

Triple Darts
NL 6067


I am very pleased with the way the print placement worked out for this fabric, one of the African prints my friend brought me back from Liberia.  The only things I did in my cutting layout were to make sure I wouldn't have a floral bullseye over my bust and to minimize how much the baby poop light brown color was near my face (it's so close to mustard, but it's just not).  The way the print flows so well from the bodice to skirt and the left and right front bodice is just a lucky coincidence!

The triple dart detail is rather lost in my print, but I do think it is cute.  I'm not totally sold on this pattern for my special fabric though, *sigh.*  I am the Goldilocks of darts--the Simplicity 2177 darts were too high, and these darts are just a little too low.  I need to find a pattern that has the darts just right!  (But has interesting design--not just a plain sheath dress.)

All photos are here and the pattern review is here.