
One of the things I've been meaning to get into my wardrobe is a pullover top with a cut on sleeve. It's a dolman top, so how hard can it be? But I've been too lazy to draft my own, so when Joann had Simplicity at 5 for $5, I picked up Simplicity 1805. Had it been $2 I wouldn't have gotten it.
 |
| Zooey Deschanel in Derek Lam |
This has been a popular style with designers for several years. There are plenty more examples out there, like this Michael Kors satin top ($542) and this Rachel Comey from Fall/Winter 2012. The silhouette seems simple, but if you make it in a high-end fabric it drips luxury.
Before cutting, I used my TNT pullover woven top pattern to determine the side seams, add a center back seam, and add darts in the back.
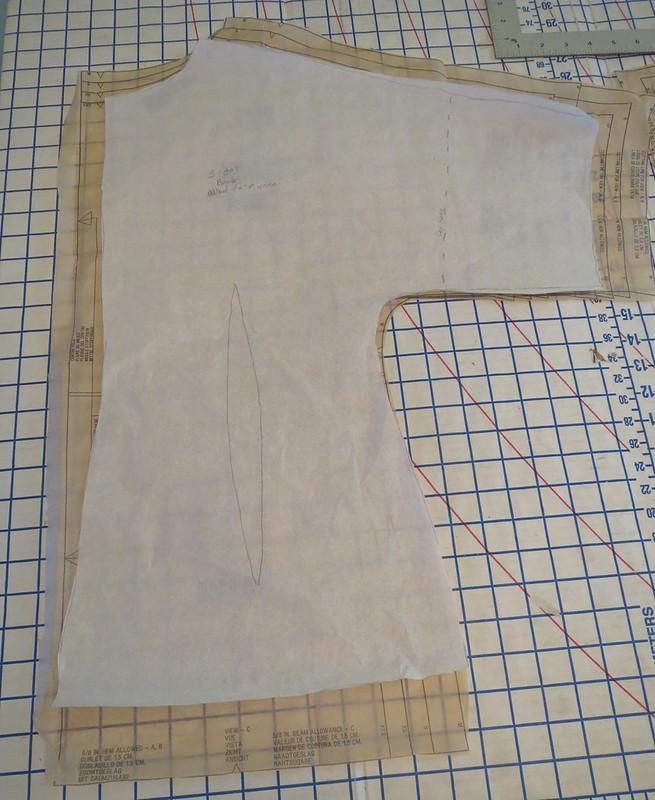
The back neckline was seriously, seriously wide. Here is my final pattern laid over the drafted pattern. And keep in mind that my final pattern has a center back seam, so the cut edge of the tissue is not even the seam line! I normally have to narrow the back neckline of commercial patterns a bit, so I didn't think too much of it other than remarking at how ridiculously wide it was drafted.
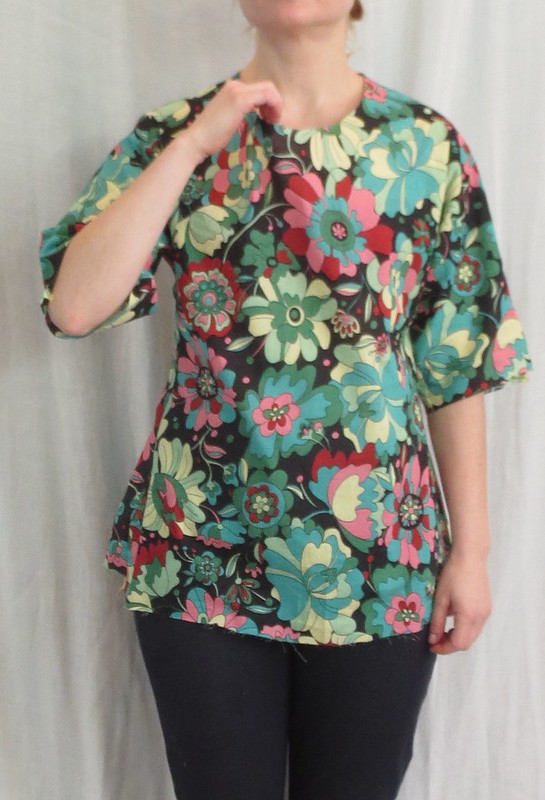
I actually muslined this *gasp.* Although it is a wearable muslin. When I sewed up the muslin I realized I should have had an inkling there was something going on with the front neckline too. There was *serious* gaping at the front neckline.
As a slapdash fix to the muslin, I took up 2 1/4" inches total in an inverted pleat at the center front neck. I swear they rotated the bust darts to the neckline but then forgot to remove the excess width. I don't see how this would work for anybody.
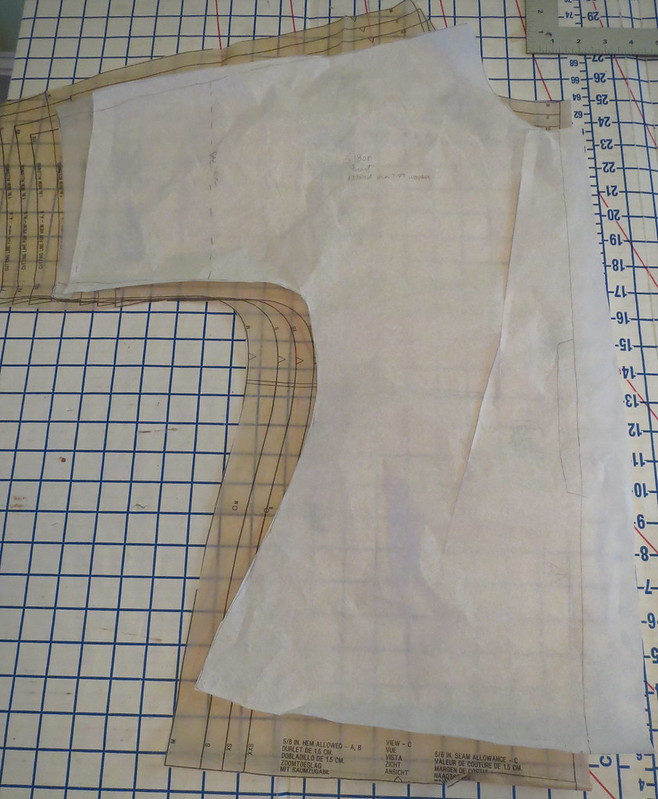
You can see the dramatic change in my final front pattern where I folded out that gape!
After my muslin, the additional changes I made were to increase the width of the sleeve opening to match my inspiration, cut it to the length of the TNT (the tunic length just doesn't work for me), add a keyhole opening at the center back neck, and correct for sloping shoulders by shaving a slight amount off the shoulder edge from a few inches out from the neckline. The muslin was sticking up a little at the neck edge of the shoulders.
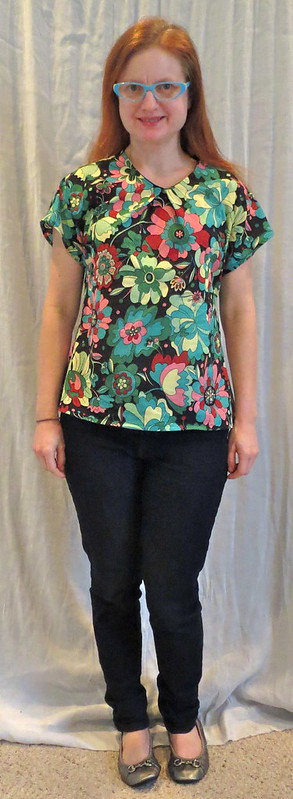
When I was done getting all the information I needed from the muslin I chopped the sleeves short.
This is an airy cotton batiste ($3/yd on our Pilgrimage to Fabric Mart) that will be nice to wear in summer.

And designers haven't left the short dolman sleeved top in the cold--check out this Reiss silk top for $210.
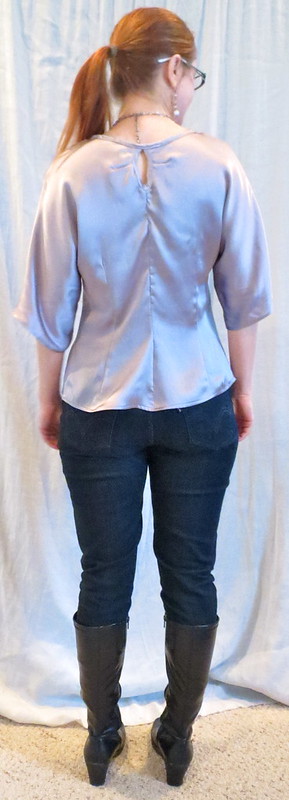
With the pattern altered and it being two fairly unshaped pieces, the silk version was...not a breeze. I was using a silk charmeuse from Paron, puchased last November; it was $15/yd, but with a Groupon I ended up paying an average of $5/yd for several silks. A steal! As beautiful as it is, though, silk charmeuse is just fussy to sew with.
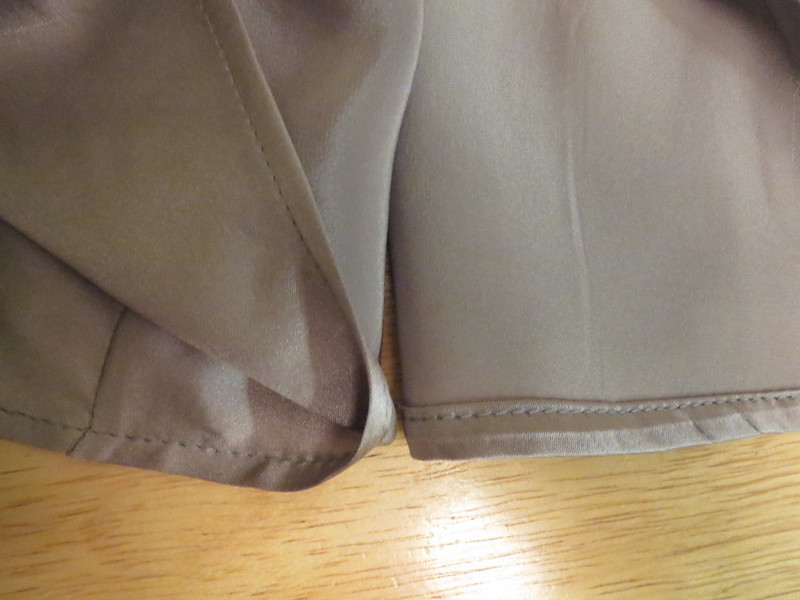
I used French seams, which makes for a lovely inside, but I am severely disappointed with the puckery back seam. For some reason, although it has perfect tension on regular seams, my machine cranks up the tension when I sew the second pass of a French seam. I honestly have no idea how the machine can "tell" that's what I'm doing, but I have to actively stretch the fabric from both sides of the presser foot to get a smooth seam and I clearly didn't stretch enough for the CB seam. I am loath to unpick it because silk does not recover from needle holes and I'd rather live with a puckered seam than a shredded one. Does anyone know why this happens?

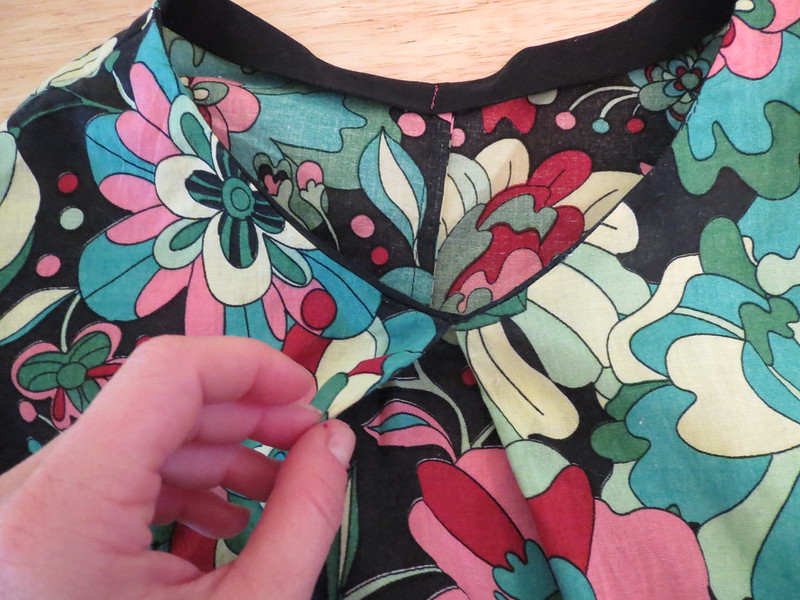
For the back keyhole opening I first cut a shaped keyhole and staystitched it.
Next, I stitched self bias tape on the wrong side, right side of bias tape to wrong side of blouse.
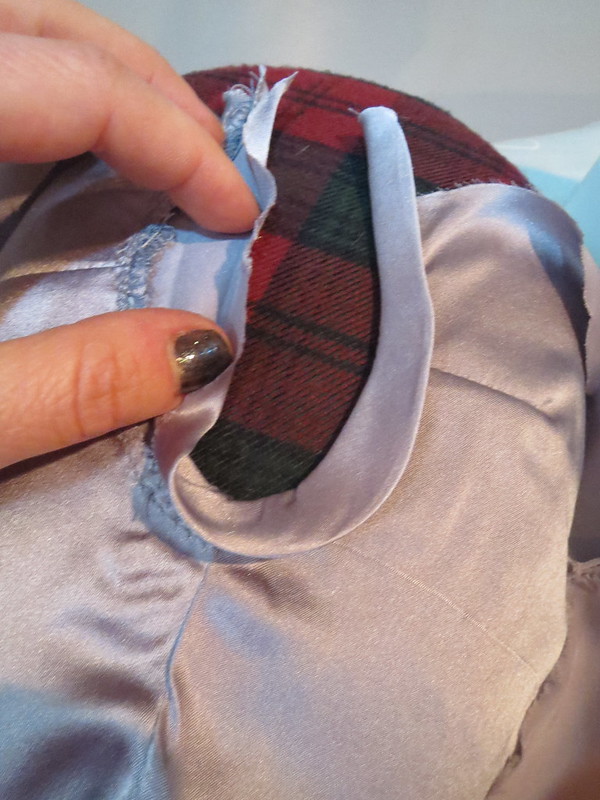
Once the first pass with the bias tape was sewn, I pressed the bias tape over to the right side and pressed under the remaining raw edge.
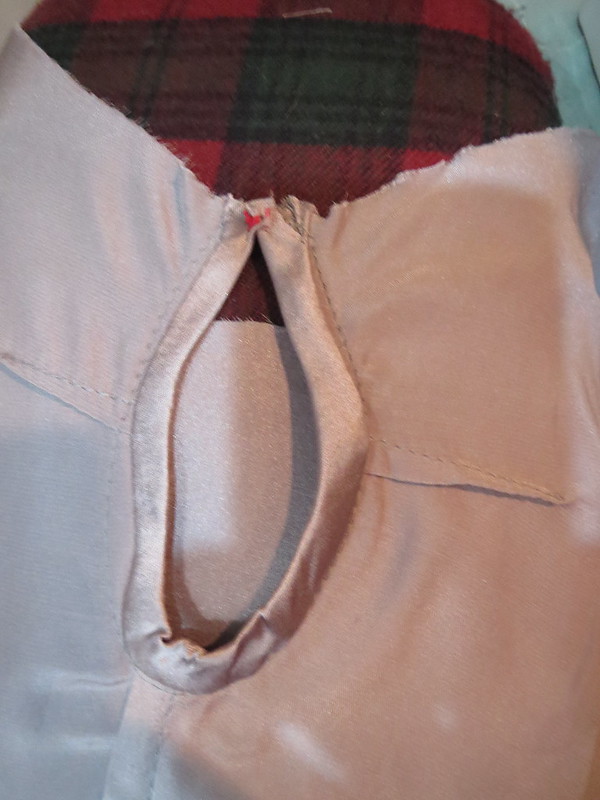
Next I topstitched that folded under edge in place, and steamed steamed steamed to get it as flat as possible.
Finally I hand tacked the neck edges together to complete the keyhole--this is just decorative, I did not need a slit to get it over my head. Then I bound the neck in a continuous bias piece.
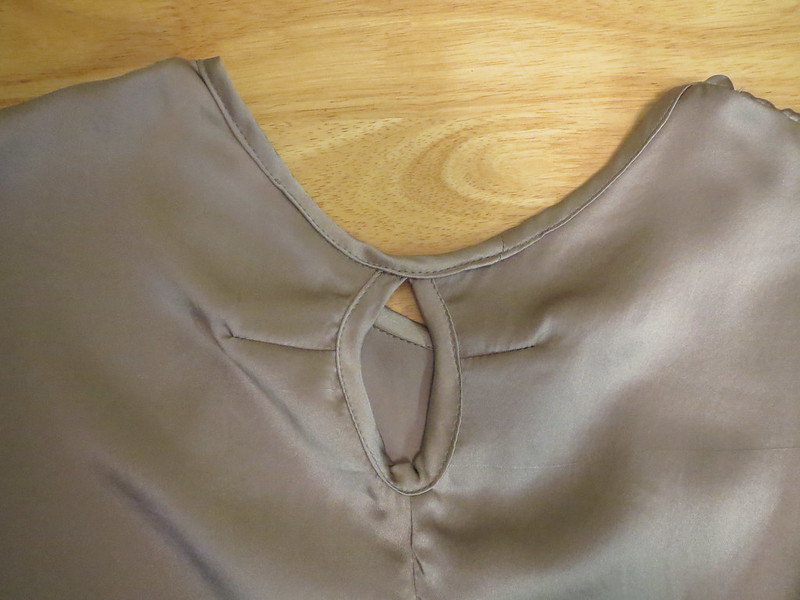
Before binding the keyhole I made two tiny horizontal darts. Because of my "forward head" (aka bad posture), I sometimes get gaping at back slit openings and I didn't want that. I don't know that the darts were totally necessary, but they made me feel better.
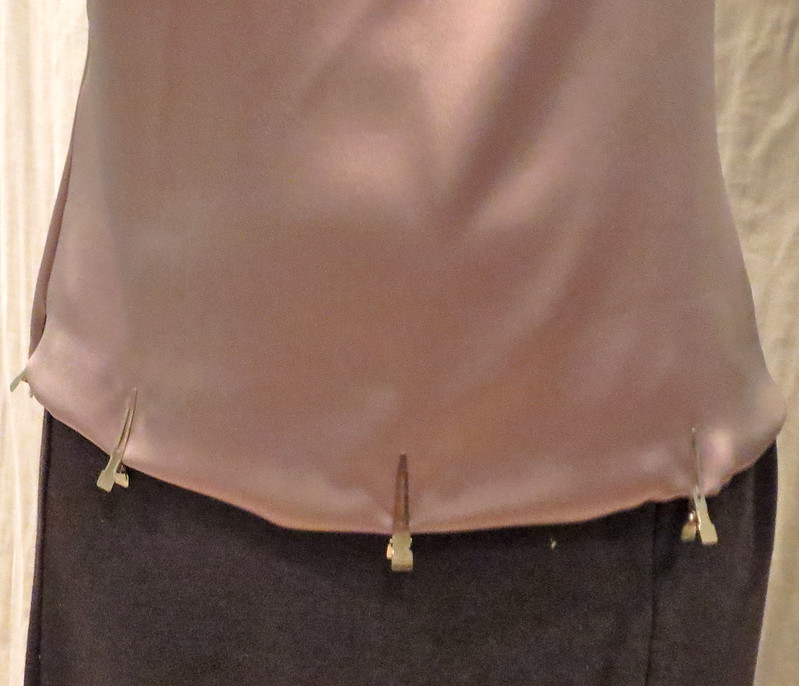
Marking the hem on silk is a pain because pin holes. I have a couple of packs of hair clips for millinery and was like, duh, use clips to mark the hem! It wasn't quite as easy as using pins, but I got a reasonably straight hem considering I am working with silk charmeuse here.
I decided to do a regular stitched hem for the sleeves and the lower hem. I normally do a blind hem or a twin-needle hem, but somehow the stitched hem seemed right for the style. I think it works.
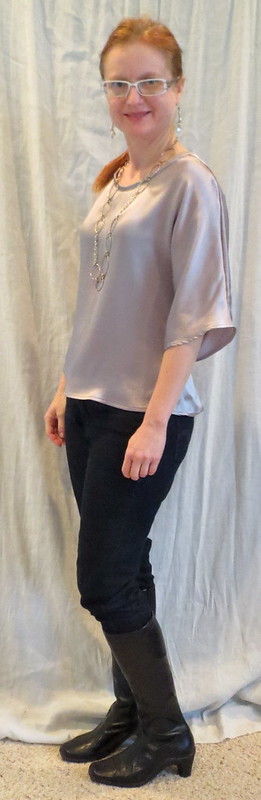
All the care taken on this simple top was worth it for the end result (other than that stupid center back seam, ugh). It is as luxe and classy looking as I'd hoped, and looks and feels high end. I have some dressy events coming up and I feel pretty confident this will be making an appearance at least once in the next couple of weeks.
All photos are here and the pattern review is here.


.jpg)


21 comments:
I understand your disappointment with the center back seam, but overall it looks great! Enjoy the feel of it at your events.
When you are working with a satin weave or charmeuse fabric, it helps to avoid puckered seams by cutting it just a tad off grain. Not so much to affect the hang, but enough that there is a bit more flexibility.
This is something I learned in City And Guilds.
If you have a walking foot it can help. Or a Pfaff!
Sandy in the UK
(Sew Whatever)
I love both the cotton version and the final version. That little invert pleat on the wearable muslin works really well, it's maybe a bit lost in the pattern but it adds a little something to a casual top. But the final version with the long necklace? Fantastic.
Try loosening your top thread tension whenever you sew through thick fabrics or more layers than usual.
I'm sorry you weren't happy with the back seam, but the final effect of the shirt is awesome! Too cute.
Love it! I am a huge lover of silk blouses, so I can relate to that feeling of luxury when you're wearing it. Don't worry about the back seam. Since you can't see it yourself, maybe you'll just forget about it after a little while. :)
Very pretty (great color!) despite your back seam issues. Did you try really hitting it with some steam?
You've been busy! Love the silk version, and if the puckery back seam bothers you too much to wear it, throw a jacket or blazer on over it. Then no one knows! :-) I actually kind of like the pleat detail on the muslin, I'd probably do it again on a solid for interest and variation. :-)
Nice! Despite the problems with the back seam, the top is lovely. Great use of your fabric!
Like both of your versions a lot! The charmeuse was worth the effort and headaches; luxe and very wearable, which is an unbeatable combination.
Gorgeous! You have given me ideas for a piece of grey silk I have recently purchased.
That is really gorgeous in it's simplicity. Although there is a lot of work in the preparation! Sorry I can't help re the back seam.
Love that you are working in silk, my favorite fabric!! I also have been making silk charmeuse blouses using Simplicity patterns lately. I'm liking the necklines with tucks or gathers because it's easier to take out the extra ease that Simplicity seems to be drafting into their blouses these days. I have to take 3" out of the back, using the added center seam as you have done, or an inverted pleat, or gathers. There's about an inch extra in the front that I also have to get rid of to have the neckline lie flat. I wonder how many others have this problem?
There are Japanese silk pins (not the glass headed ones - these are much finer) (less than a .5mm diameter) that are so fine you can pin as much as you want with no holes at all. I have no idea where to get them since the box they came in has only Japanese characters on it and I have been using pins out of this box for the last 25 years. I think www.shiboridragon.com might have them. Not inexpensive, but so worth it, although they will bend if you try to use them on synthetic or heavy fabric.
I am in love with this top!! Too scared to try silk yet but I'll get there :)
I love the drape of the sleeves of the silver version and the pleats on the neckline of your floral version is lovely too - both are winners. Don't you love it when the muslin turns out well and you end up with two for the price of one?
Looks so good!
Very luxe! Gorgeous!
Lovely, simple tops. I quite like the slapdash v-neck. The end result reminds me of one in a random Japanese pattern book I have.
The muslin turned out so adorable! The silk version is very nice and while I totally understand your frustration with the back seam, given how much care you've taken with this, it still very classy and high-end looking.
That's really a pity with the back! Your blouse is so nice! Why don't you undo the seam in the back and re do it by hand?
Post a Comment