Friday, August 30, 2013

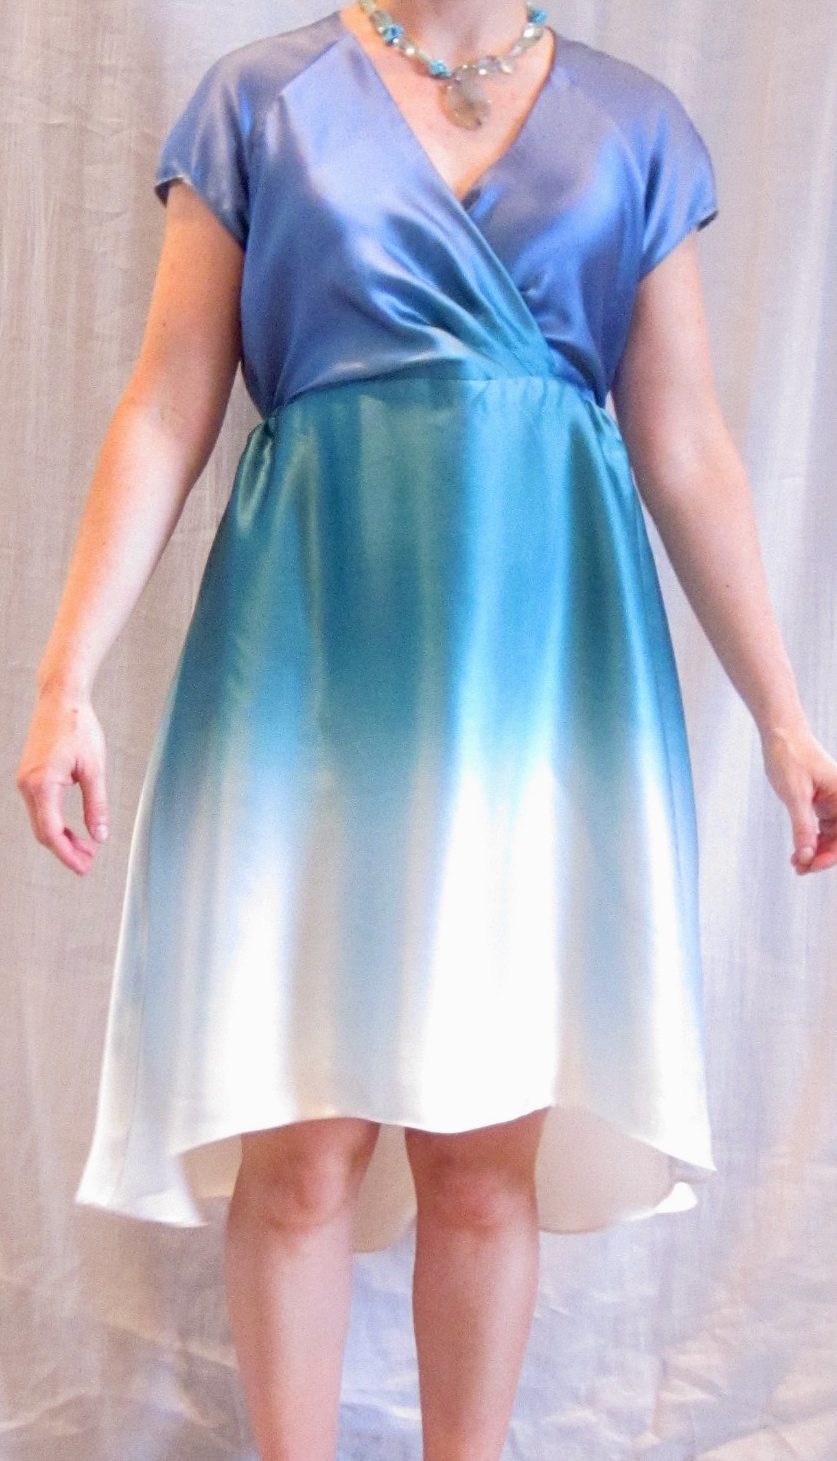
Vogue 8870, High-Low Hem Surplice Birthday Dress

V8870 Thumbnail

It takes me a long time to warm up to a trendy trend, like the high-low hem.  At first I hate it.  Then I am skeptical.  Then I see some cute examples.  Then I am ready. This process can take years. 


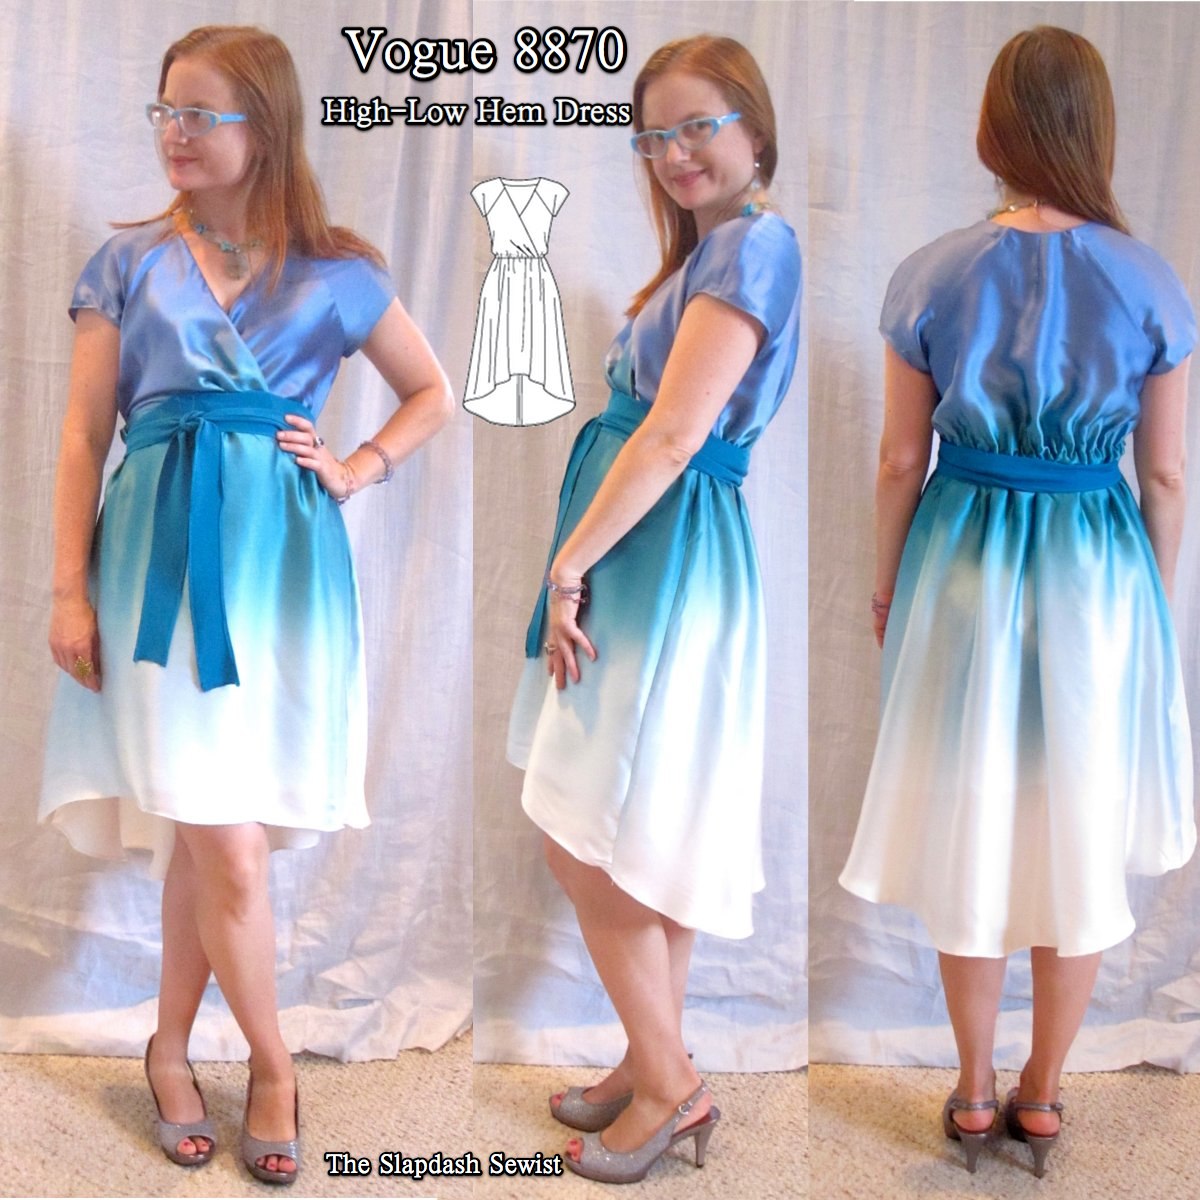
After seeing several cute iterations of this pattern on PR, I decided I could take the plunge with the high-low trend (I may be willing to do the trend, but I am not willing to butcher the English language by calling it "hi-lo") using Vogue 8870, sized XS-XXL.  I even went bold with double trending by using this ombre silk, one of the gorgeous pieces BadMomGoodMom picked up for me for a song.

After I had the dress almost done I saw this Lela Rose for Fall 2013.  It looks like my trends should last through at least next season!


Broad Back Adjustment


I did my usual adjustments, including a broad back.  I should have been more aggressive with the broad back.  I didn't want the hassle of bringing the adjustment into the raglan sleeve, so I just did it on the bodice piece, and I don't have as much movement through the back and shoulders as I would like.


There was universal praise for this pattern among those who have sewn it, but I had an *awful* time with it.  I think the flowing silk charmeuse added a level of complexity the pattern could not take.
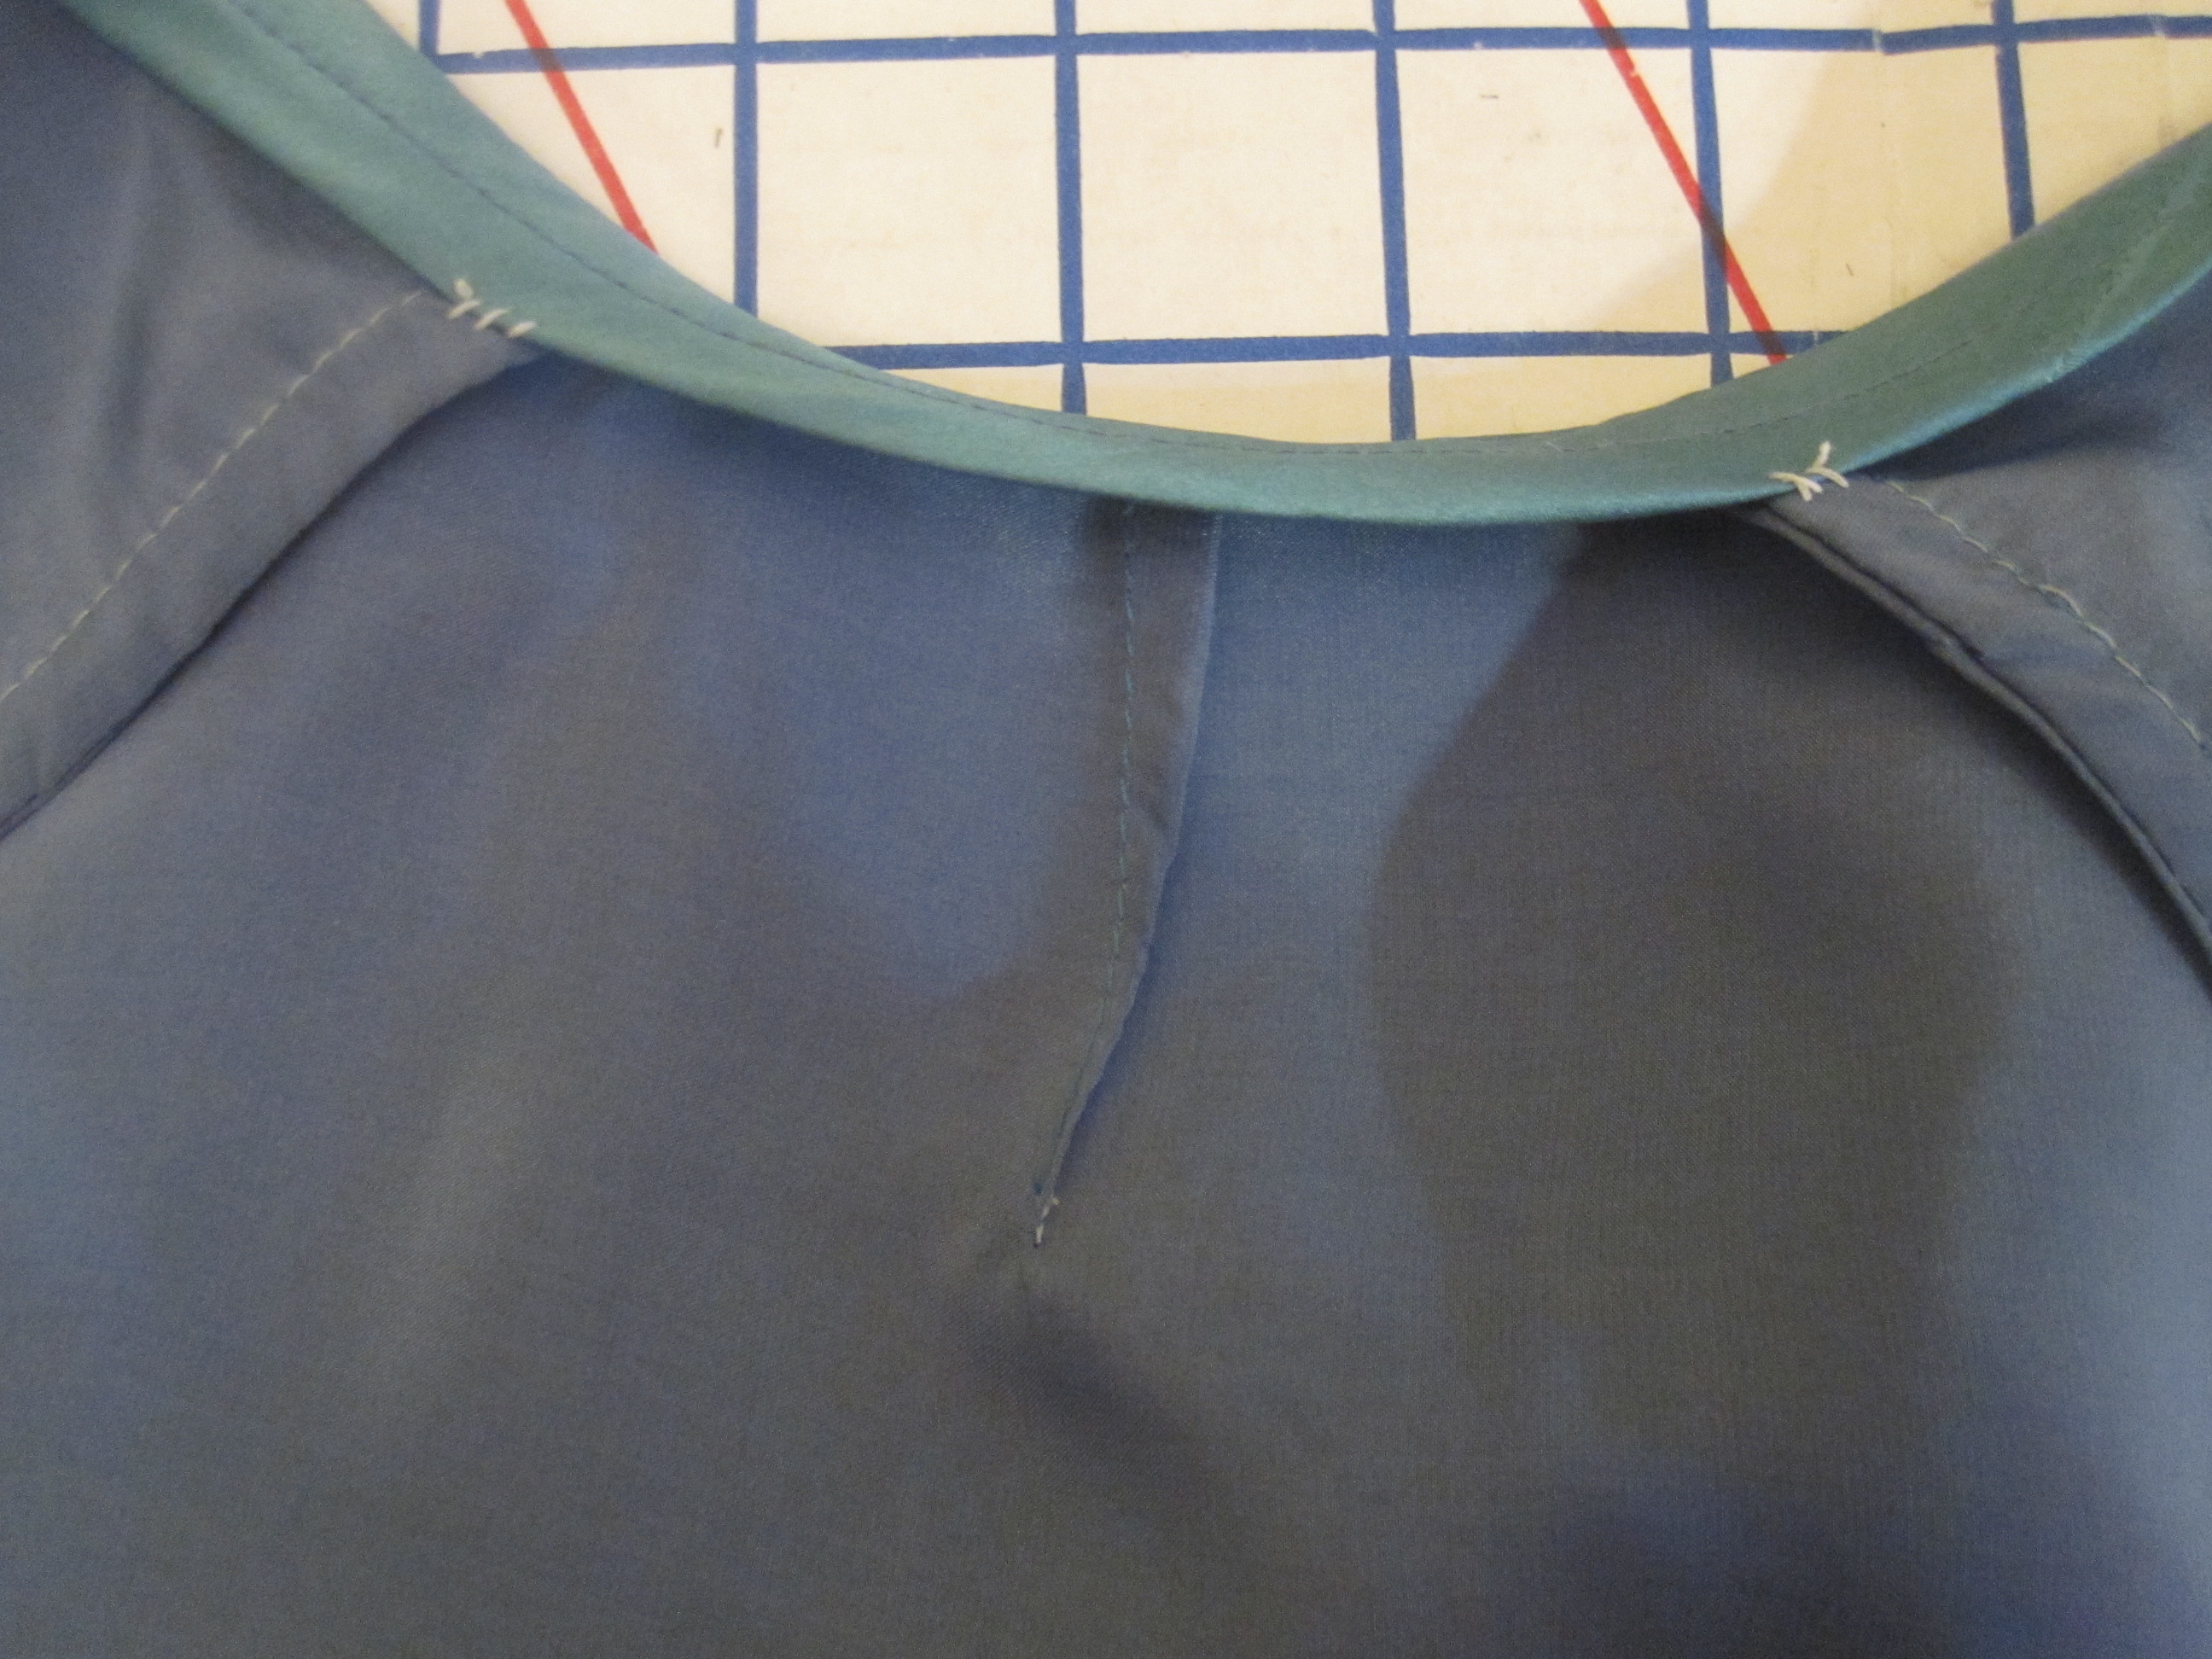
Back Neck Dart

I had a little gaping at the back neck, which is not unusual for me.  I added a tiny dart, which took care of it.

My main issue, though was the length of the bodice.  The side seams drooped a full two inches lower than the center front and back.  I sewed it to the skirt like that thinking that once the waist was elasticized there would be some sort of miracle transformation.

There was not.

So I put the dress on inside out and tied elastic around my waist and snugged it even with the lower edge of the center front and back of the bodice, then marked on the side seams where the elastic lay, which was two inches shorter.  Then I ripped the skirt off (poor silk!), reinforced the stitch line with strips of interfacing, trimmed the sides of the bodice at my markings, and sewed it back together with the shortened side seams.  Much, much improved.

The side seams of the front bodice are cut on the bias because of the grain direction, so I assumed the problem was my carelessness in letting the seam stretch out (though the back side seam is pretty close to straight grain).  But comparing the pattern piece to the finished dress, the side seam was as drafted.  I really don't know what happened.
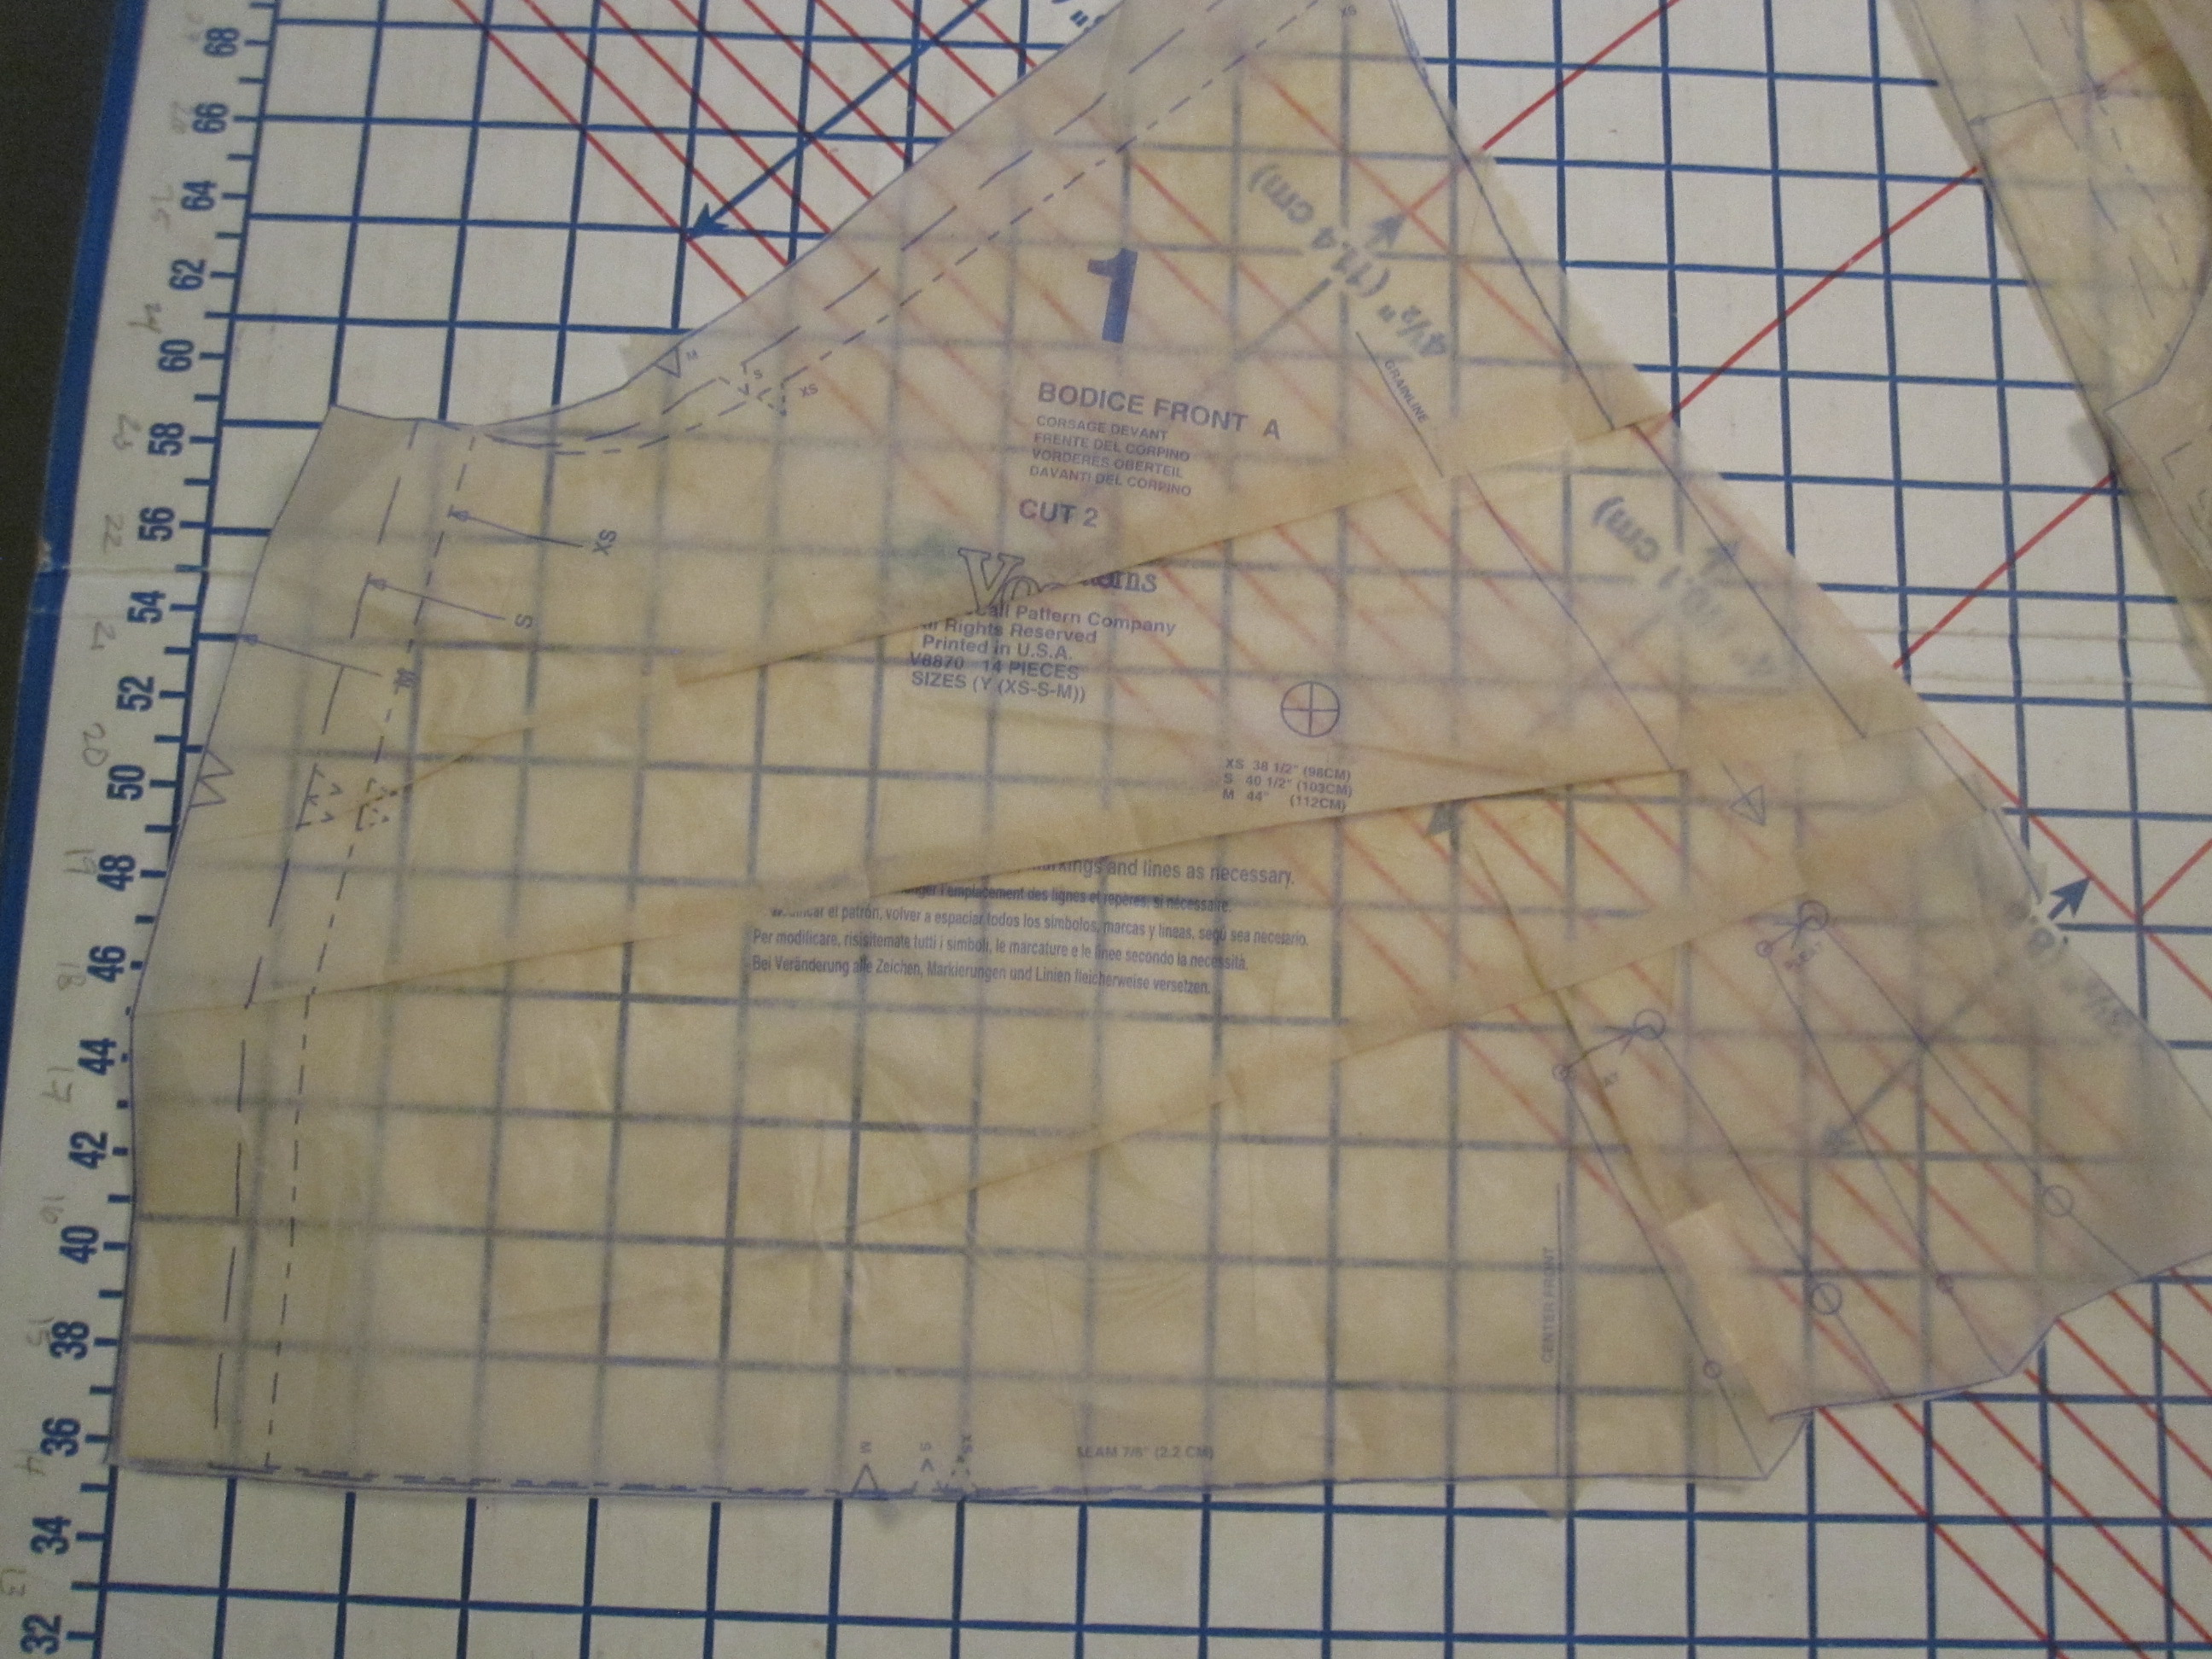
Small Bust Adjustment

Part of the problem may have come in with my Small Bust Adjustment of shortening the front bodice crossover.  I probably could have shortened it half as much and not had gaping; this is *very* unusual for a Big 4 pattern.  Anyway, the front pulls up a little and it's hard to keep the shoulder seams exactly square on my shoulders.  (I did nothing to the length of the back bodice, though, and it had the same length problem there with a very high center back and the drooping side seams.)


Experimenting with the elastic in the "waist" casing, it looked best if it started and ended about 3 inches in from the side seam on the front, with the center front completely flat and unelasticized and the majority of the gathering in the back. 
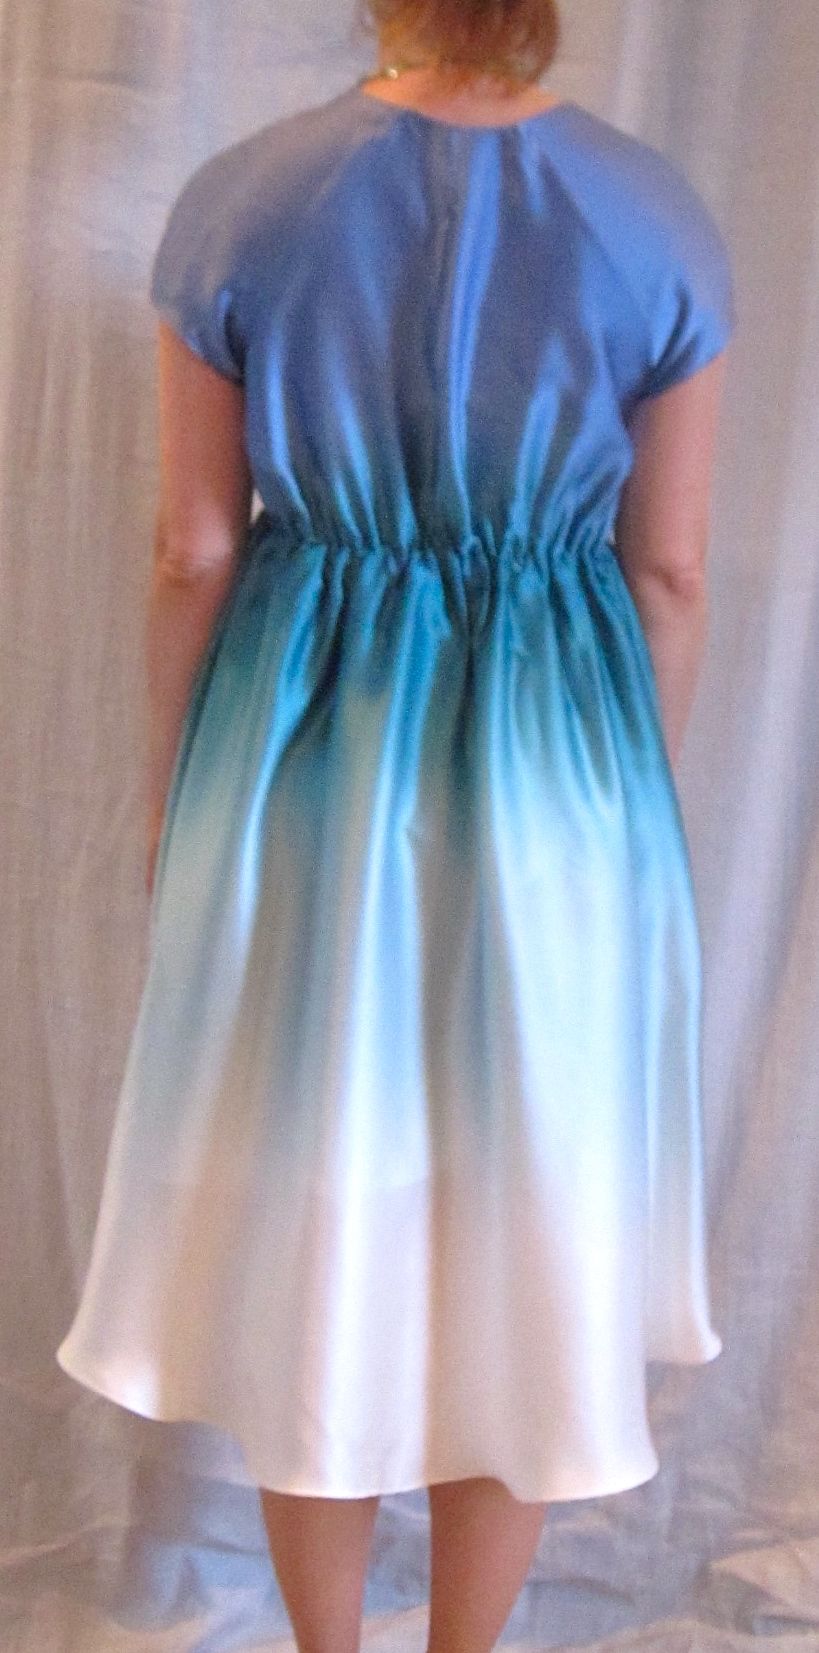
Back UnbeltedFront Unbelted It still isn't great, so I went for the universal solution to a bad waist:  the sash.  Without the sash it is just bad.

However, the Bust Pleats to Nowhere I will not take credit for.  I don't know if they are angled wrong, or too close to the center front (and I overlapped the fronts about an extra 3/4" from the design) or what.  But they do not create flattering draping over the bust.  They just create a bubble of fabric above the waistline.

Speaking of which, the waistline is way high!  It is dangerously close to empire, and I swore off empire last year, no matter how much I am tempted, because it is very of a moment for 2011 and the expiration date approacheth.

I like the raglan sleeves, though they are a tad restrictive.  The downward slope of the shoulder is pretty severe.
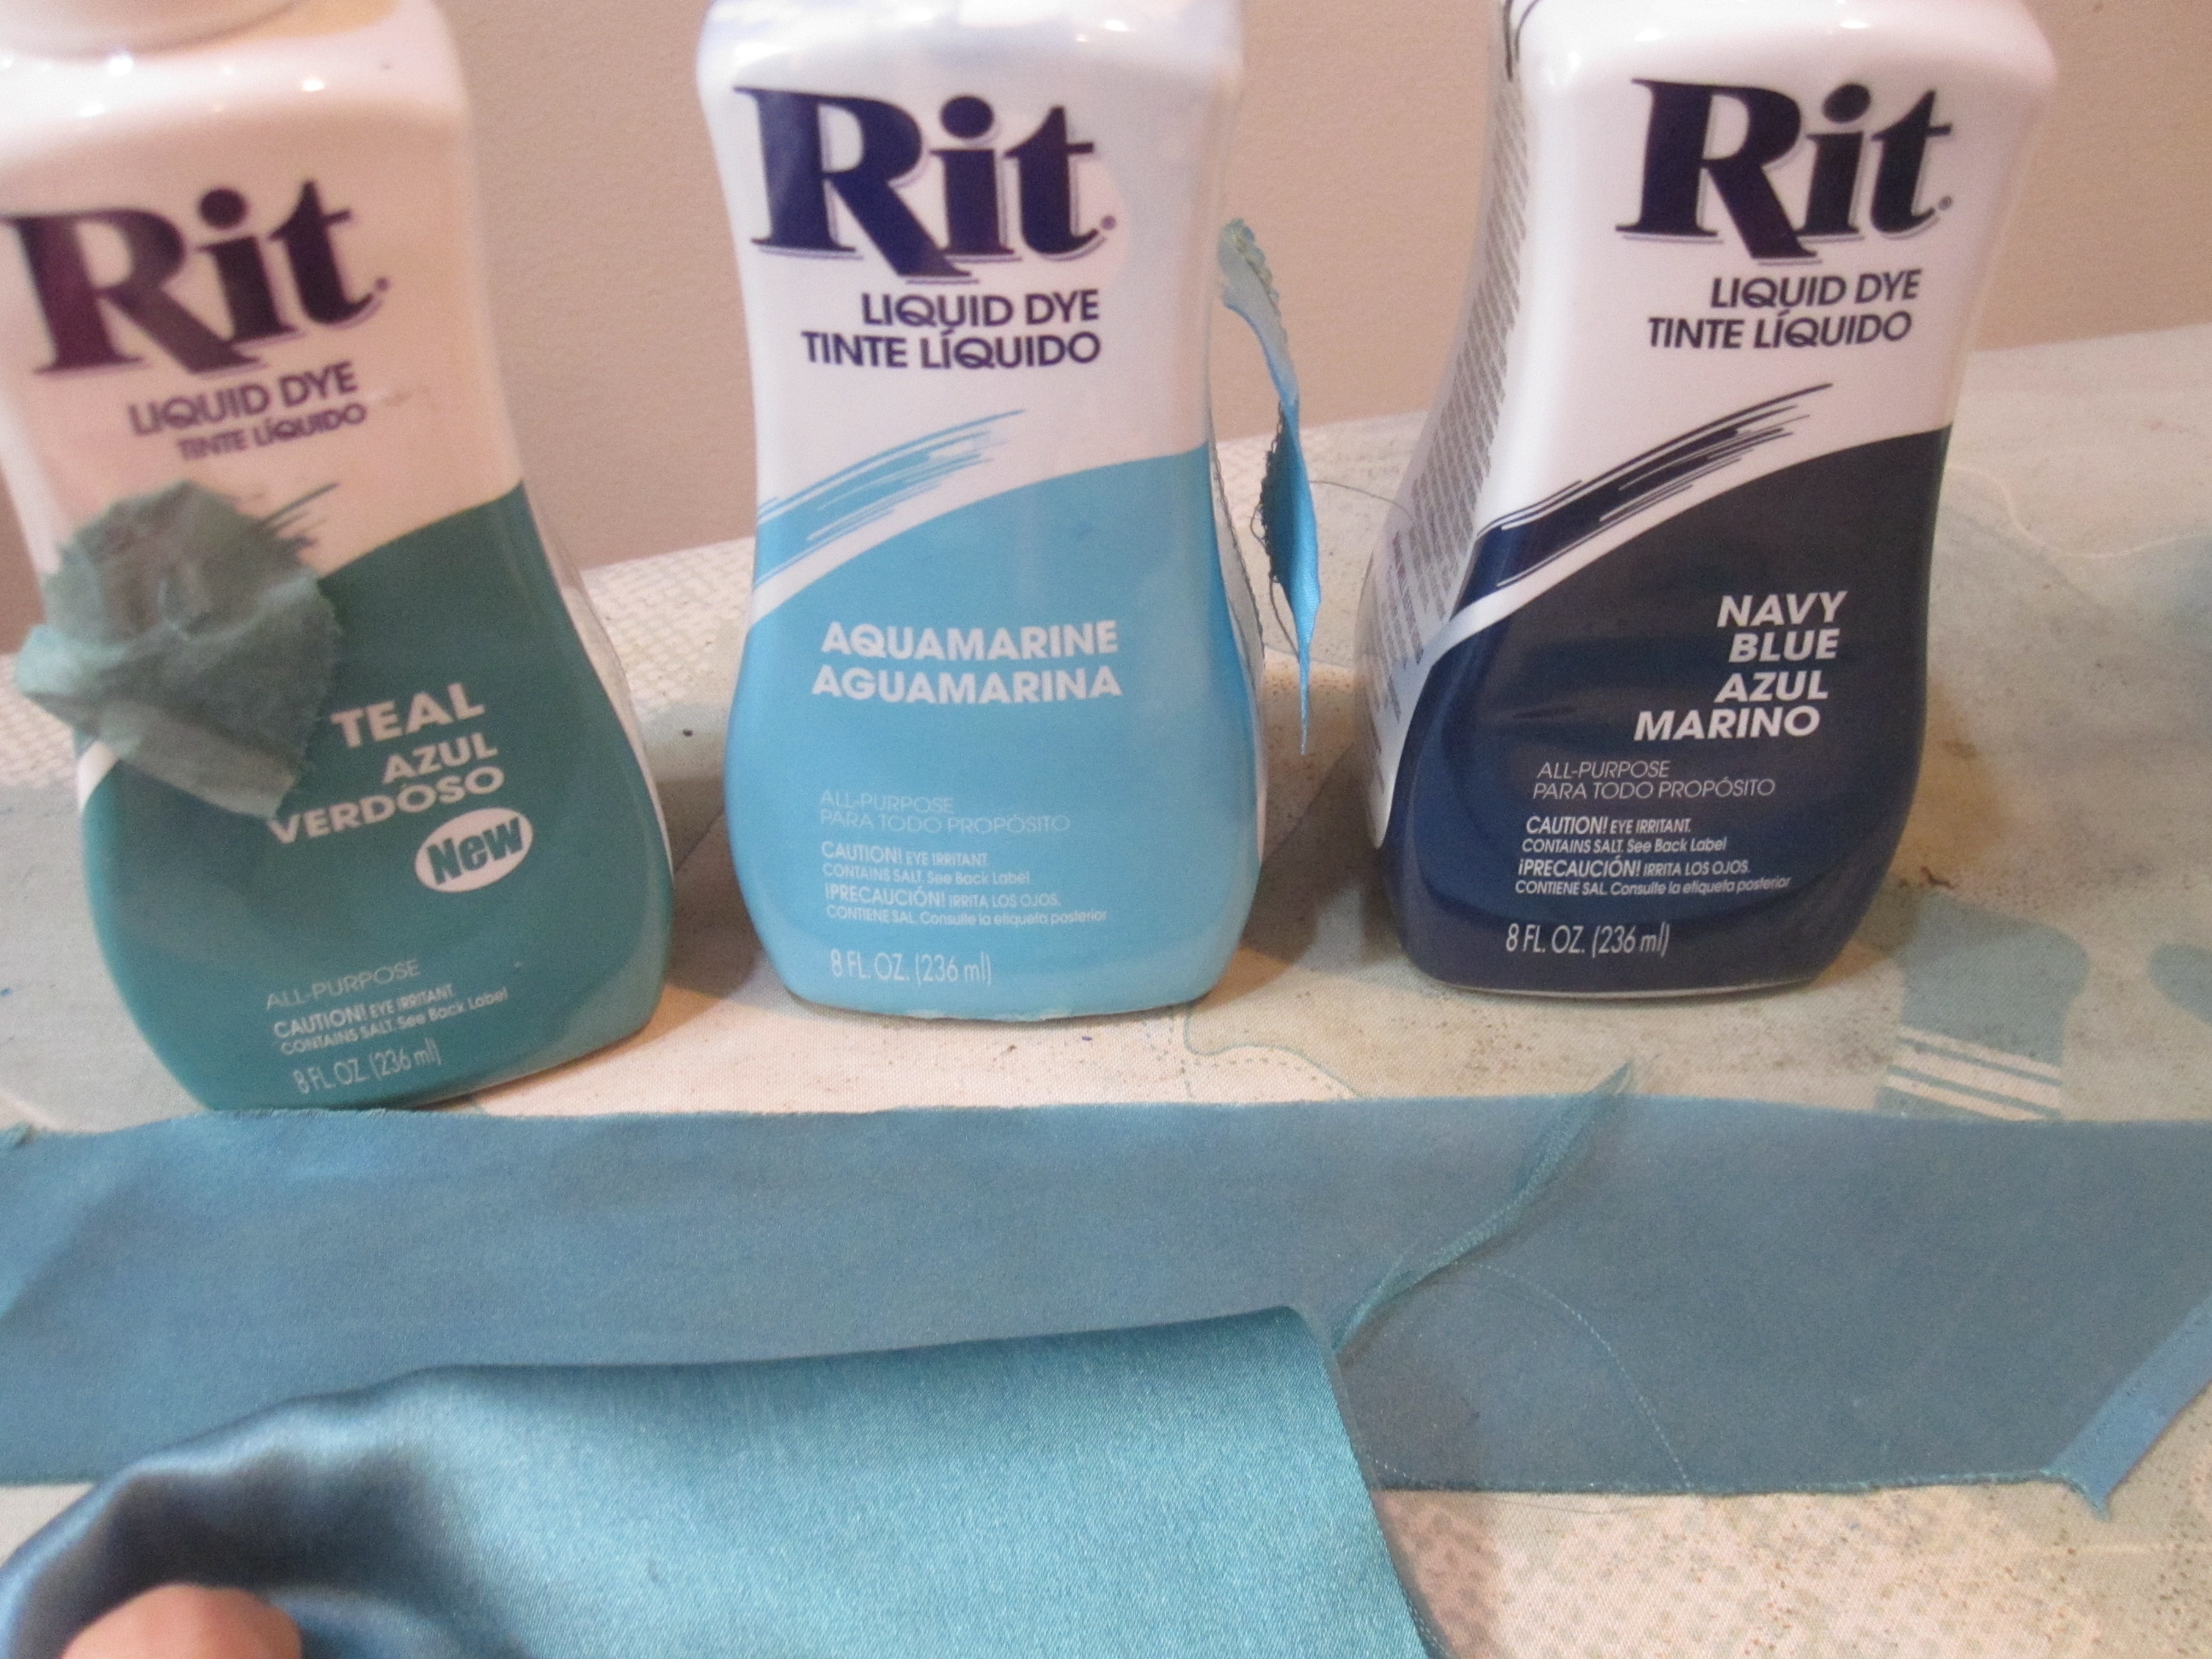
Dyed to Match Bias Tape

I finished the neckline with bias tape rather than a facing.  I used the leftover bit of white fabric from below where I cut the front skirt to make the bias tape and then dyed it using a mix of Teal (mostly), Aquamarine (a little), and Navy (just a few drops) liquid Rit dye.  I managed to get an almost perfect match for the turquoise in the fabric, much to my surprise.  In the photo at right, the dyed bias strip is above and the original fabric is below.  (Alas, an attempt to dye cotton in the same dye bath did not have good results.)
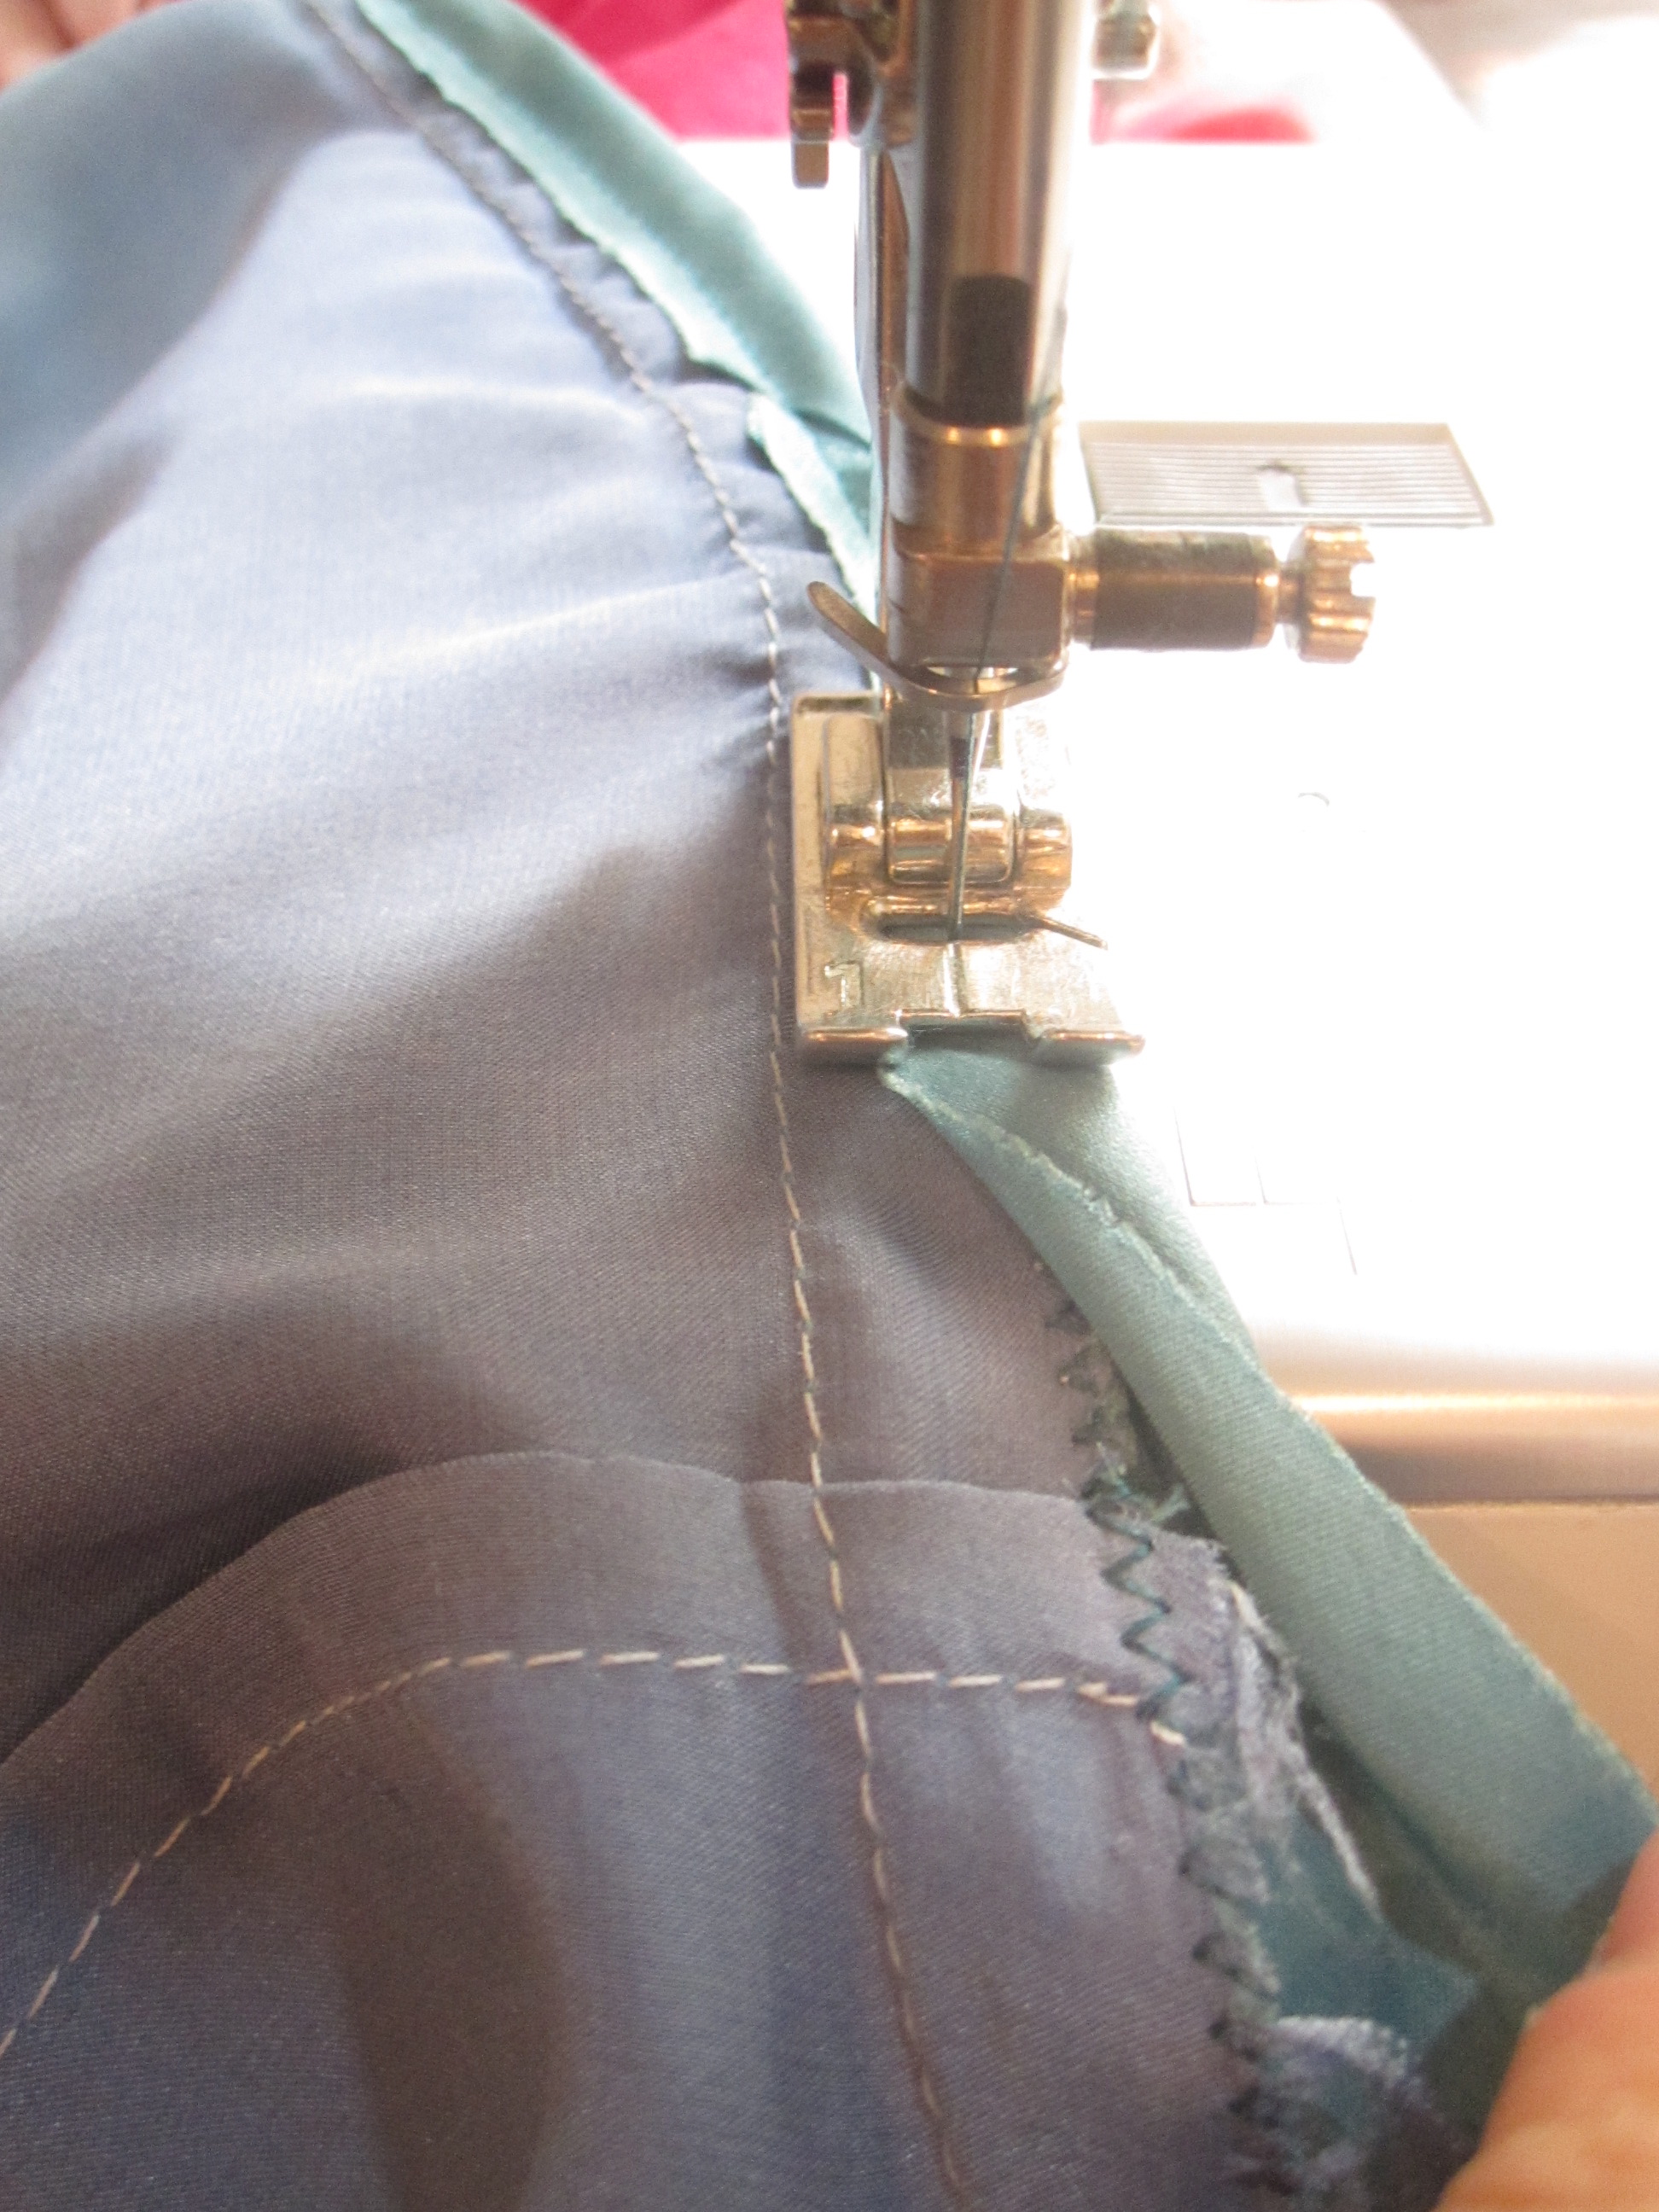

Stitch Bias Tape over SA

After sewing the bias tape to the right side of the neckline, I stitched the raw inside edge of the bias tape over the neckline seam allowance before pressing under.  It is kept in place by strategic hand stitches at the sleeve seams.

I cut the back skirt on the fold rather than with a CB seam, as did most everyone who made the pattern.  It required ignoring the grainline, but a seam would have interfered with the smooth ombre look of the skirt.

I lined the skirt only with silk/cotton Elegance from Martha Pullen.  This stuff is a dream for lining!  I drafted a straight across hem for the lining, rather than making it high-low as well.  It shines through a little, so maybe that was a mistake.  My pet peeve for patterns with "specialty" hemlines like this is when they do not come with a "regular" hemline marked as well.  It limits the versatility of the pattern.
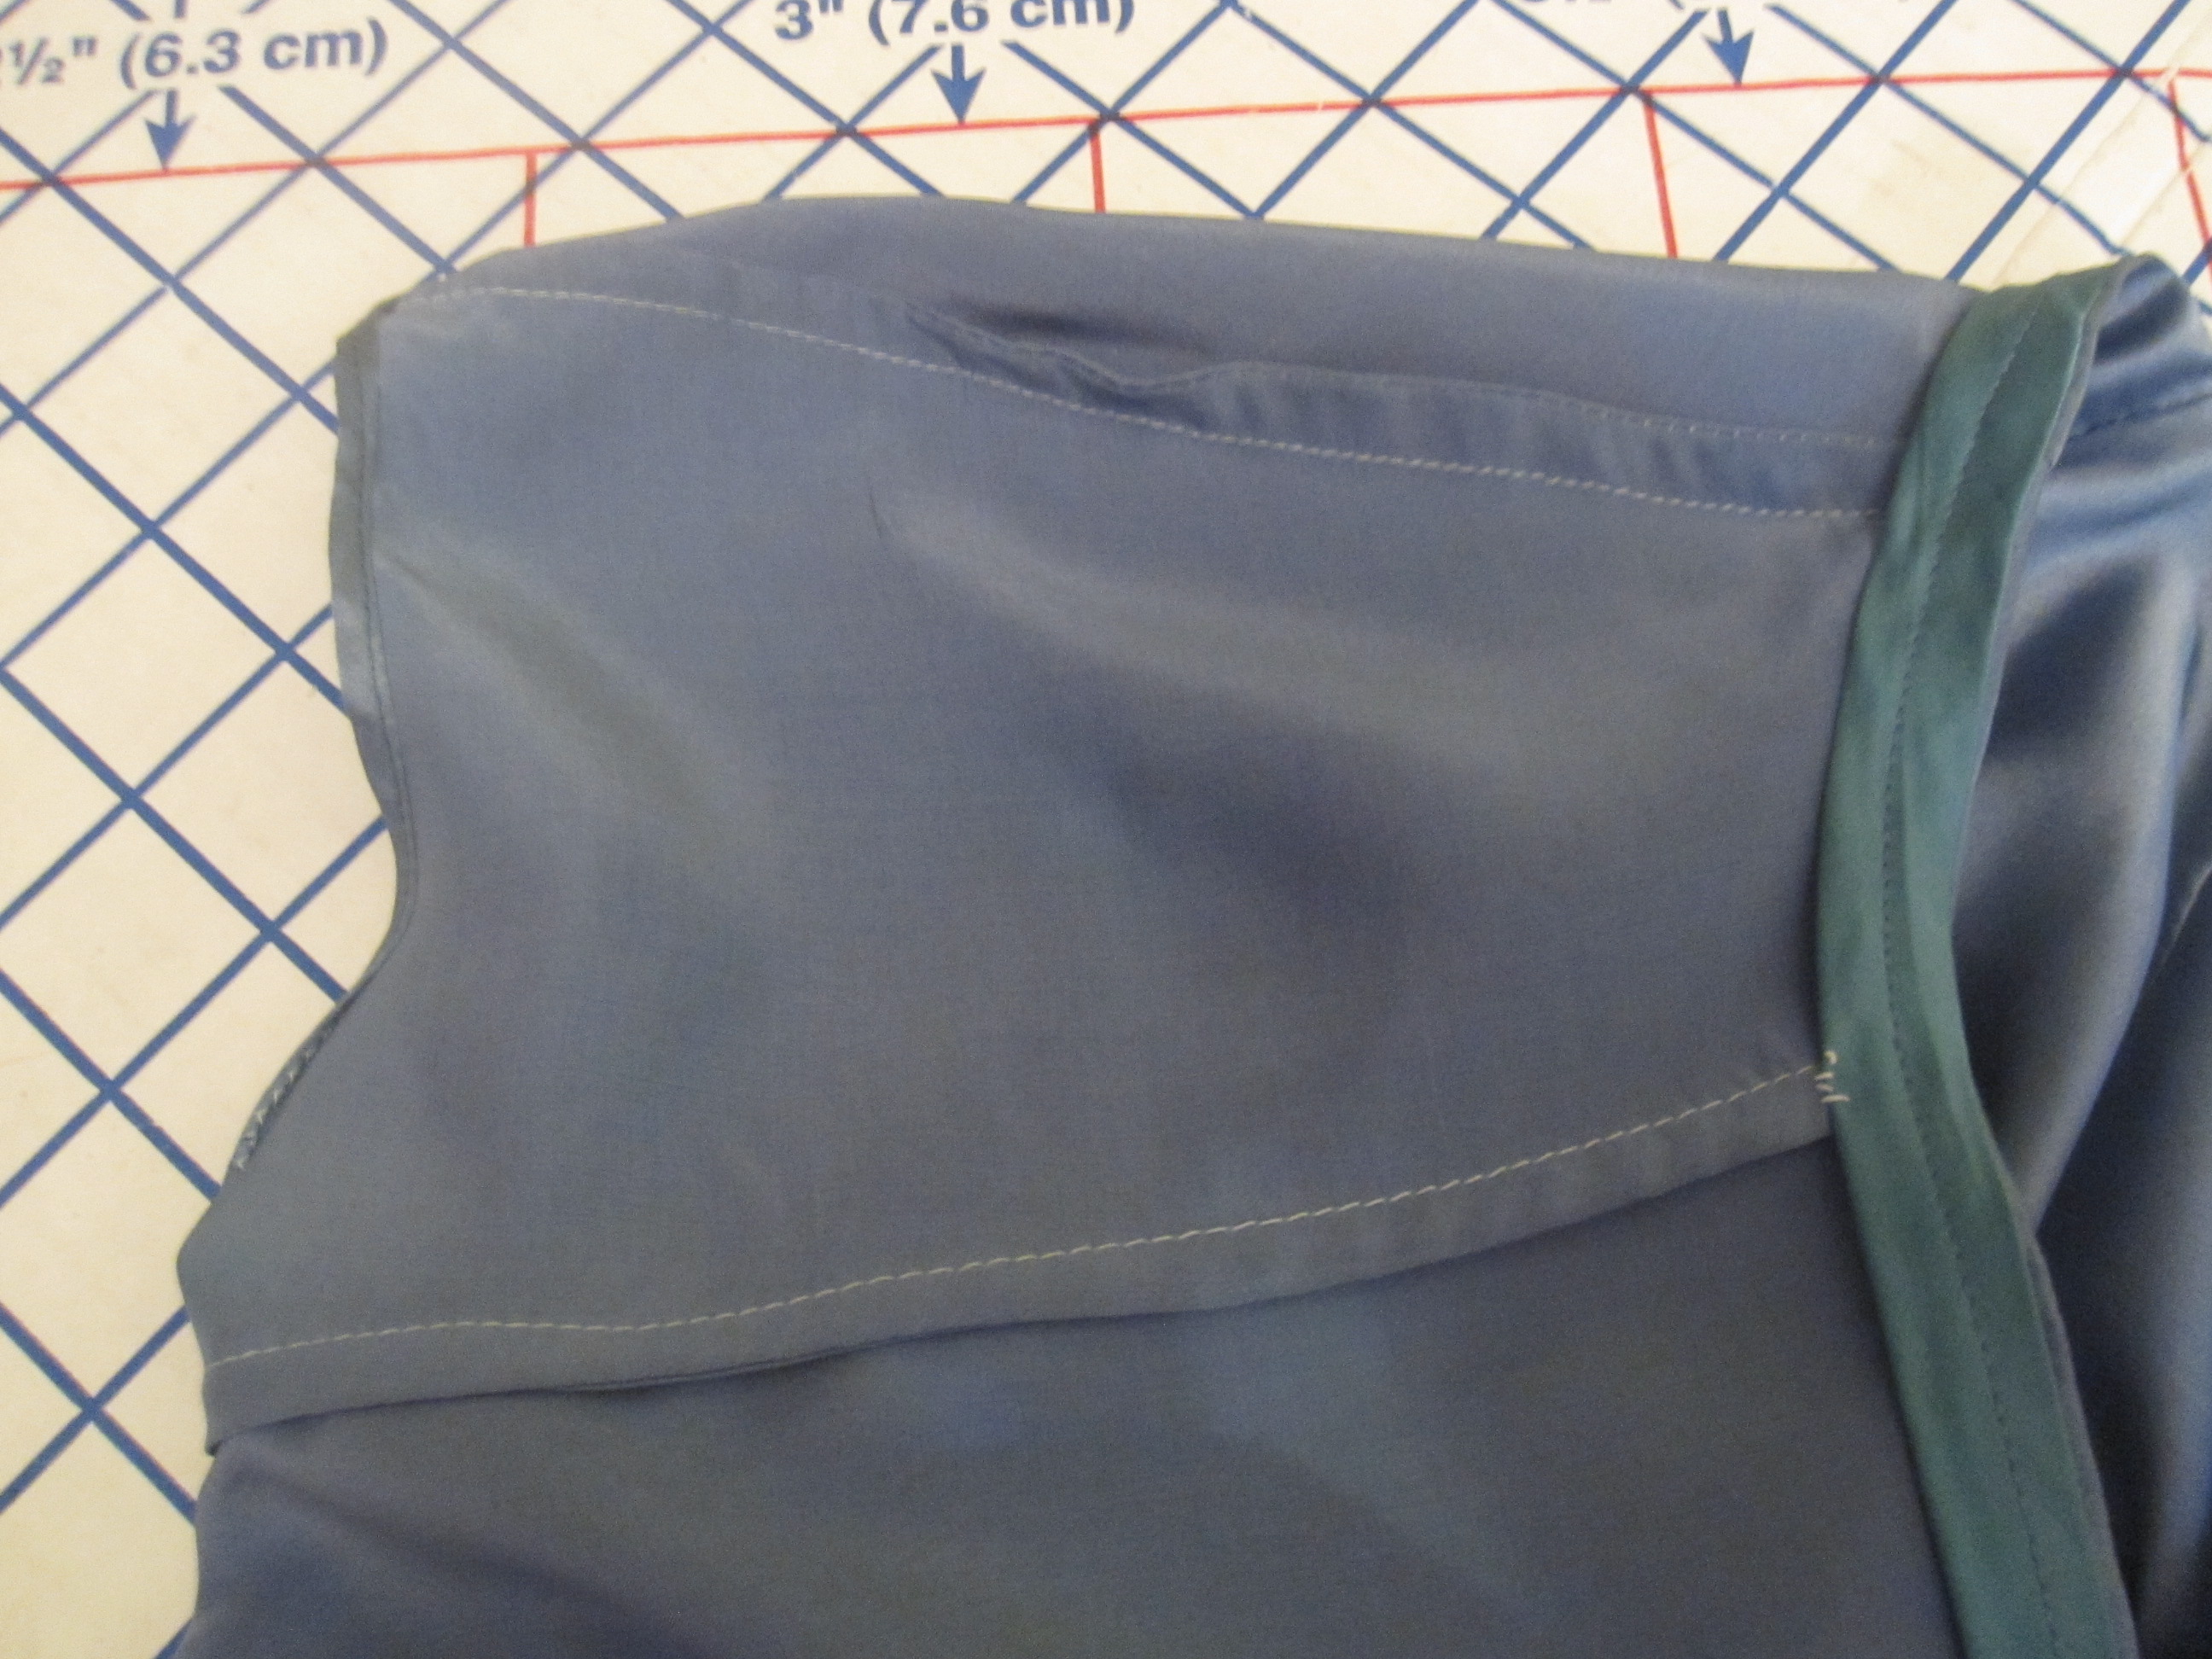
French Seams

It's frustrating that this dress turned out kind of meh.  I put a lot of work into it; I sewed it while my serger was in the shop so it has gorgeous French seams for everything but the waist.  It's a luscious silk.  And it will have to be my birthday dress (tomorrow!) because I had only 3 weeks to sew for the Greek islands instead of a month and a half.
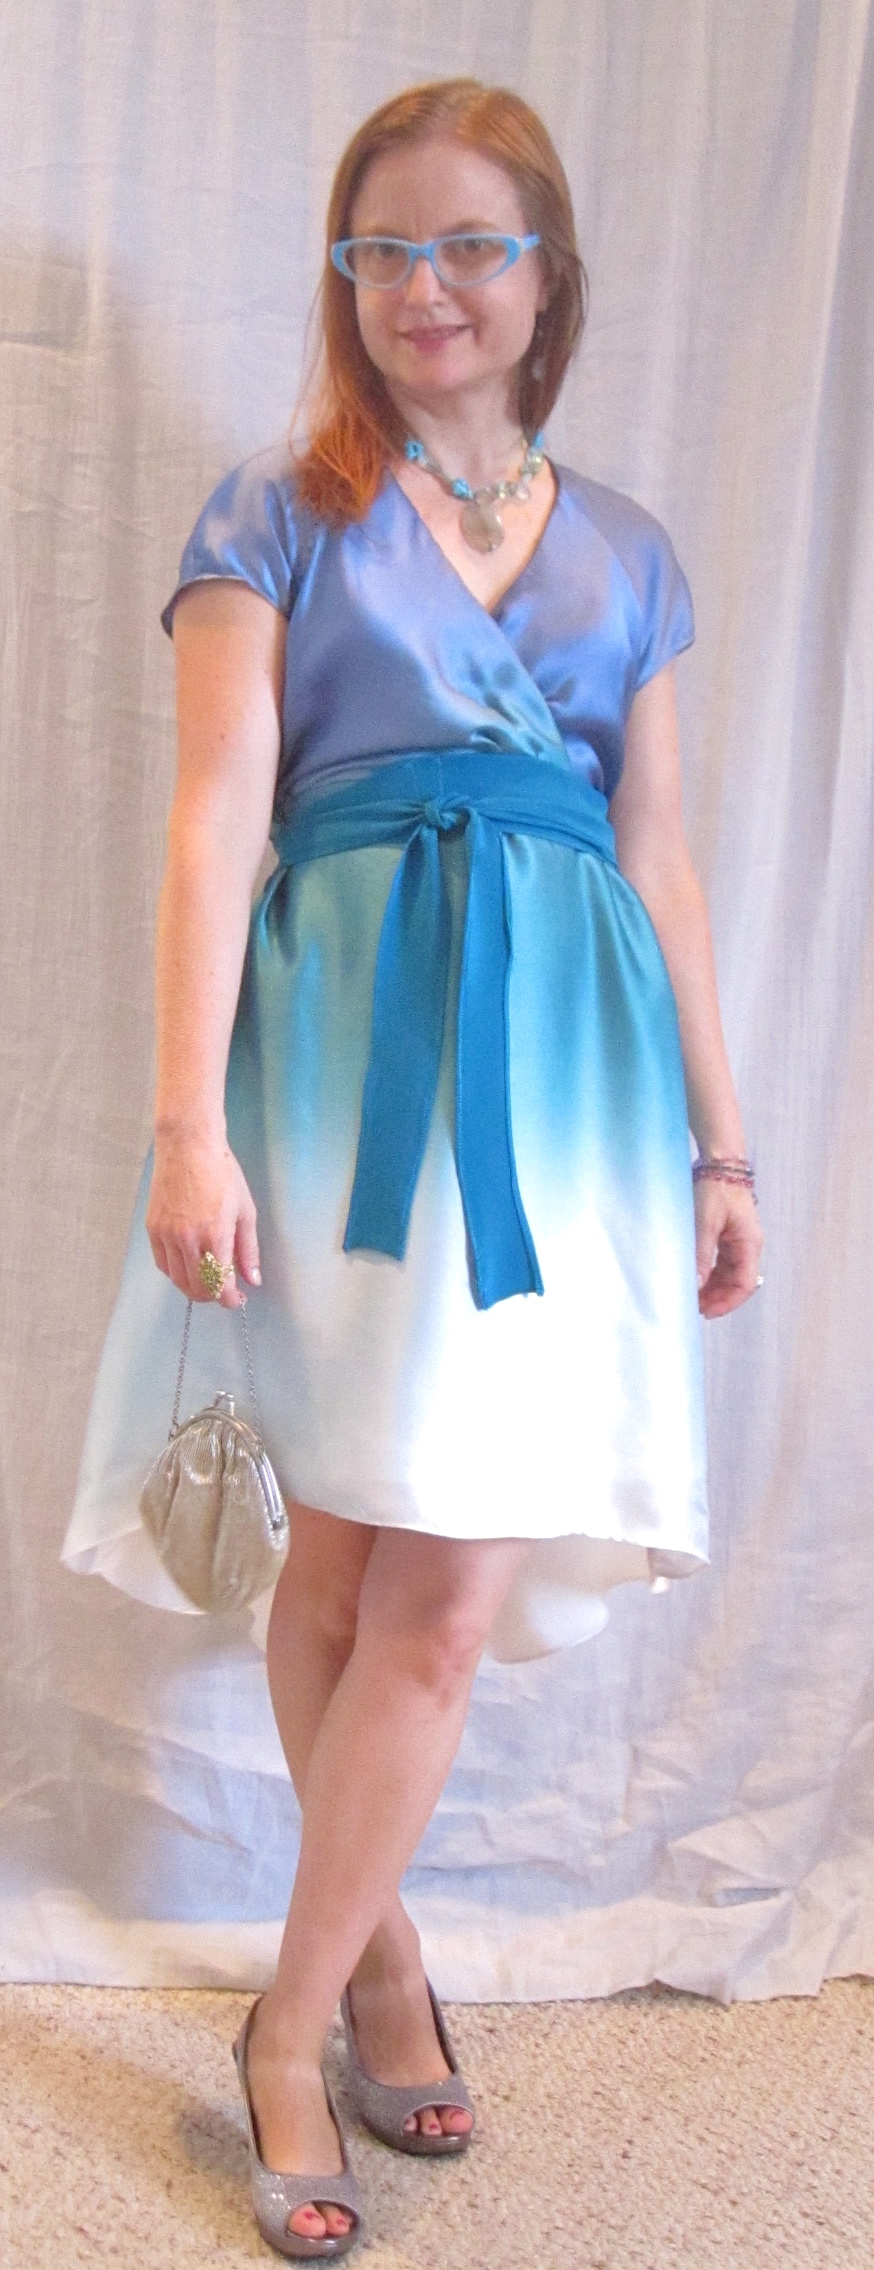
Front


When it is all dressed up with accessories, it passes for a cute dress.  But it definitely cannot stand on its own.

I like the idea of this pattern but I'm not sure I'll give it another try.  Definitely not the crossover bodice.  If the mood strikes I would try to draft a plain bodice with sleeves based on the spaghetti strap version.  I like the spaghetti strap version as is but seriously, bra.  Strapless bras are horrible.  I would recommend a stable but lightweight cotton as the best fabric; a good quality lawn would be perfect.  I think this could also work in a knit.

All photos are here and the pattern review is here.

===============

Trip sewing continues apace!  So far I have made:
-3 bikinis
-shorts
-yoga/hiking capris

-nightie

I have a knit dress done except for the hem, and a knit top about halfway done.  The last two pieces on my list are a little sweater and another knit top.  Though this is a long weekend, it will be full of birthday festivities so we'll see.

Thursday, August 22, 2013

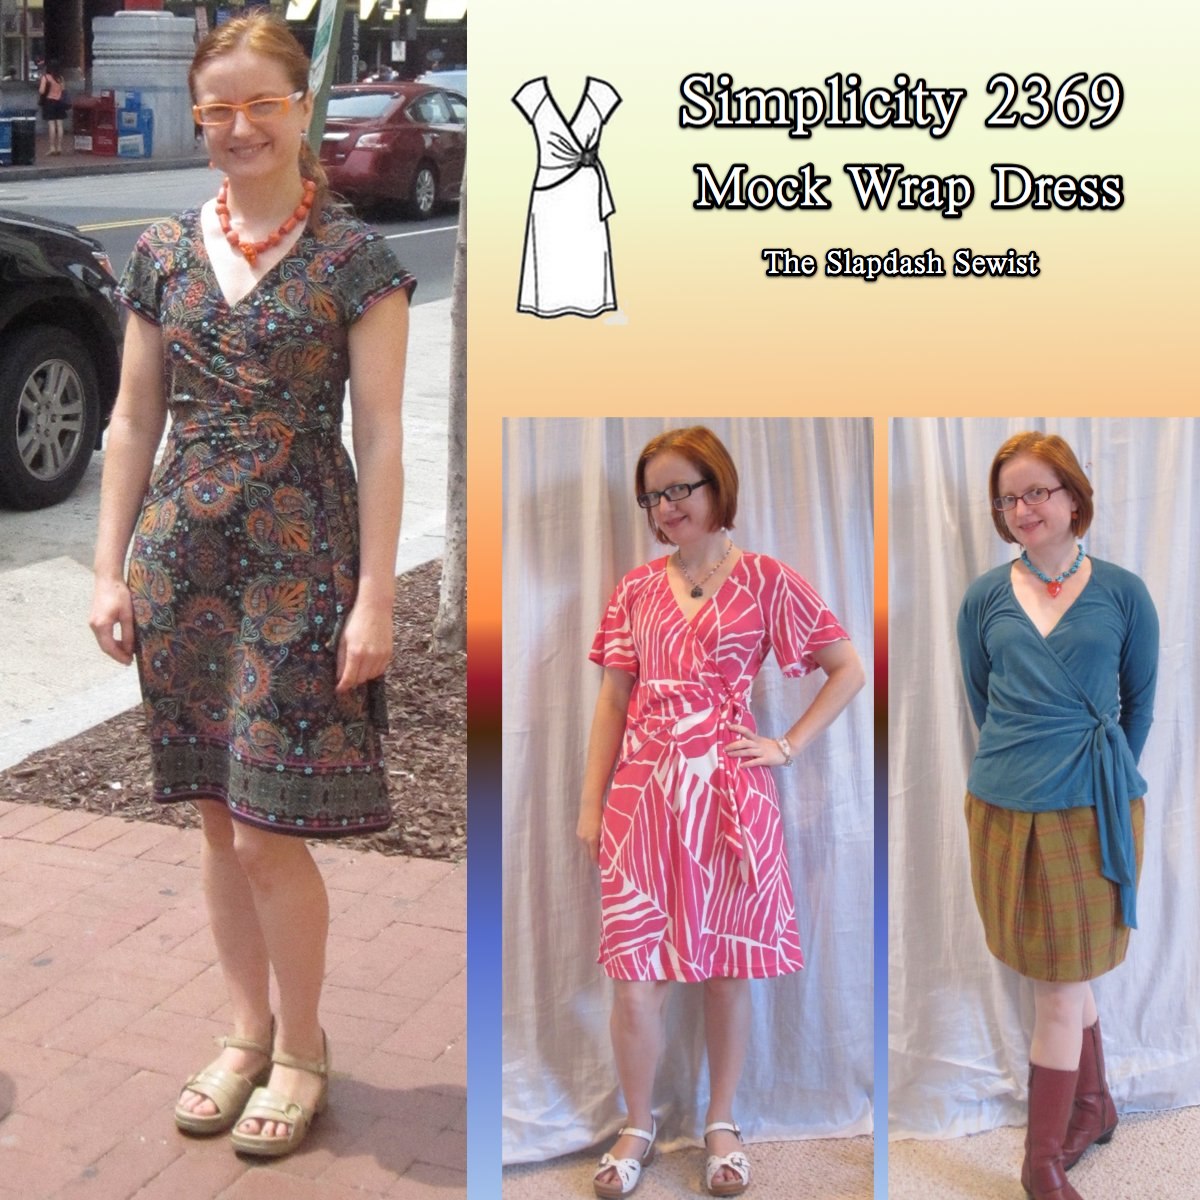
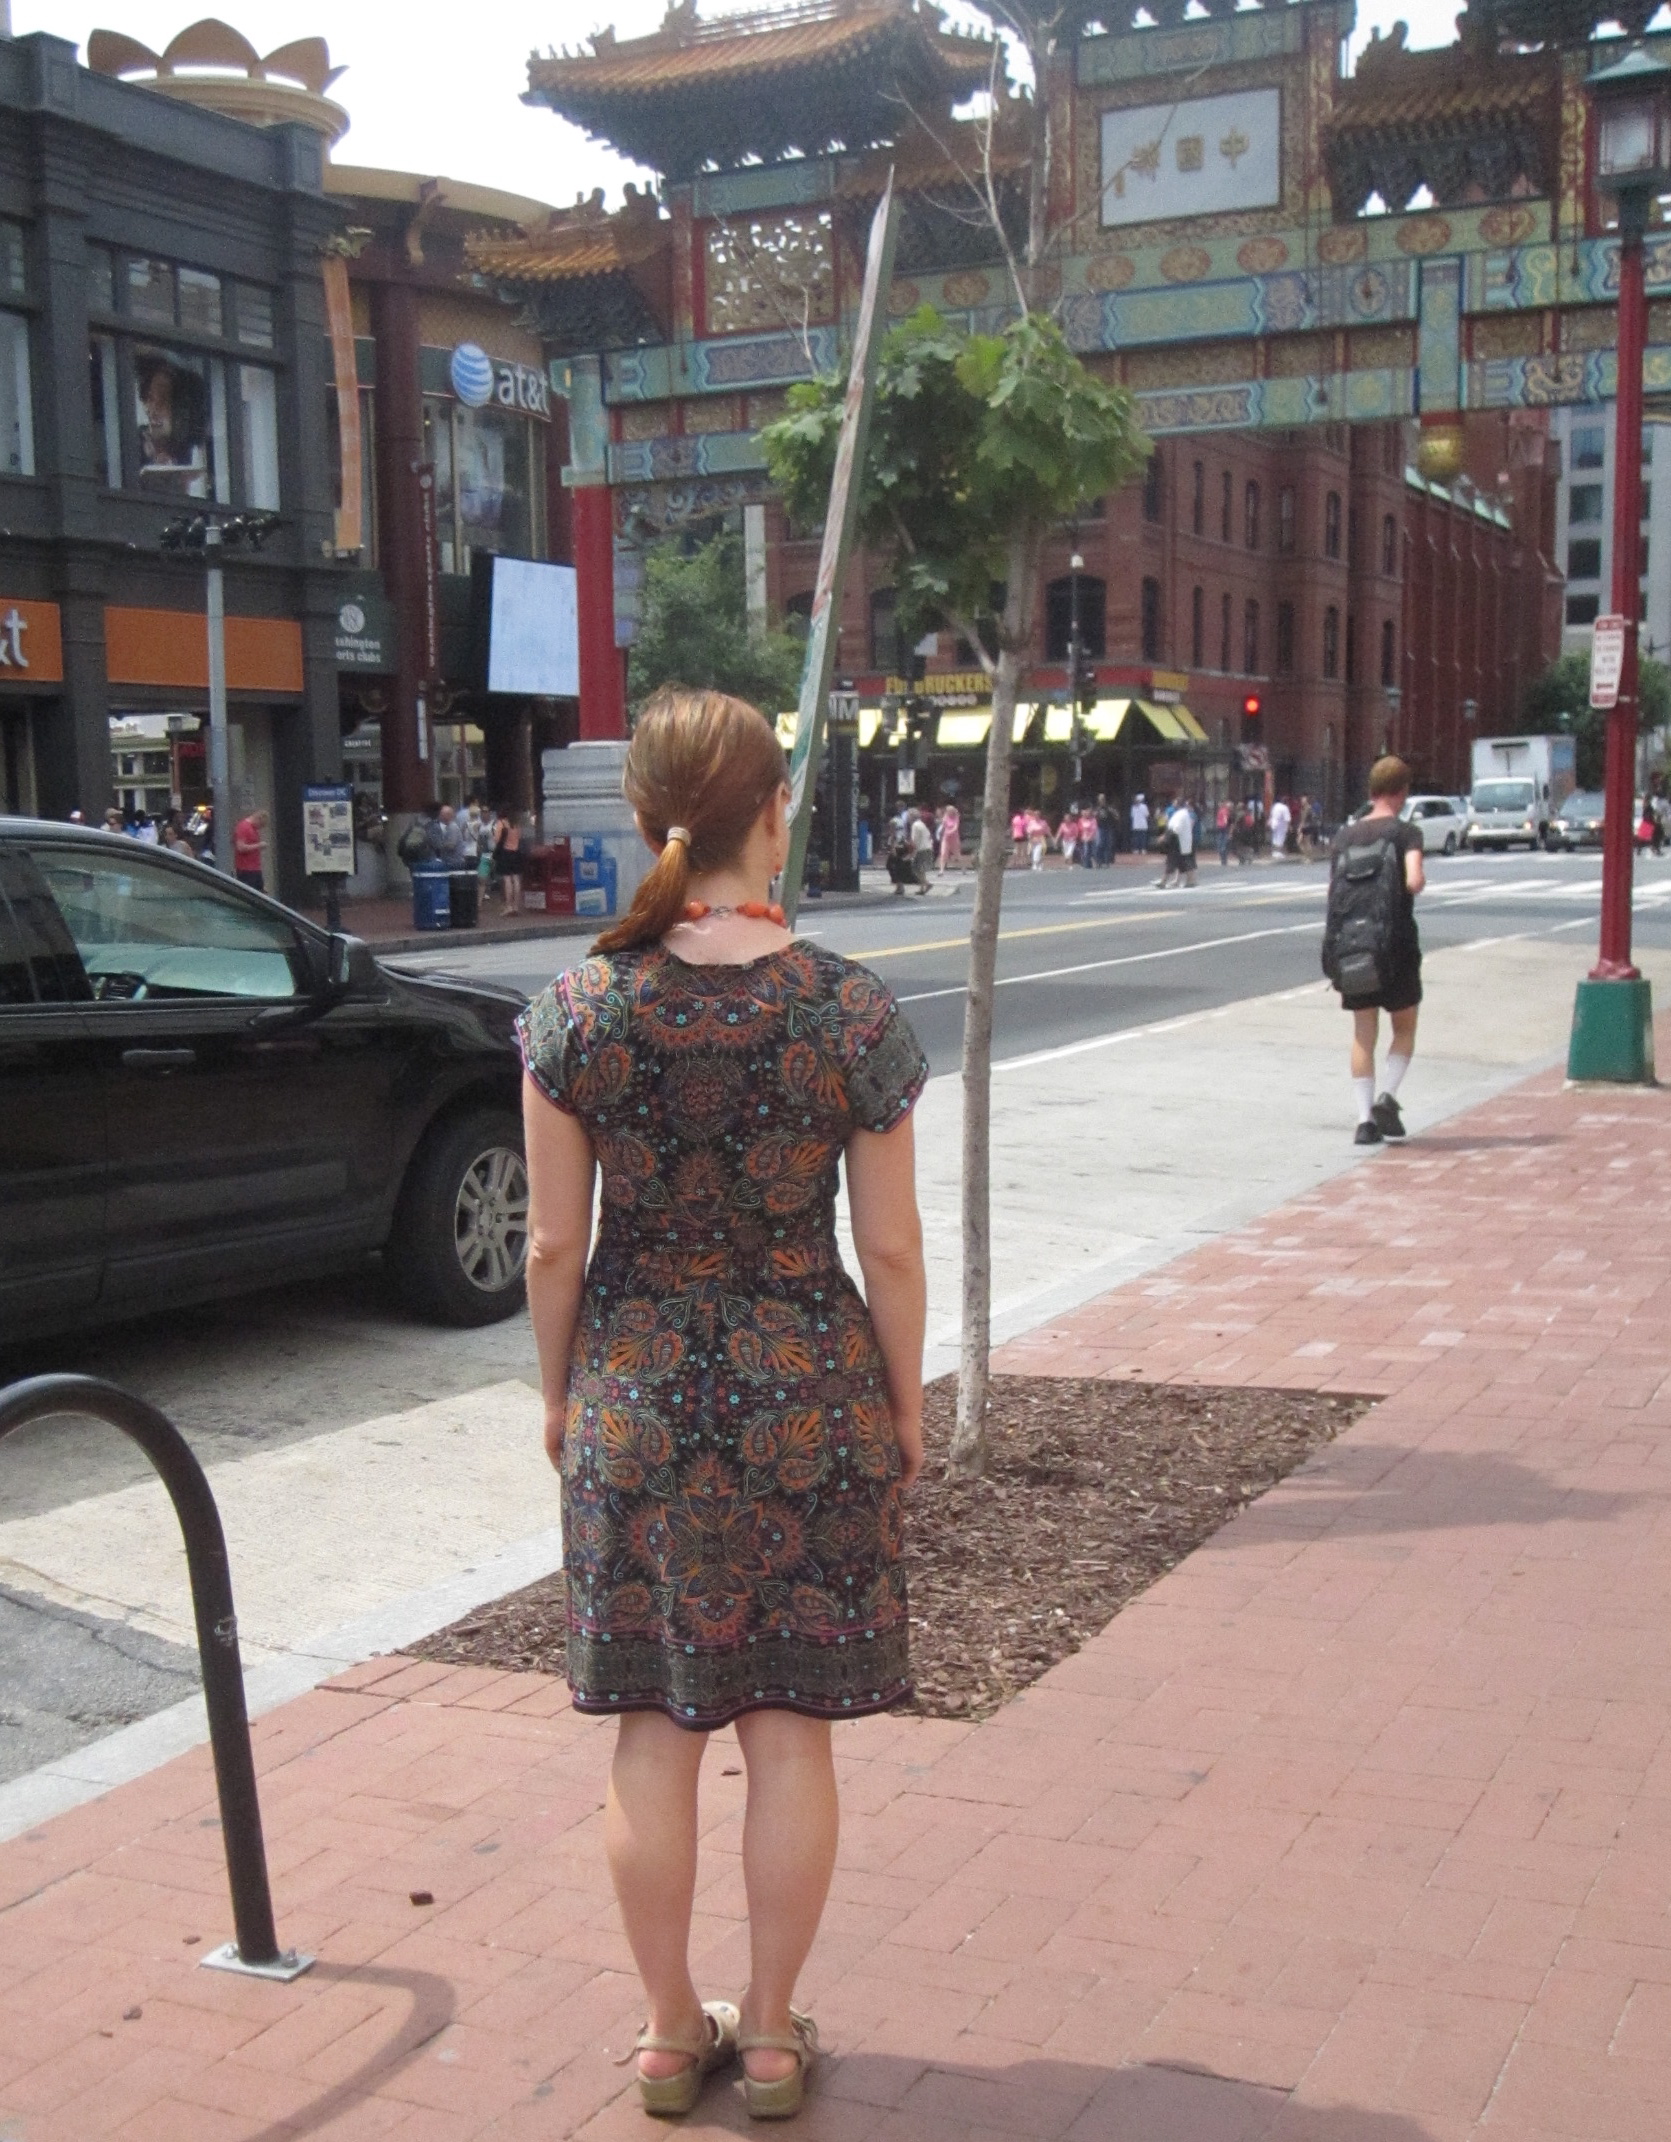
Simplicity 2369, Mock Wrap Border Print Dress

S2369 Thumbnail

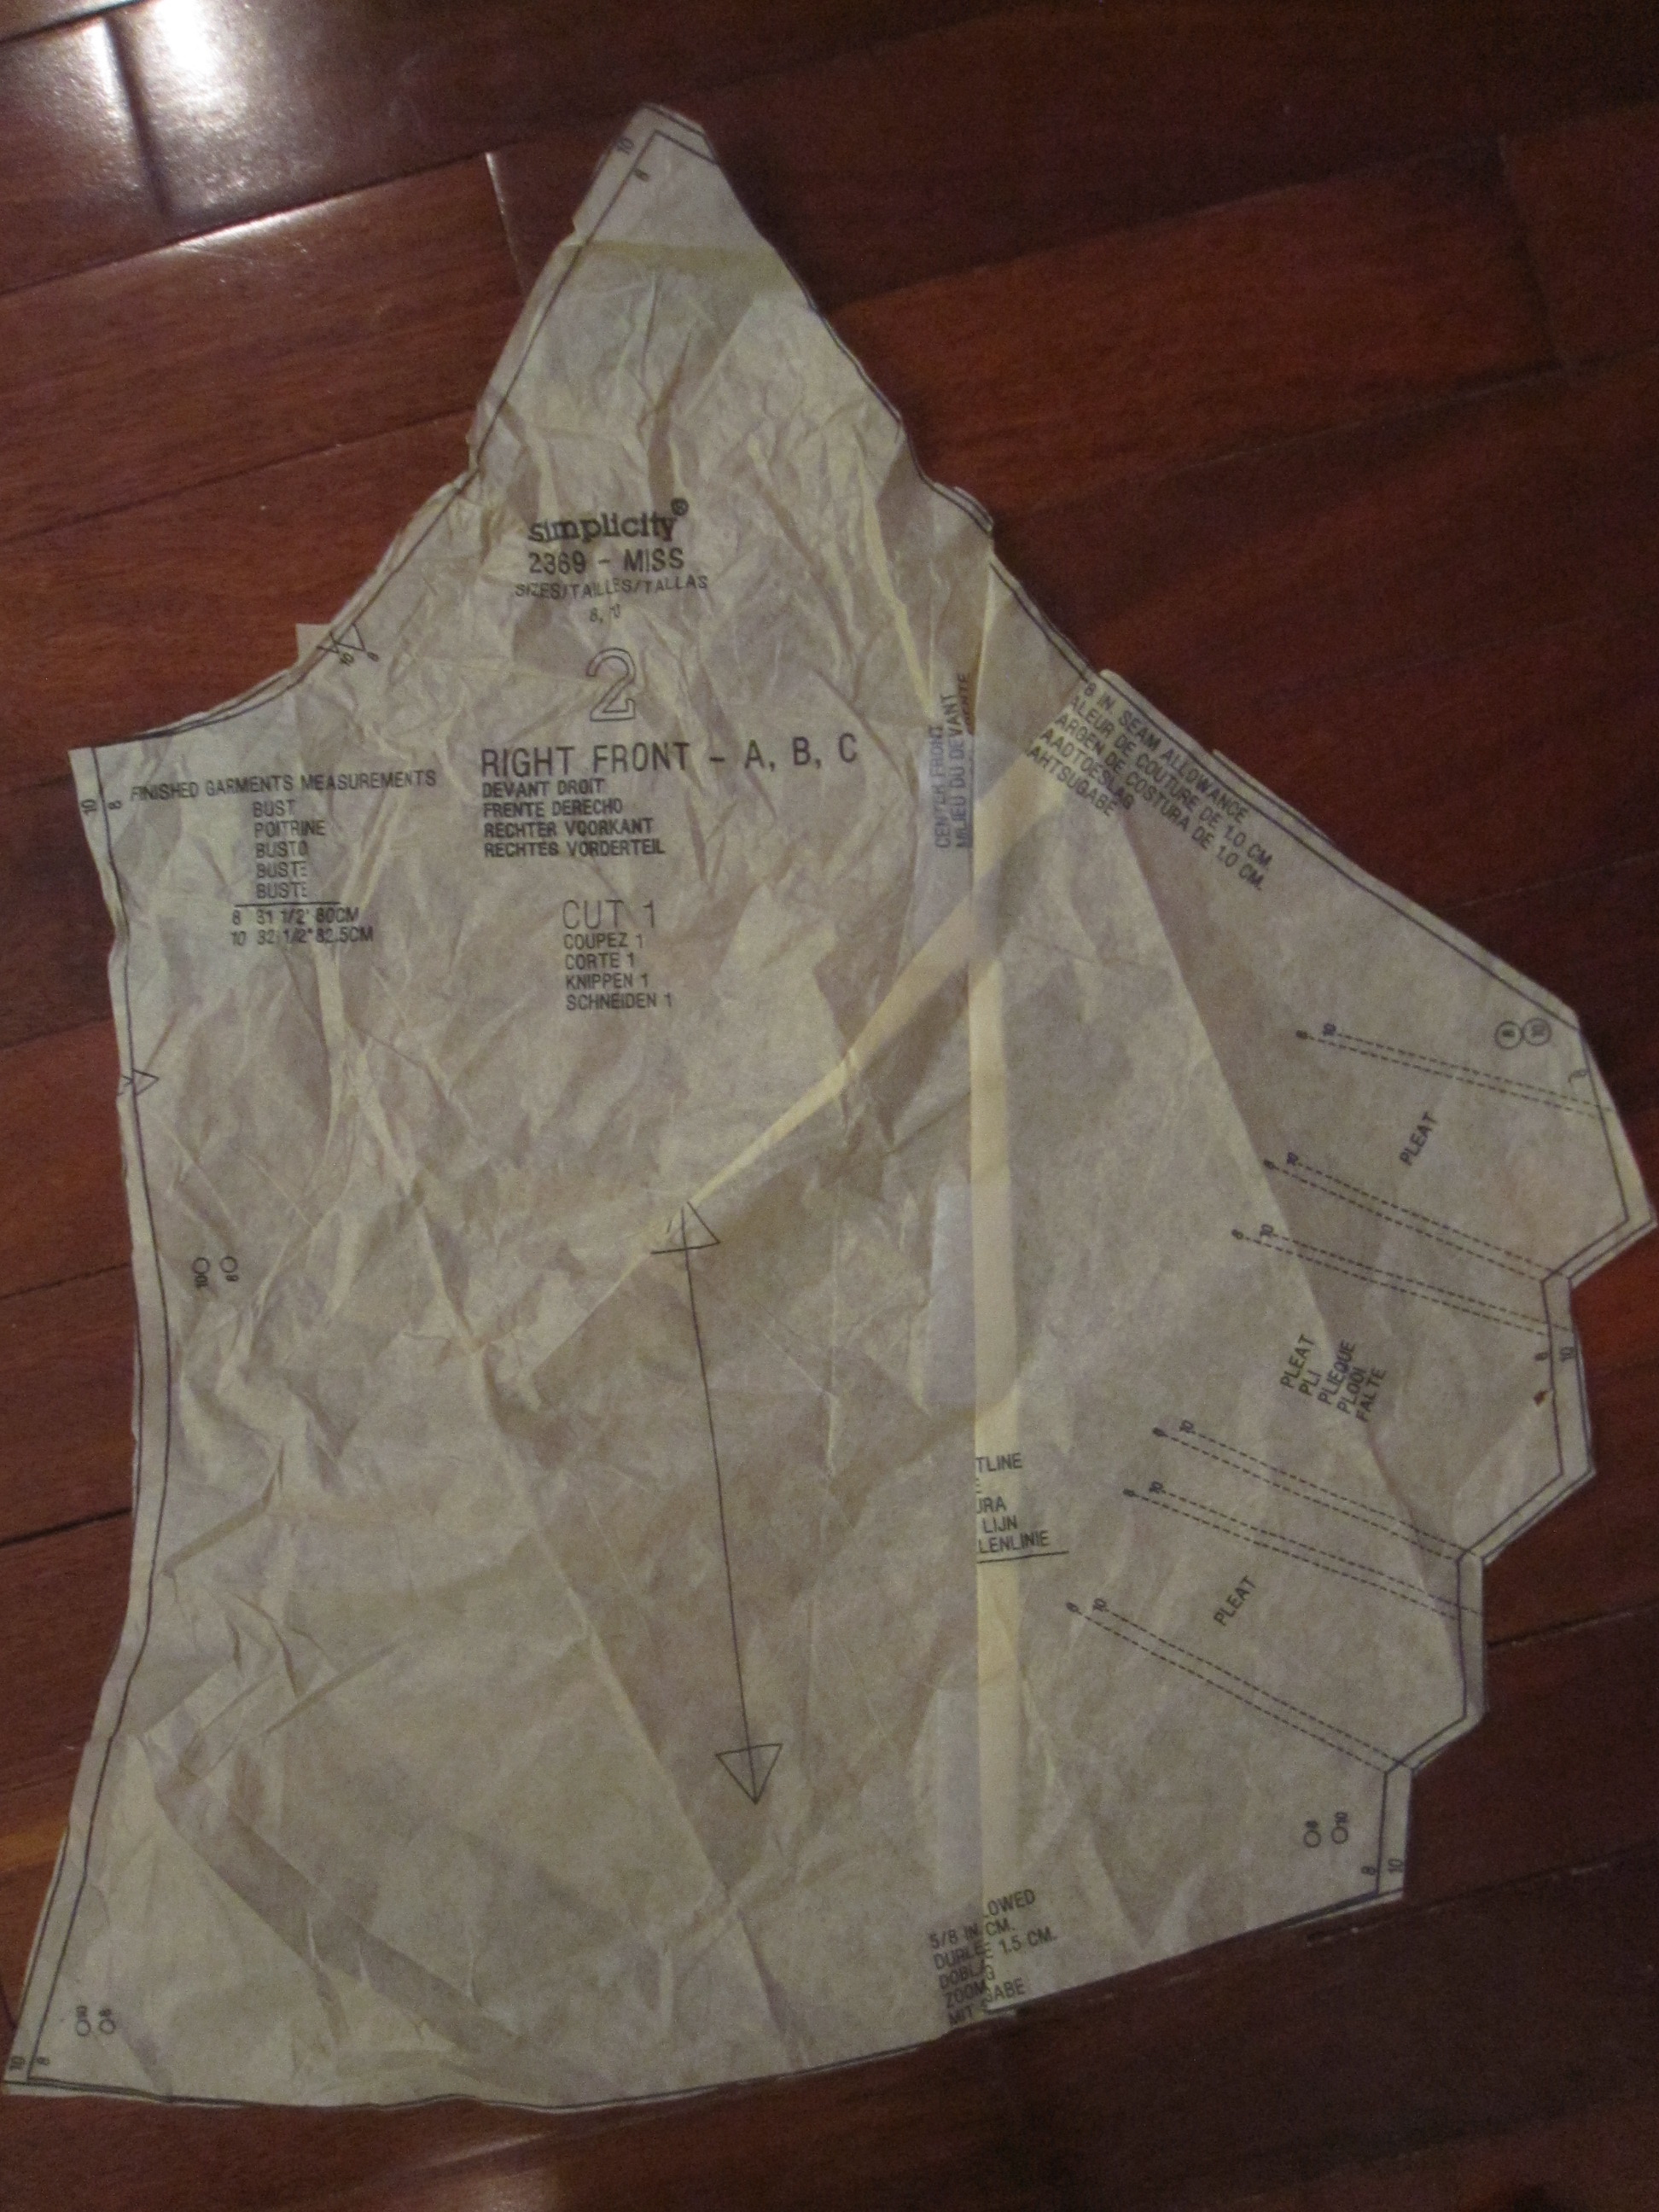
I've been meaning to get back to Simplicity 2369 (which they have issued as a seemingly identical pattern in the Amazing Fit line as 1653) for a while--it is just so flattering, and also fabric-economical compared to a full wrap dress. I had made it with the longer flutter-esque sleeve, as well as self-drafted long sleeve, but I wanted to try the cap sleeve version.

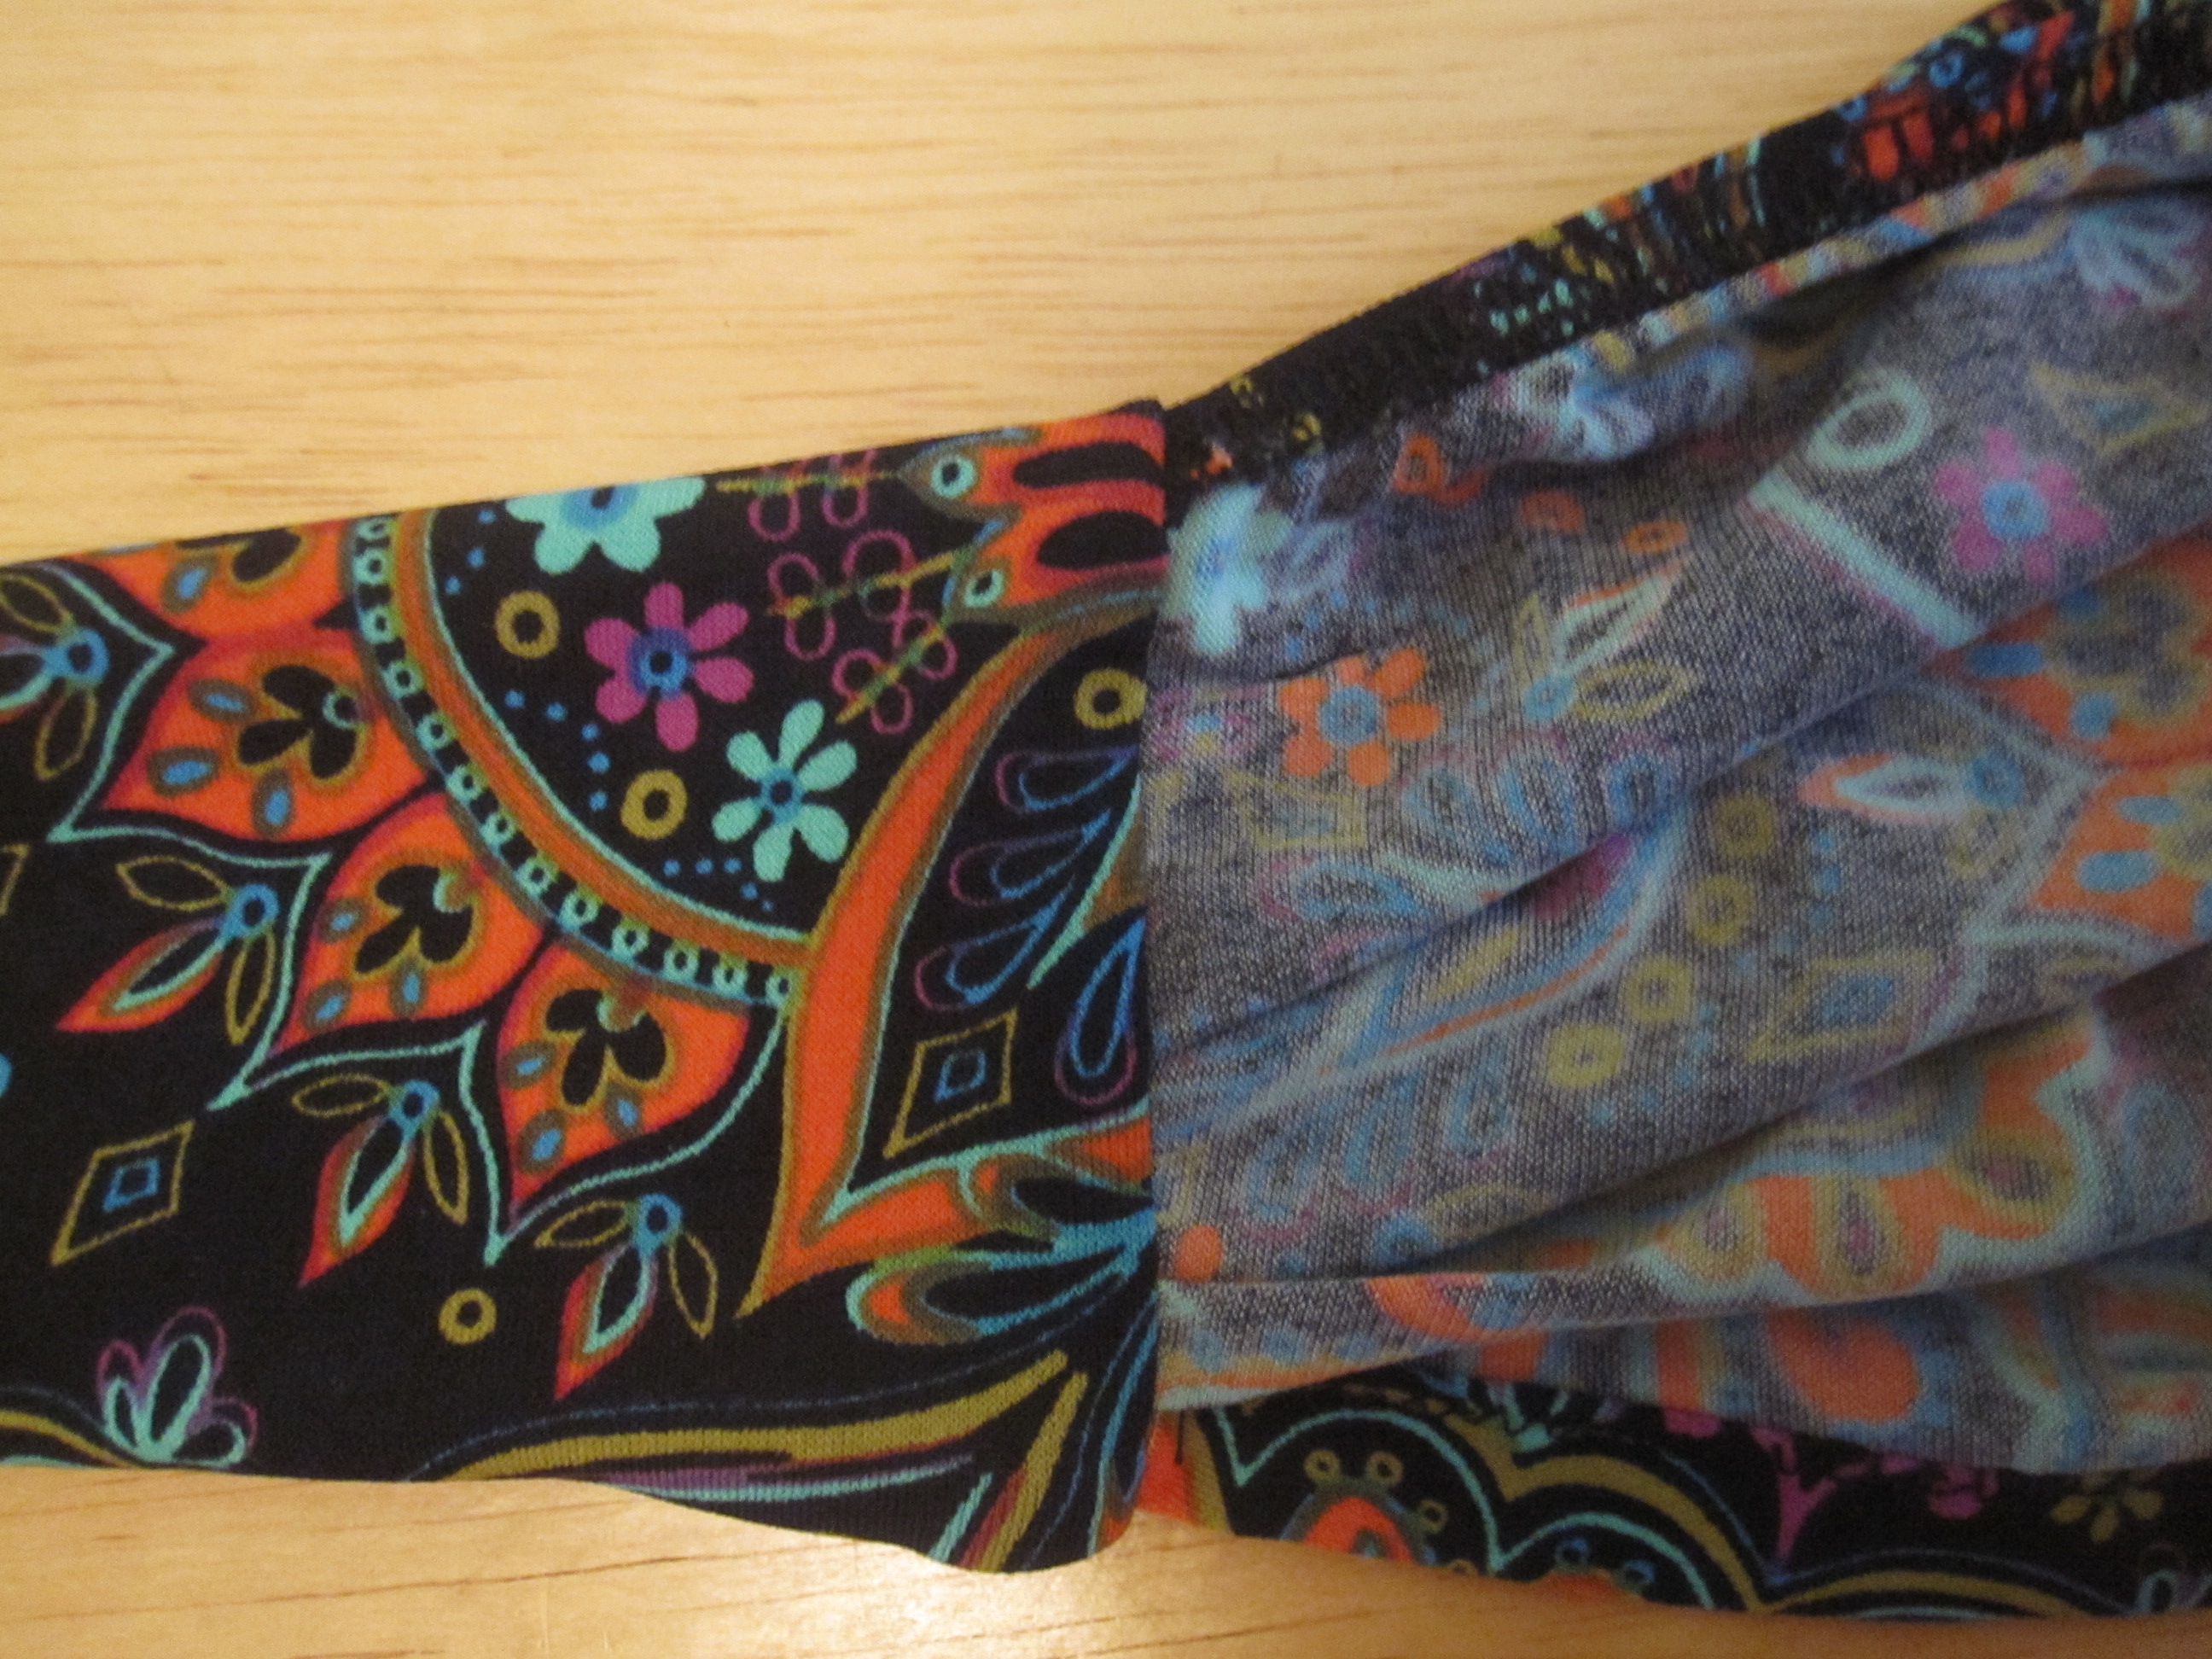
Narrowed Sleeve

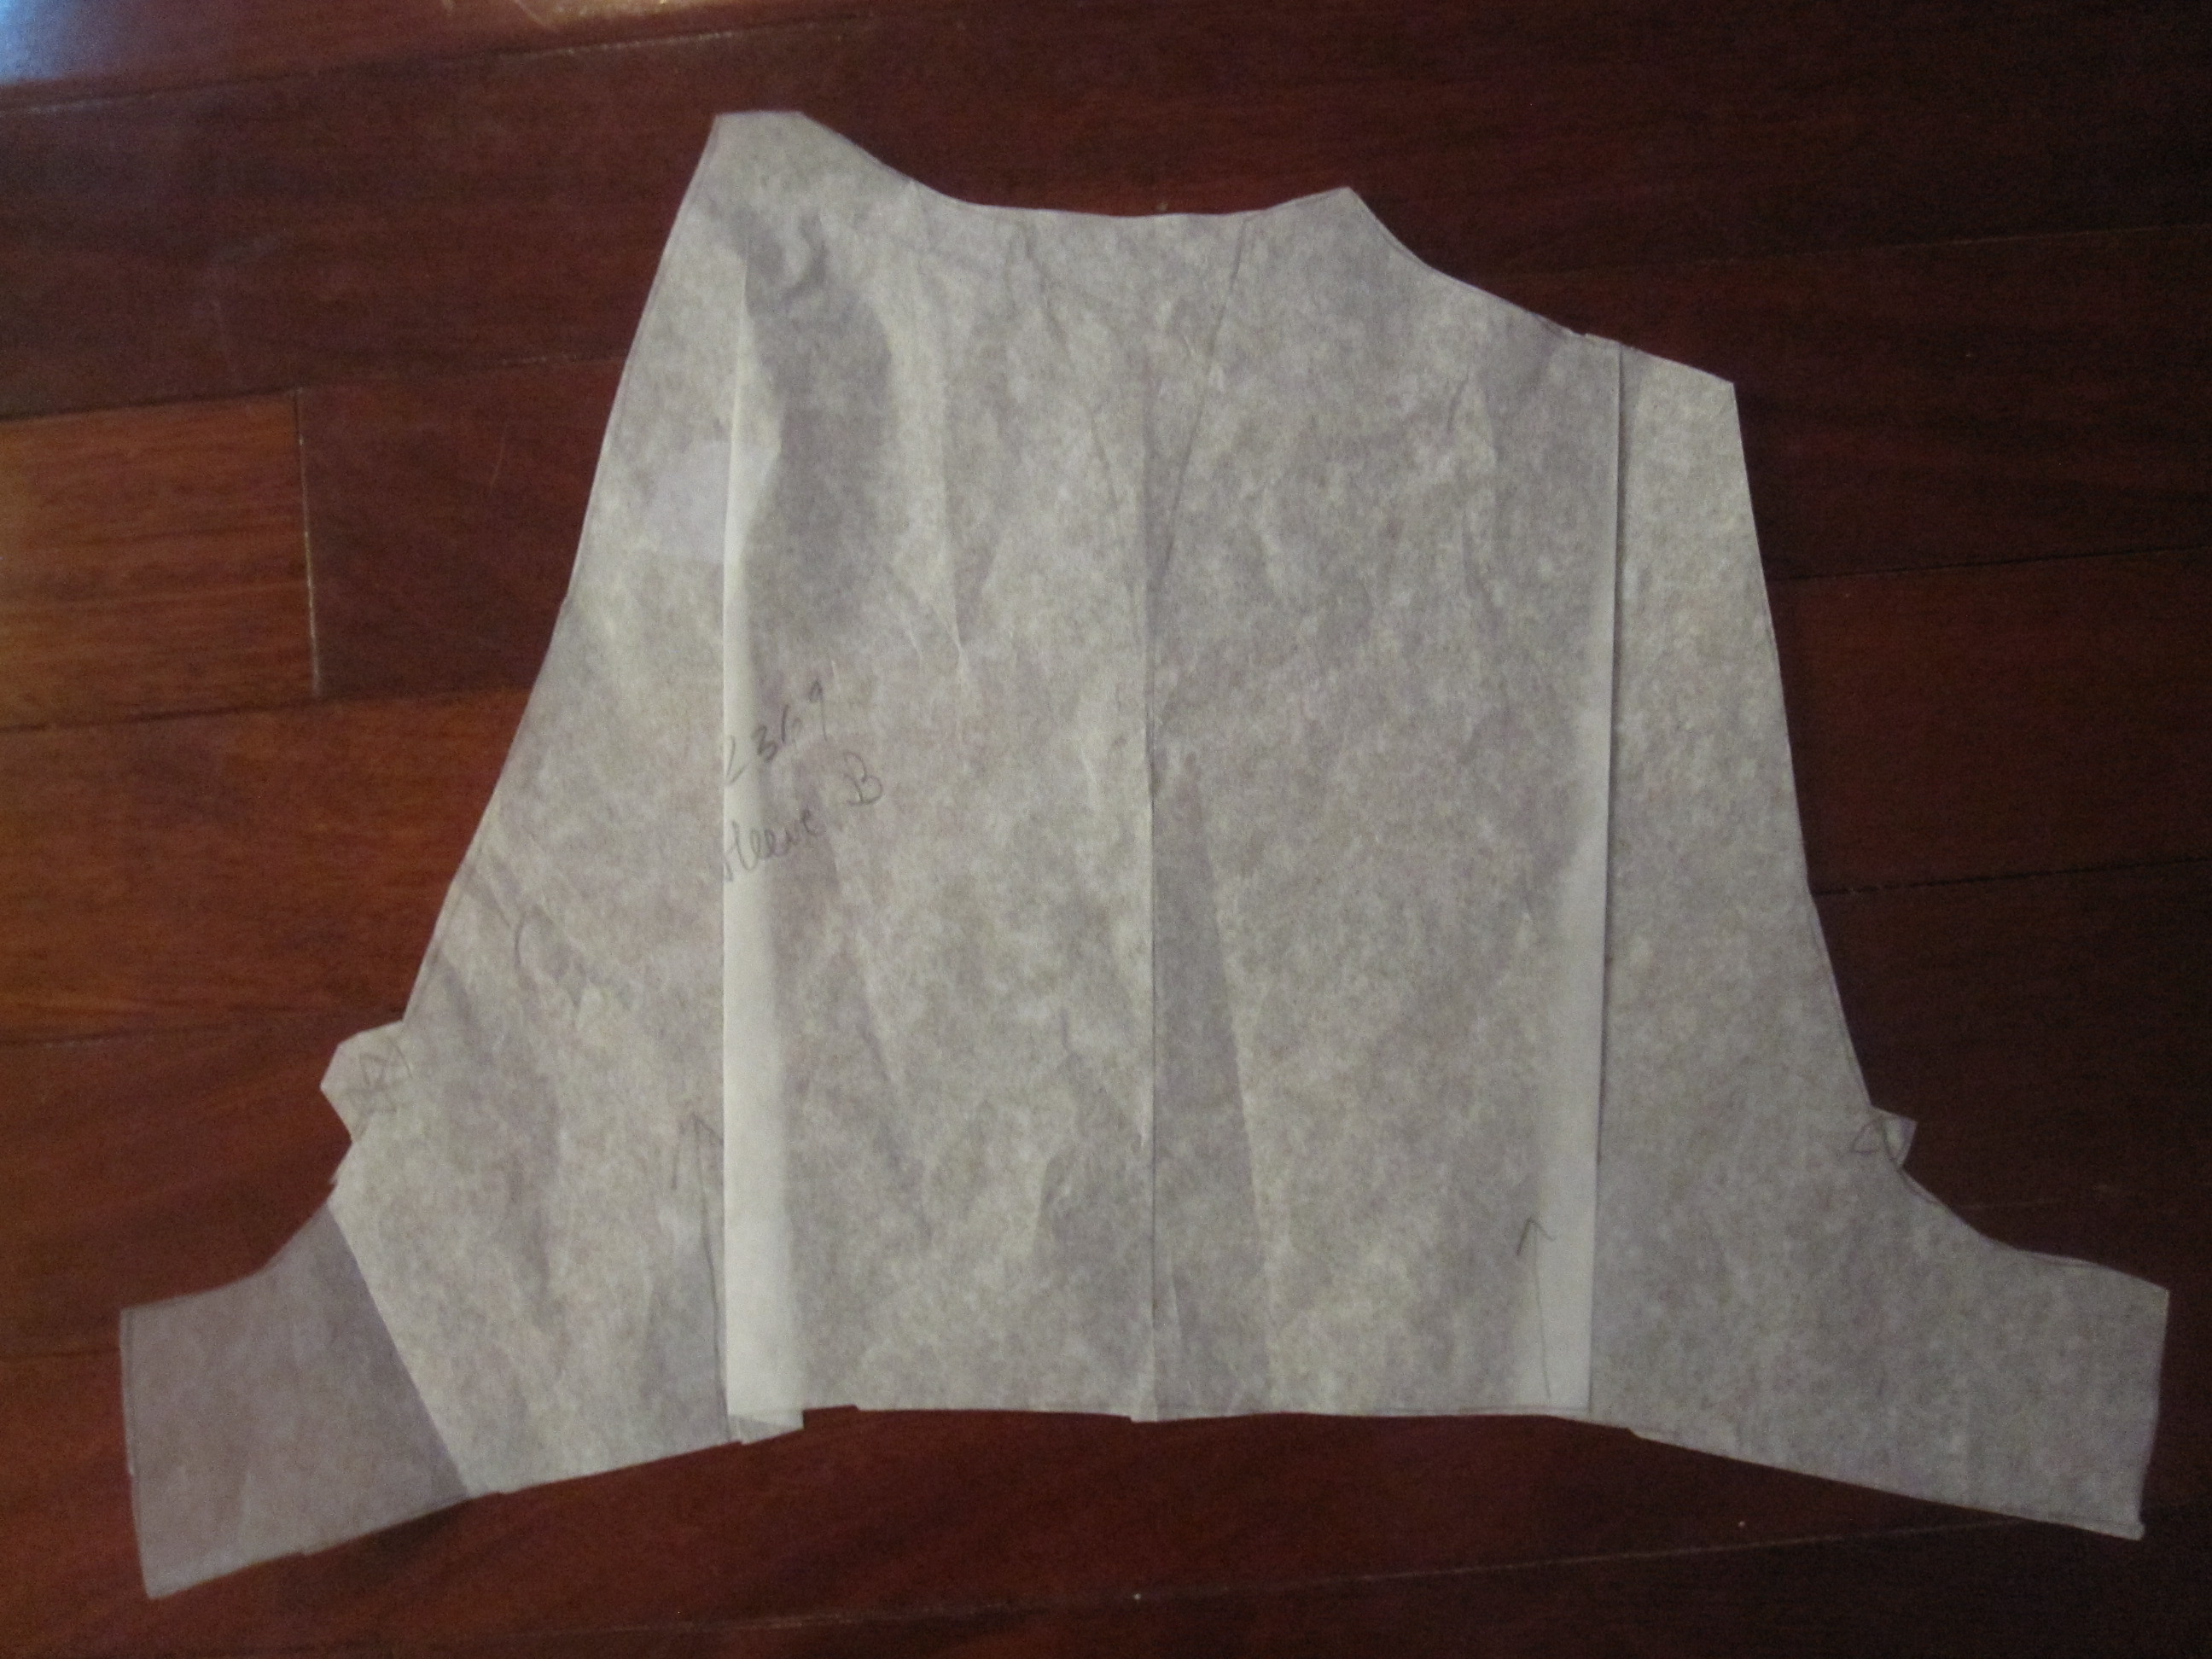
The sleeve is drafted as a two piece, with a front and back sleeve and a seam all the way down the shoulder.  I combined these into one, lining up the seam line at the hem and using a dart at the shoulder where the seamlines diverged.

After the dress was made, the sleeve was much floppier than I expected.  It's shown on the line drawing as a cap and I feel like on other people it looks snug, but mine wings out a bit.  I took some width out at the hem for next time, as you can see in the tucks at left.


Shortened Crossover

I shortened the crossover a smidge, shown at right.  On the previous versions I found the crossover went all the way to the side seam, so the knot bulges out right at the side seam, widening my waist.  Shortening it slightly moves the knot into the front so it doesn't add any visual width.


Back


The only other change I made to the pattern was to attach the tie to the left side seam (the side the crossover is attached to) so that it goes across the back.

The pattern is drafted so the tie comes out the right side to just meet the crossover.  This creates way too much weight in one place, and with the crossover a smidge too long just does not work at all.  Not to mention, you lose that nice little bit of swayback fitting!


Tie Clean Finish

I actually went back to the pink version, cut a longer tie out of leftover fabric, and sewed it into the left side.  It's hard to see in the busy print, but the tie goes across the back in this version as well. 

I used the tie finish on the crossover described in my first post about this pattern.  It neatly encloses the raw edges.

For the neckline, I serged on very slightly stretched clear elastic then turned under and twin needled.


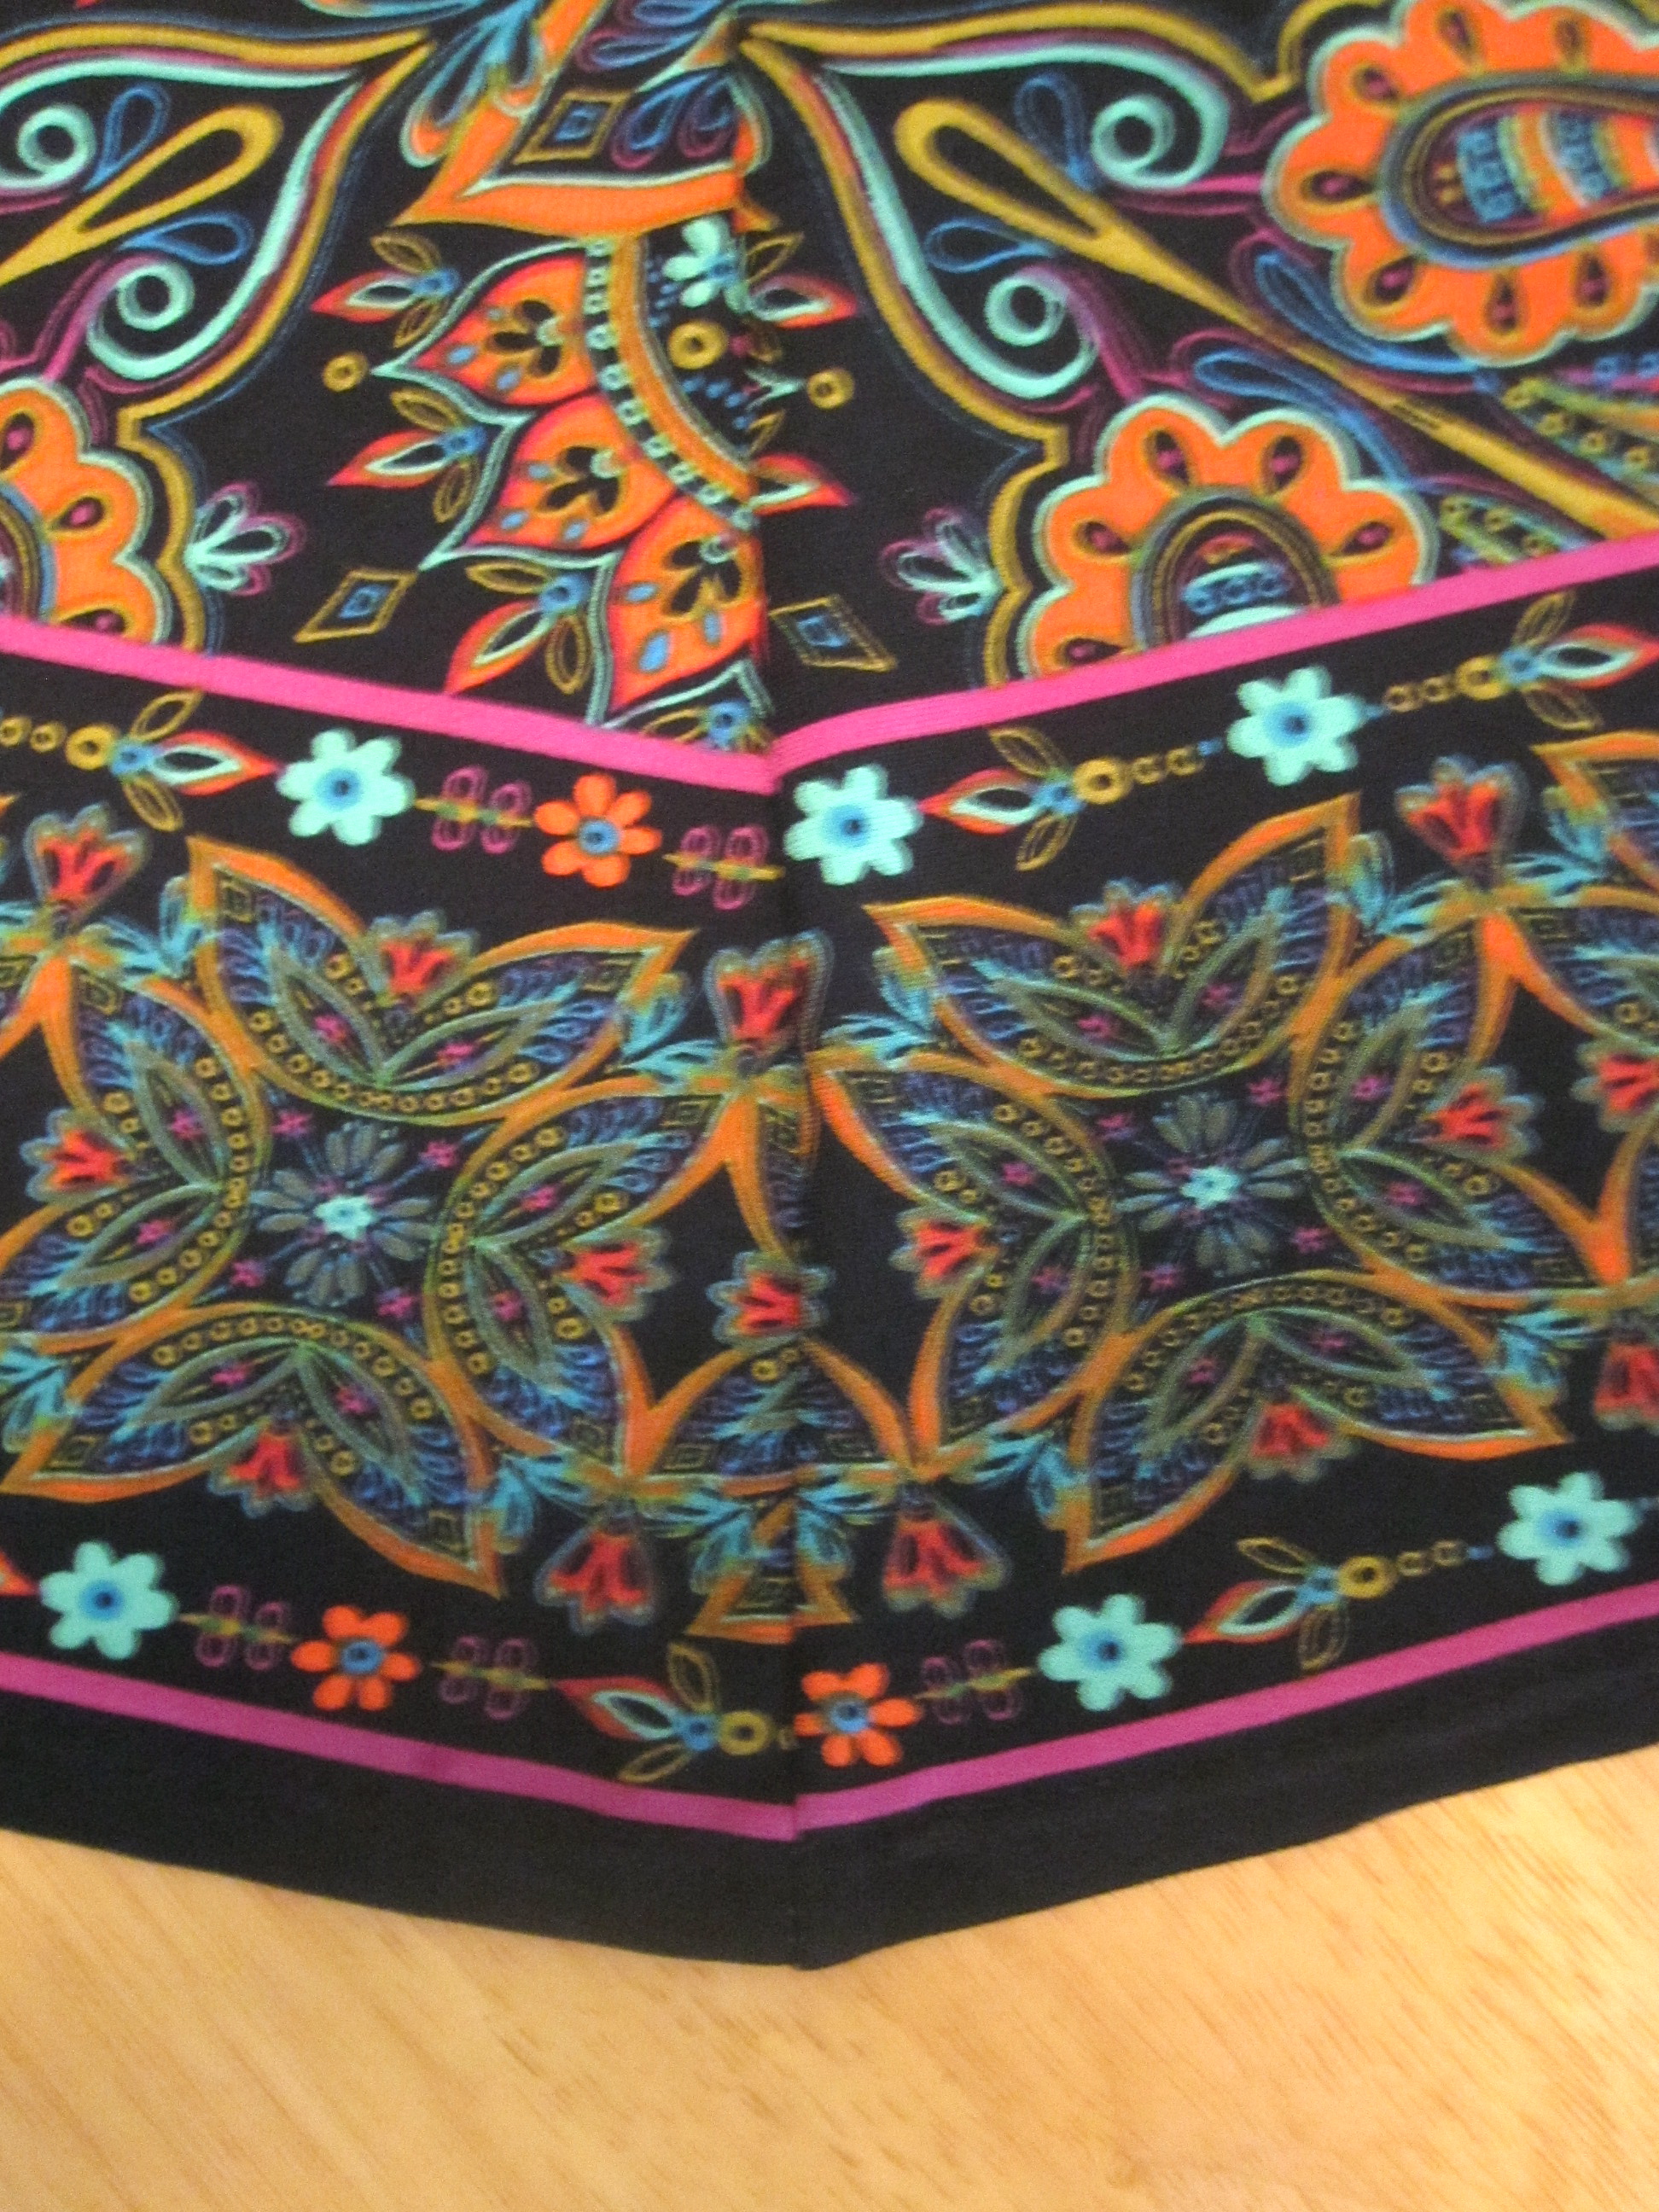
Slight Peak at Side Seams

I really like the way this pattern works in a border print.  The skirt is not completely straight, so the border comes to a slight peak at the side seam, but it is really not noticeable unless you get this close.


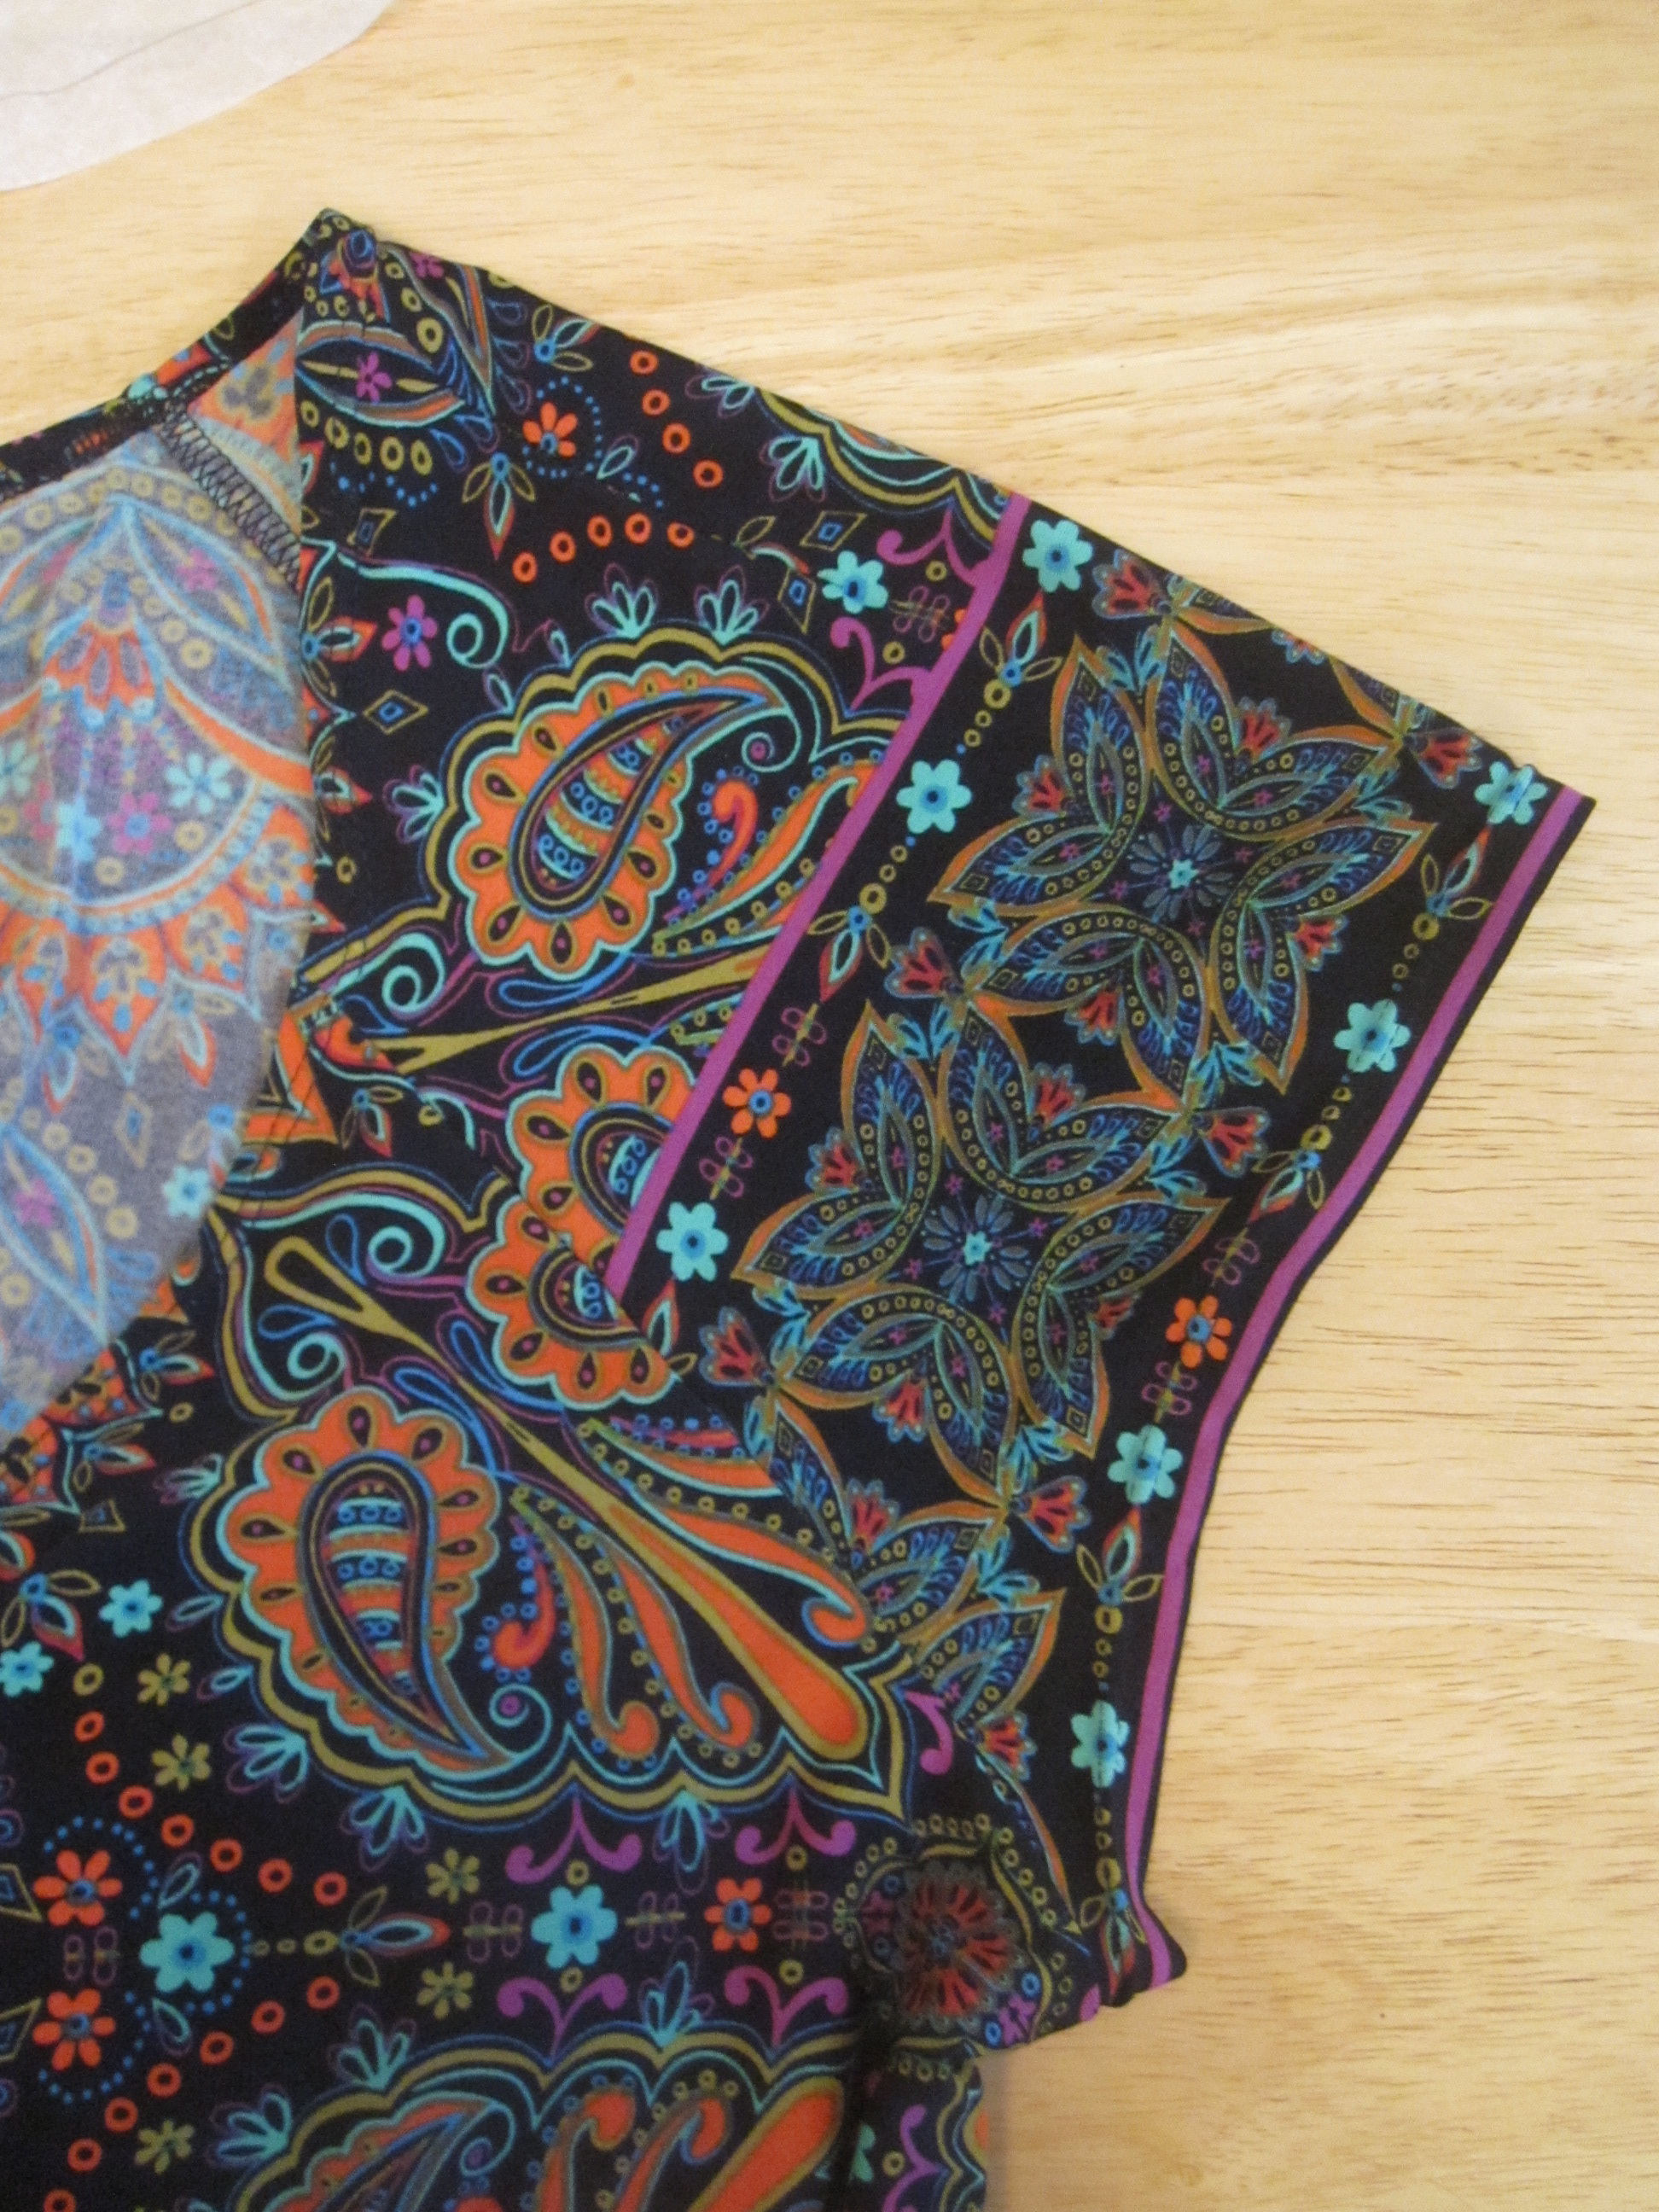
Border Raglan Sleeve


In addition to using the border at the hem, I cut the sleeve hems on the border.  The detail is pretty much lost in the busy print in wearing, but I know it's there.   I cut the ties with the border at the bottom for added visual interest.


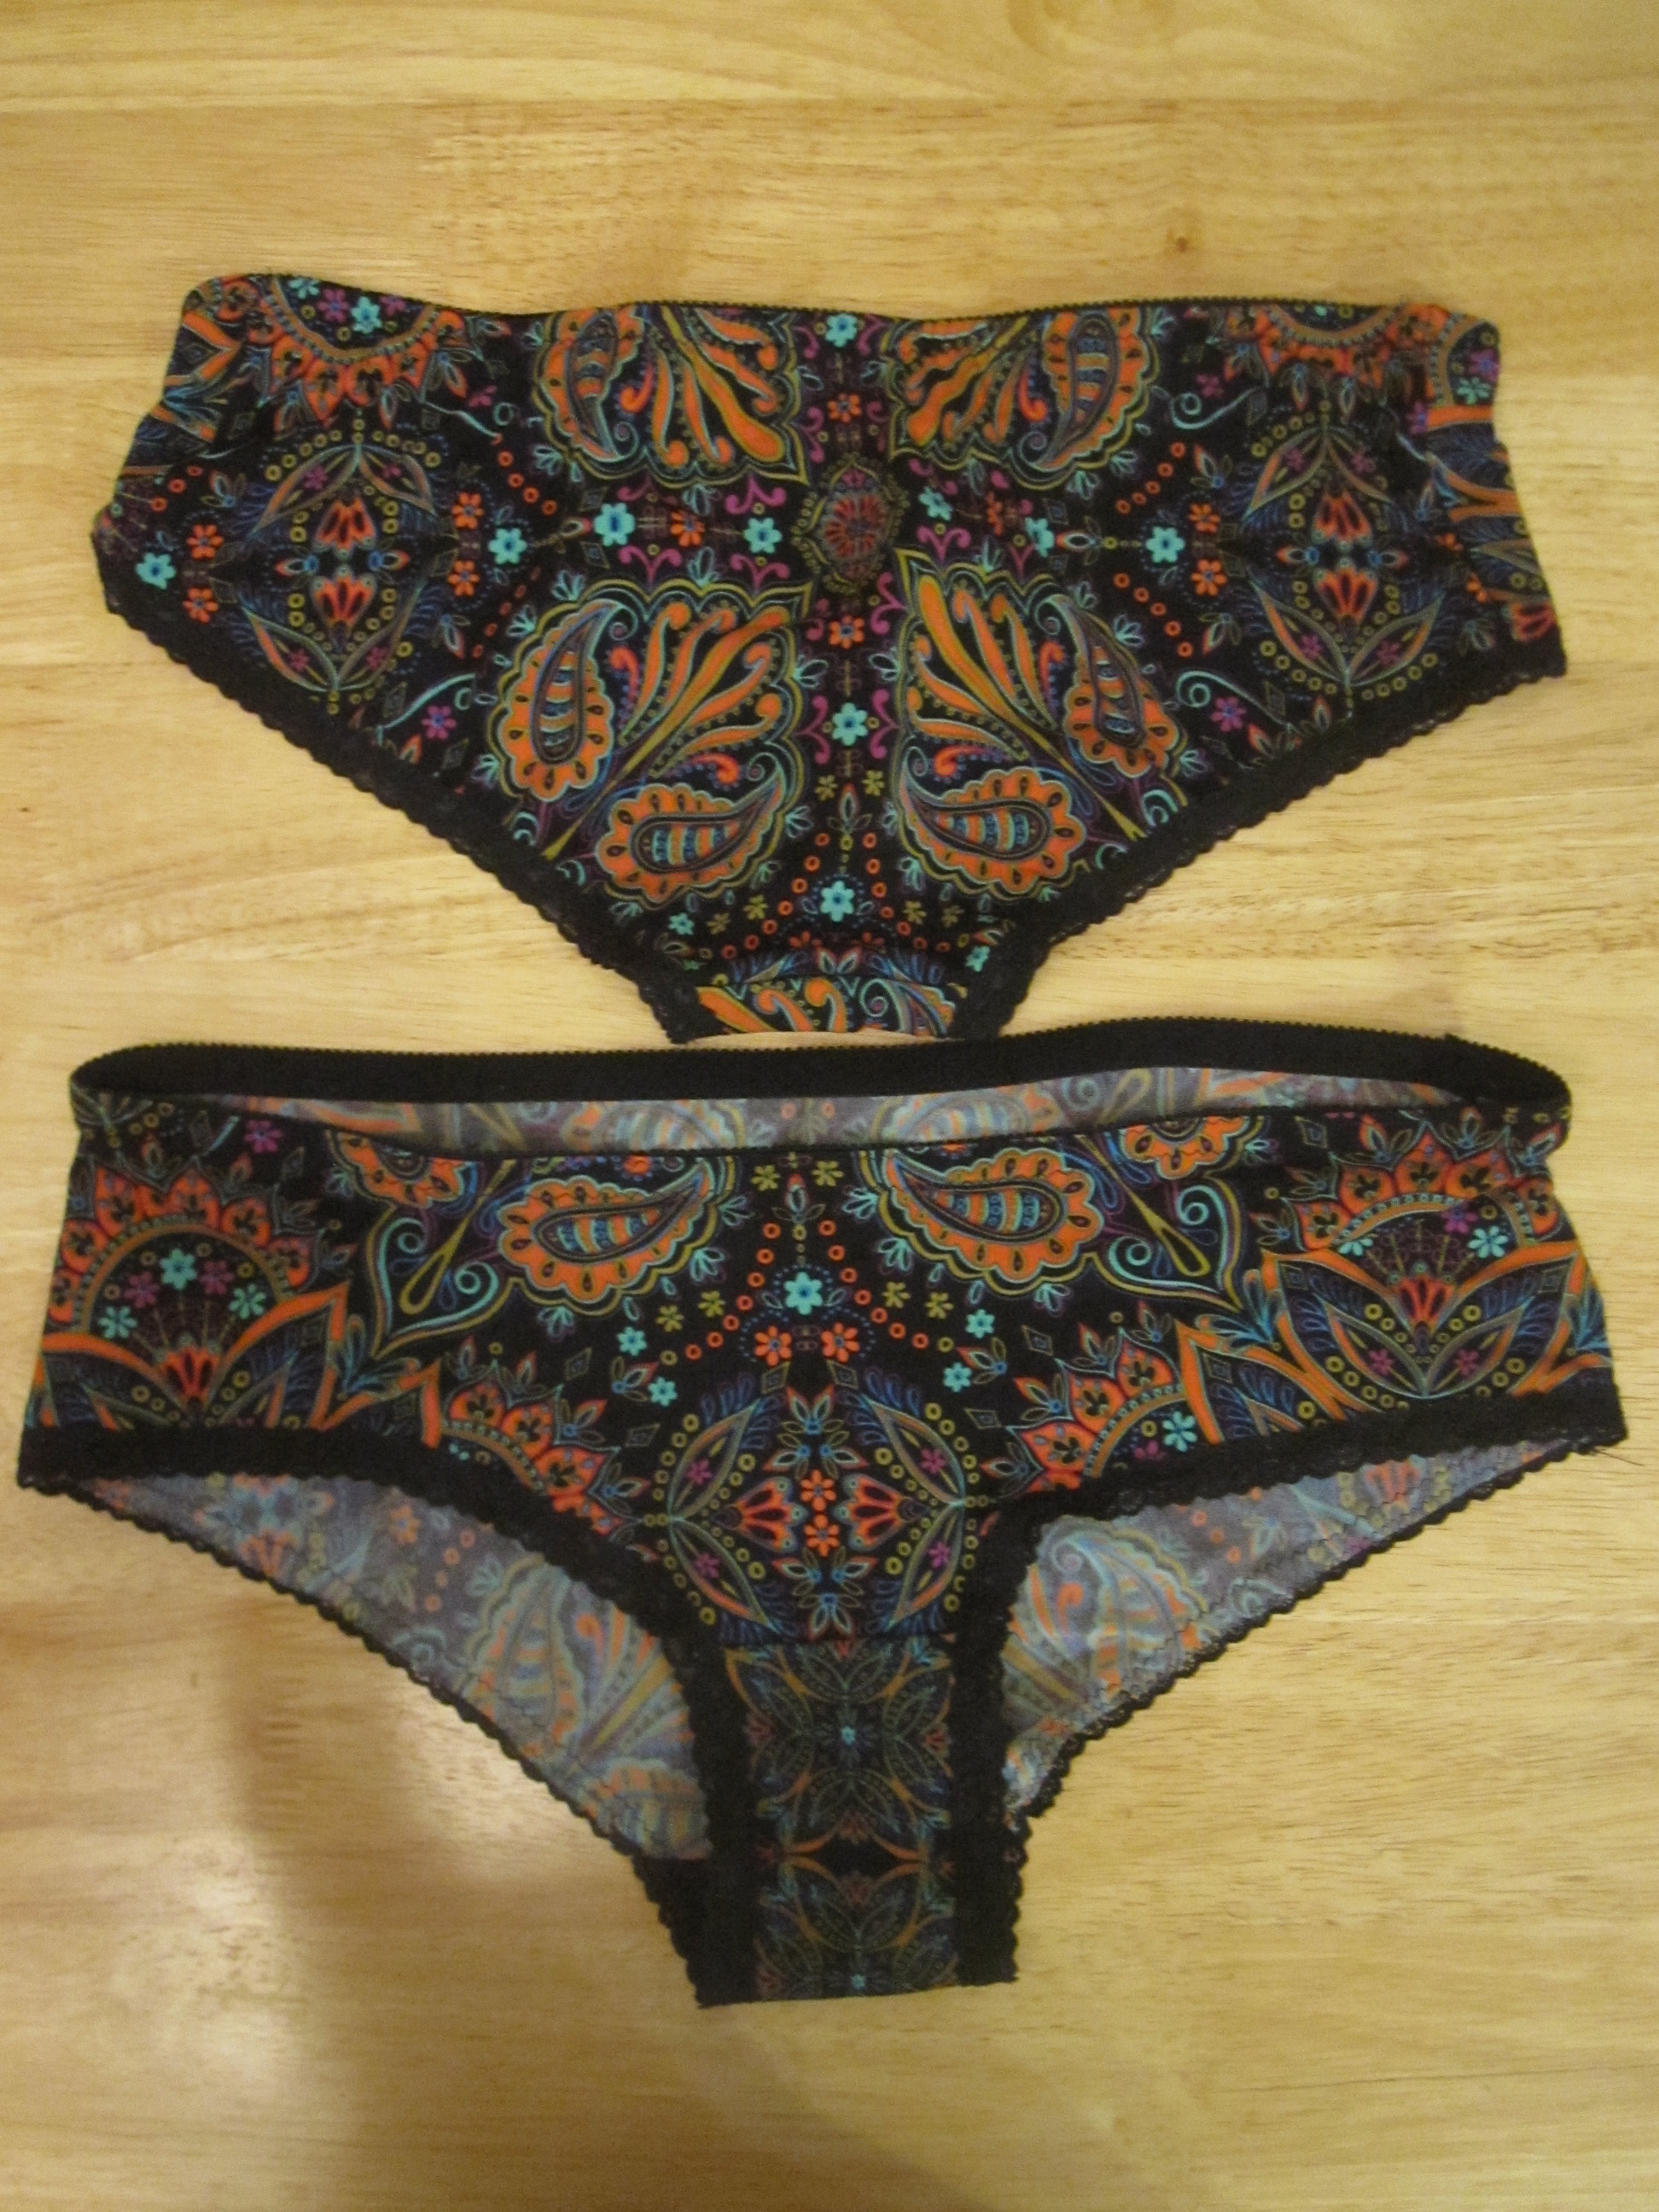
Knickers from Scraps


You might recognize this fabric from my impromptu Gulf Coast bikini.  I was afraid I had screwed myself by cutting into it--the motifs are huge and really need to be centered--but luckily I had just enough to make this dress.

I even had enough fabric left over for two pairs of knickers.

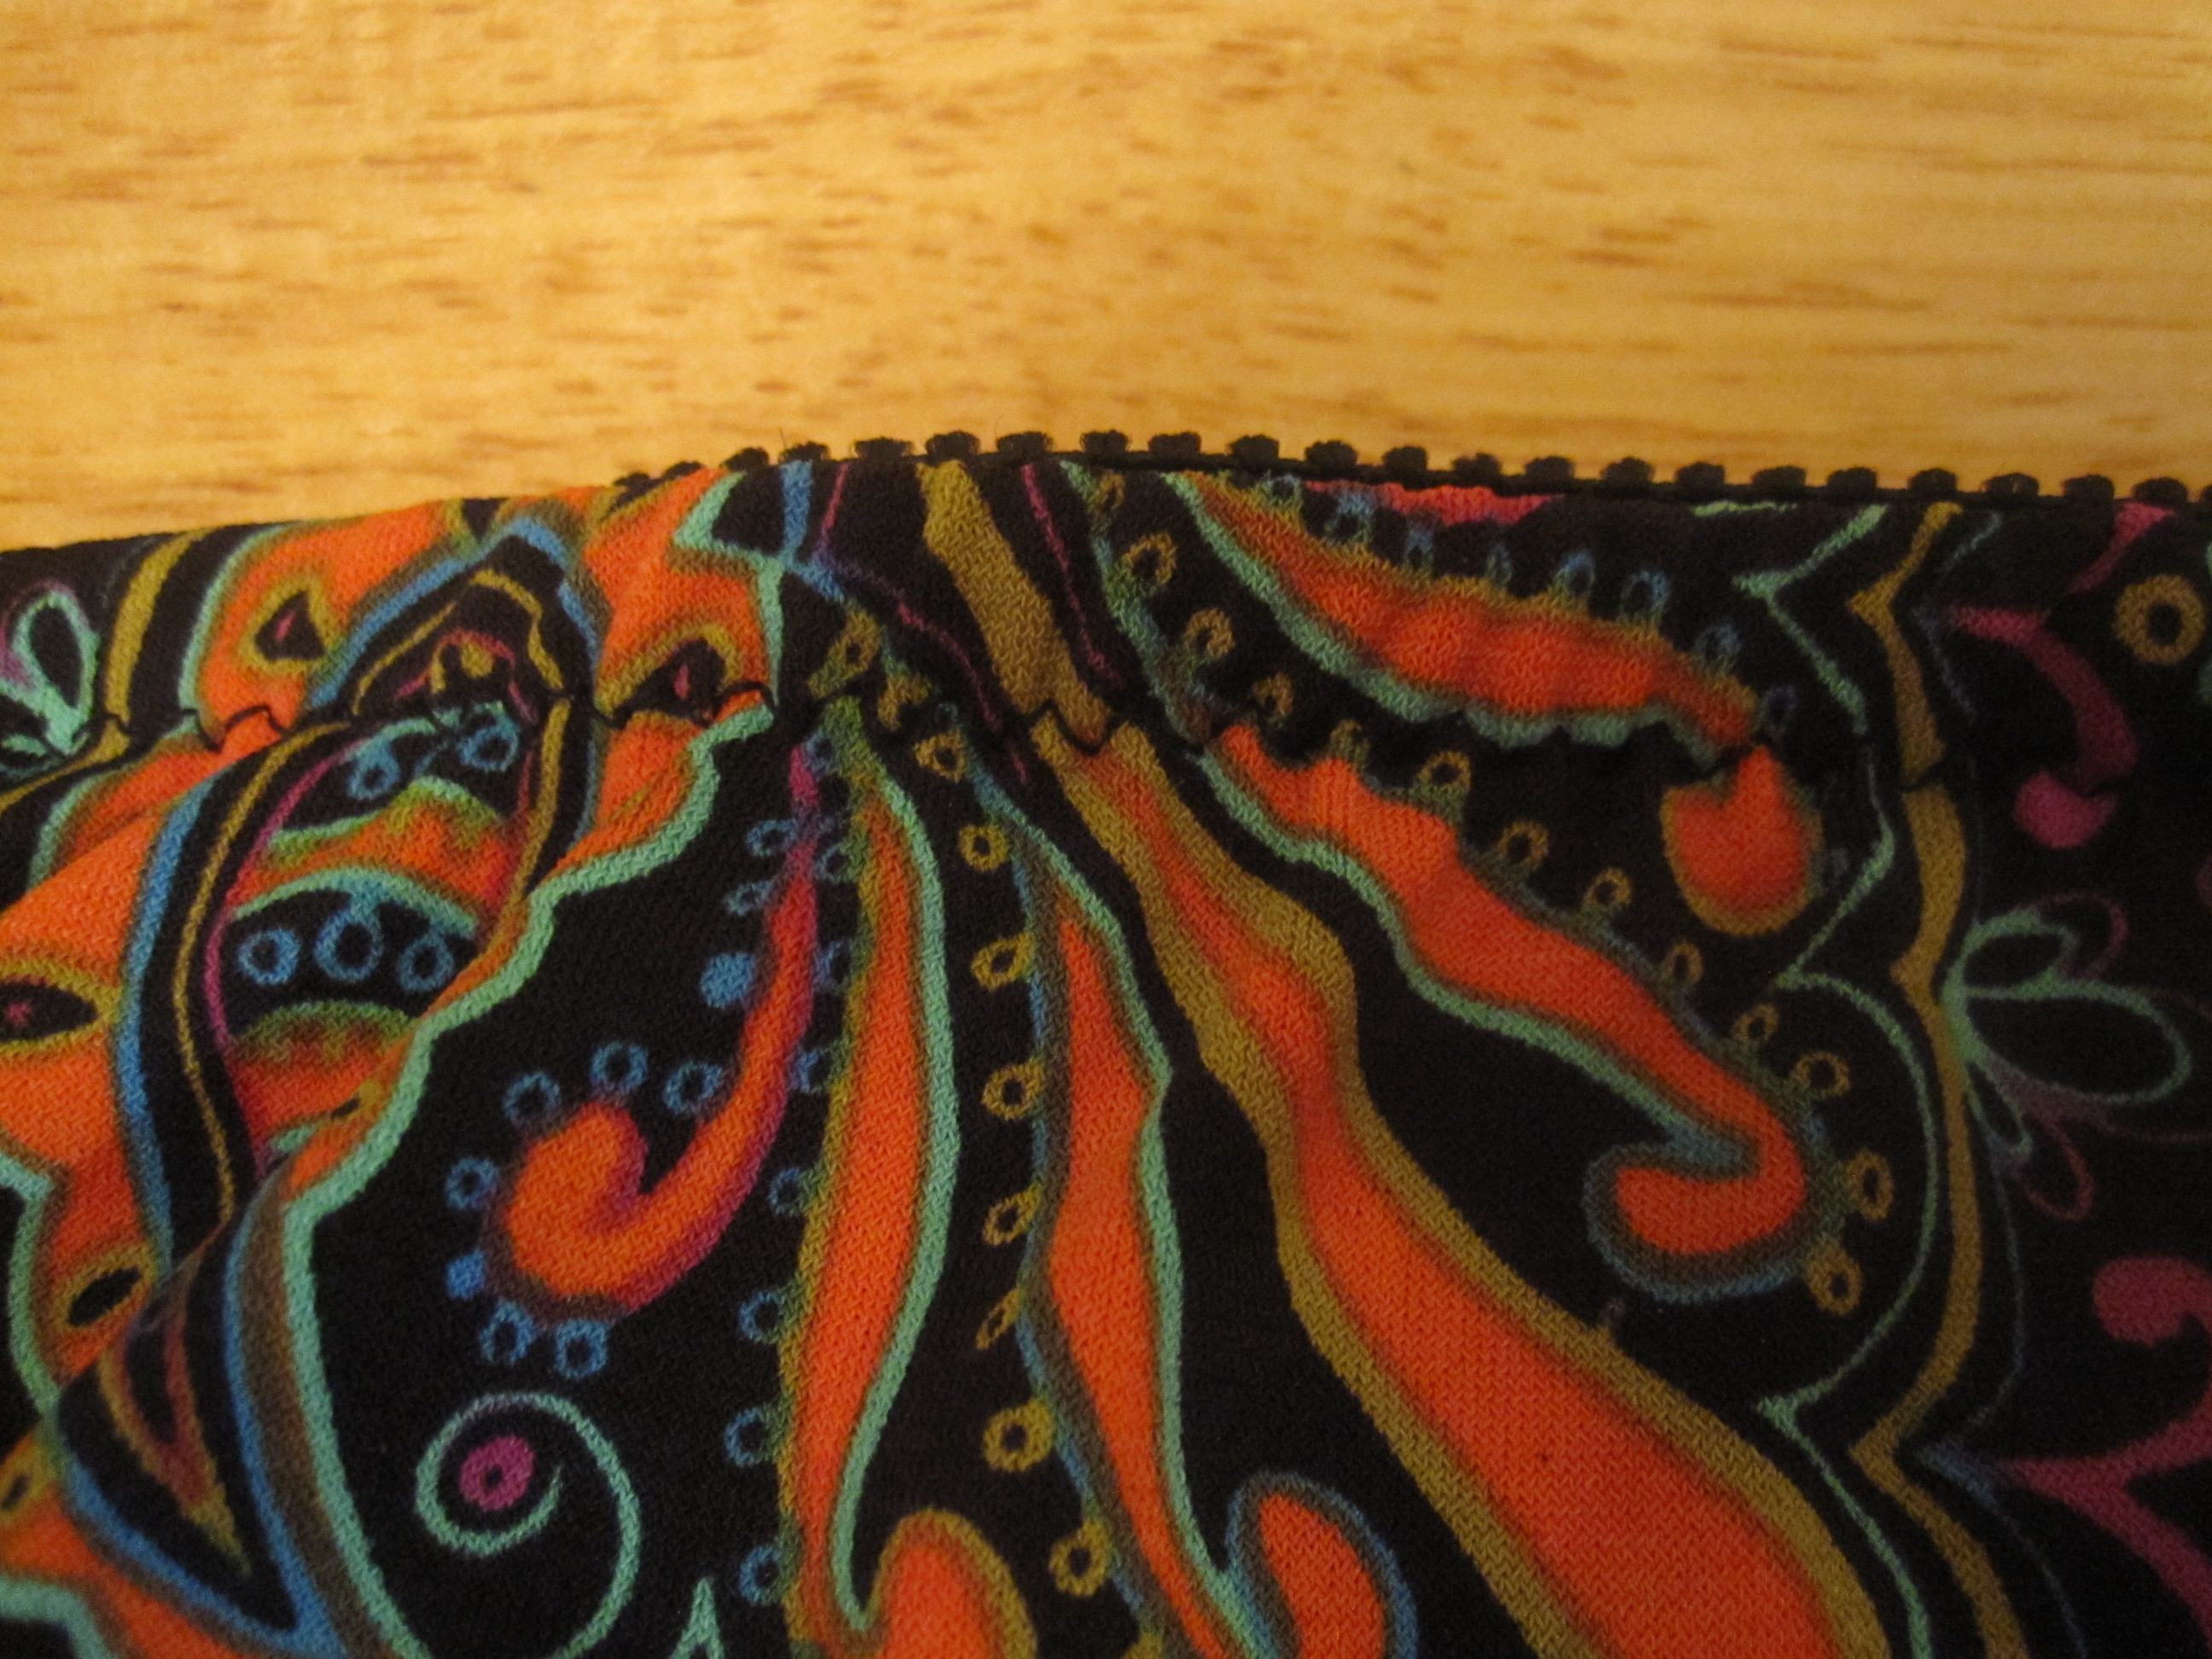
Picot Elastic on Panty Edge


I used the plush back picot elastic Ms. McCall of Brown Paper Patterns sent me for the waistline.  I love it!


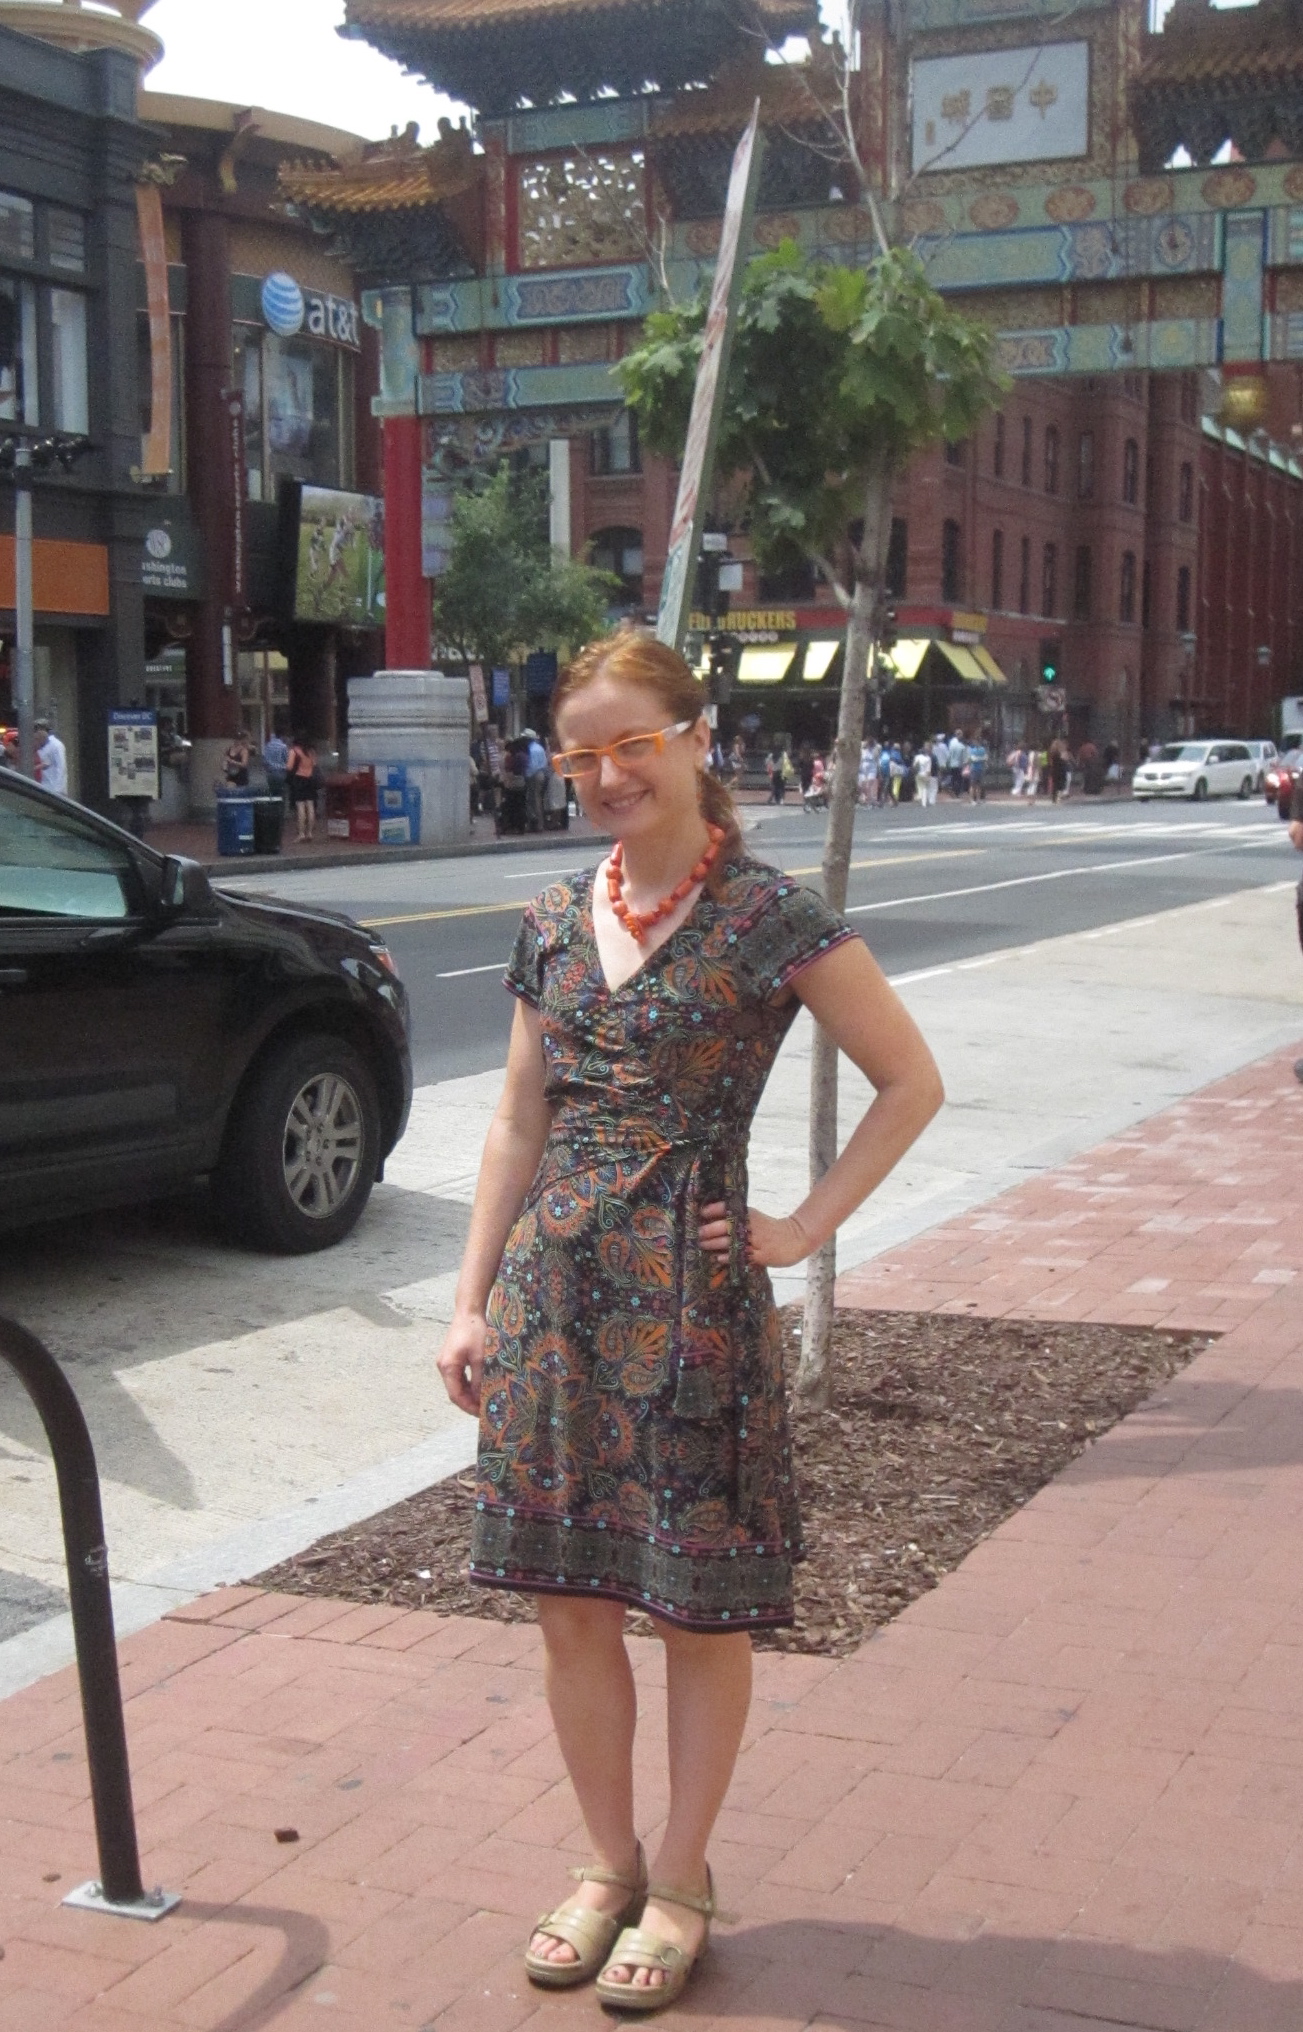
Front
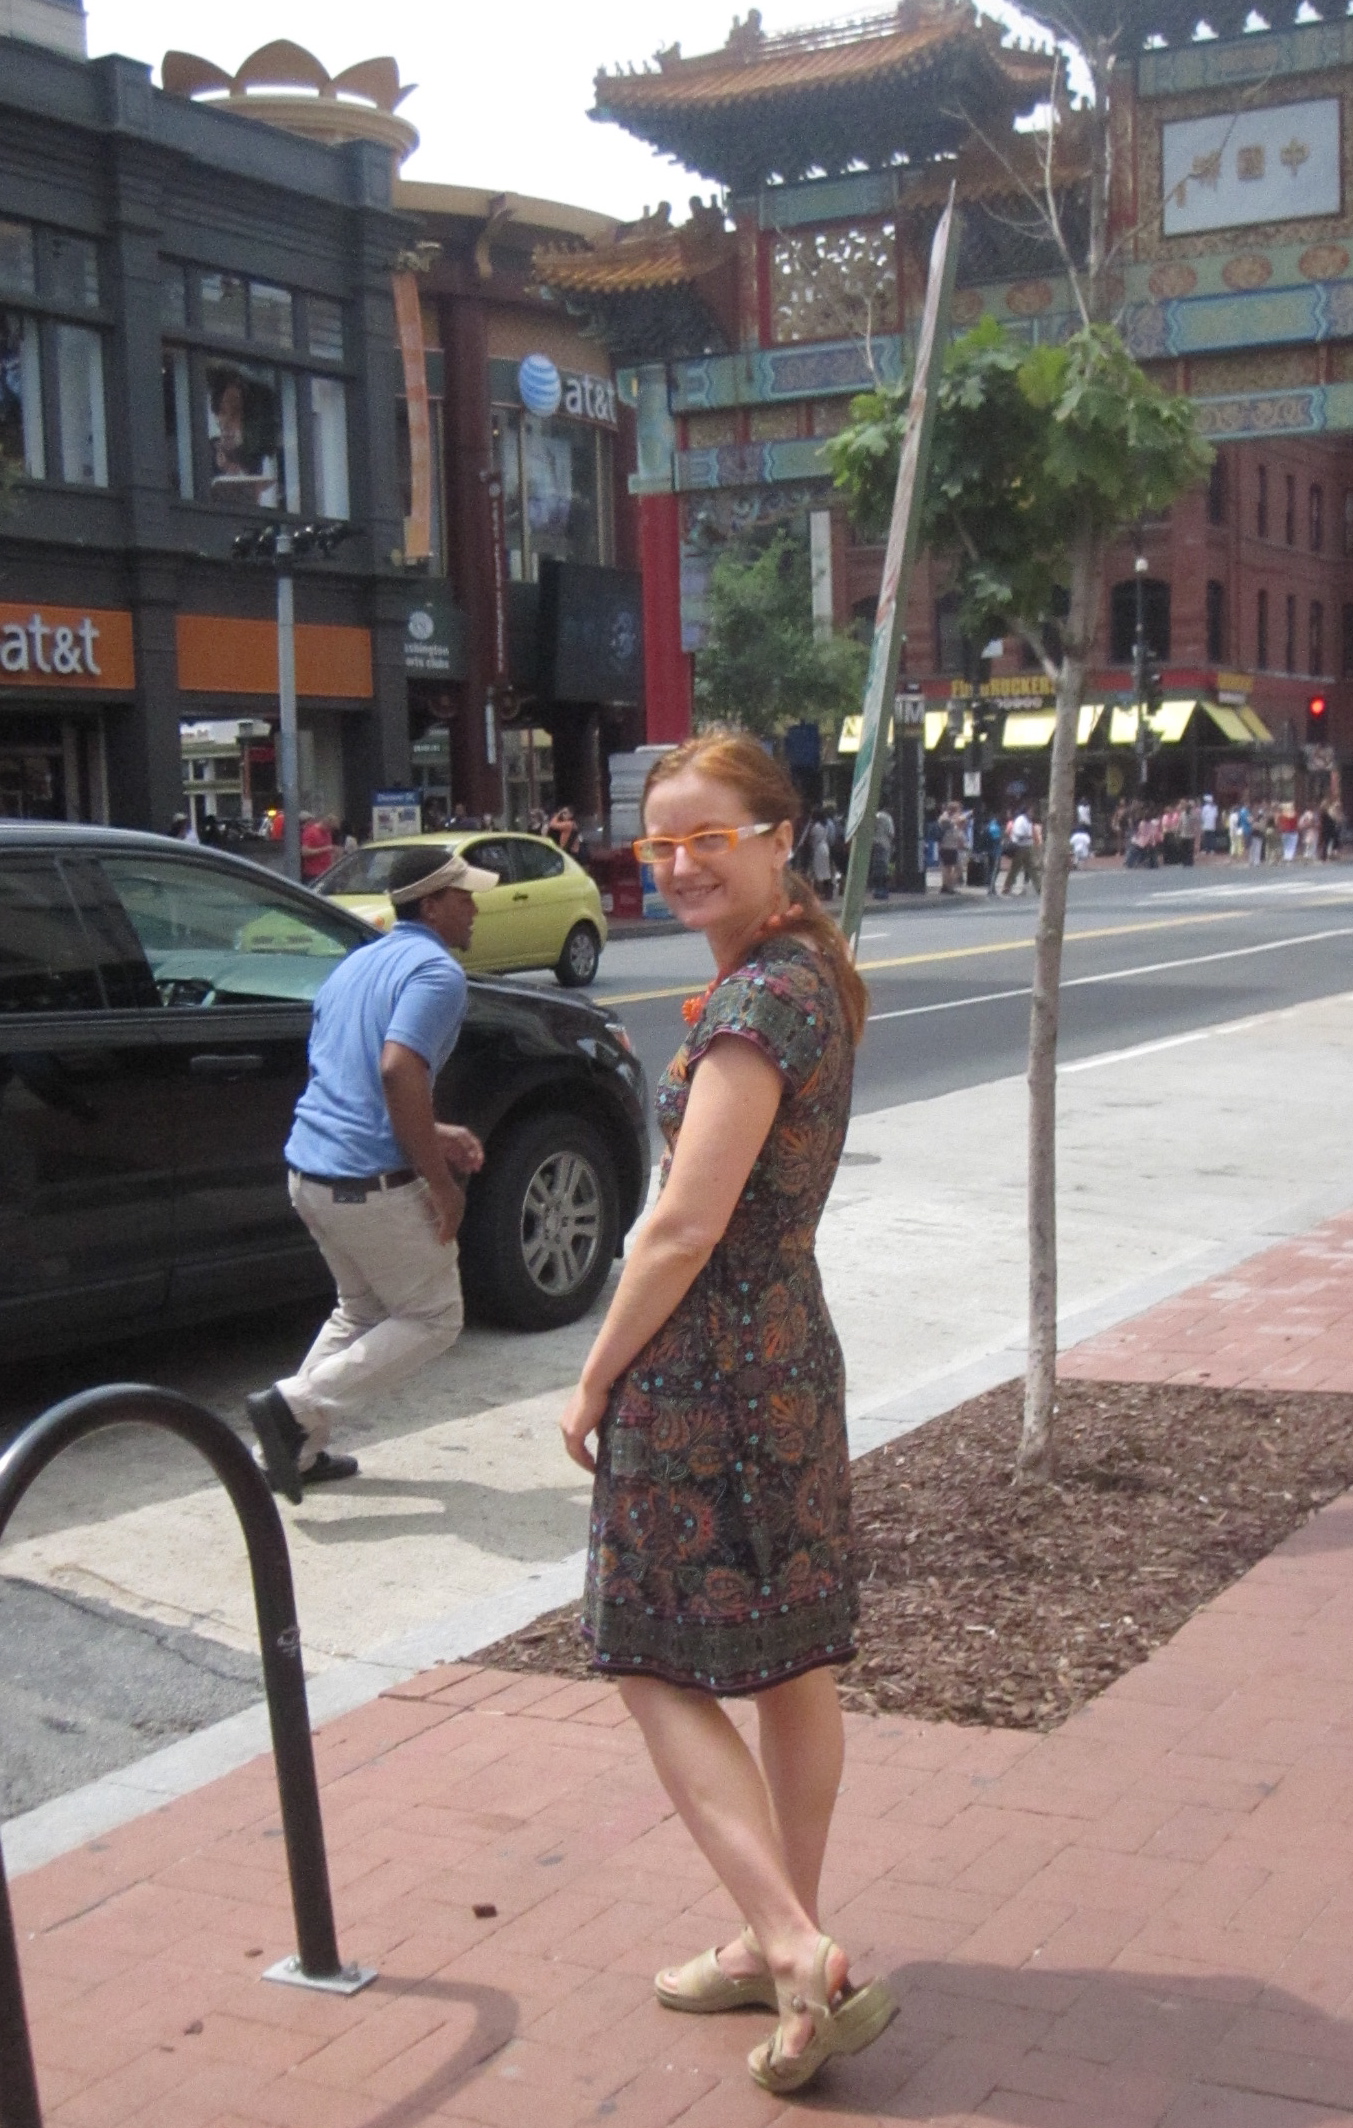
Side


Knit dresses are so easy that it feels like cheating when they turn out so flattering.  Maybe I'll just call it "efficiency."

I got several unsolicitations from strangers when I wore this for the first time, in addition to kind compliments at the DC PR meetup (and an outdoor photo session!).  Even the boyfriend spoke approvingly of "that psychedelic thing" (yes, this was meant as a compliment).

All photos are here and the pattern review is here.

======================

I'm likely to be sparse for the next month or so.  I had been planning a trip to the Greek islands at the end of September, but last week we spontaneously decided to move it up to the beginning of September.  Yay, but eep!  I have so much sewing to do!  I have one bathing suit done, another cut out, and a pair of shorts cut out.  The goal is to get those, a nightgown, a knit dress, and possibly a pair of yoga/hiking capris done in the next two weekends.  Um.  There will be more sewing than blogging going on, or at least there better be!  And then I'll be on the trip itself, which I'm thinking will be sheer bliss.

Wednesday, August 21, 2013

DC Area Meetup and Fabric Swap Confessional

Real Life Hanging Out!

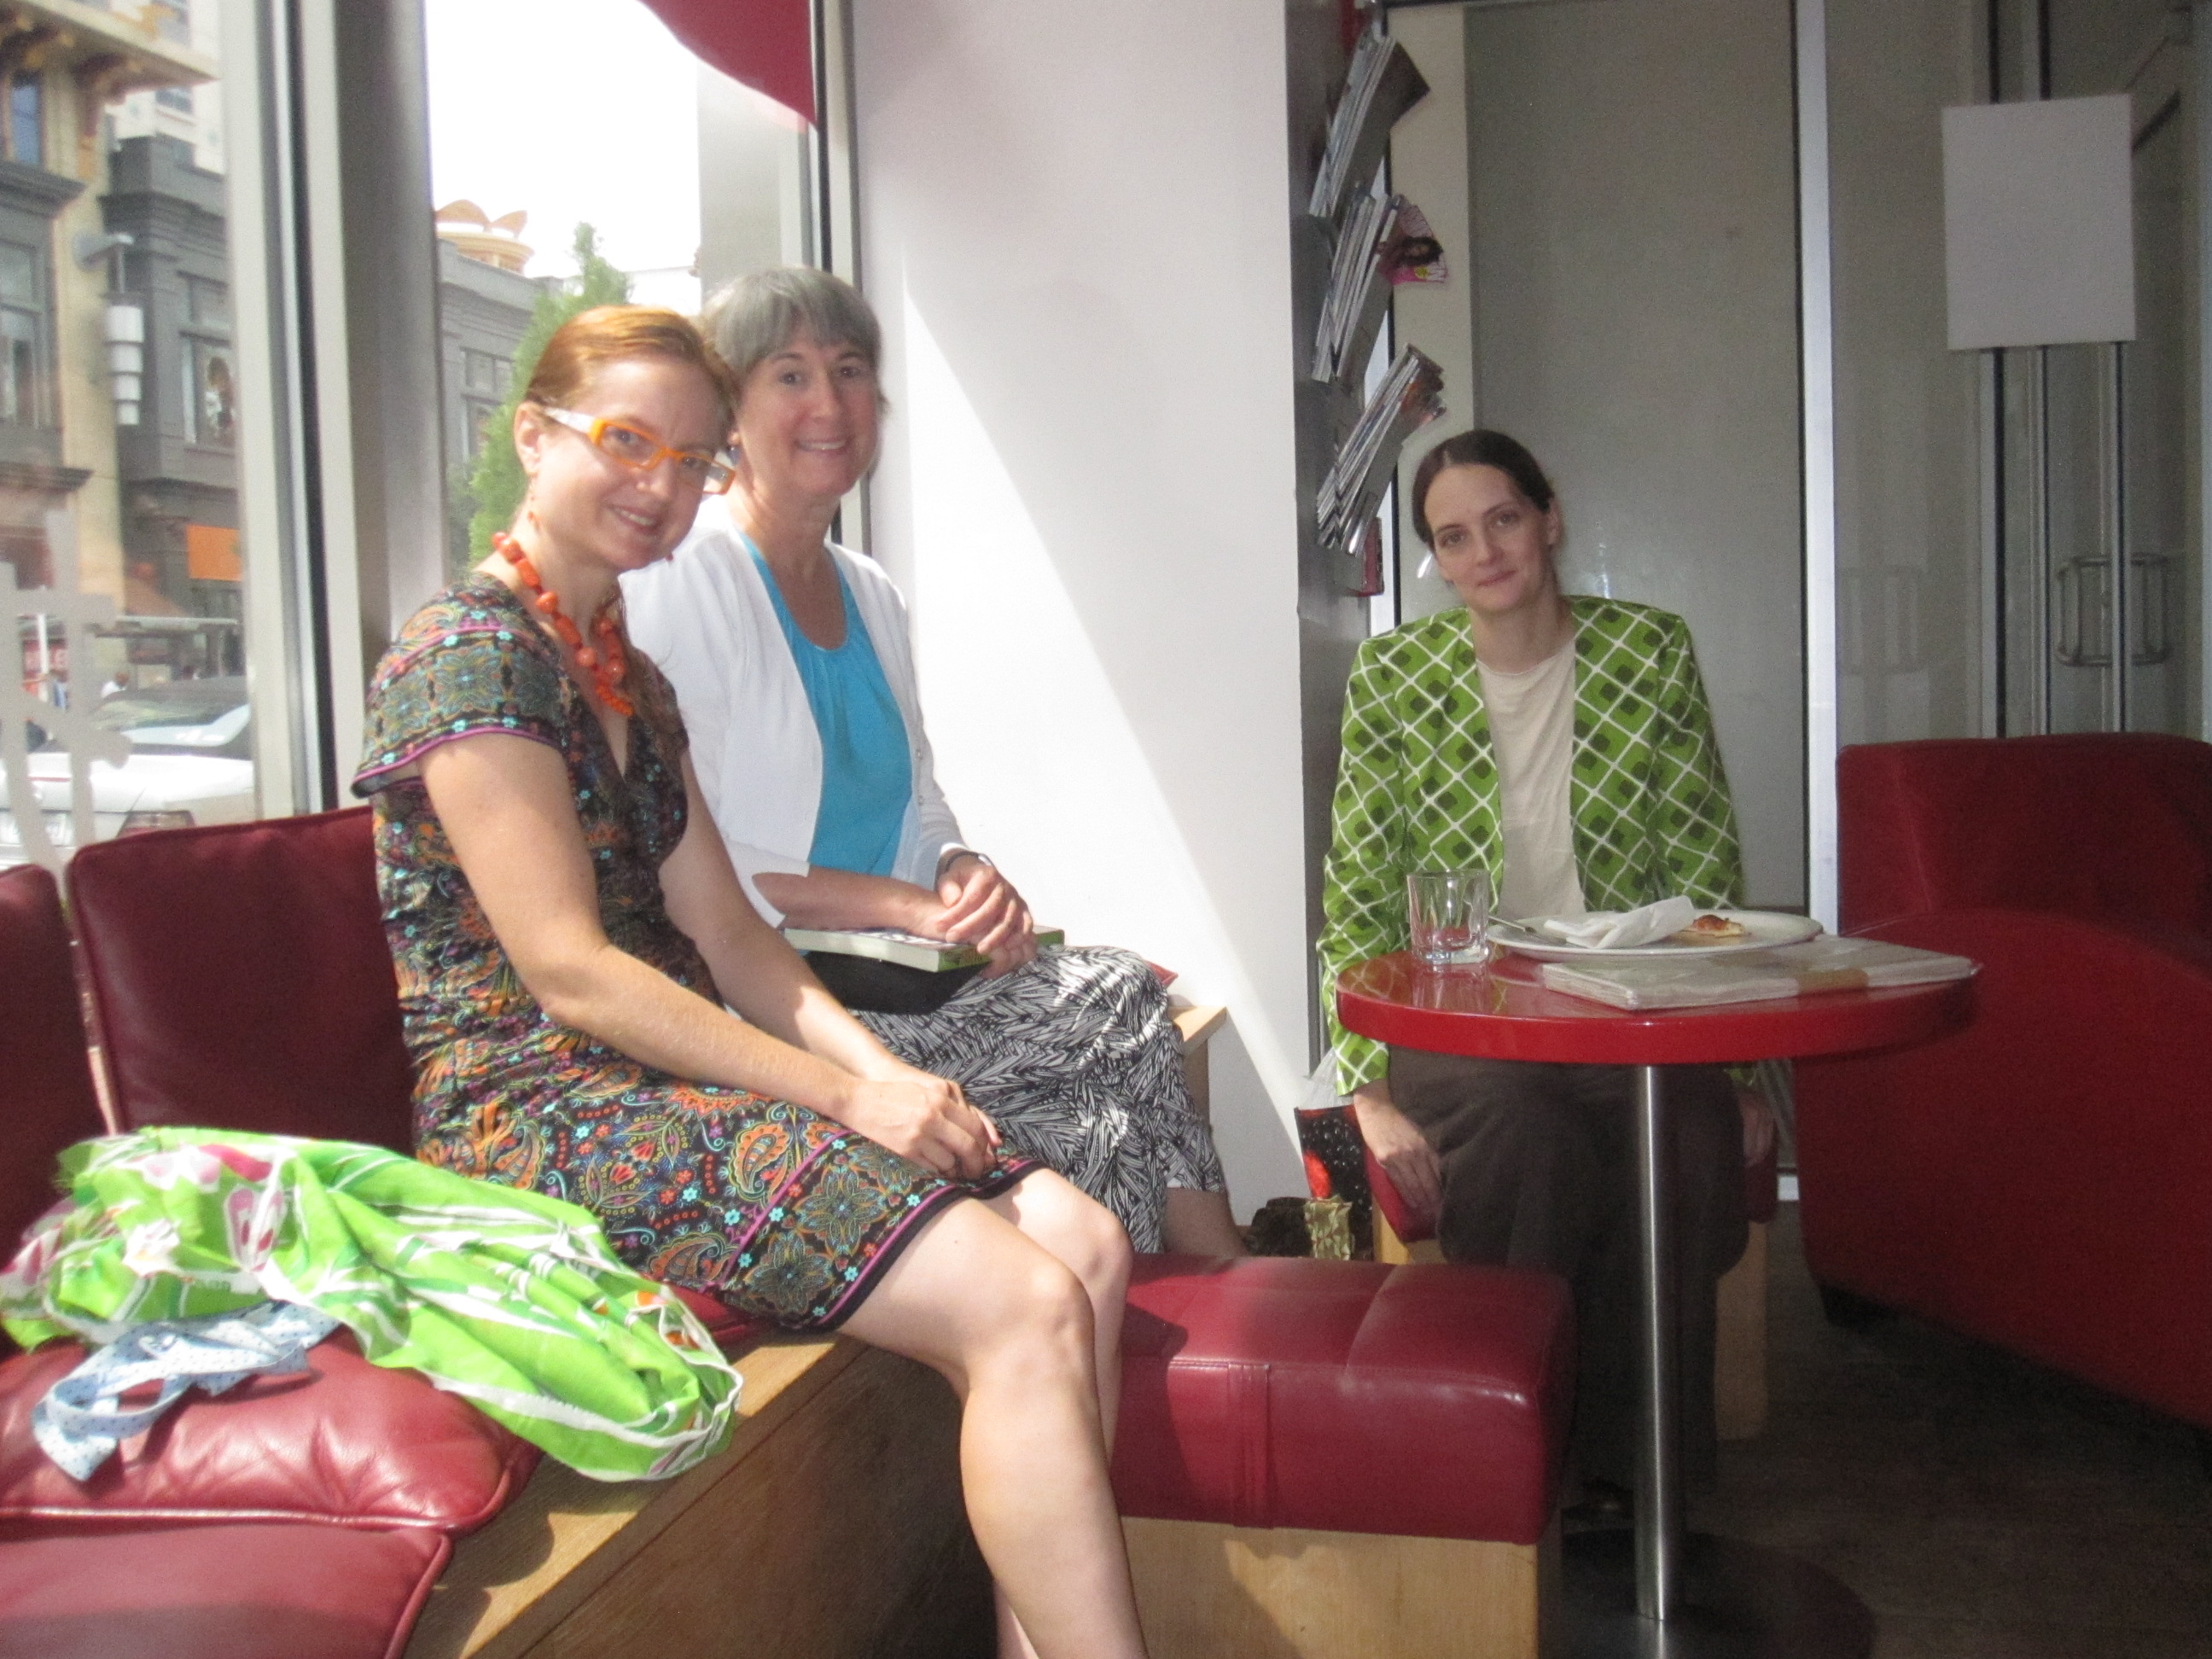
On Saturday, Nikki acted once again as our fearless leader and organized a DC area sewing meetup!  I love these events.  It's great to be able to bring projects you're working on and get opinions, to chat about sewing, and to find new homes for fabric and patterns that need to get out of stash.

Real Life Hanging Out!


We had an awesome turnout, and took over the whole front section of the restaurant (it was empty so they didn't mind).

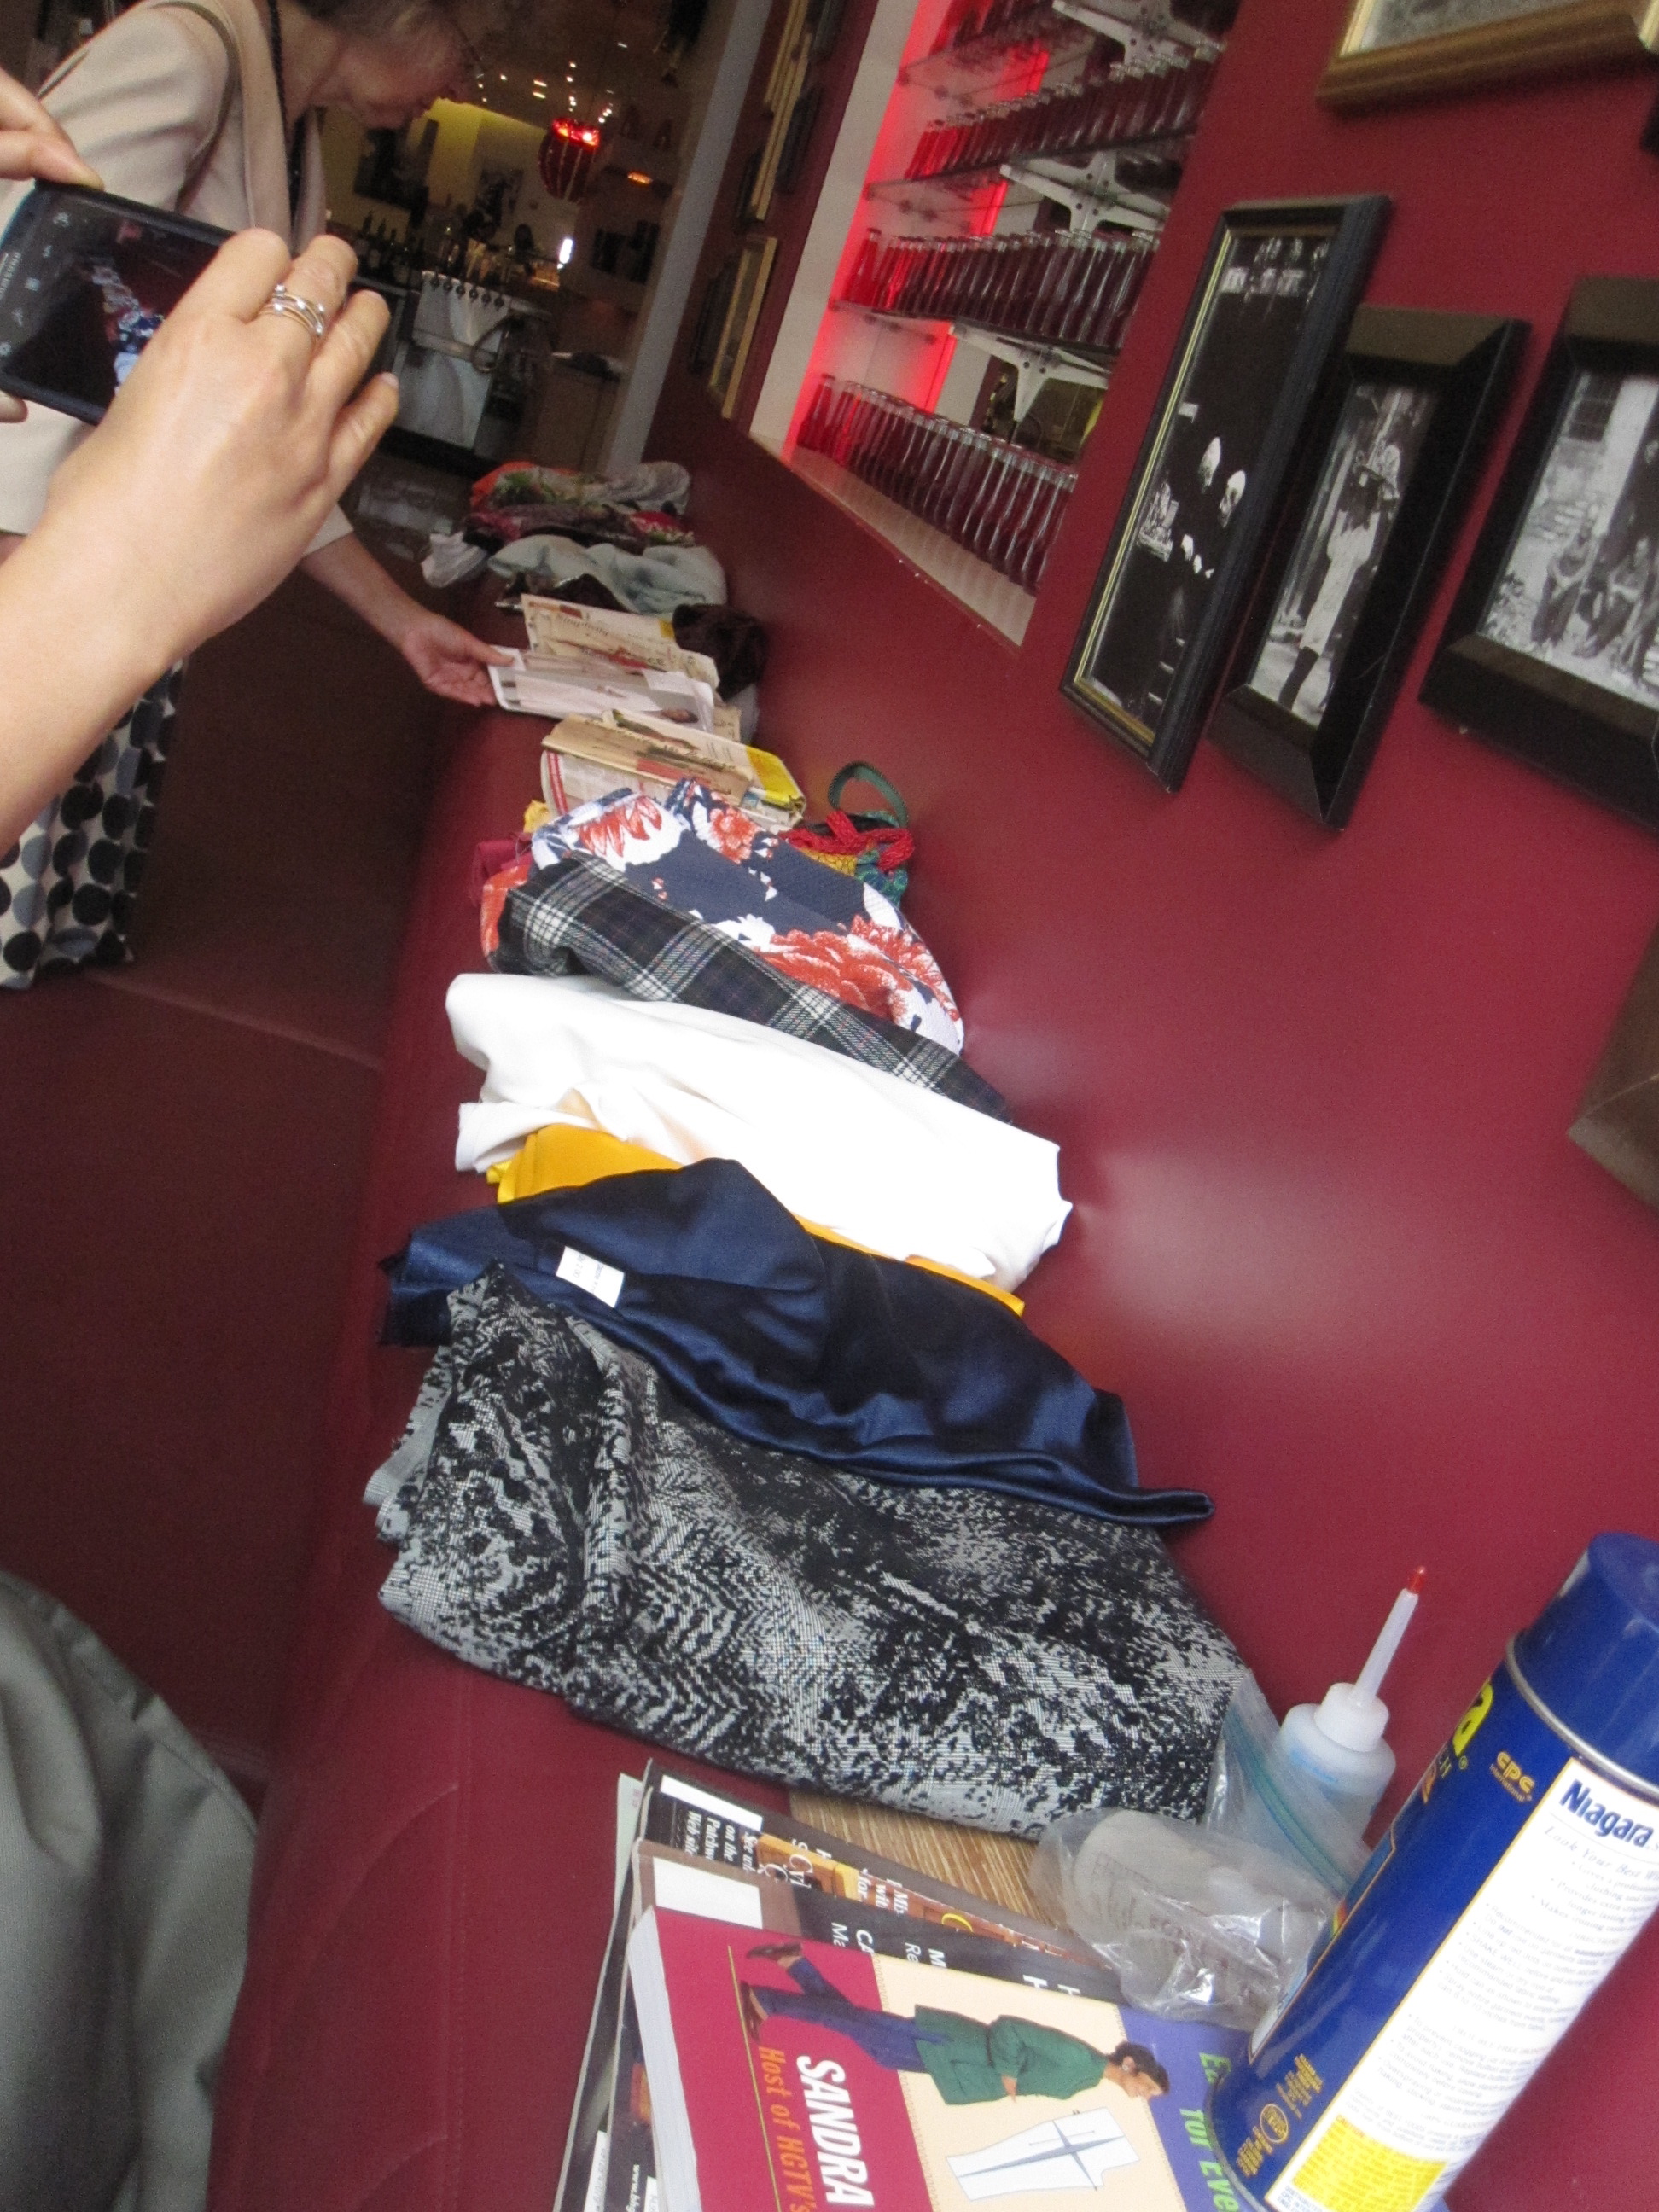
Swap Pile


The front section was convenient because there is a long bench with a ledge behind it that we used for spreading out our swapping goodies.  And there were some goodies!  One woman's excess stash is definitely another woman's treasure.


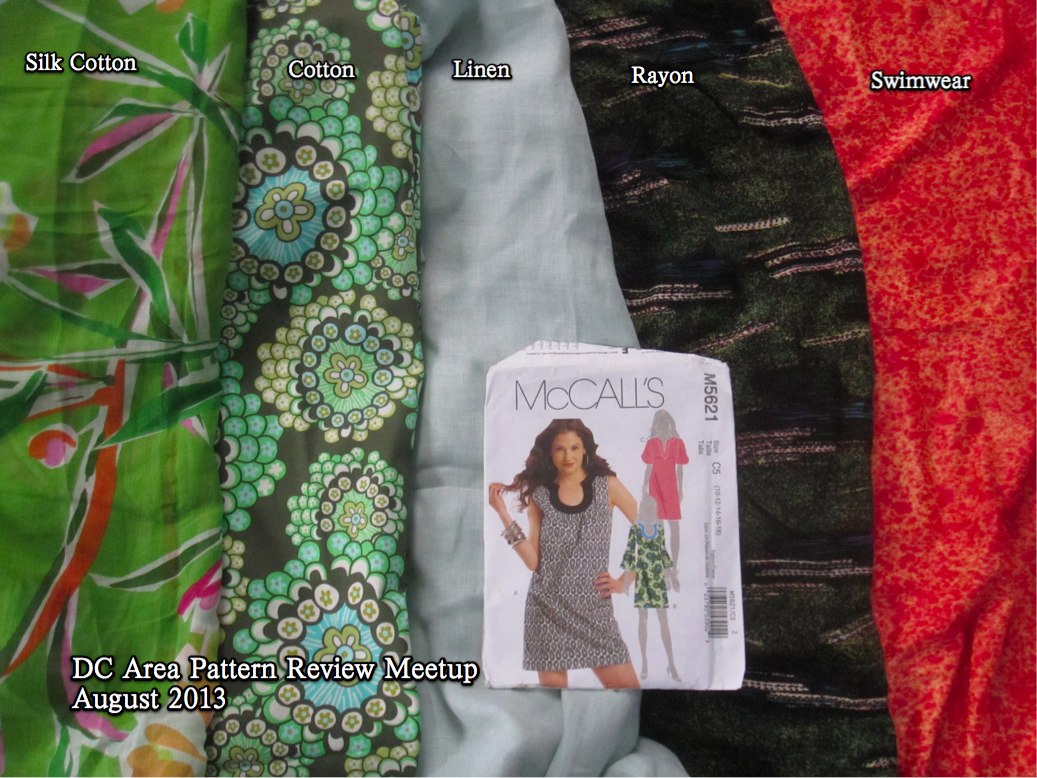
DC PR Meetup 8-2013

I once again failed miserably in reducing my stash by bringing swap fabrics to the meetup.  But come on, how could I resist any of these?

I wore a new dress (you can see a sneak peek in the second photo) and had a great photo shoot.  More to come on that...

All photos of the meetup are here.

Friday, August 16, 2013

DC Area Sewing Meetup TOMORROW, Saturday August 17

Why do I never think to post this in advance?

There will be a brunch meetup on Saturday, August 17 for local sewing enthusiasts.  The location is Vapiano in Chinatown, right outside the Gallery Place metro (and easy walking distance from Metro Center).  It's at 623-625 H Street NW.

Bring any fabric or patterns that you'd like to swap, or just bring yourself to hang out and chat about our latest projects.

Hope to see you there!

Wednesday, August 7, 2013

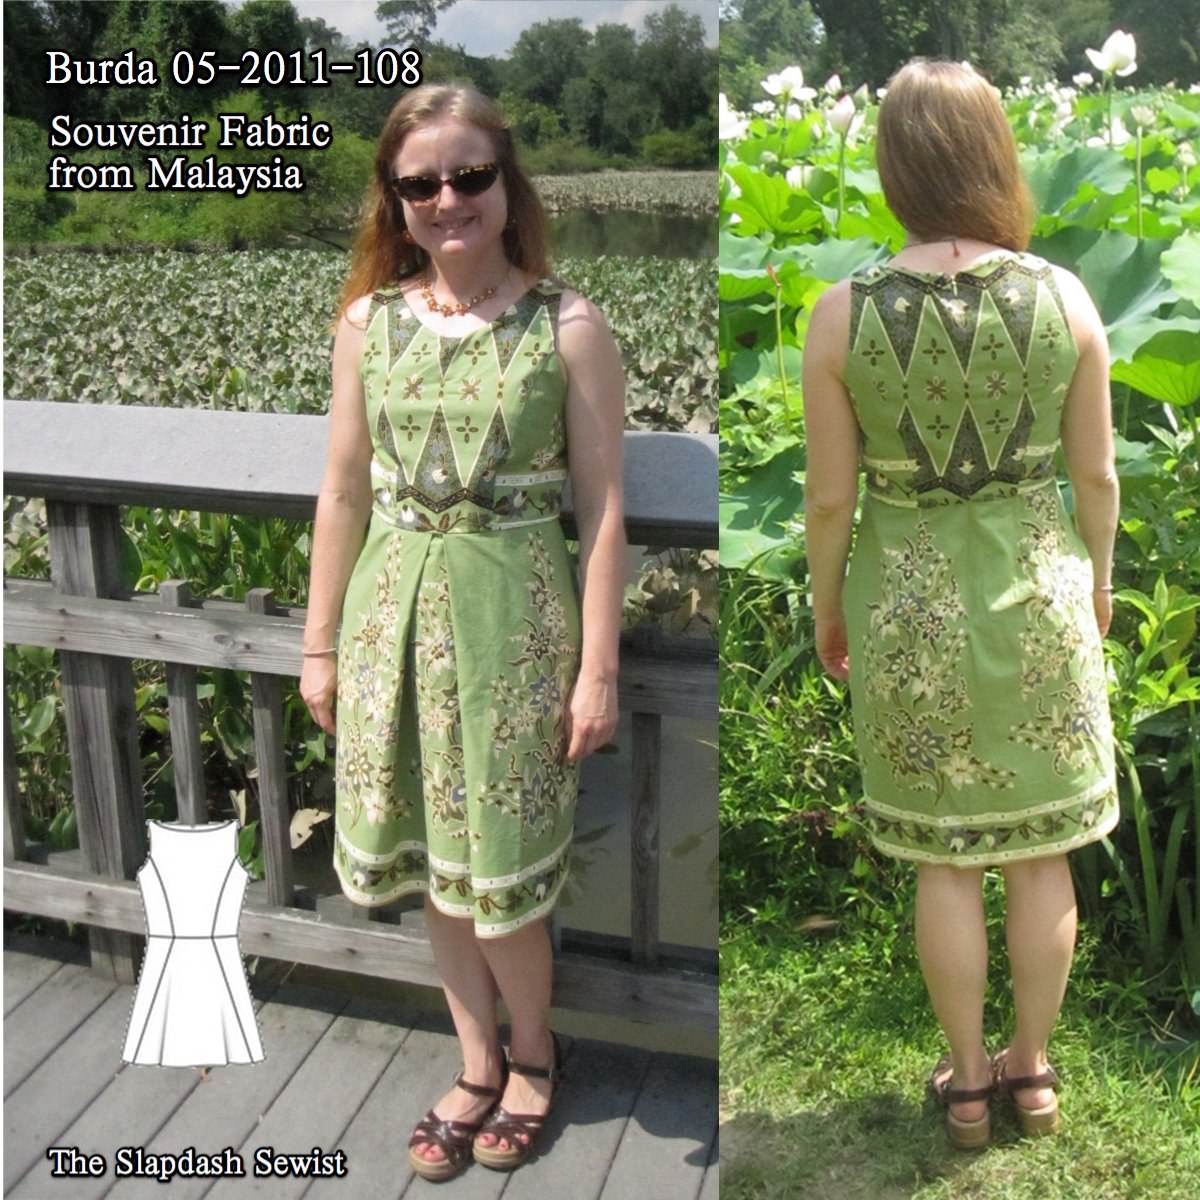
Burda 05-2011-108, Malaysia Fabric Sundress

Burda 05-2011-108 Malaysia Thumbnail

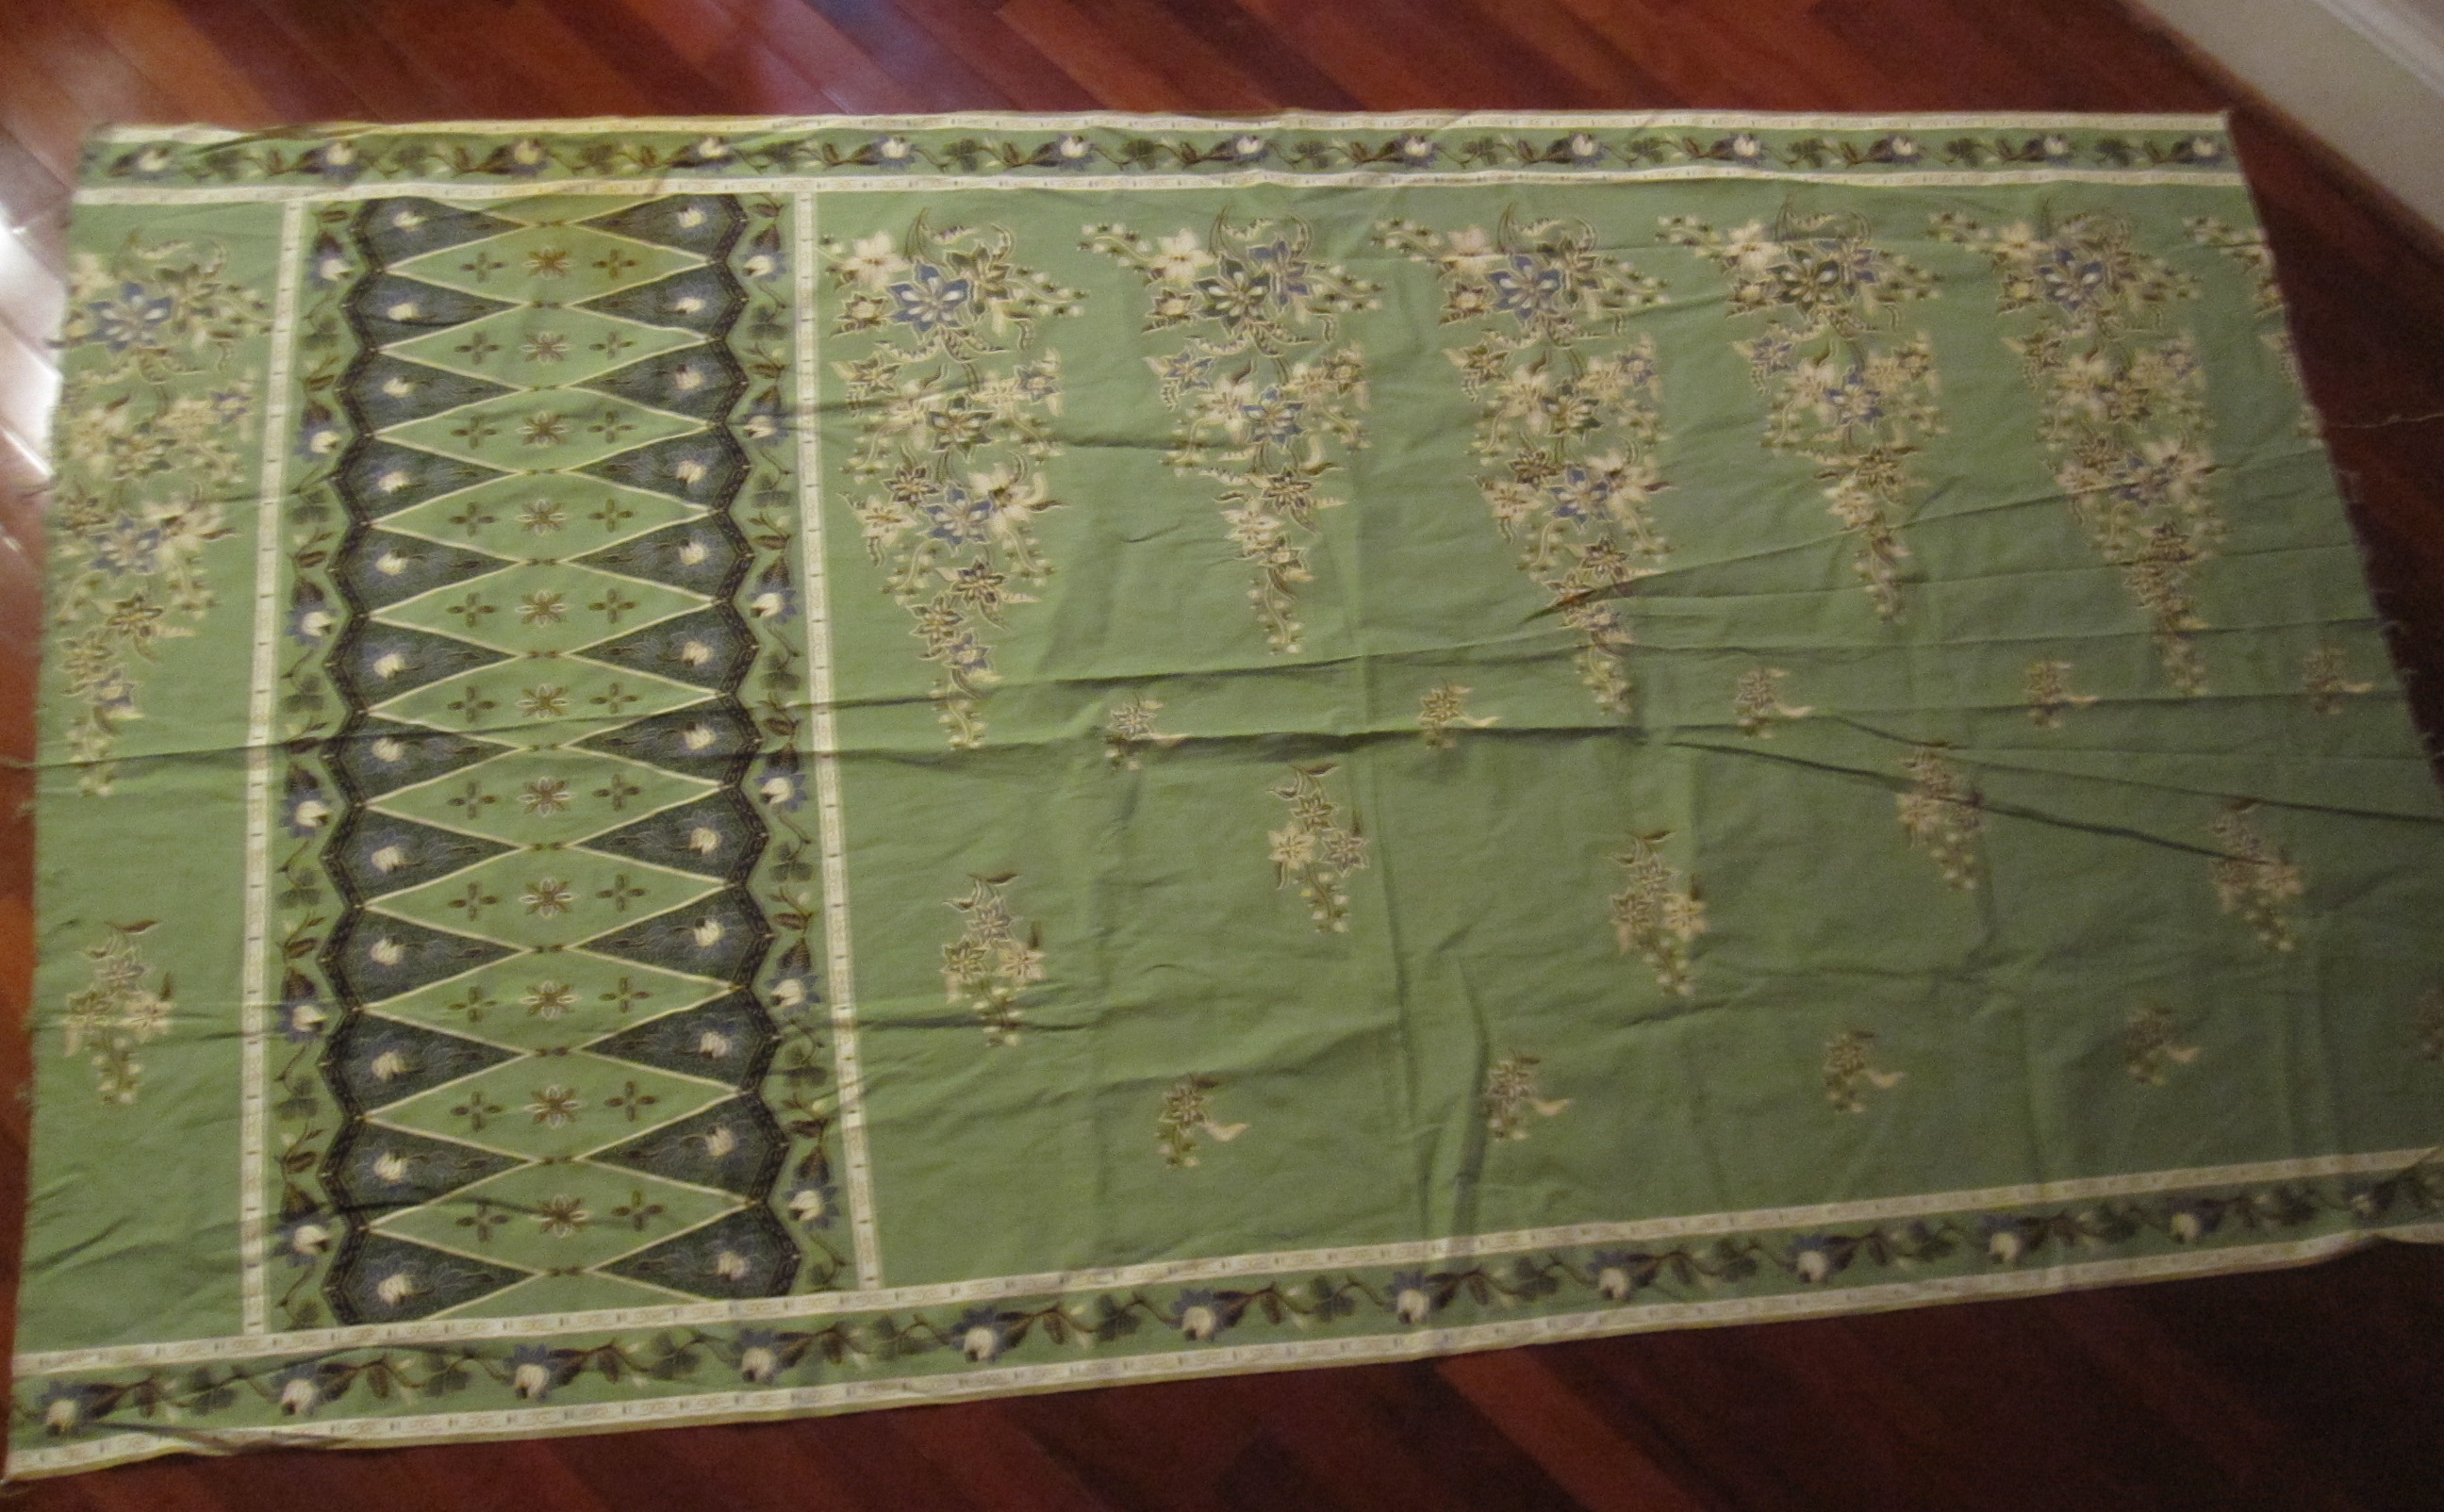
The piece de resistance of my stashbusting during the stash contest was finally making something out of this fabric I bought in Malaysia in 2009.  I was there for work, and one of our excursions was to the local department store (our hosts, understandably, wanted to show off their modern marvels).

Sarong Length

They had packaged sarong lengths for about $6, so I bought 3 of them.  This was the last one left (one of them was made into a shopping bag, the other into Simplicity 2177).  This print was meant to be shown to advantage when folded as a wrap skirt in the traditional manner, so it was a double border print with a decorative panel at one end.  In all, I had 75 inches of fabric.

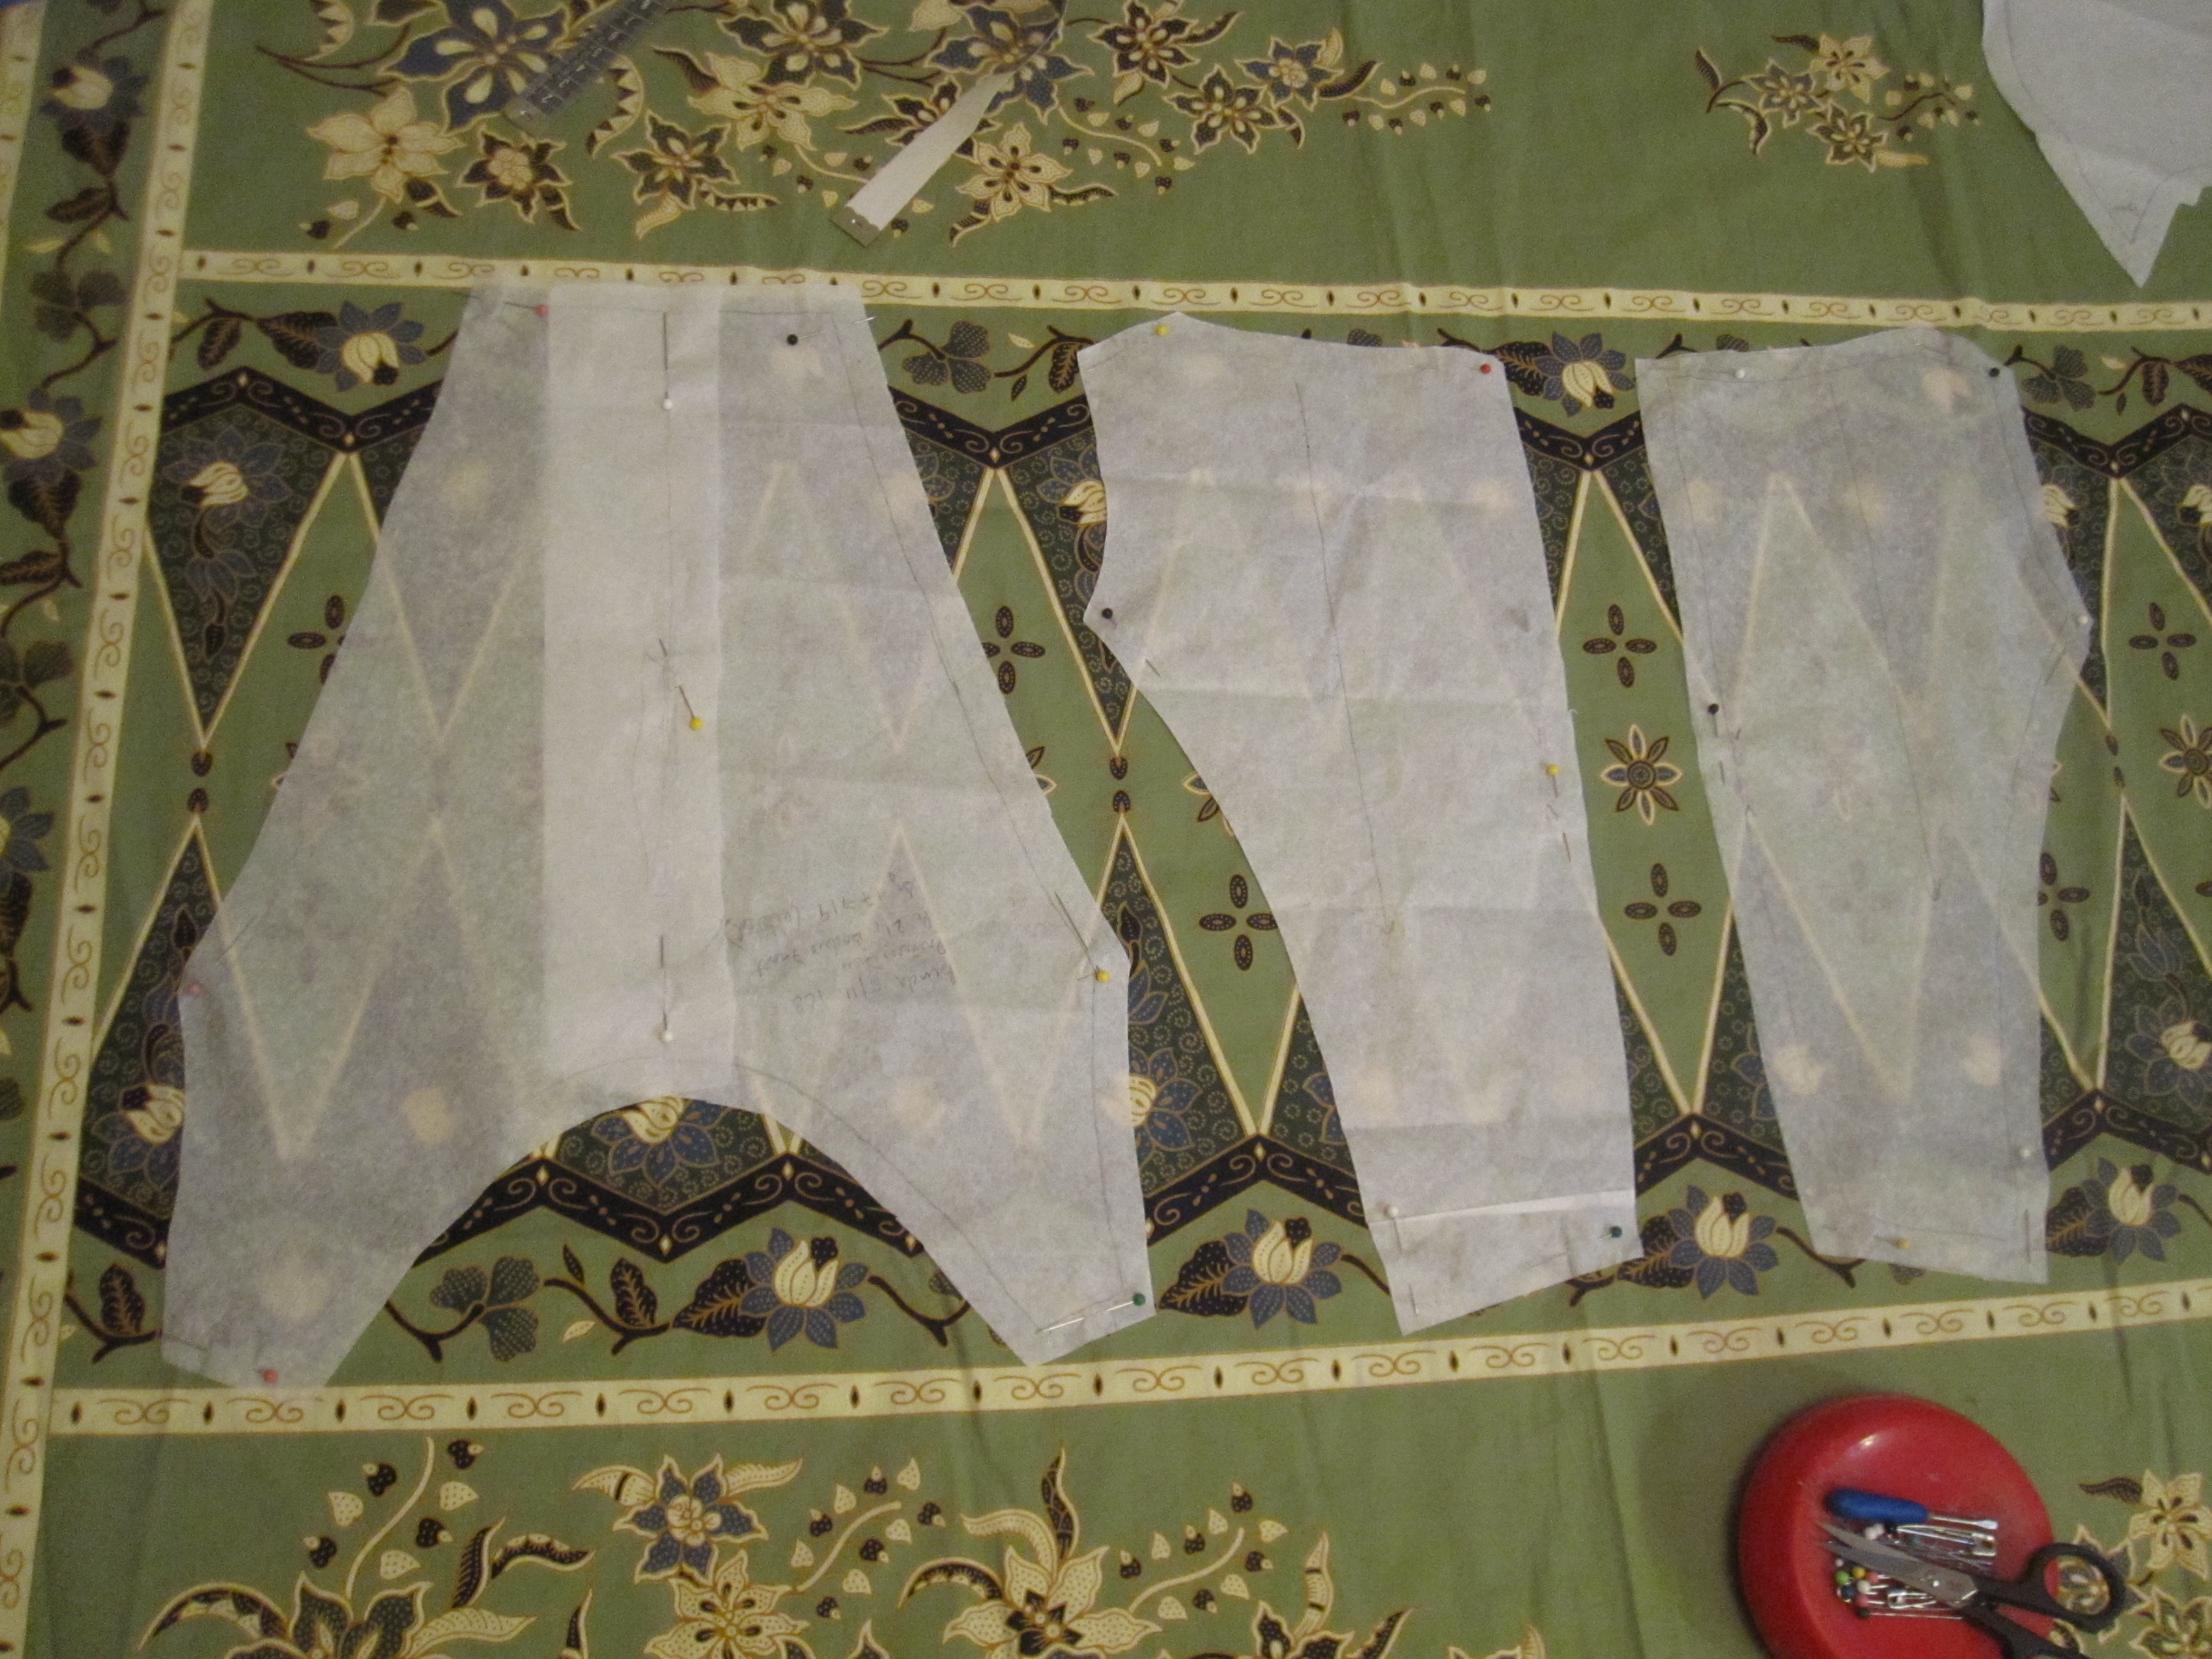
My first plan was to make a simple darted sundress using Burda 08-2009-128.  I planned to use the decorative diamond-shape section as the bodice.  Well, with the double borders and relatively narrow fabric, I couldn't fit the whole bodice in the diamond-shape section.  Dangit!  I had to fall back on princess seams; since I had already fitted and made Burda 05-2011-108 for last year's Seersucker Social, I figured it would be easy.

Is anything ever easy?  I wanted to use some of the floral motifs in the side panels, but because of they way they were placed, I had to add a side seam to the pattern.  To find the side seam, I put on the previous version and marked with a row of pins what seemed to be the side.  Very scientific.  I transferred my pin marking to the side panel pattern piece, and then split it along the marking.  This allowed me to further refine the fit (and by "refine the fit" I mean "add more room at the waist").

Lay Border over Side Panel


But then once I got the bodice put together those side panels looked so plain, even with the floral motifs I had so carefully placed.  Ugh!

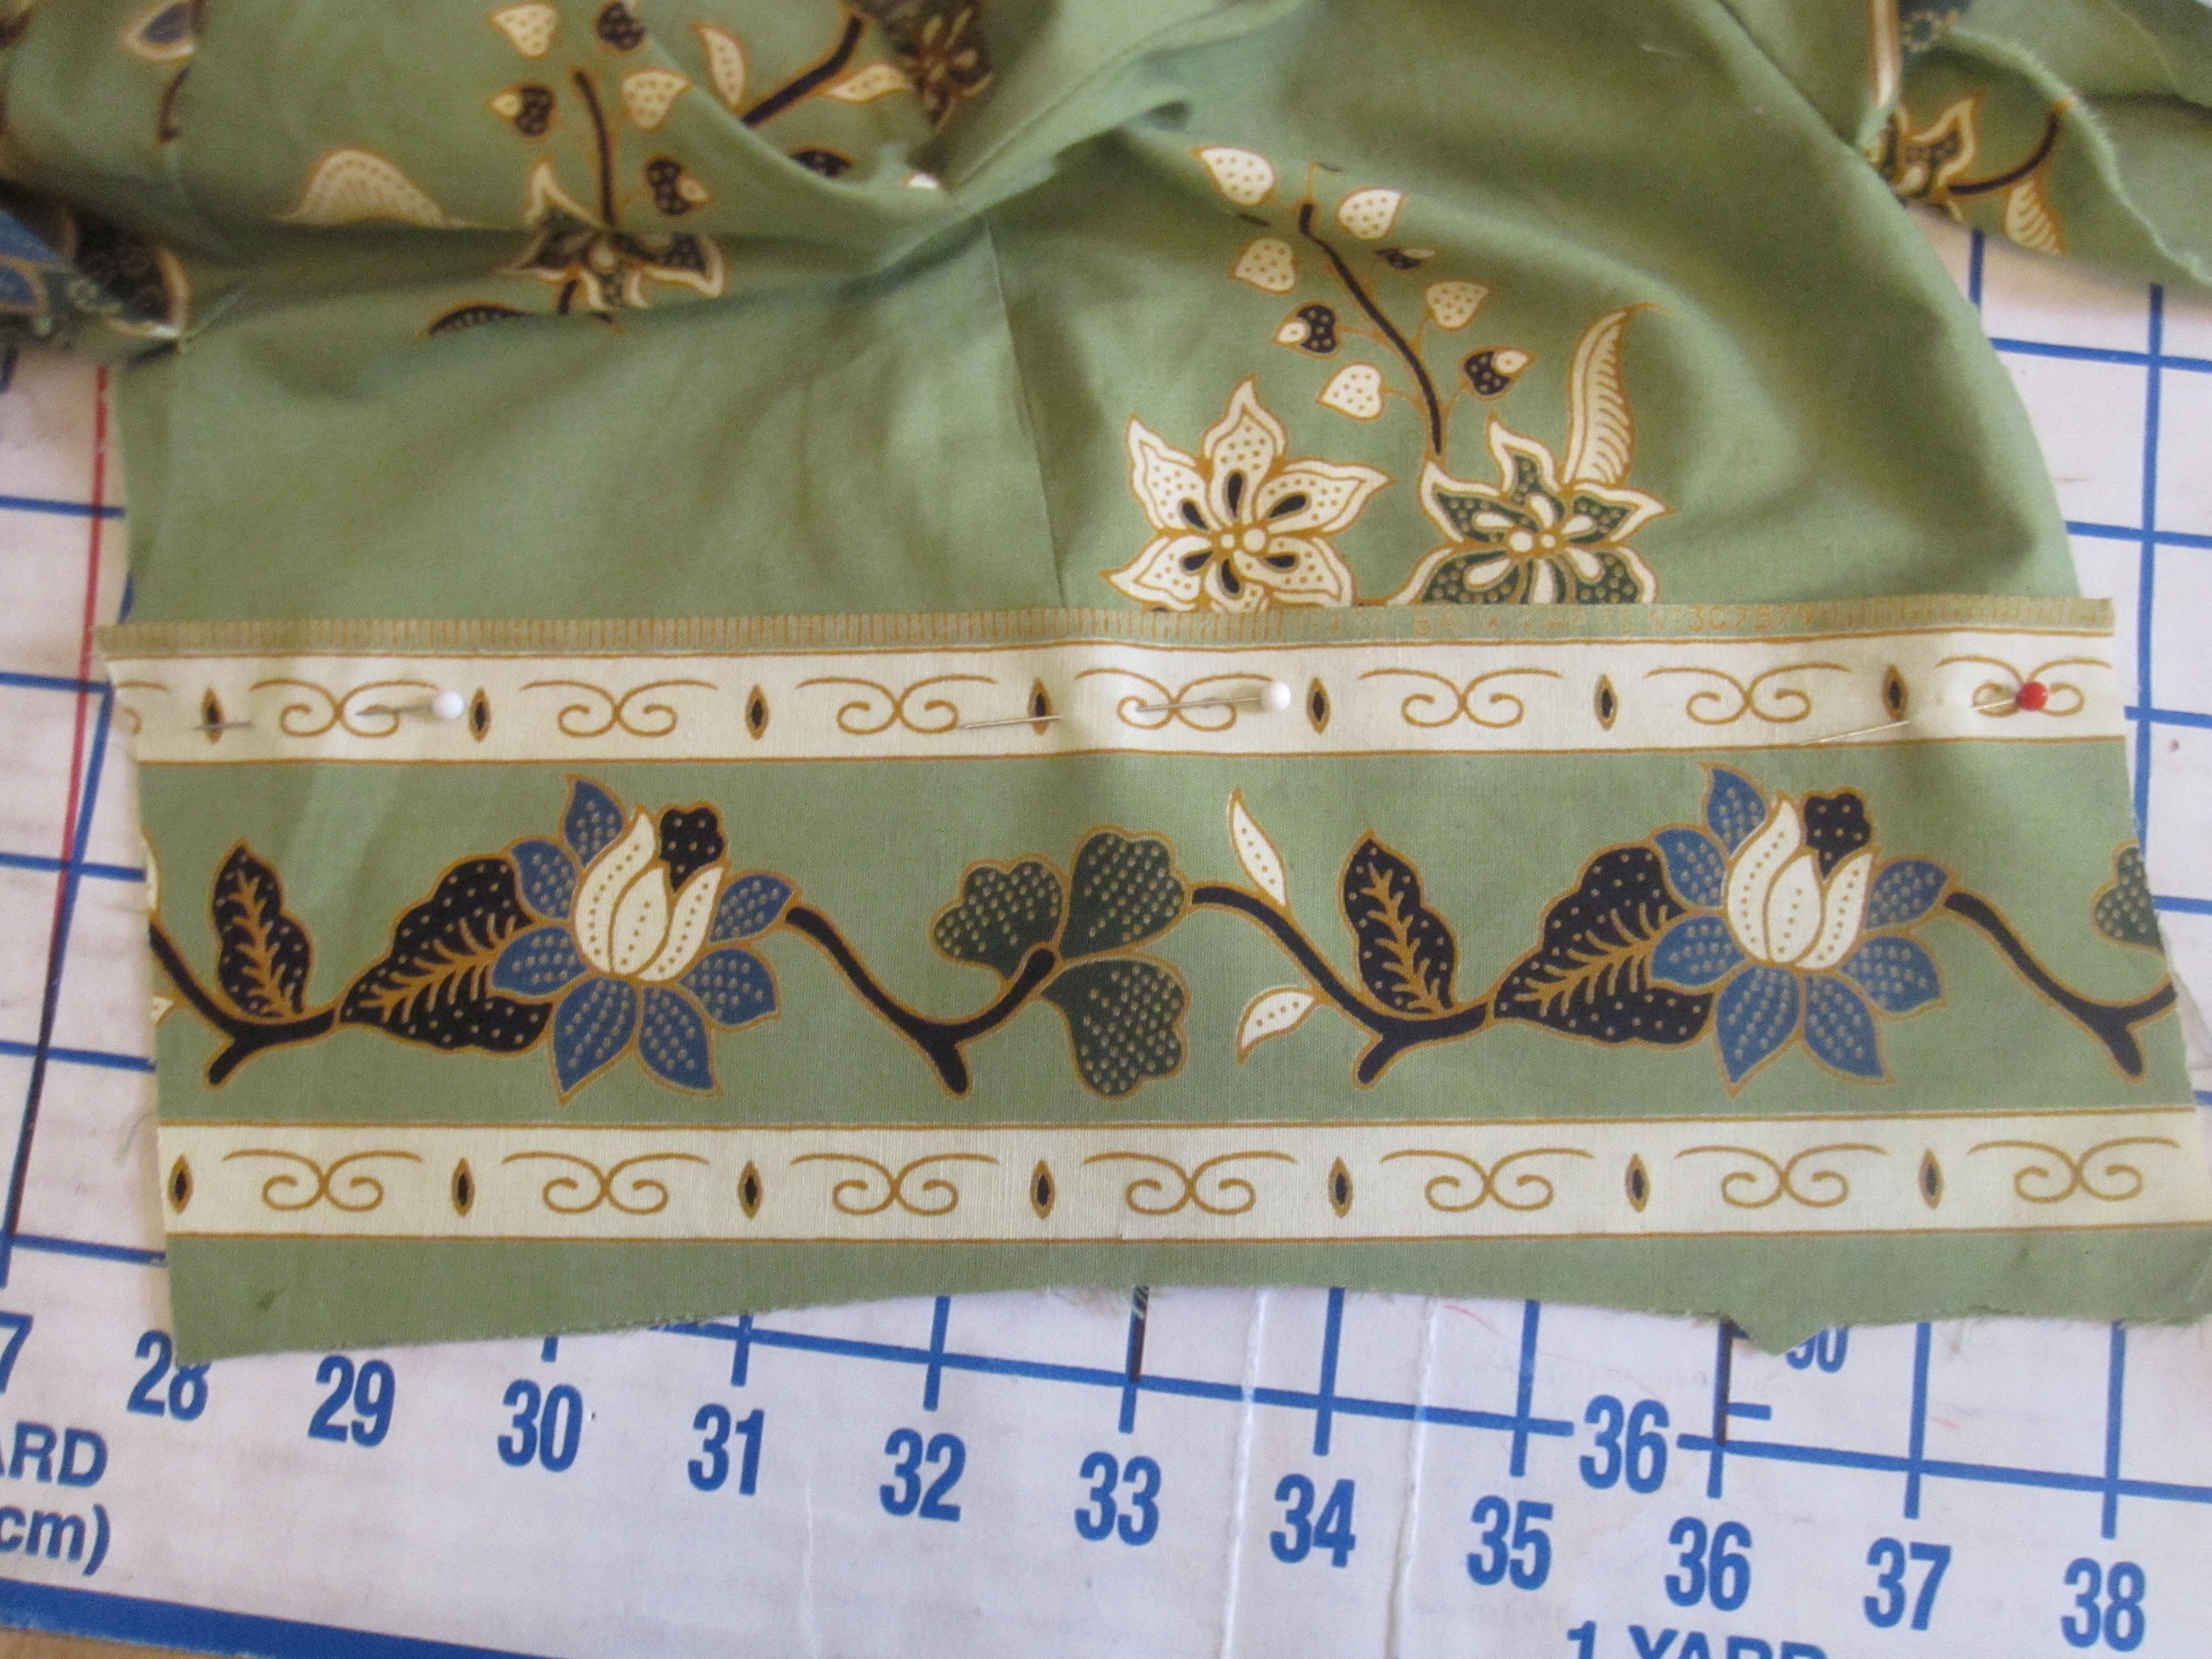
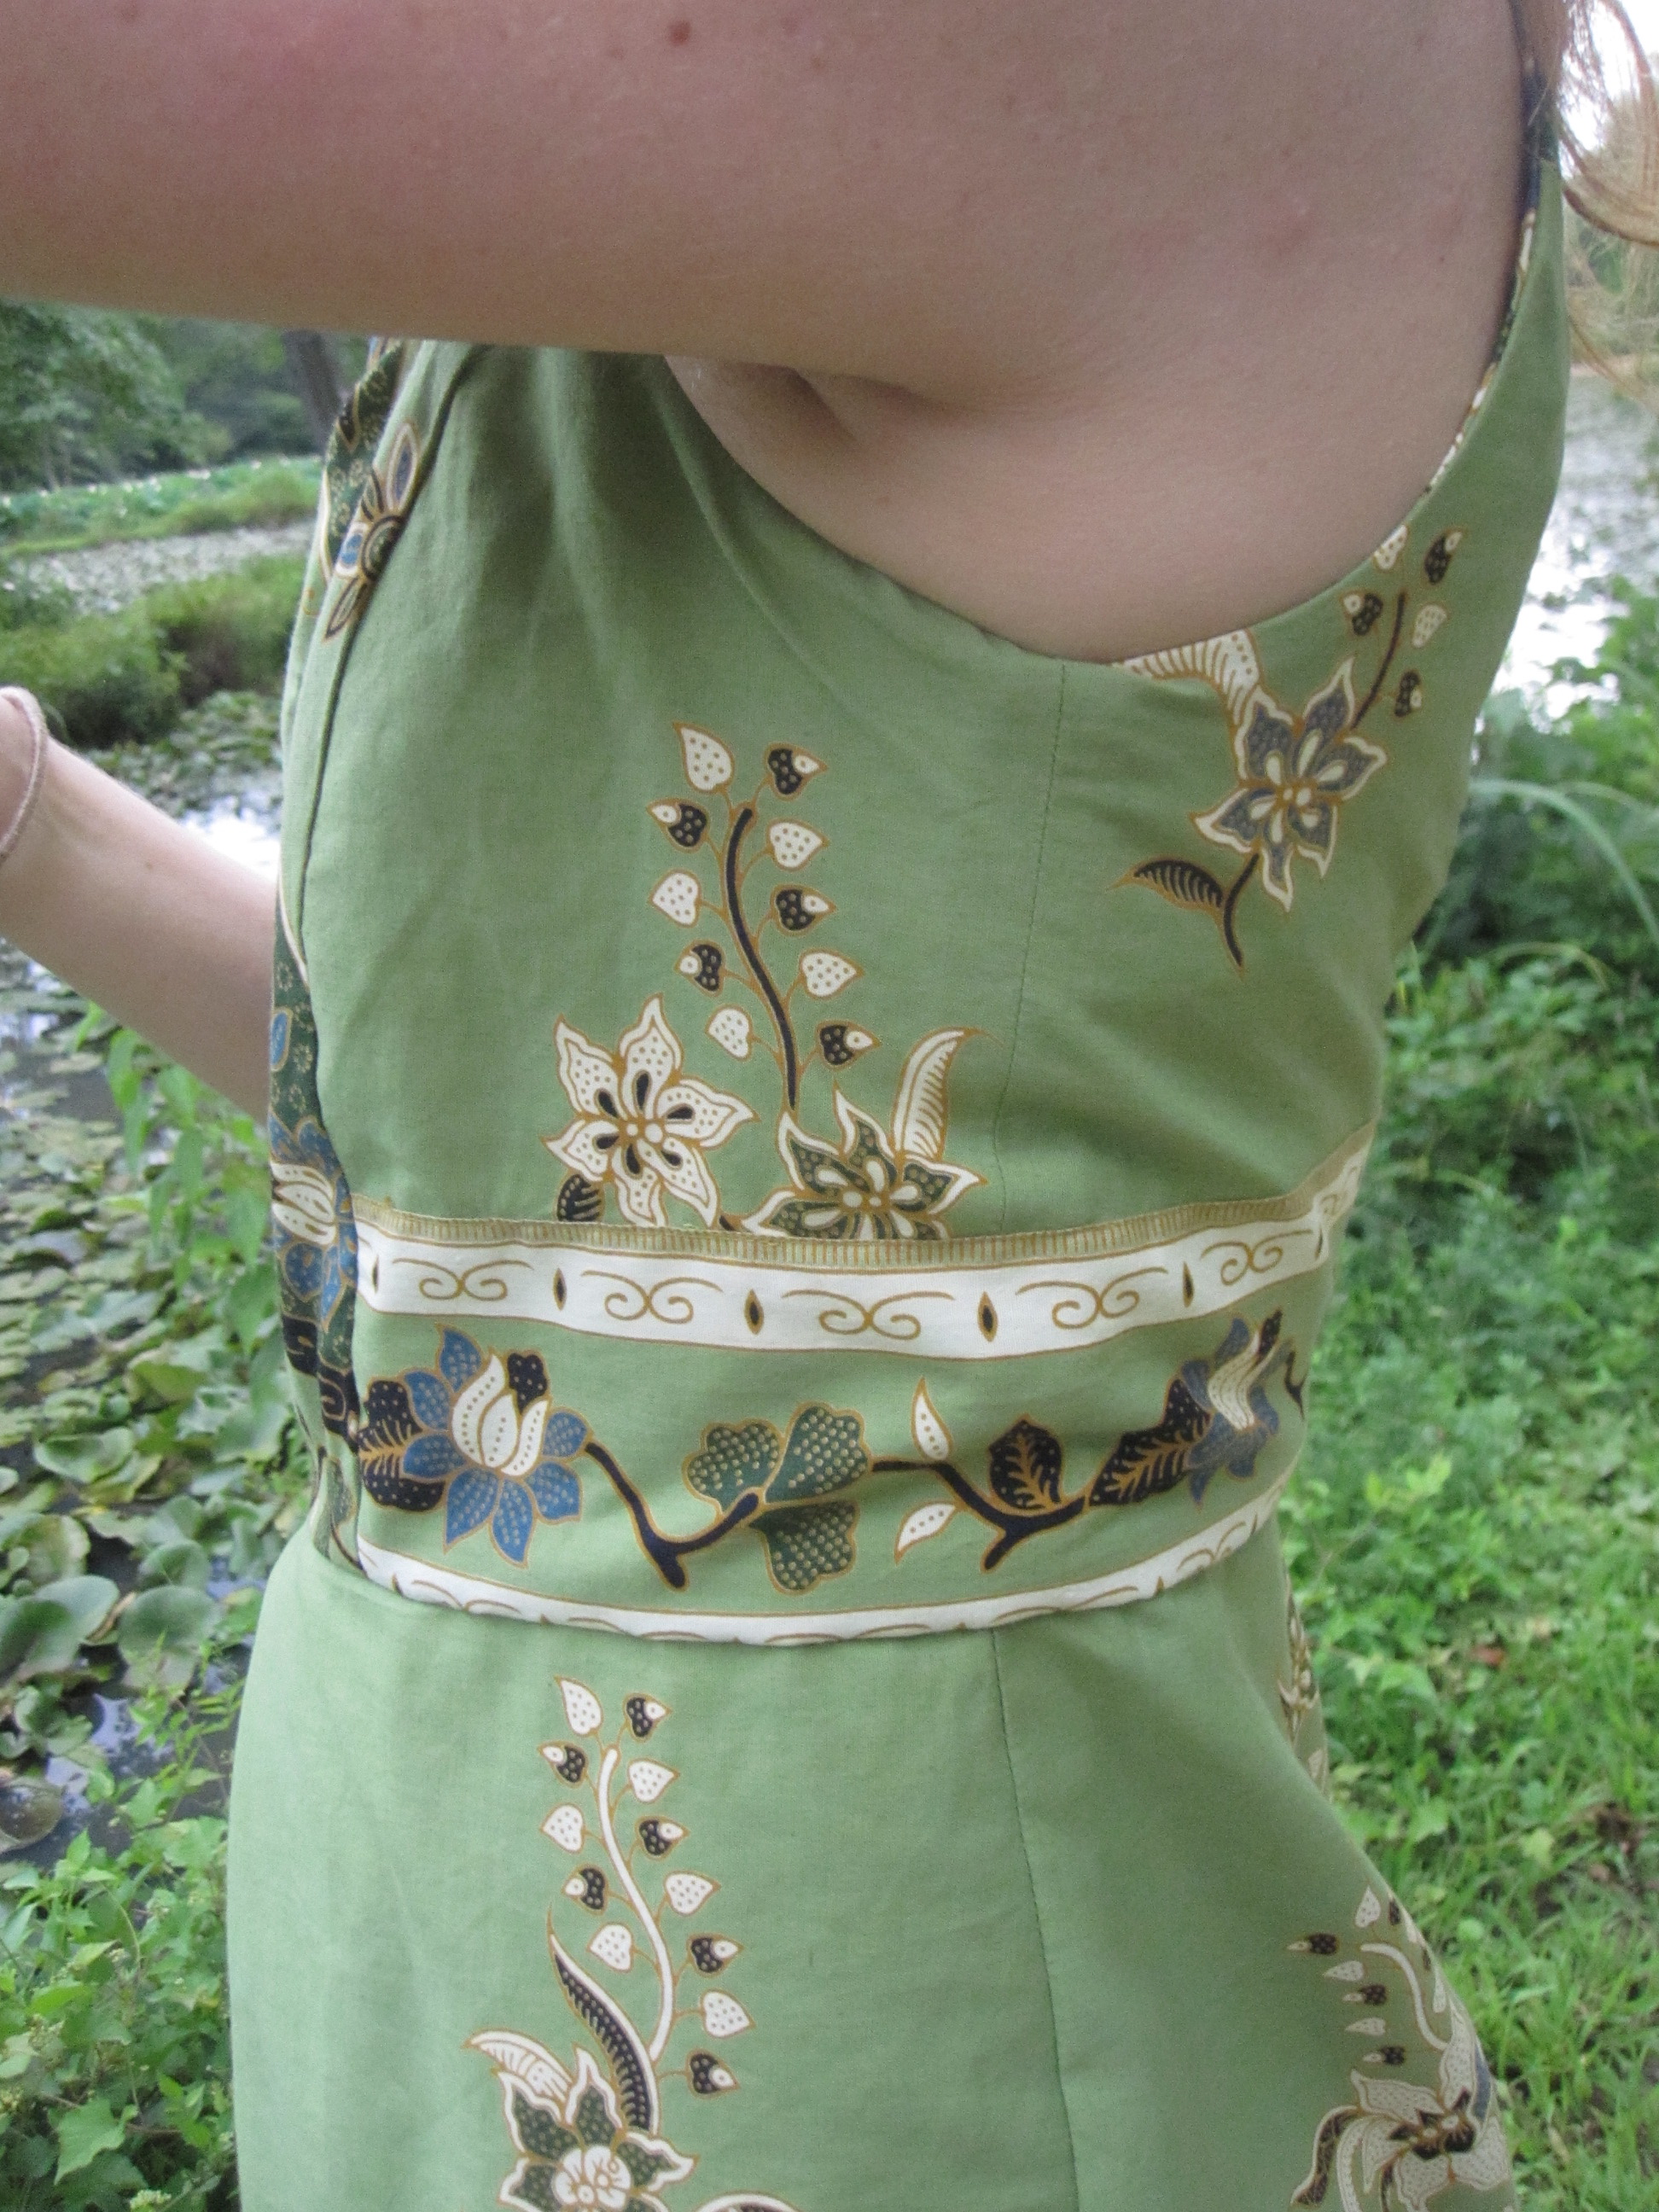
Border Side Panels


 I slept on it and decided to add some of the border fabric to the side panels to jazz them up a bit.  I traced the lower curve and panel seams and cut out lengths of border.  I put the border on "upside down"--with the selvage at the top--and stitched very close to the edge of the selvage using my blind hem foot to keep the panel in place.

Bodice Layout


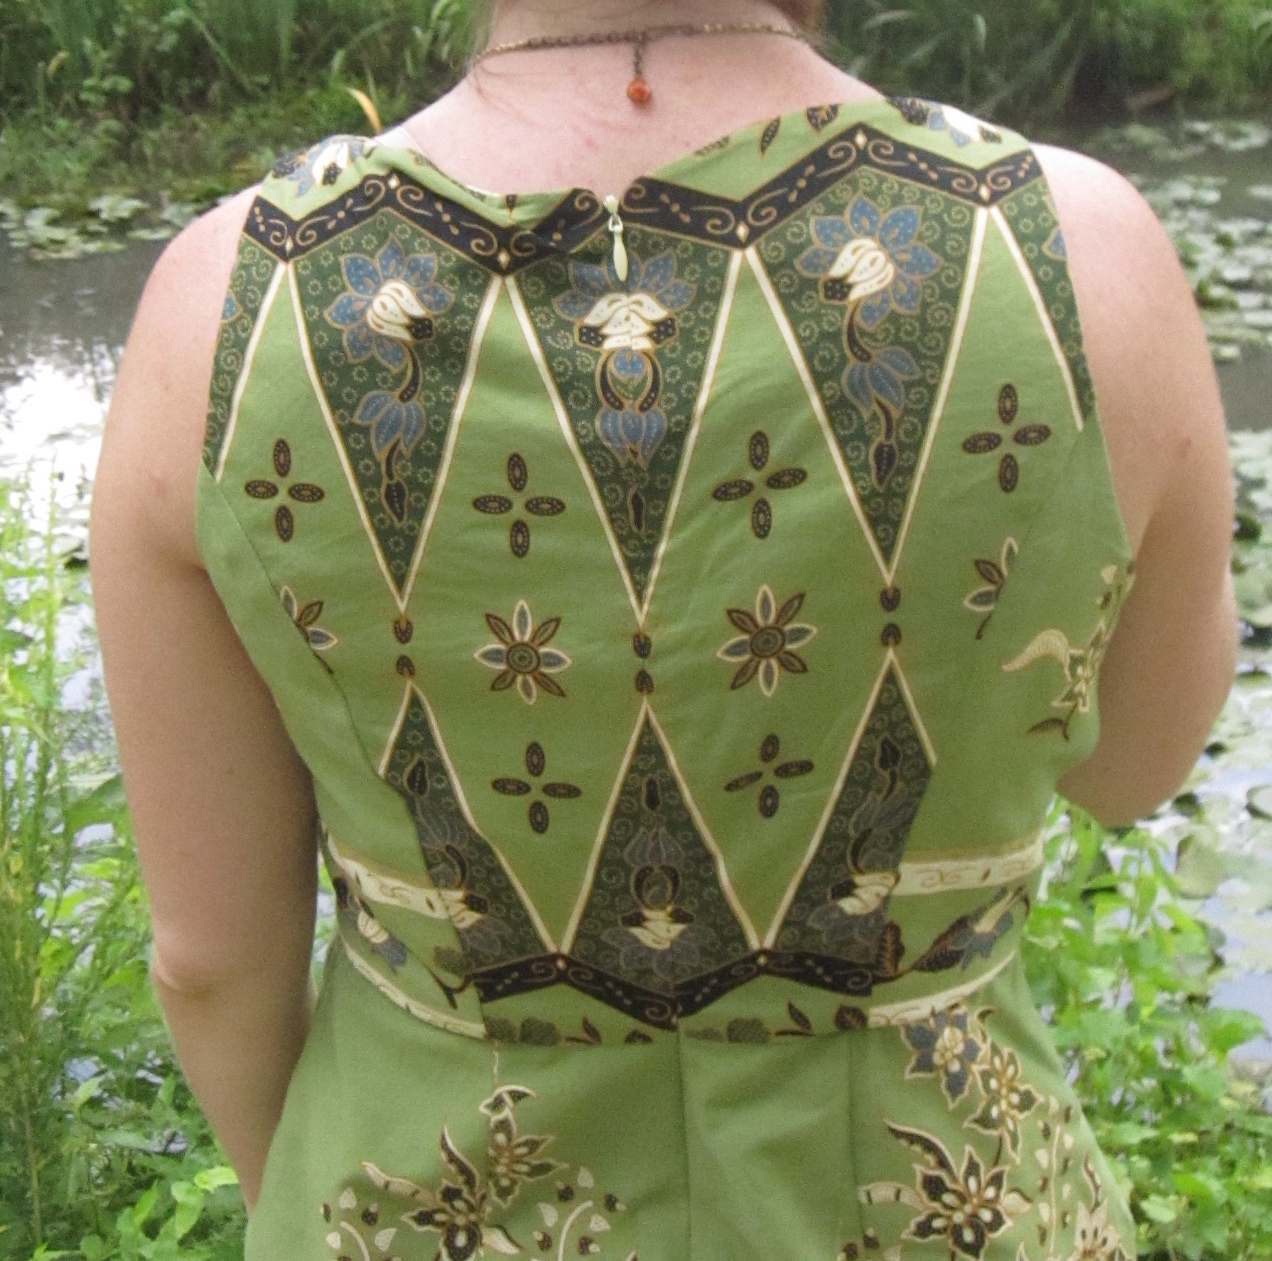
The center back bodice is perhaps the pinnacle of my sewing to date.  I took great care in cutting so that I could perfectly match up the motifs along the CB zipper.

Print Match at Center Back


As long as you pay no attention starting at the dark border on the bottom of the lower diamonds (why did this happen?), the back looks seamless, much less zipperless.  While I have done projects in plaids and stripes, I have never matched a print before.  So proud, y'all.

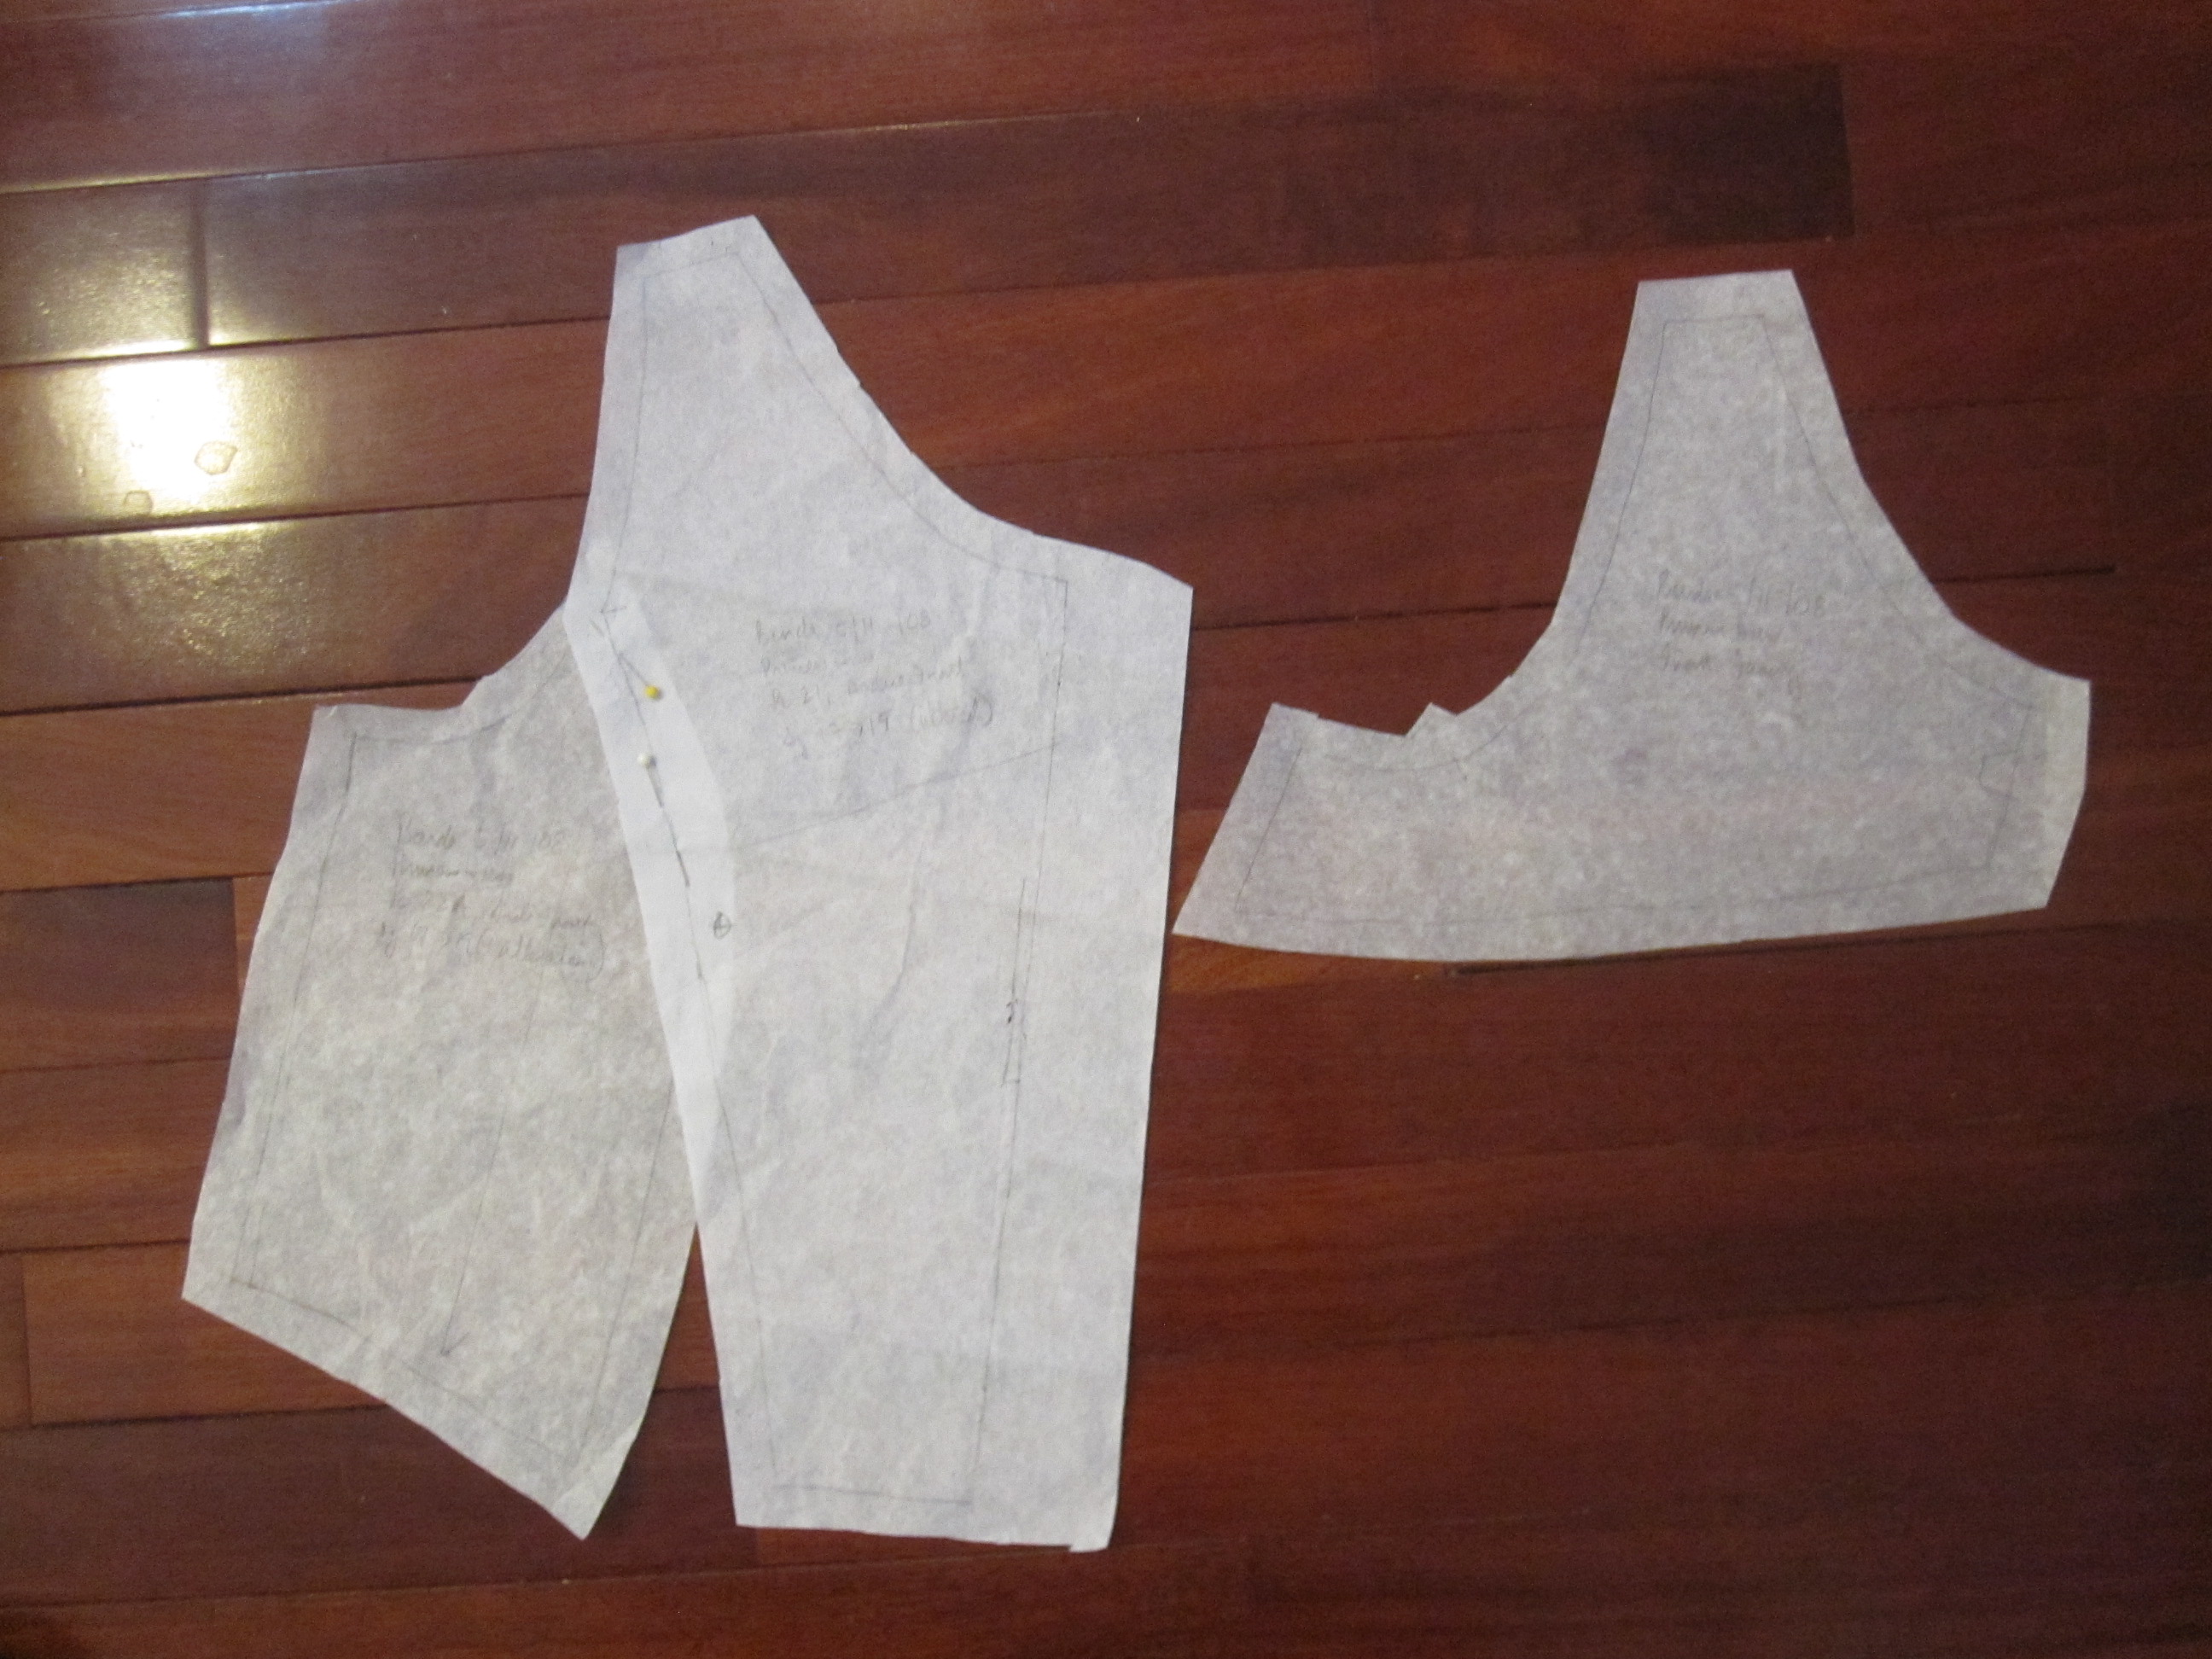
Facing Pattern


I didn't have enough fabric to fully self-line the bodice, so I used batiste for the lining.  I didn't want the white lining to peek out the neckline or armscyes so I did yet more drafting to create front and back facings without the princess panel seam.

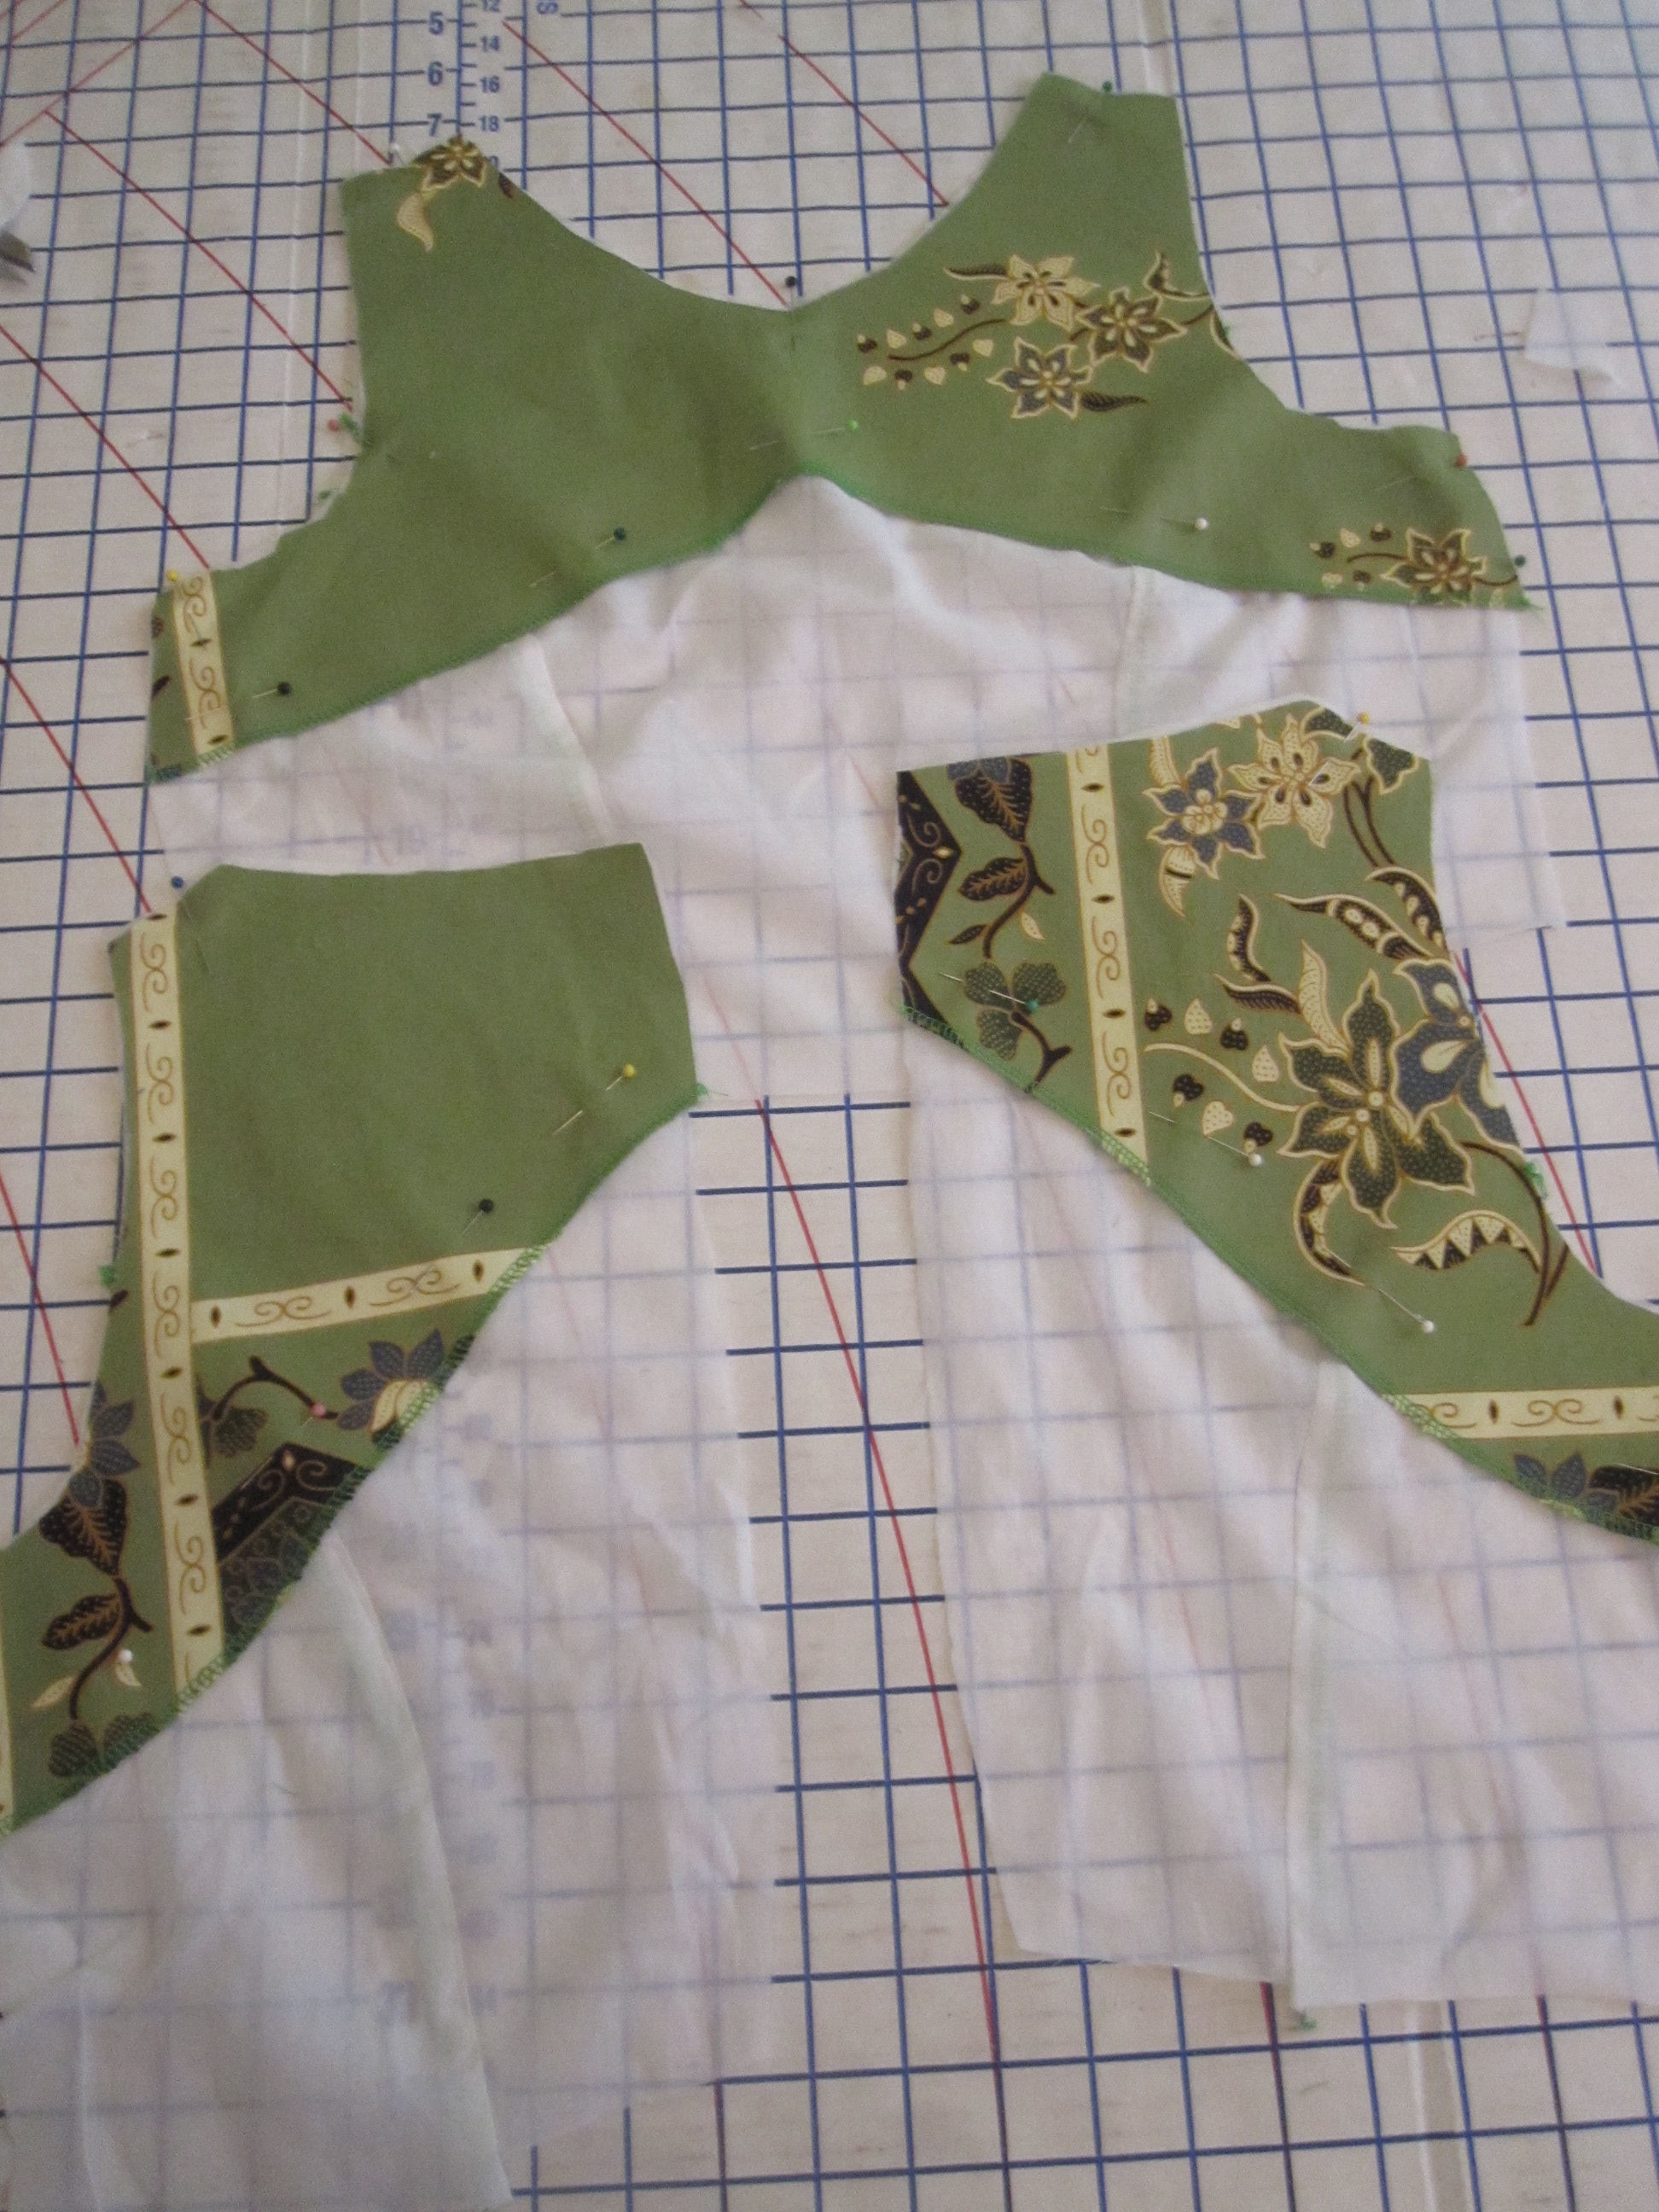
Facing Pinned to Lining


I found scraps of fabric to cut out the facings, interfaced them, serged the lower edges, and then carefully placed them on the lining and stitched in place at the lower edge using my walking foot.  This trouble was worth it to get a nice finish.

Luckily, the skirt part was easy!  I didn't want any seams to break up my print, so I made the panel as wide as I could and used the selvage as the hem edge.  I added darts in the back to align with the princess seams, and also put in darts to align with the side seam.  Then I did a large inverted pleat at center front with the remainder of the extra width.

Front

For a simple dress, this ended up being a ridiculous amount of work, especially given what I had planned in the first place!  When I first finished it I wasn't sure about the diamond shapes and wished I'd done a plain bodice and used the diamond panel in the skirt.  But the longer I wore it, the more I liked the exuberance of the bodice.  It seems like an appropriate way to use the fabric, where that panel would be the star.

This fabric is not, alas, my oldest piece in stash, but it was one that had been weighing on me to sew it up already.  So yay for that!  Only hundreds more pieces to go...

The photos were taken on a visit to the Kenilworth Aquatic Gardens in the DC area; you can read more about our visit here.  If you have access to a car and live around here, you really must visit!  It's gorgeous and free.

All photos are here and the pattern review is here.

====================

There are still a few more days to enter my swimsuit elastic giveaway if you haven't done so yet....

Friday, August 2, 2013

Belated Thank Yous, Stashoholism Confessional, and Q&A

Y'all.  I can no longer hide from my sins.

First, the sin of insufficient gratitude!  I have been blessed with an abundance of gifts and I have not properly thanked the givers.  Please forgive my terrible manners!!!

Gift from Melissa, 4-2013

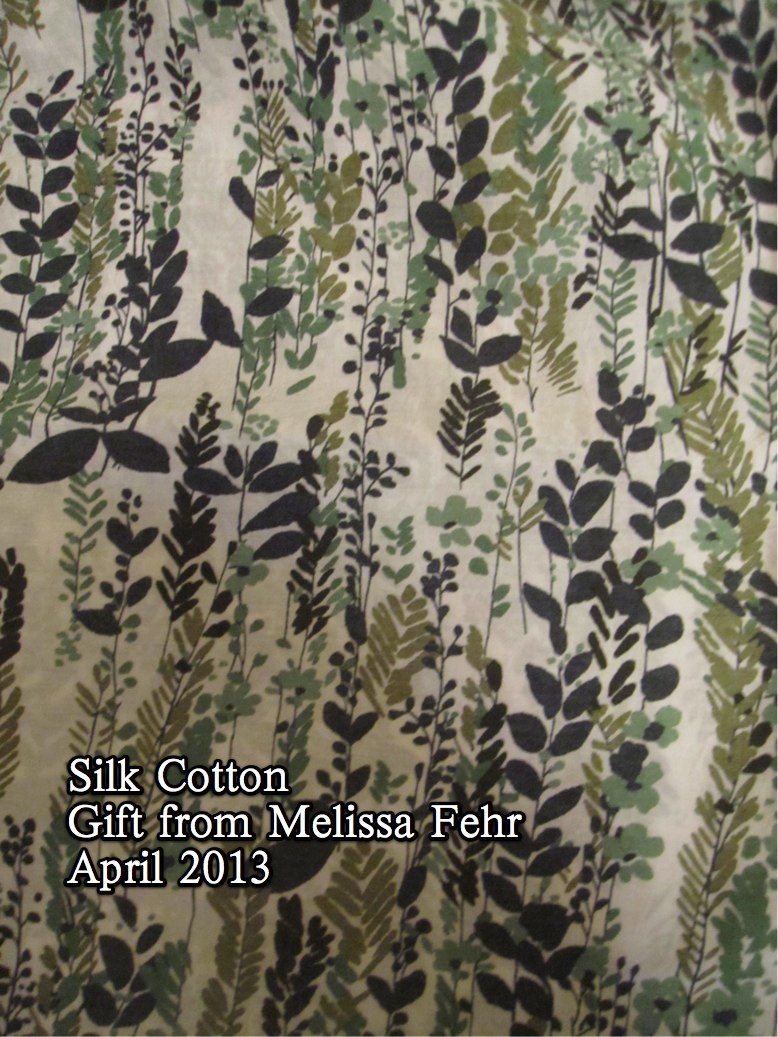
When Melissa came to Baltimore we met up for a fabulous dinner *and* she came bearing gifts.  How much do I love this silk cotton?  The colors and print are so incredibly me.


 I was thinking about for McCall 6507, but I don't know how the bias top will look with the directional print.   It could be too weird.  Any pattern ideas or suggestions?


Elastic July 2013

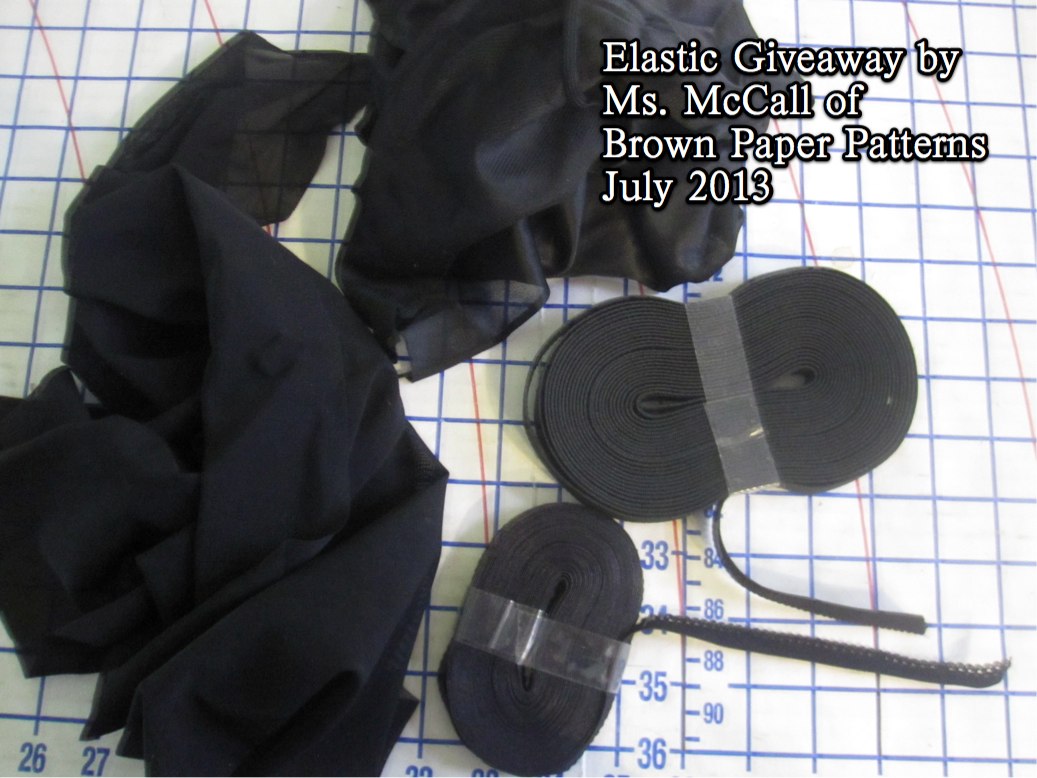
Ms. McCall of Brown Paper Patterns is doing some preeeetttty awesome lingerie sewing these days.  I fantasize about sewing a bra, yet do nothing about it (I do make all my knickers these days, if that counts for anything).  She picked up a big load of plush elastic and did a giveaway.  Well, not only did she send me plush elastic, but also some narrower picot elastic (and you know how much I love picot elastic for finish real clothes in addition to panties--you can see a closeup of the elastics here), and she threw some tricot and some powernet into the package.   So sweet!


From Diane 07-2013


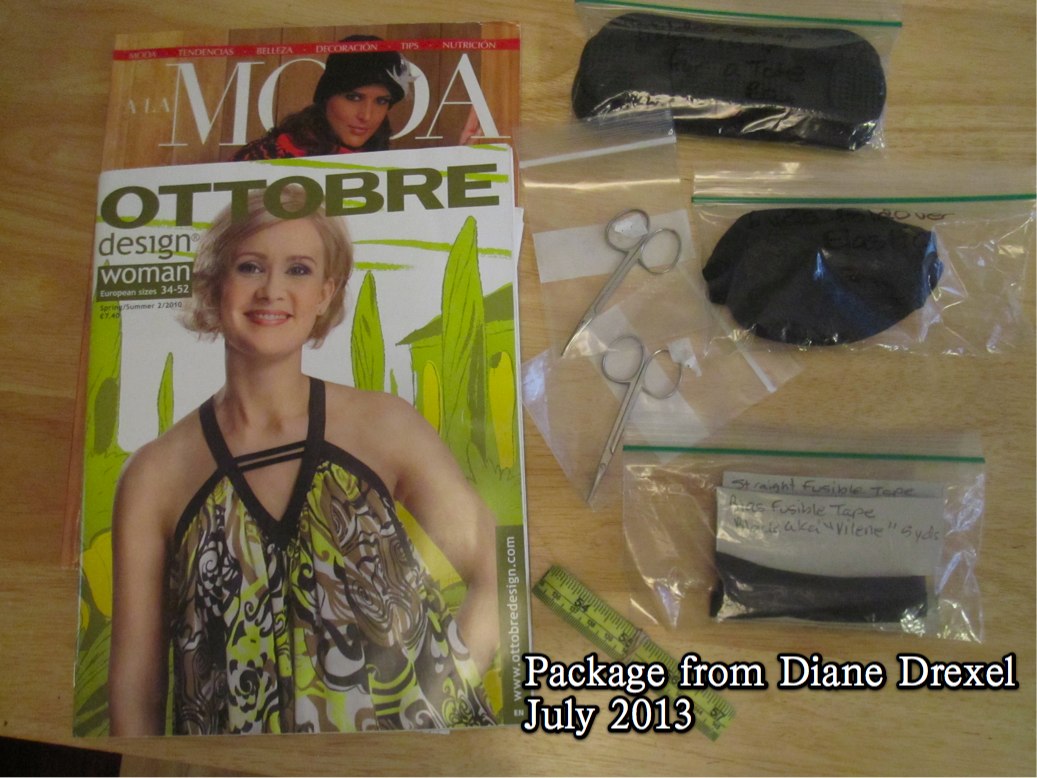
Finally, Diane Drexel sent me an awesome care package with *two* sewing magazines, two thread snips, a measuring tape (can never have enough of those), some shoulder padding thingies for bag straps, and some genuine Vilene bias strips!

A La Moda (Spanish Language Pattern Magazine)

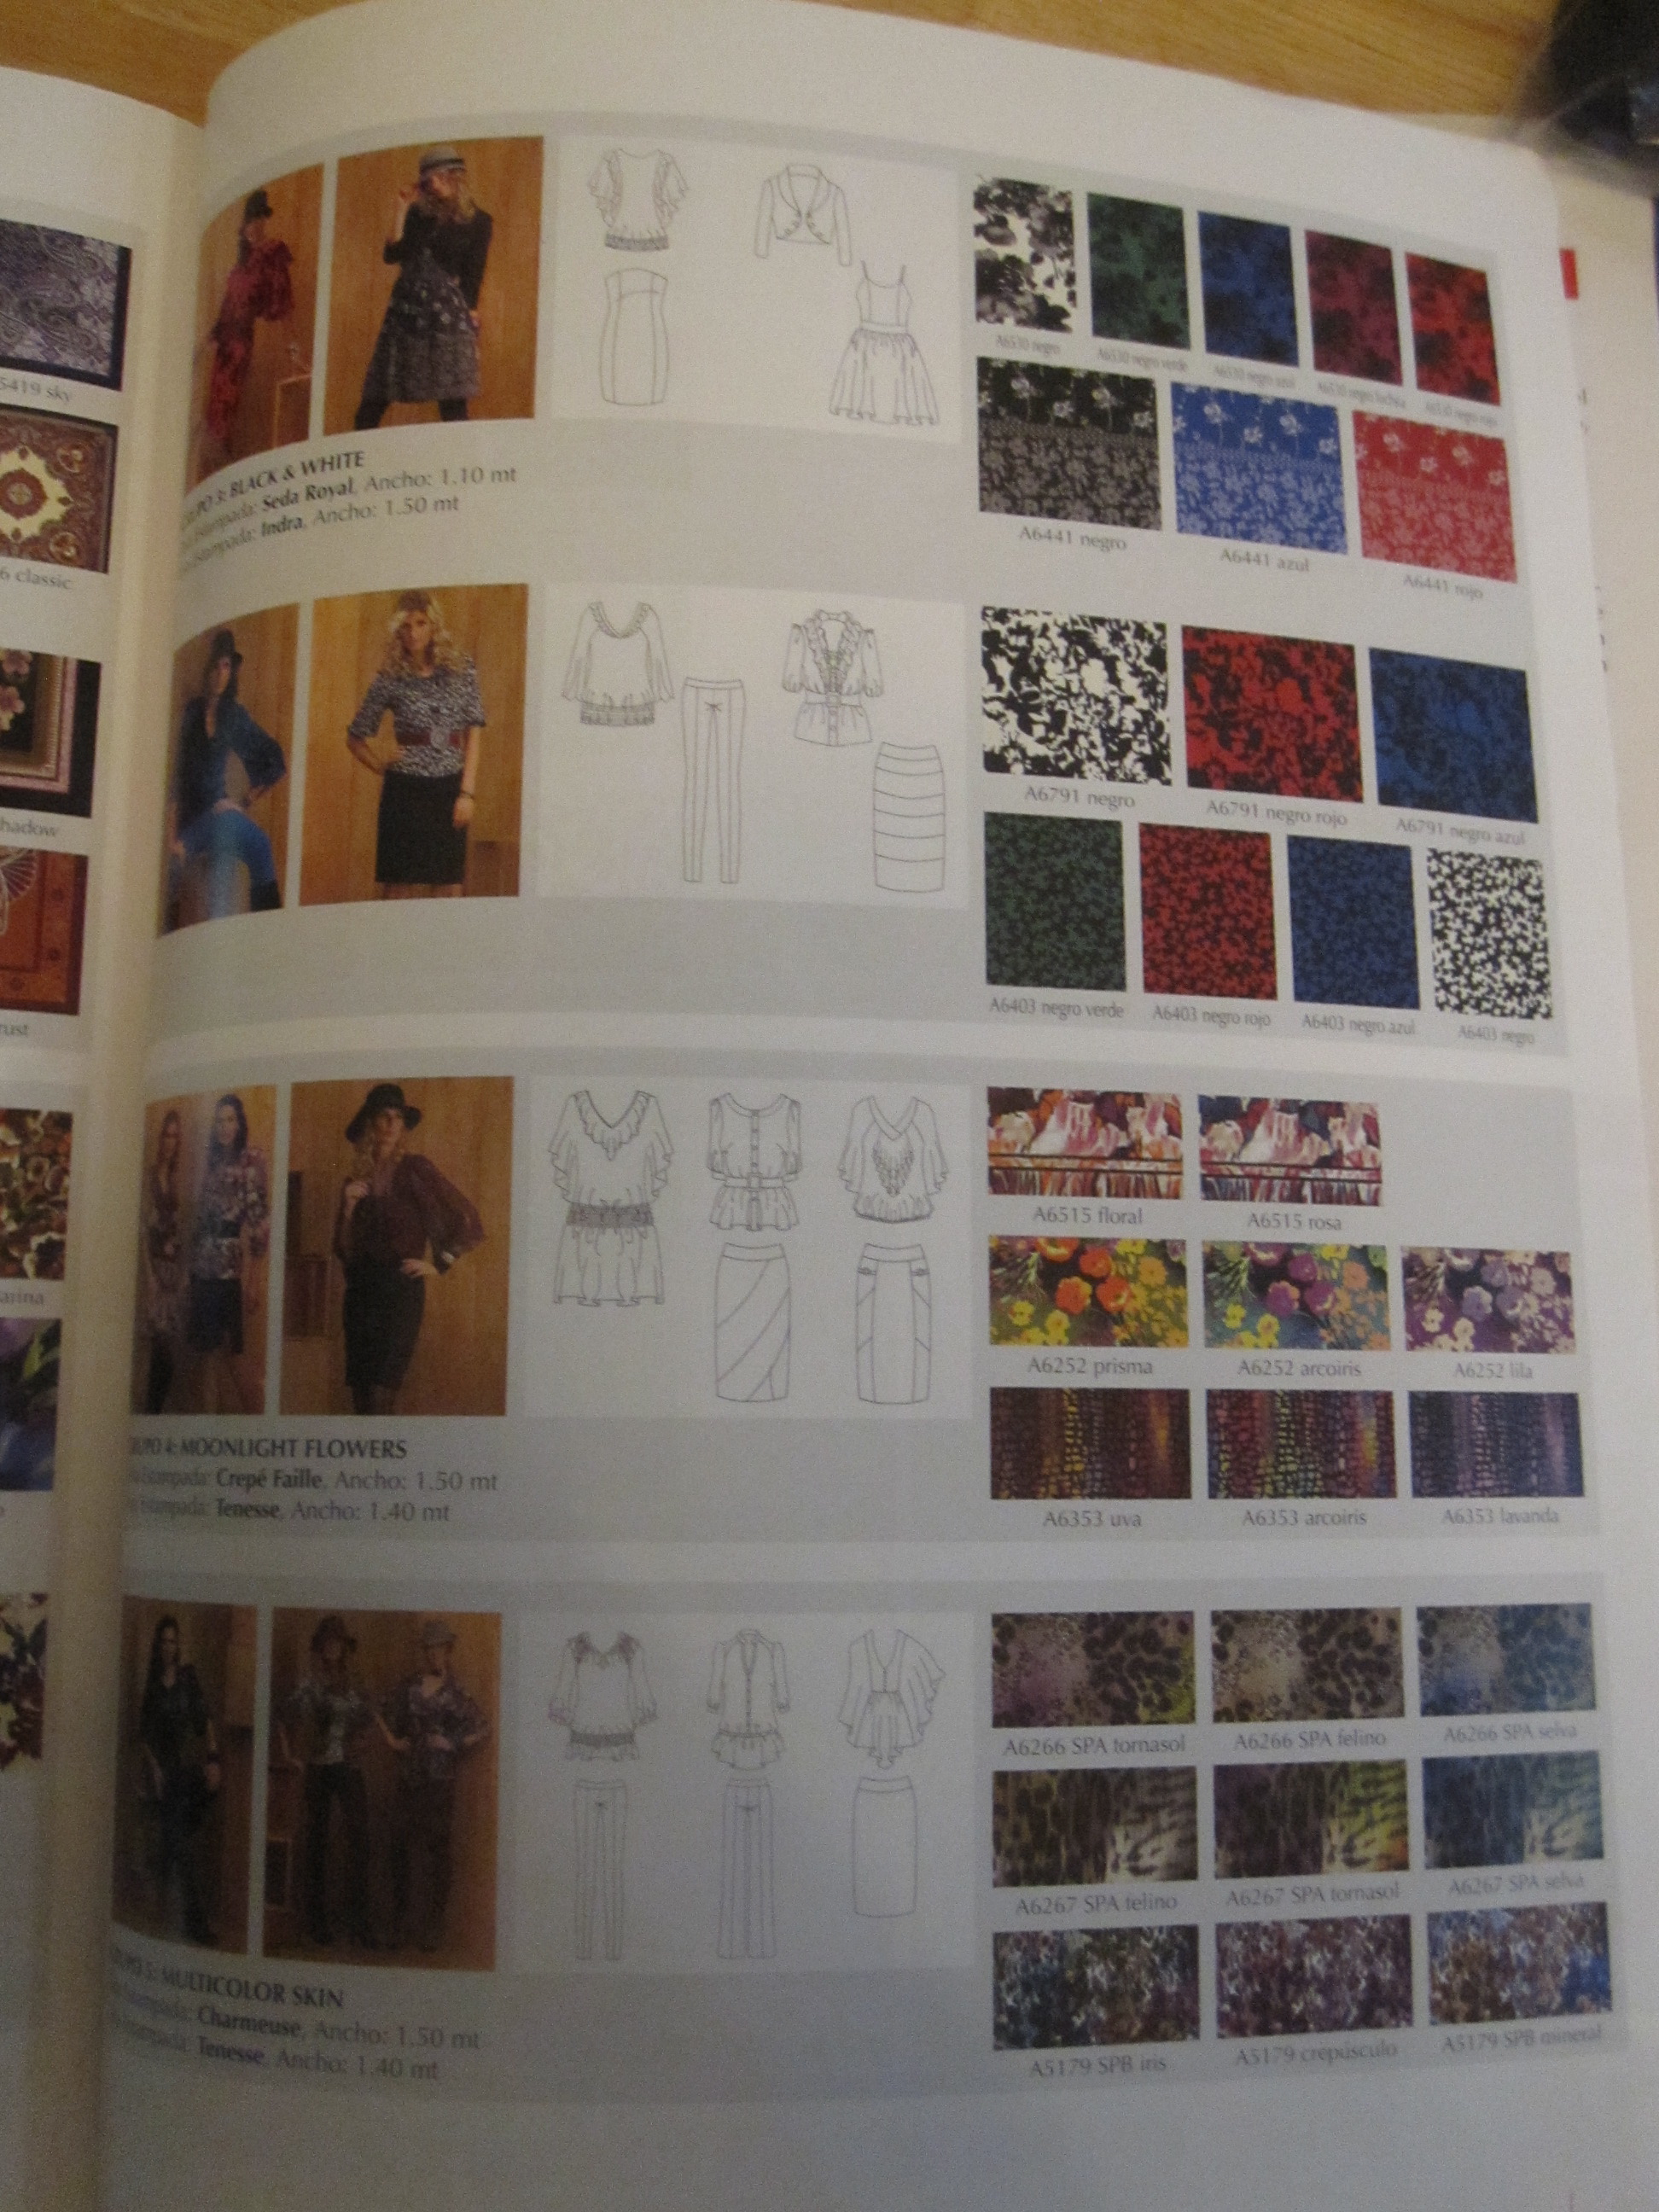
The magazines are an Ottobre Woman (yes!) and one called A La Mode, which is a Spanish language magazine.  It seems that it is pattern and fabric catalog, which is an interesting concept.  They show the garments made up and then give you a selection of fabrics that will work for them.  Like Marfy, it includes some of the patterns shown.  Very fun!


To pass along the love, I am doing a giveaway!  When I was making my striped retro bikini, I didn't have any swimwear elastic.  Not having time for the 2 hour round trip (by public transit) to G Street, I ordered some from Amazon.  They had small packages and a 100 yard roll, and by the time I put enough small packages in my cart for the swimsuit sewing I have planned the price difference to the roll was minuscule.  So I am the proud owner of 100 yards (well, less now!) of swimsuit elastic.

So that you do not have to order 100 yards of elastic, I am giving away TWO sets of 7 yards of 3/8" Stretch Rite natural colored swimsuit elastic.  As always, the only criterion for entry is that you have commented on my blog in the past 6 months.  I will ship internationally.  In your comment, please let me know you are entering.  If your username doesn't give me a way to contact you through your blog, please leave some sort of contact information (e.g., your email address in a non-scrapeable format, like "e x a m p l e at hot.mail"). 

====================

And then, there is the sin of gluttony.  I participated in the Stash Contest in June and July.  Fabrics had to have been purchased before the beginning of the year to be eligible, which isn't *that* much of a restriction but it is something.  I limited myself to eligible fabrics during those two months, and despite being at the beach for two weekends I managed to sew up over 17 yards of stashed fabric.

I could feel virtuous, if I hadn't decimated that number in purchases.  But, for the most part, they really were needed purchases.  Except for the Fabric Mart one.  Oops.  Also, this is all my purchases for the past 5 months.  That makes it not so bad, right?  (What makes it bad is that I keep wanting to buy a whole bunch of cotton voile for no real reason.)

Lycra4Sale 6-2013

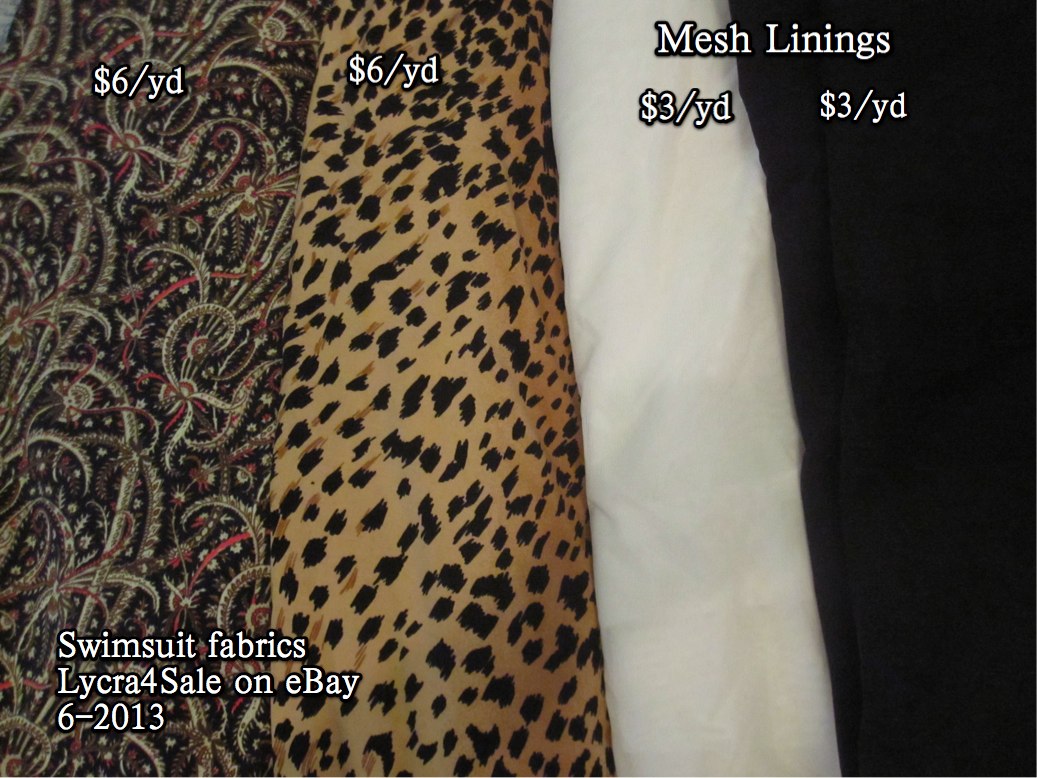
After making two swimsuits with unsuitable fabric, I decided it was okay to order some real swimsuit fabric.  These are from Lycra4Sale, an eBay seller.  The fabrics are listed in random lengths, but you can do custom orders of the lengths you want by sending a message.  The prices on the fabric are good; shipping is *not* a bargain.  I am not entirely sure how much I paid per yard, because my final invoice didn't break out the yardage and shipping cost.  I think I was charged about $20 in shipping.

The leopard print is for a Bombshell, and the Liberty-ish paisley-ish print is for another retro bikini.  The fabrics are thick and have great recovery.  Very good quality, especially for the price.  The mesh linings, which are like a lightweight powernet, are a great value.  I recommend the seller, just resign yourself to the shipping costs.


Martha Pullen 6-2013

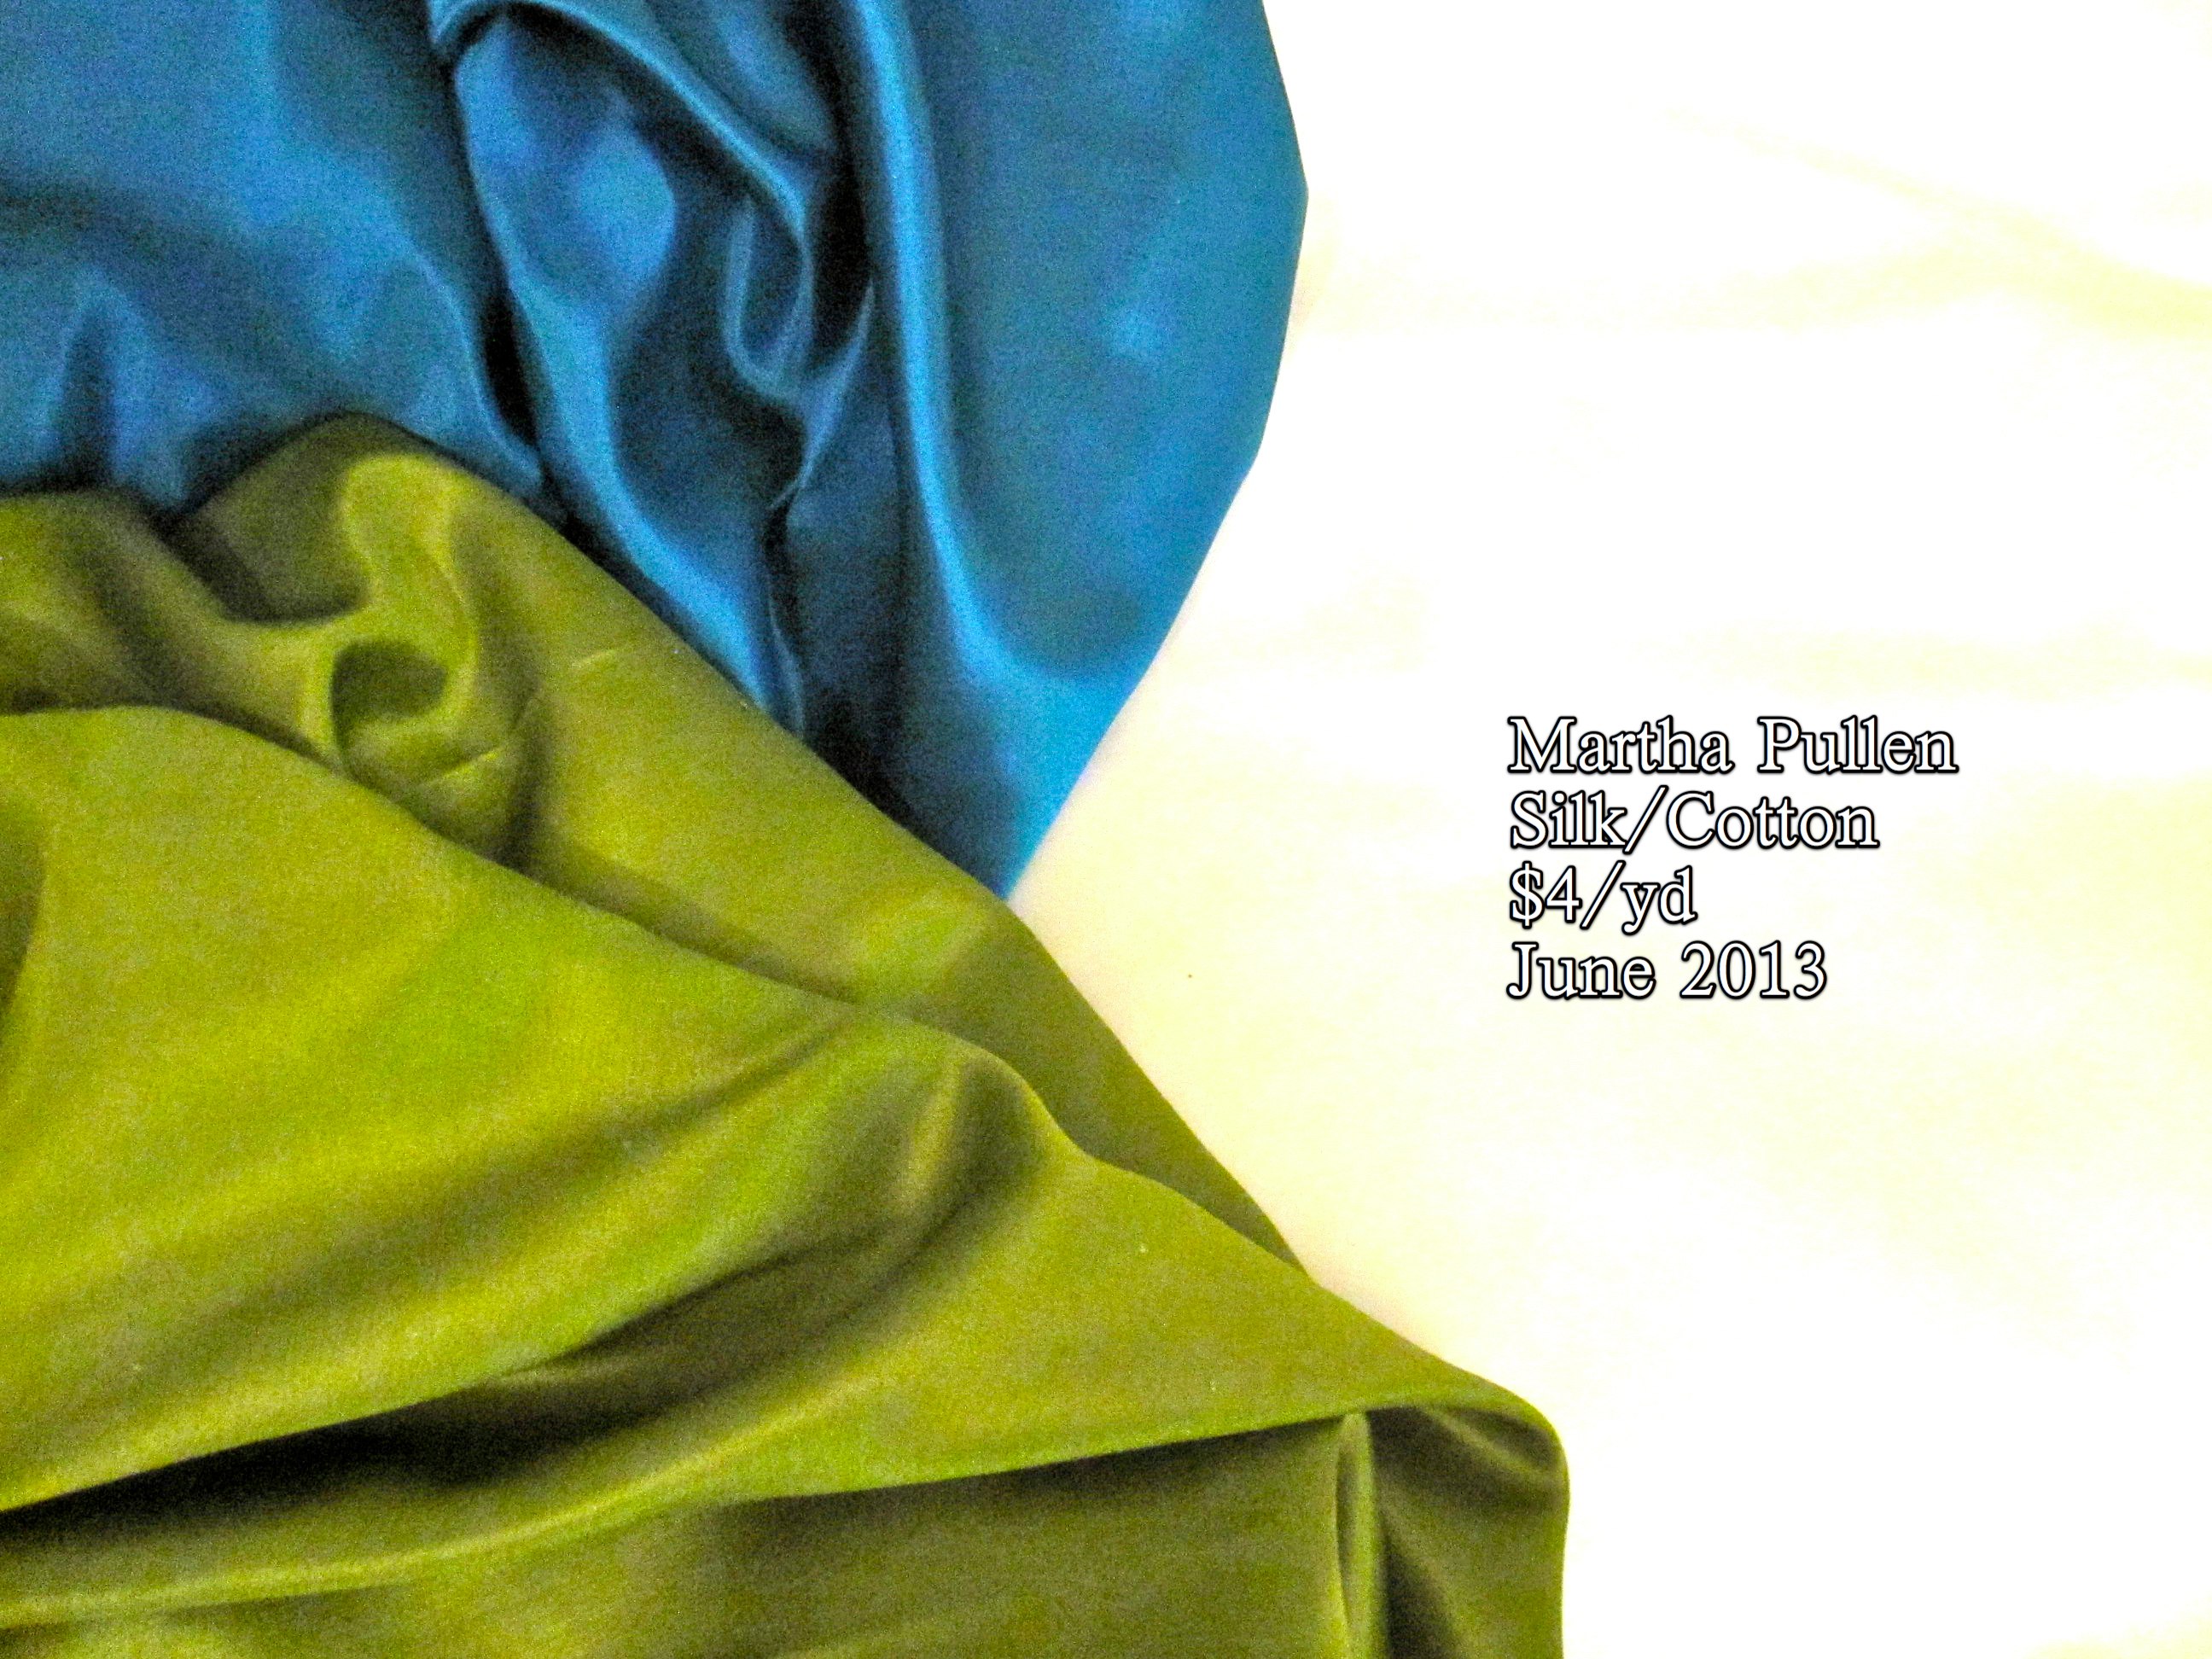
Martha Pullen had a crazy sale on silk/cotton, $4/yd!  I have been desperate for a nice light-colored slippery  lining fabric after using up the 10 yards of rayon satin I got from Fabric.com a couple years ago.  I do not care for Ambience/Bemberg.  I know others love it, but it is too stiff and rustley for my taste.  But silk/cotton?   Yes please!  I ordered 20 yards of the white, which should last me another couple years.  I couldn't help myself and indulged in turquoise and moss green as well.

Fabric Mart, July 2013

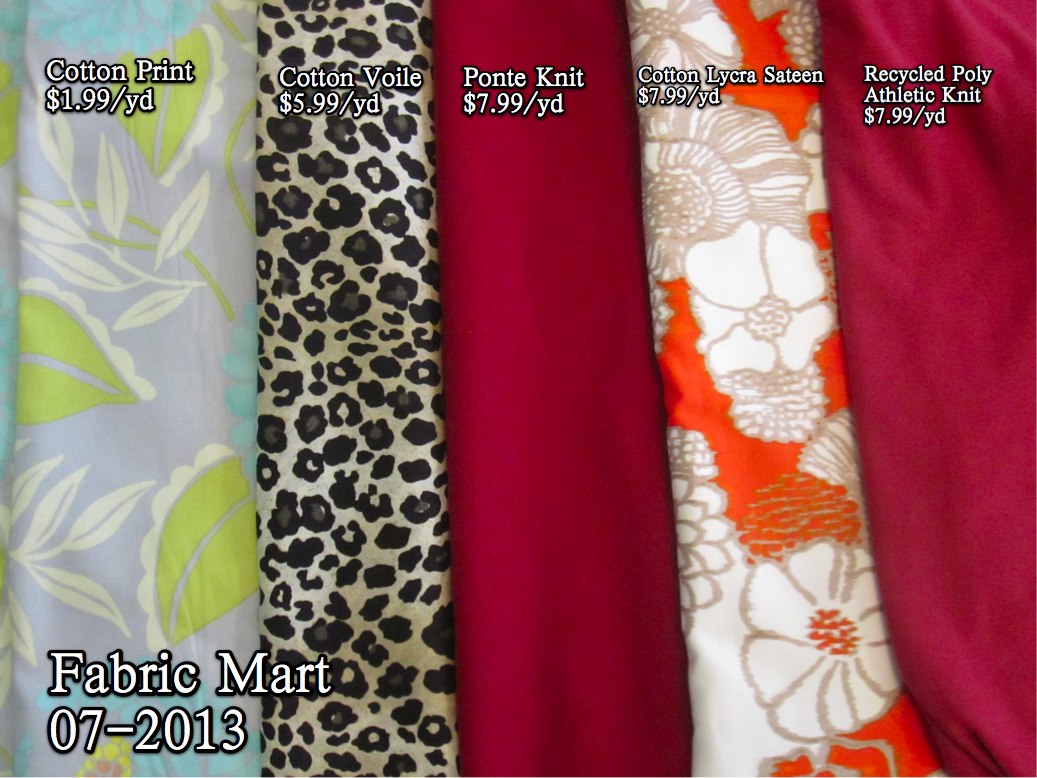
Fabric Mart.  I caved.  They had a discount code and a free bundle (although apparently the free bundle didn't actually start until the next day, but they sent me one anyway).  They had the adorable cotton print on the left on sale for $1.99/yd.  I bought 4 yards; it's supposed to be a quilting cotton but whatevs.   I will make some sort of vintage-y fabric hog out of it.  They had leopard voile for a nightie.  And they had that FABulous orange print in a sturdy cotton-lycra twill (about the same weight as a light denim) for a great sheath.

The red knits I'm less thrilled with.  Why is it IMPOSSIBLE to find red knit?  Just regular, American (or Canadian or British or French) flag true red.  My red ponte skirt is trashed at this point, so pilled that it is unwearable--this is the downside of ponte!  It desperately needs replacing.  Fabric Mart described the ponte as "crimson," which apparently means a dark, rich red.  At least it's a rich blue-red, but it won't coordinate with any of my tops that have a lot of true red in them (like this one or this one or this one.  True red dye obviously exists; why can't it be used for solids????).  The athletic knit is a fairly gross color.  It was described as "apple red," but it's more like a pallid maroon.  I don't even like maroon that much in the first place as a solid, but this one is worse than usual.  Blah.  I'm going to try some iDye Poly on it in red eventually.

Fabric Mart Free Bundle 07-2013

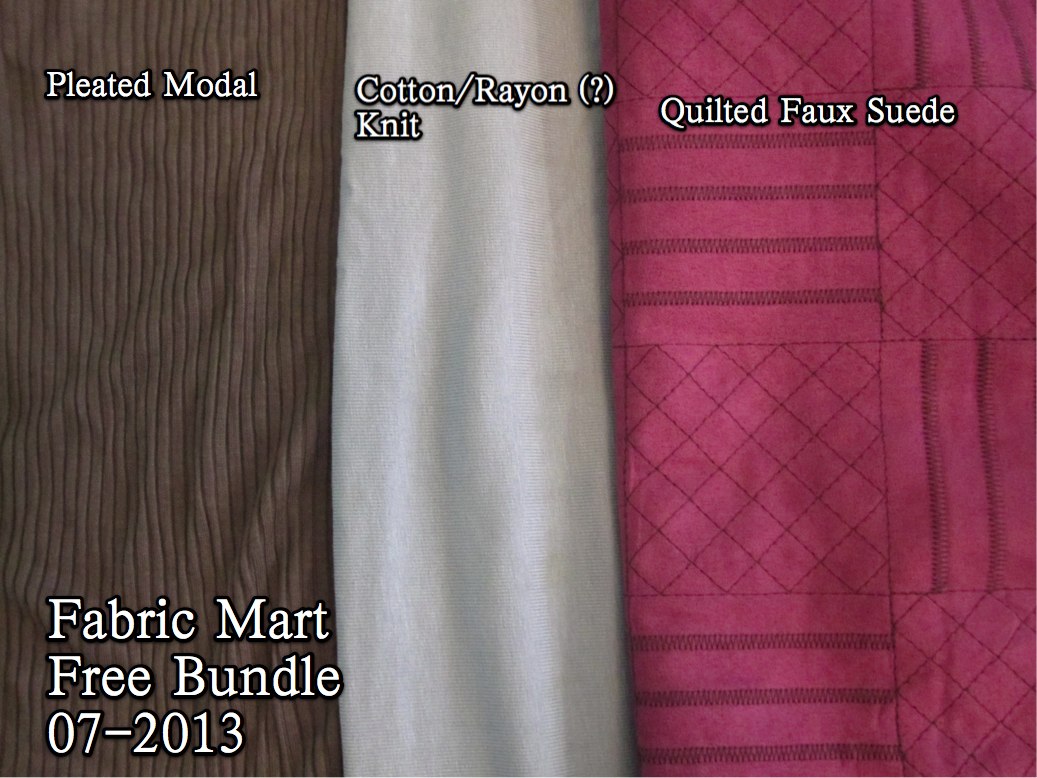
My free bundle wasn't bad.  The modal at first looked gray (yes!) but really it is a brown, which I don't wear, but it looks ok with black and it will make a really lovely lightweight cardigan.  Might end up dyeing that as well.  The knit in the middle is a pale blue and appears to be a mix of cotton and rayon; is that such a thing?  It will also be dyed a deeper blue and will make a nice nightgown.  The purple quilted faux suede is SO not my thing, but then I realized that I bet my mom will like it.  I plan to make her a tote bag.

G Street 7-2013

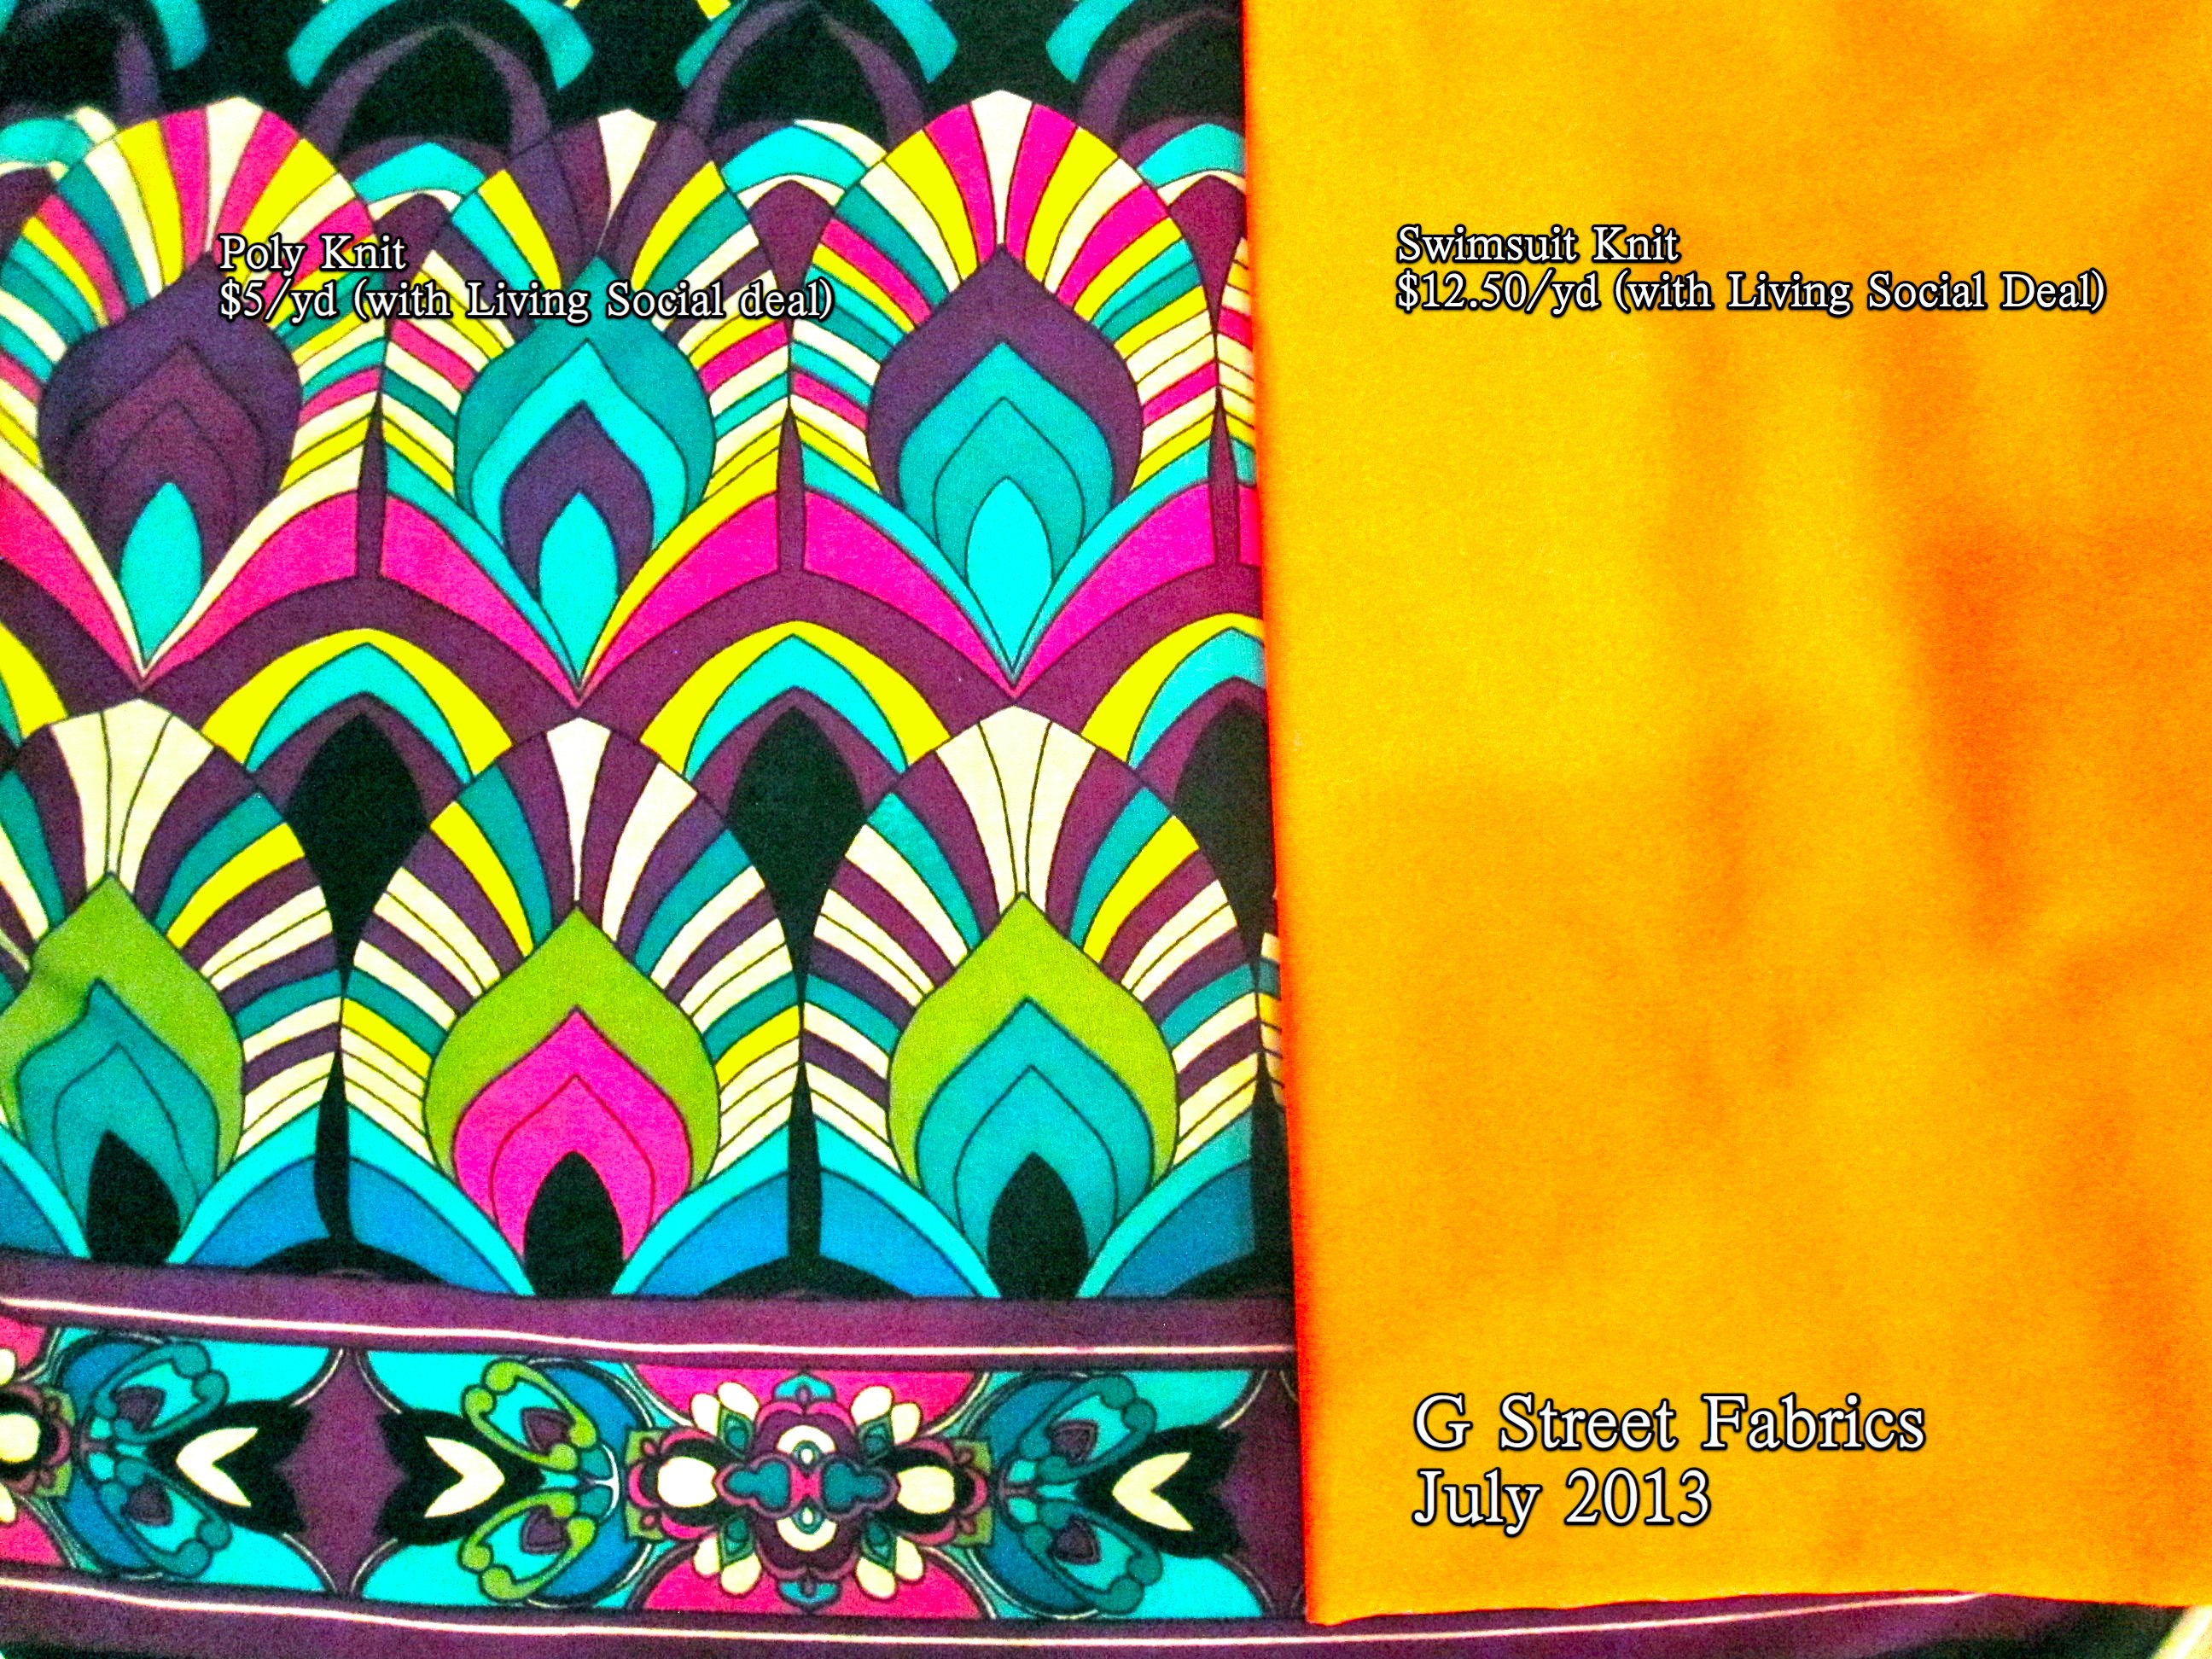
Technically, these G Street purchases aren't needed purchases either, except that I bought a Living Social deal, where you pay $25 for a $50 credit at the store and the deal was expiring.  I couldn't just leave money on the table, now could I?  The knit print is because I am a sucker for anything vaguely peacock.  The fabric that's not part of the border print is huge abstract shapes in turquoise (my color!) and purple.  The orange is to accent the Liberty-ish swimsuit print from Lycra4Sale.  Piping in a lycra fabric will be a challenge, but I think it will add a lot to the look.

Athletic Fabric 05-2013

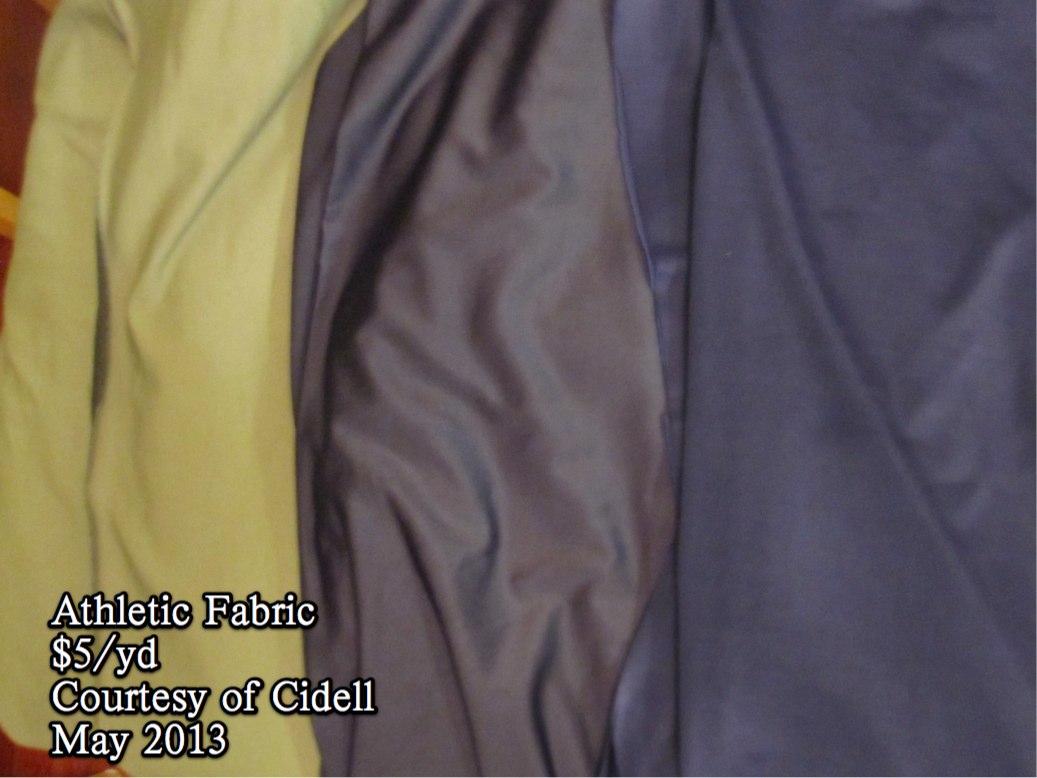
Last but not least.  Cidell picked up some more Under Armour fabrics for me at her secret source in Baltimore.  Awesome!  The photo is terrible, but it's heat gear in black and in navy, and cold gear in a sage.  These are such great fabrics.  I've used the navy to make a pair of shorts to go under my skirts when I bike and it is a thousand times cooler than padded bike shorts; I don't need the padding for my short commute and was just wearing them for convenience.  Seriously, it made a huge difference in my comfort.


====================

And a couple Q&As:

Judith Stansky asked on my Vogue 8631 post whether the kimono sleeves could be raised by scooping through the underarm.  Yes, this can definitely be done and was my plan if I didn't like the sleeves.  Just transfer the underam curve as drafted to a little higher up.


Susan asked on my Schmetz Needle post:

"Just wondering - my fabric shop can't seem to tell me the difference between a stretch needle and a ballpoint one (and the one marked jersey). It would be interesting to hear why you prefer one over the other for different kinds of fabrics, one of these days, if you have time!"

My answer is not scientific, it is just anecdotal based on my experience:  I have found that on some slippery knits, the very smooth and slightly shiny polyester ones, stretch needles are the ONLY ones that will leave a stitch.  All other needles, including ballpoint, will pick up maybe one stitch in five.  I have never encountered any downside to using a stretch needle instead of a ballpoint, except that they are harder to find, so I find it easier to use stretch needles most of the time.

That said, my anecdata appears to be based in fact, as the Schmetz Needle Guide says of a stretch needle, that it has a "medium ball point, specially designed eye and scarf prevent skipped stitches."  Schmetz has an abundance of information about needles on their website, including a downloadable PDF of the Needle Guide.