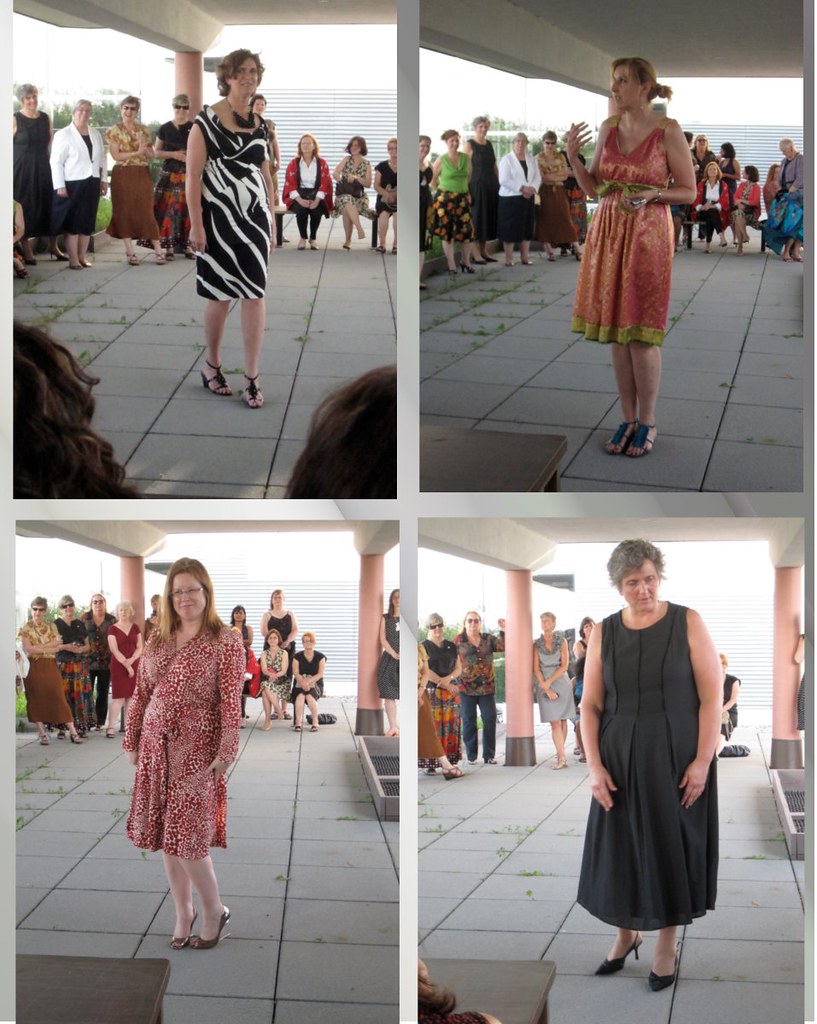
I was afraid that I wouldn't have time to do any sewing before PR Weekend Montreal, and would be forced to wear something that had already been seen to the cocktail party. Horror! However, I had a burst of sewing time and energy the weekend before leaving (I flew out on Monday) and managed to turn out not only this dress but another dress *and* a top. Phew! I was quite worn out by the end.
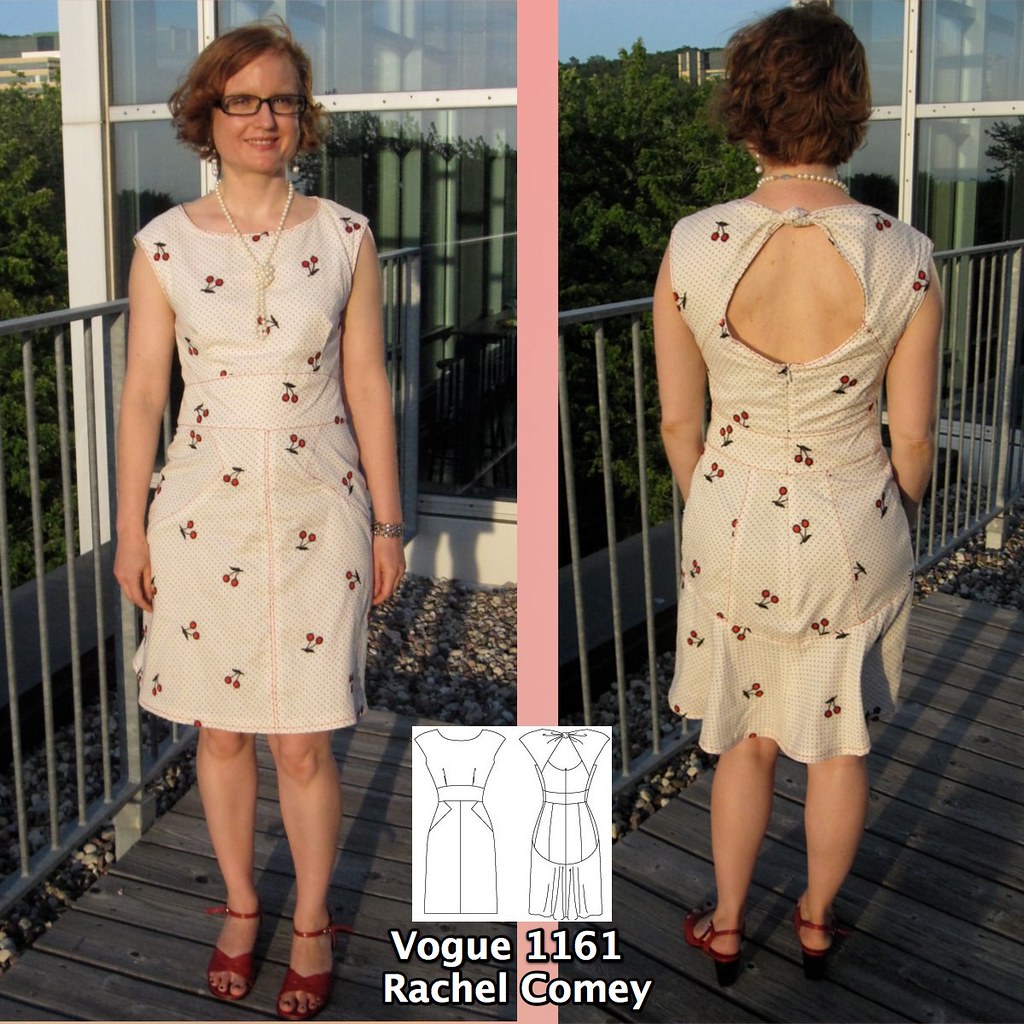
 I have been without access to a car (and Joann pattern sales) for over 6 months now, and I had been itching for some new patterns. I went to Dallas for work and rented a car and managed to find a Joann near the conference where I was speaking and snuck over to hit the Joann sale before heading to the airport. Vogue 1161, this Rachel Comey, was my top pick of the patterns I picked up. I don't really dig the original in animal print, as shown on the pattern envelope and on the runway. I am not really drawn to animal print in the first place and the busy print hides the great design lines. And the design lines are fantastic! Love the demure front bodice with open back, separate midriff, and the seaming on the skirt with the flat front and slightly flared back. Such interesting design! I kind of wanted to call it the "Mullet Dress" because it is business in the front and party in the back, but it doesn't *quite* capture the elegance of this piece.
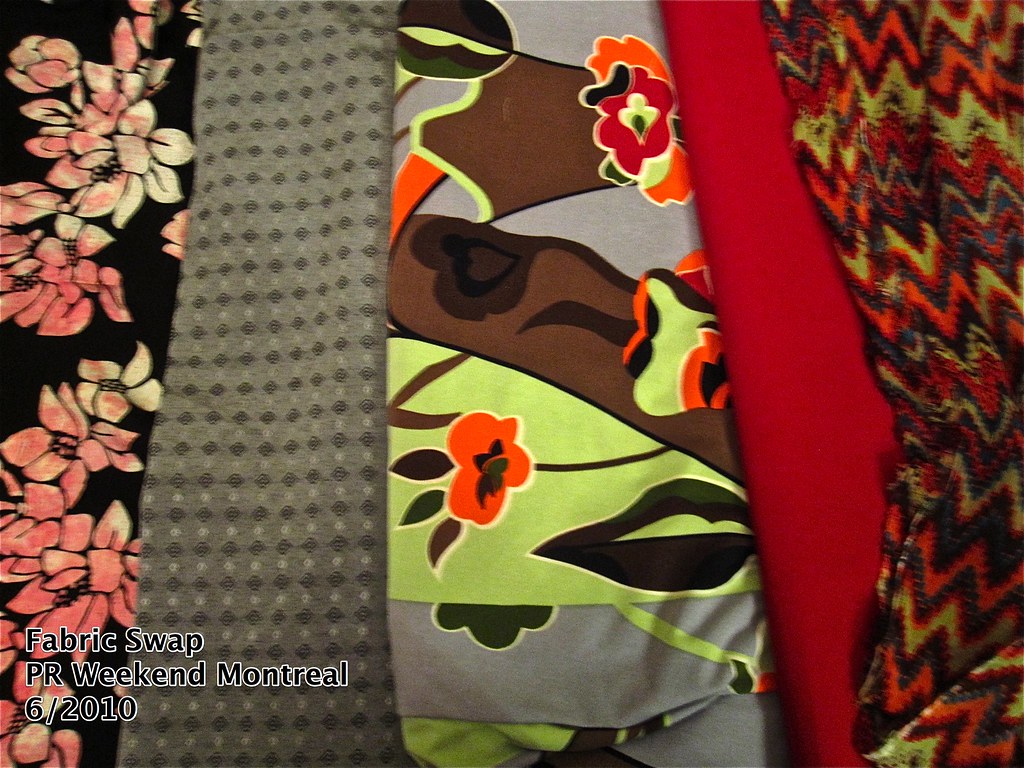
 Although I think the pattern is probably best in a slinky, drapey, silky fabric, my $3/yd cherry-embroidered cotton voile from London Textiles at PR Weekend Philly was such a perfect print for the dress that I had to give it a shot.
I was making this in a hurry so I didn't take any in-process photos. To prep the pattern I:
-narrowed the front pleat for an SBA. While the directions have you just fold over the pleats at the seamline, I stitched the pleat up to right under the bust. I find it just looks like saggy boobs if I don't.
-added an inch to the hem in cutting, as it looked a bit short and I wanted the option of longer if I preferred. I ended up taking about 3/4 of that inch off in hemming.
-added width wherever possible in the skirt pieces to increase the hip size, as the envelope had 6-8-10-12 and my hip really prefers a 14. I added at center front (also to accommodate belly), center back, side, and the CB/side back seams for a total of probably 2 inches (which is larger than a 14, I'm sure). The dress is comfortable and not unduly large, so I think it is drafted to be quite snug. Again, this would probably work better in a silky fabric that would skim rather than cling, but frankly I'd be uncomfortable about it.
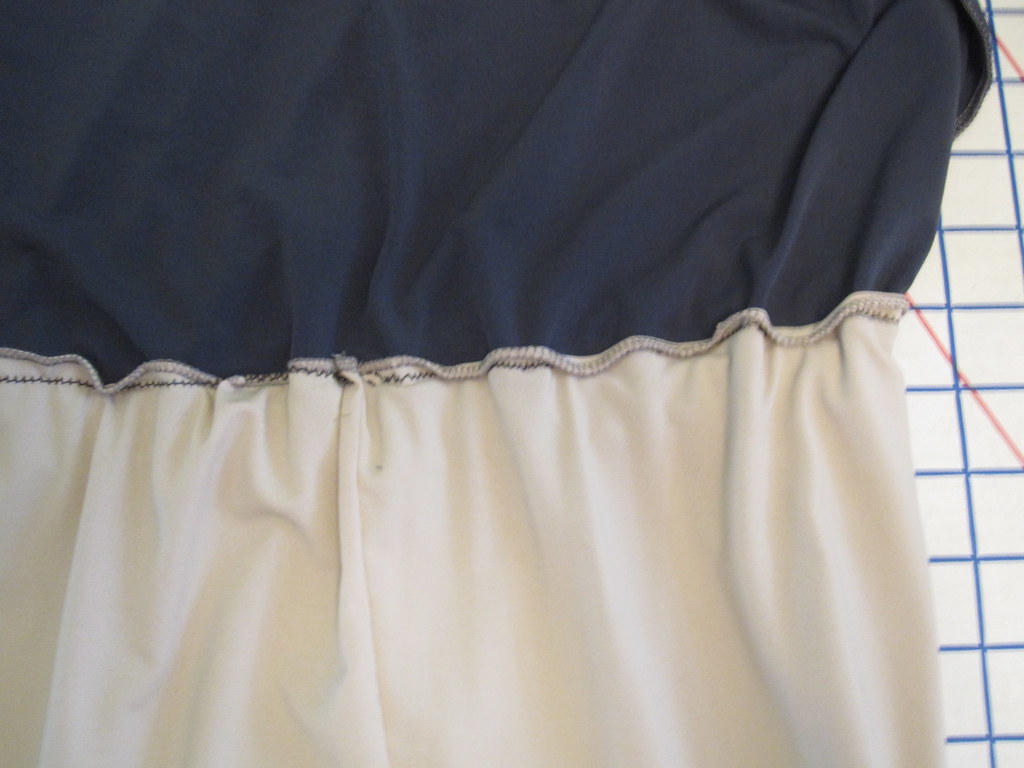
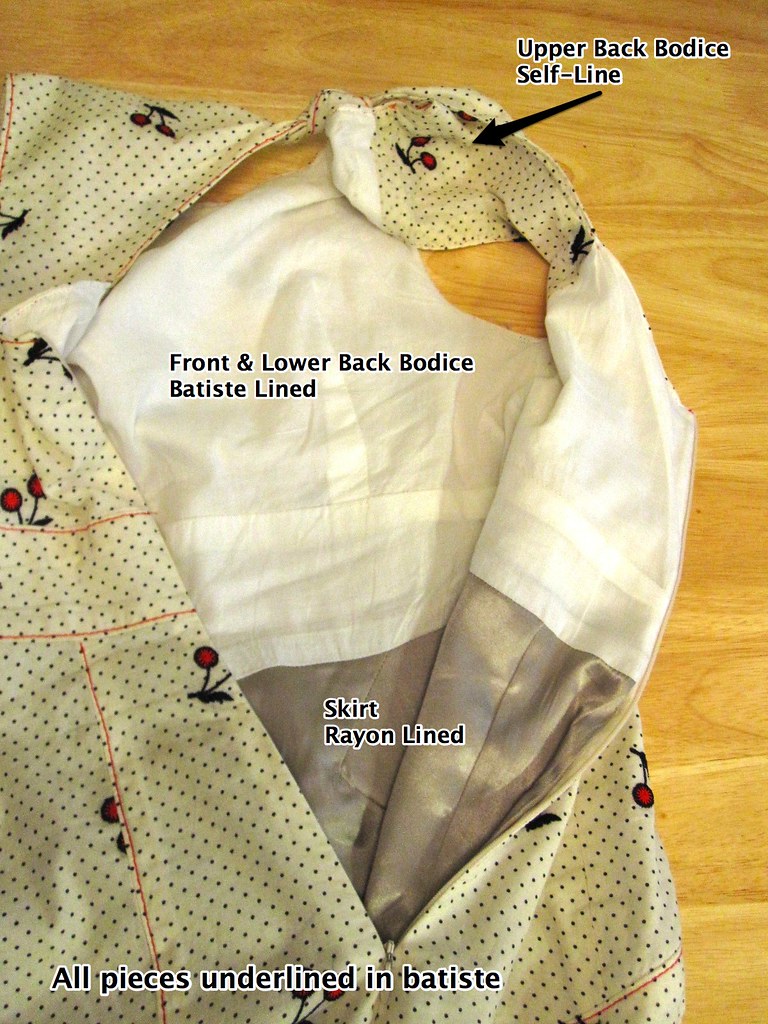 My voile was quite sheer so I underlined each piece in cotton batiste. I was hoping to get away with not underlining the skirt, but as I used a gray slippery rayon lining for the skirt the color change was too much without the underlining.
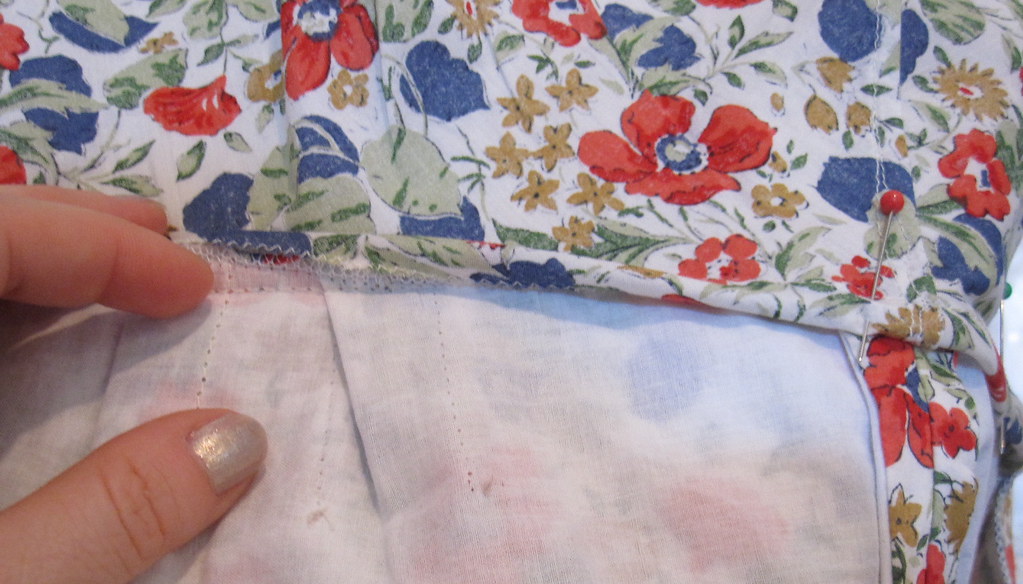
 I lined the front and lower back bodice in cotton batiste, but used a self-lining in the upper back. I was concerned that when I tied the knot the white batiste might flash through. I didn't experiment to see if that would actually happen, but I think self-lining was definitely the way to go with the upper back.
I lined the skirt in a slippery rayon from the Vera Wang collection on Fabric.com so that it would drape nicely. I think it would have been nicer to have a plain skirt front and back for lining, rather than repeating the bulk of the seams with the lining, but with my limited time I was not up to figuring out how to put the tissue pieces together to create a single piece. Well, even with all the time in the world I'm sure I wouldn't have done a great job. As it is, my lining doesn't add too much bulk and with the extra room in the hips there is plenty of space for all those seams.
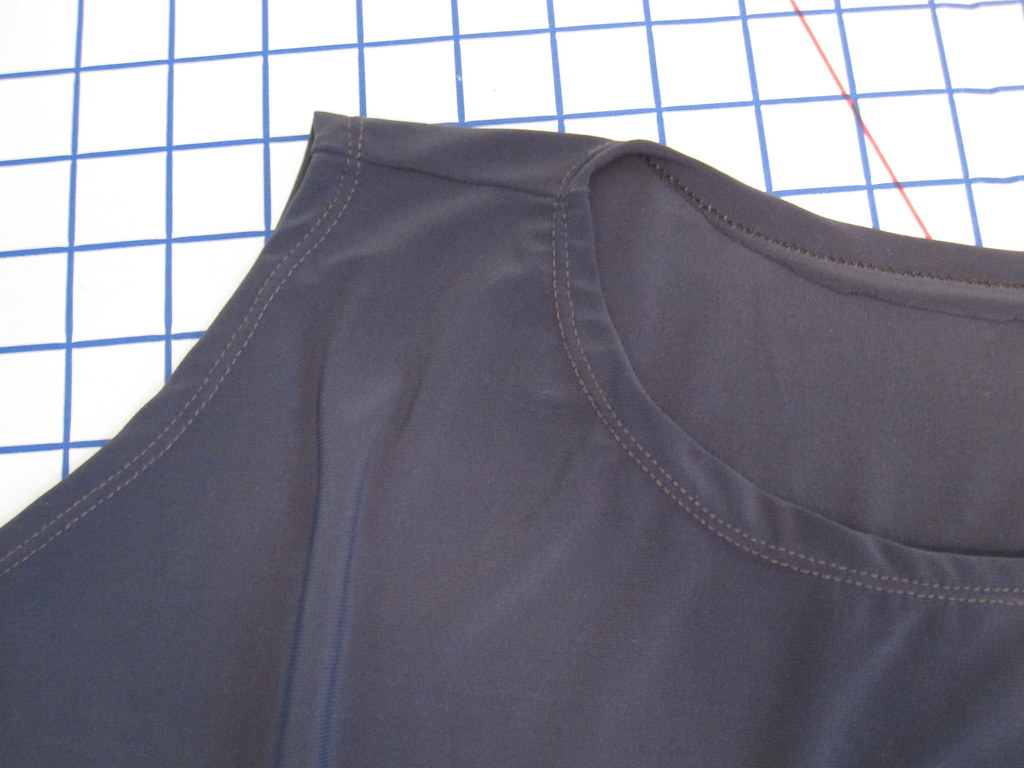
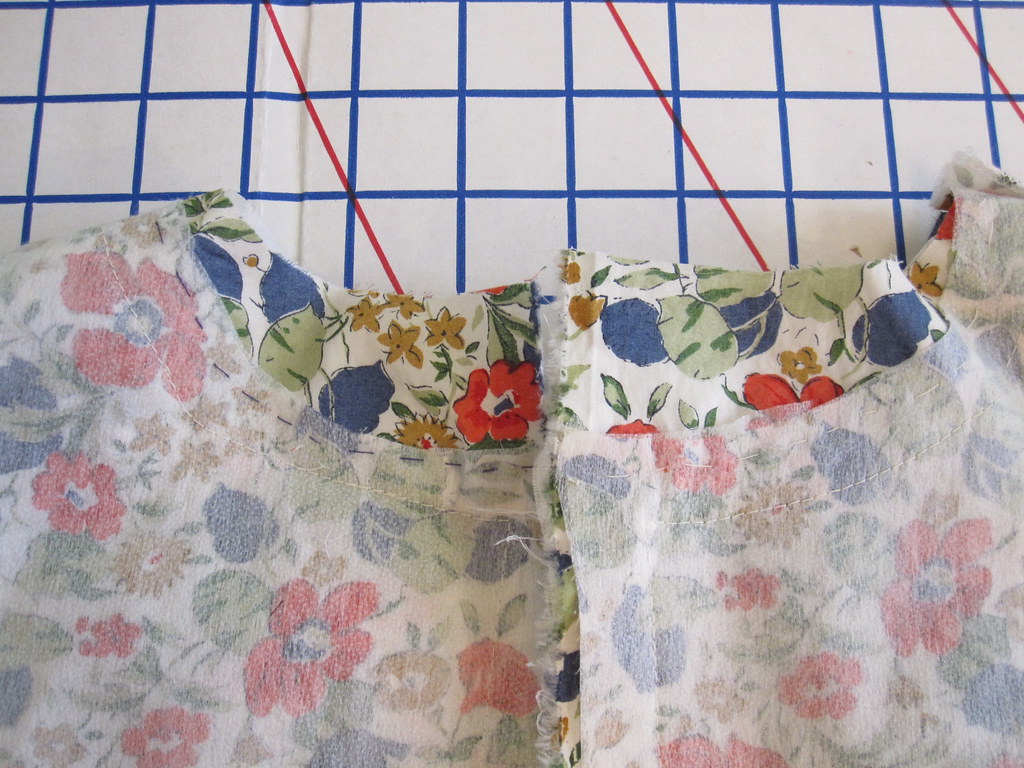
 I topstitched most of the seams--no way was I going to all the trouble of putting together all those millions of pieces and having it hidden by the print! This is what mystifies me about the original--all that design thought and detail and it doesn't show at all. Some of it affects the hang of the garment and the way it moves, such as the flare in the lower back of the skirt, but the princess seaming of the upper back skirt and the triangular inset of the upper front skirt are mostly decorative (darts are rotated into them, but darts are easier to draft and sew than piecing).
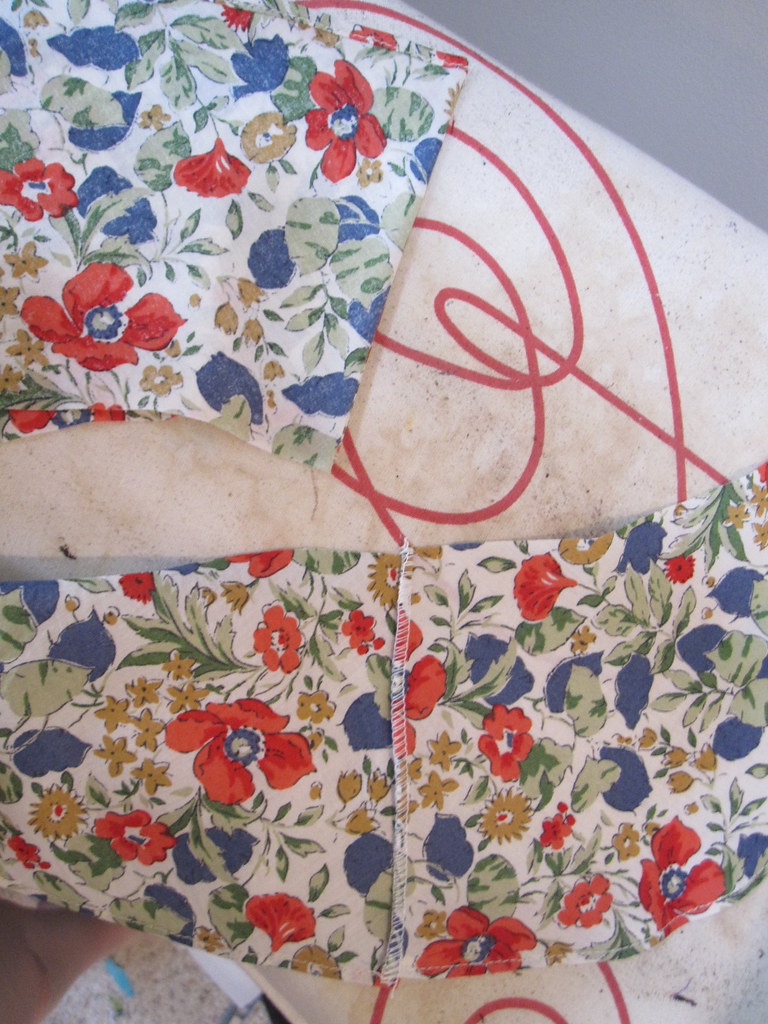
 I used two threads of regular sewing thread in the needle; I think I should have increased the tension because some of the stitches are looping out a little. I was undecided how to treat the center front skirt seam because I didn't do a double row anywhere else, but I think the double row works. After I finished all the topstitching I realized that the triangle points of the front skirt insets are not parallel! The one on the right is nearly an entire inch lower. Man. If that doesn't convince you I am a slapdash sewist I don't know what will. Except maybe that when I realized this I didn't even consider unpicking the skirt, I just ripped out the topstitching and fudged both sides so that the topstitching makes it appear that the points are approximately parallel.

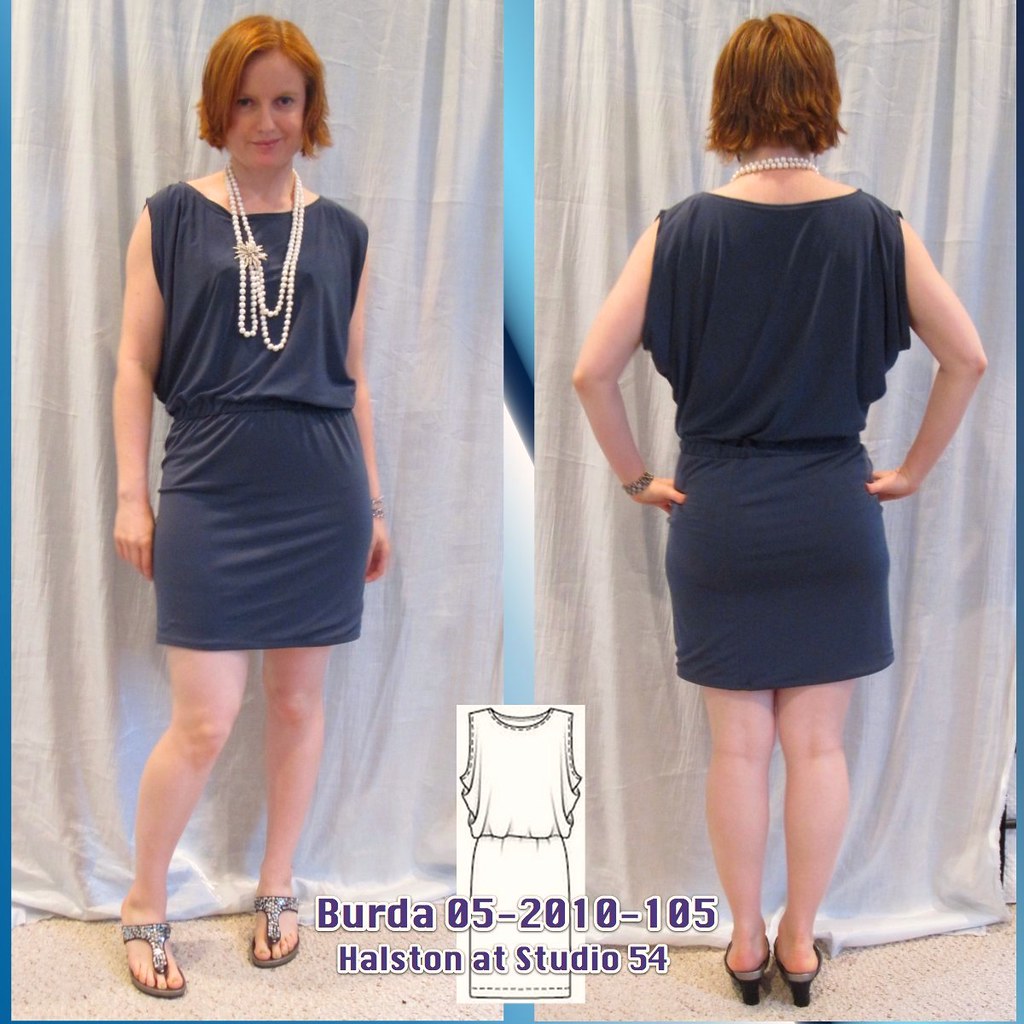
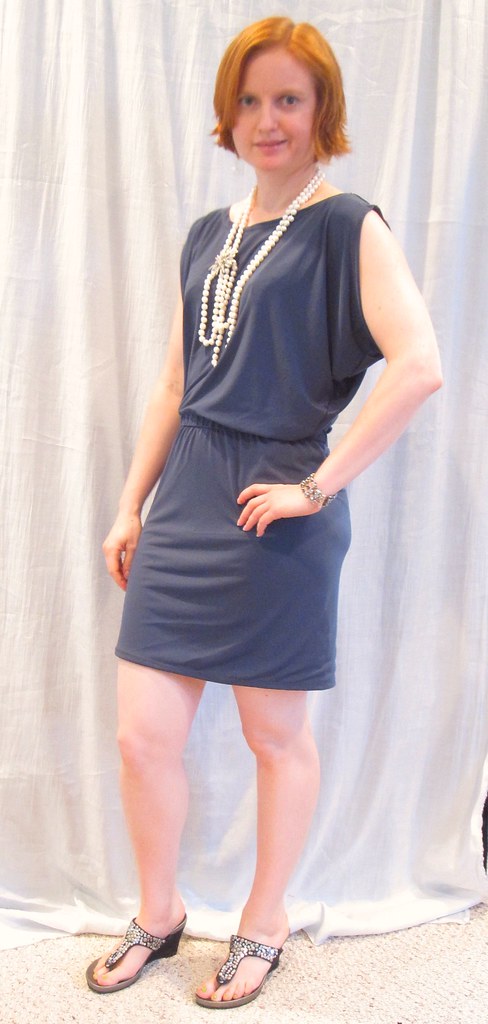
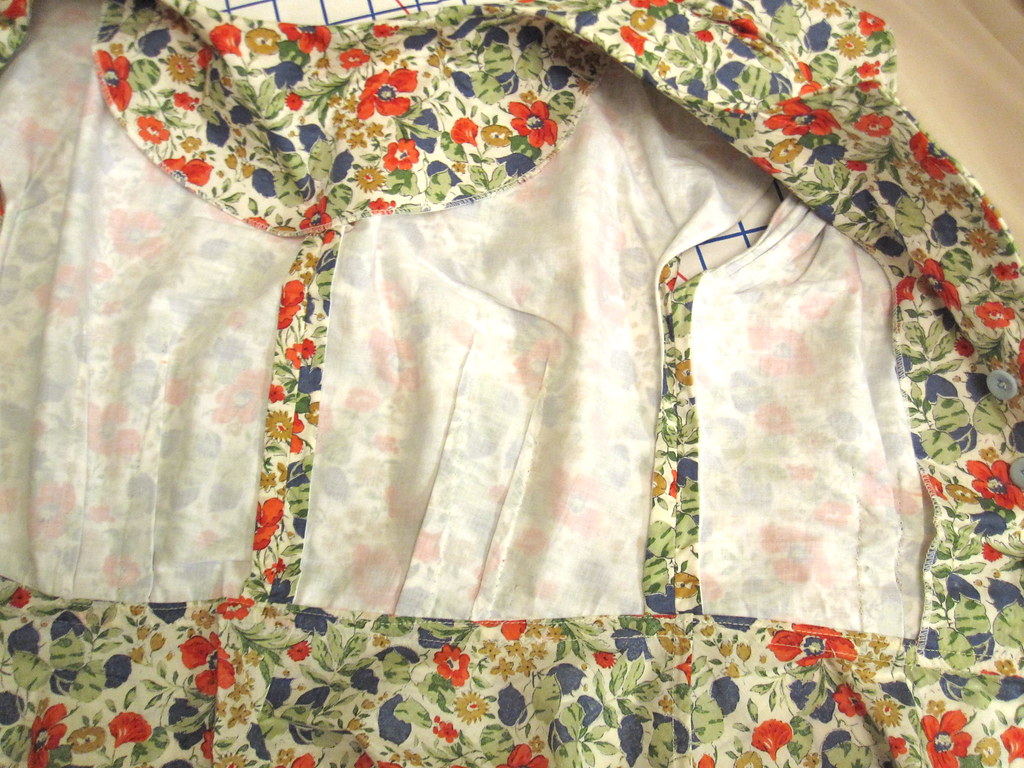
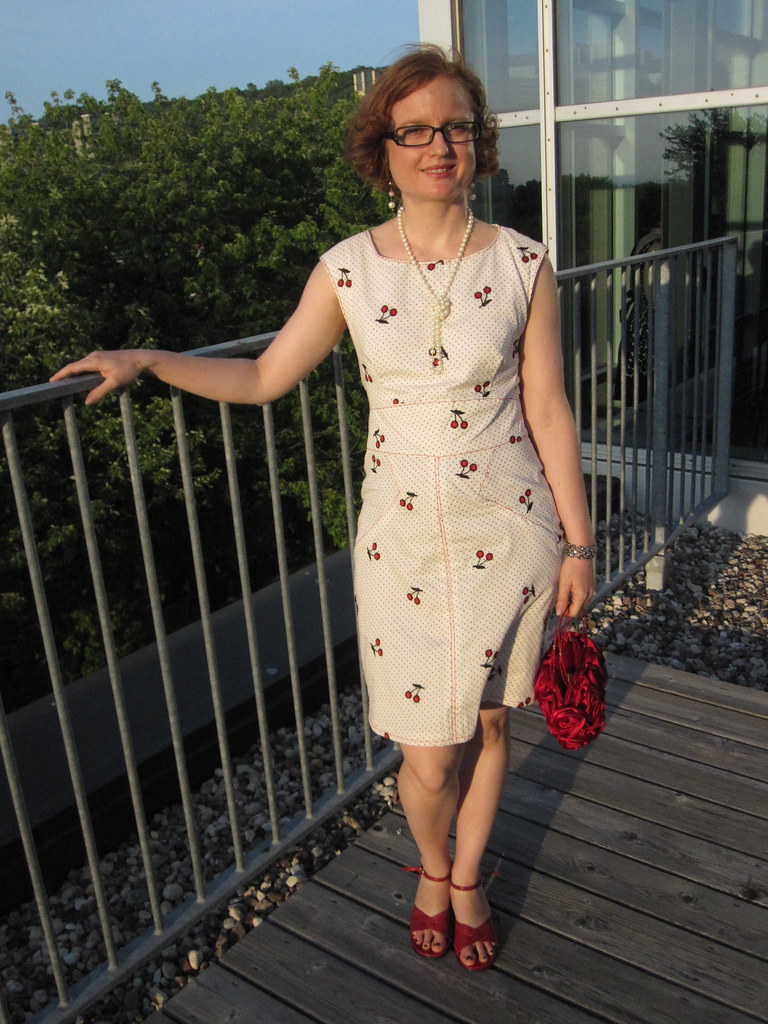 LOVE the way this dress came out. It is understated sexy while still being comfortable to wear. The open back is a cool surprise and makes it seem really bare, when in fact it's not that low and I can just wear a regular bra. Apparently there have been concerns about back gaping on this. Although the back of mine is more round than the geometric, angular back of the line drawing, I don't have a problem with it gaping although it wouldn't have hurt for me to ease the upper edge of the lower back onto some twill tape when doing my topstitching. With the upper back, you can make the knot tighter or looser to deal with any gaping (within a small margin; it won't solve a big problem).
 When planning and making it I was hoping I could wear it to work with a little shrug to cover the open back, but alas, I think it is only a date night dress. I wore it on Saturday to go to dinner and a girl in the bathroom asked me if it was from Anthropologie. Theoretically this dress is a step up from Anthropologie (this comparable Rachel Comey dress is nearly $500), but it was still a good compliment!
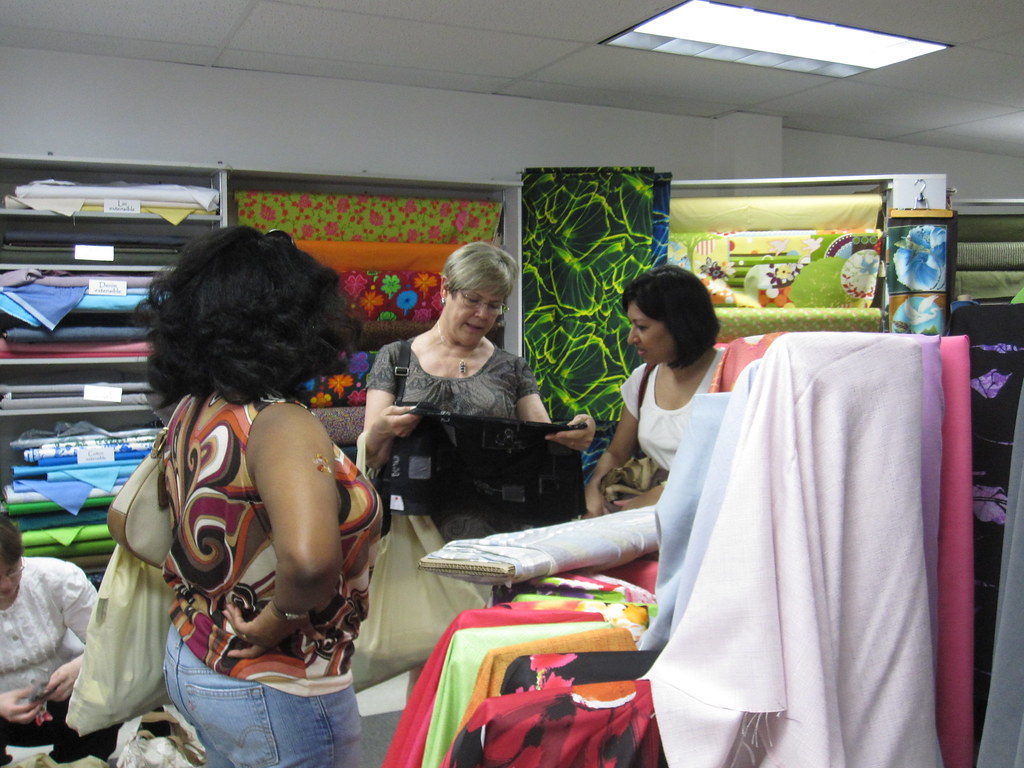
All photos are here and the pattern review is here.


.jpg)


.jpg)


