So, when I bought my two bedroom condo I was completely over the moon. I would have a sewing room! A room! Just for sewing! Where I could leave my sewing machine set up all the time! Very exciting. In addition to sewing I also make jewelry, do mosaic, make polymer clay beads, and just generally do a lot of crafts, so I needed a lot of storage room. I got shelves and plastic storage bins and had all kinds of good intentions.
But let's get real. I am a messy person. I feel cheated because I got the Virgo uptight gene, but not the Virgo tidiness gene. So my sewing room very quickly looked like this:
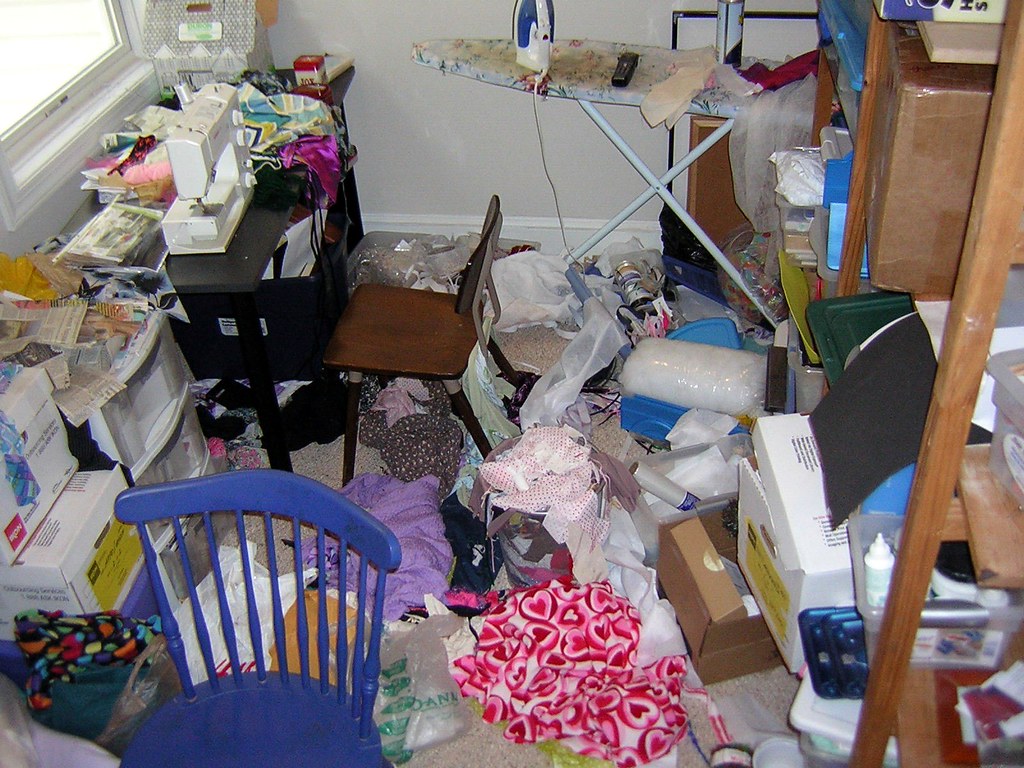
That, my friends, is a craft room that is *lived* in. My craft room has looked good exactly one time since I moved into my condo three and a half years ago. I never got it *quite* put together when I moved in before I started using (and destroying) it. But then about six months after we moved in (a good friend bought the condo next door) we had our housewarming party, during which all rooms had to be accessible. Fortuitously, a friend was staying with me and did me the huge service of just sitting in the room with me and keeping me on task until it was clean. Staying on task is not something I am good at, and it's multiplied by a thousand in the craft room where there are so many supplies to "sort" and "organize" rather than actually doing any work.
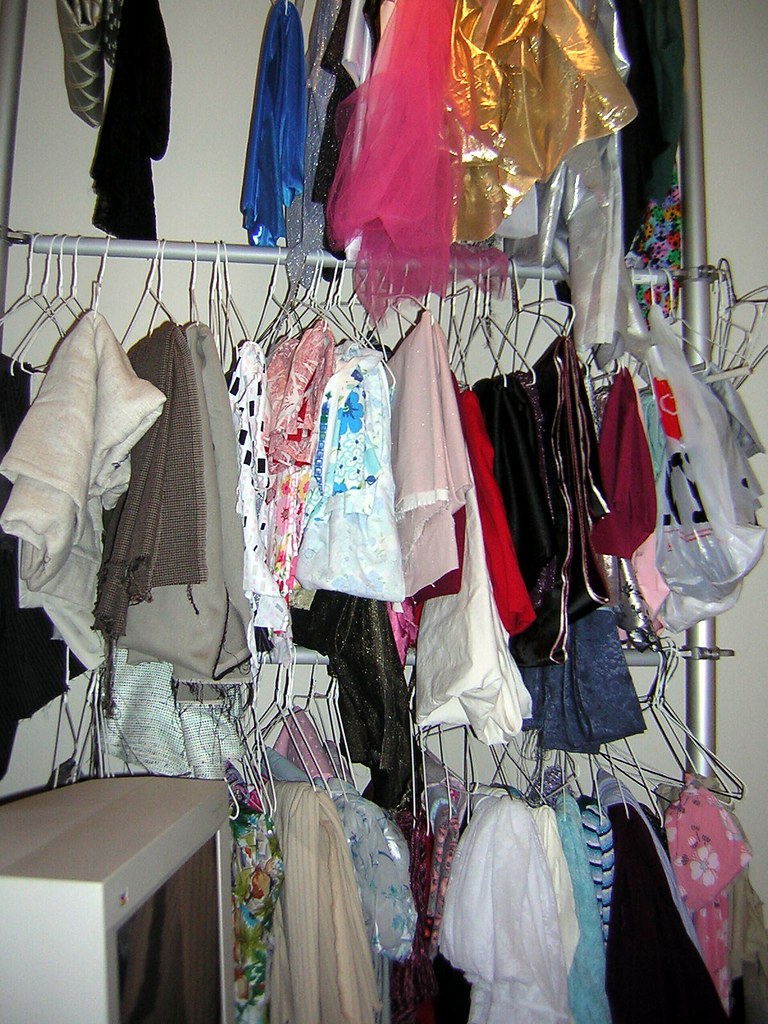
I really don't know why I got some kind of wild hair a couple weeks ago but somehow I felt the time had come to clean out my craft room. Well, I kind of do know. So, I had the brilliant idea of using hanging storage for my fabric stash. I got the
Stolmen system from Ikea and it worked pretty well...for the stash I had when I started. But then, as stash does, it grew. There was too much to hang. So I started stacking it up along the hallway part of the room (it's a terrible teeny tiny room with a long narrow hallway that opens out into the modest room part). And then I started stacking it up in the hallway of the condo next to the washer/dryer after the fabrics had been pretreated, and that's when it became unacceptable. Craft room mess is allowed in the craft room, but (theoretically) it's not allowed in the rest of the house.
I have a friend who is very neat, very patient, and very entertaining. I asked if he would accept a home-cooked meal in exchange for sitting in my craft room keeping me company and helping me convert the hanging rods to shelves. He was willing and agreed to come over on Sunday.
I had been teaching another friend to sew (more on that later) and we finally finished her project at 11:30 on Saturday night. I went into the craft room to start prepping it for cleanup. I became overwhelmed. I became anxious. I became panicked. I wanted to immediately call the friend who was going to babysit me and cancel because I Just Couldn't Do It. It was Too Much. Somehow, though, I found it in me to give myself the calm-down pep talk--there are no deadlines here. Just do what you can. The worst that happens is that it looks the exact same. Even a small change will be good. I worked for about an hour, started to get rid of some crappy stuff from stash, and then went to bed.
My friend who was going to babysit me planned to arrive around 3. I went in the craft room and saw how truly disgusting it was and realized I could not let this neat friend--who had been wanting to see the craft room for some time and I refused--see it in its current state. So I began to work. Just knowing he was coming over kept me on task. I worked steadily from about 9:00 on. I got rid of hideous fabric and all kinds of alteration projects for clothes that
I didn't even like in the first place. Why???? Most of them were from clothing exchange parties and I took them because I *almost* liked them and they were free. But seriously, I'm not hurting for clothing. Geez. One of the things I've been working on the past several months is not taking things just because they're free. It's a hard habit to break but I'm proud of how well I've been doing. I gathered up the UFOs I was interested in finishing (a whole series of them will follow).
And somehow, slowly, magically, the craft room became clean. I was even able to vacuum the floor! It felt truly like a miracle.
By the time my friend arrived everything was clean, all the fabric had been pulled out and arranged by type (wovens and knits) and color (ROYGBIV, approximately) in the hallway and was ready to be put on shelves as soon as we put them up, pretty much the only thing left to do. The chili was even already on the stove.
Here are the wovens:

And the knits:

I realized that when I complain that i don't have a lot of knits I'm not really lying.
We put up the shelves (which involved moving the poles around; I had put them up alone when I first installed them and they were pretty wonky but I gotta say even with the two of us it was hard and I felt like one tough chick for putting them up solo the first time). I had only bought three (why?) so I couldn't put away all the fabric but still, it was awesome.
Then I made cornbread and apple pie and we ate dinner.
I had the next day off work. I normally get every other Friday off, but on what was supposed to be my off Friday I had a meeting in Baltimore. I decided to take that Monday off because I knew I was cleaning Sunday and would probably want Monday to finish the job. This was perfect. I needed to go to Ikea to get more shelves, and while I was on such a euphoric decrapifying high I filled my Taurus's entire and generous trunk with stuff for Goodwill that had been cluttering up my bedroom. I nearly shed a tear of relief when I dropped that stuff outta my life.
At Ikea I got some more shelves and looked for a storage solution for my notions. I had them all in plastic tubs, which is great in theory and was an improvement on just throwing them loose on the floor, my original storage system. But in reality--dude, I use my notions all the time. So the bins were always open and were full of dust and debris and weren't organized.
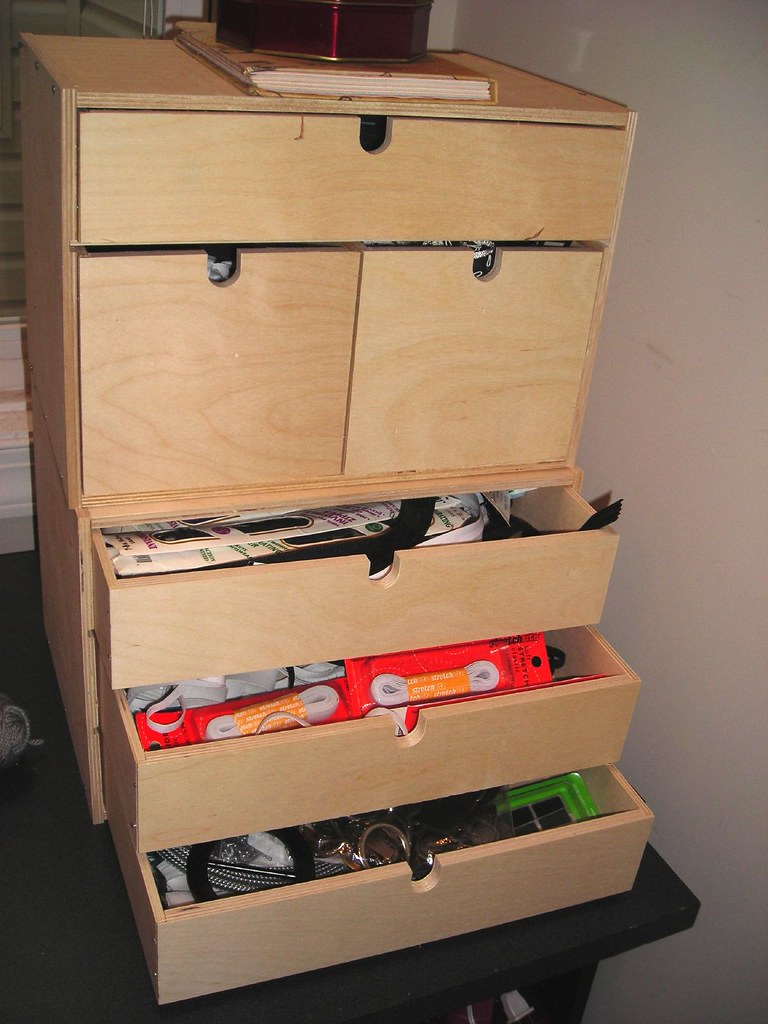
The best option at Ikea was the Fira wooden storage drawers. They come in three configurations:
nine small drawers,
three long drawers, and
two deep drawers and a long drawer. I use these for my beads and while they are fantastic I vowed never again because they are such a huge pain to put together. But for the price ($12.99 per unit, that is two units stacked up in the photo) you're not even going to touch the quality. They're real wood and will last forever. I figured a little effort was worth sparing the earth some cheap plastic crap. There's a drawer for elastic, one for zippers, one for velcro, one for shoulder pads, etc. etc. and I was very excited to use my elastic drawer for the first time last weekend.

I got home and built the Fira drawers and put up the rest of the shelves and shelved the rest of the fabric. The only bad thing? My stash looks totally reasonable, even small, on the shelves. Must...not...buy...more. When it was all done I just breathed a sigh of contentment. Every time I walked by the craft room I just had to poke my head in and savor it. I was inspired to finish several UFOs.
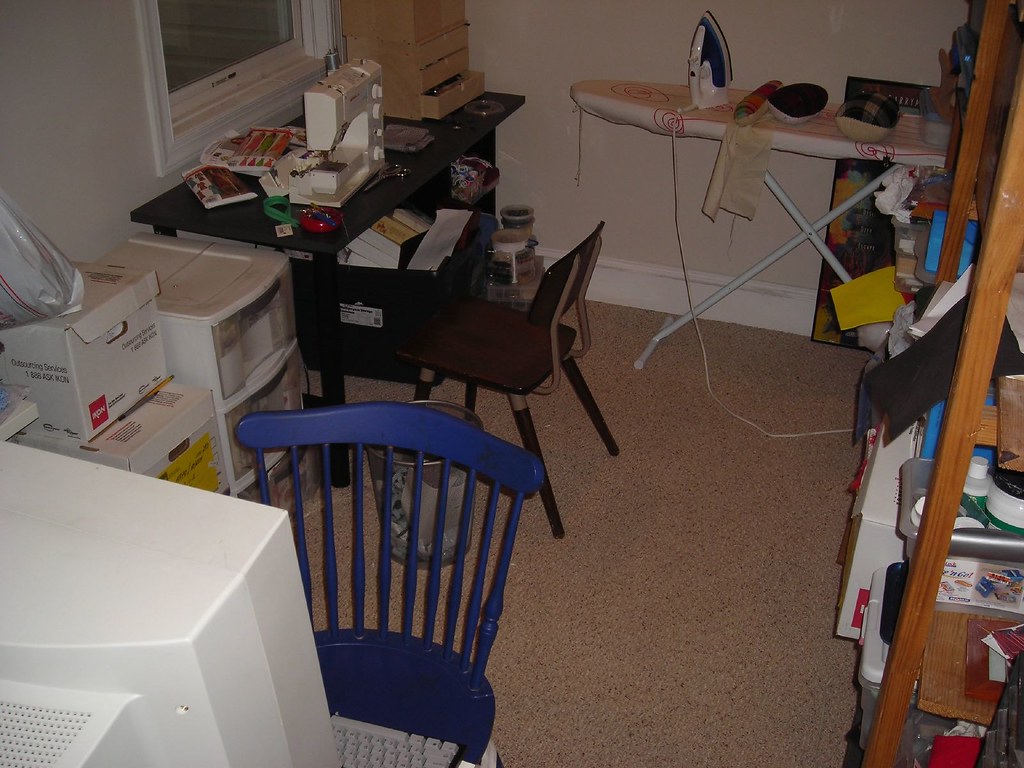
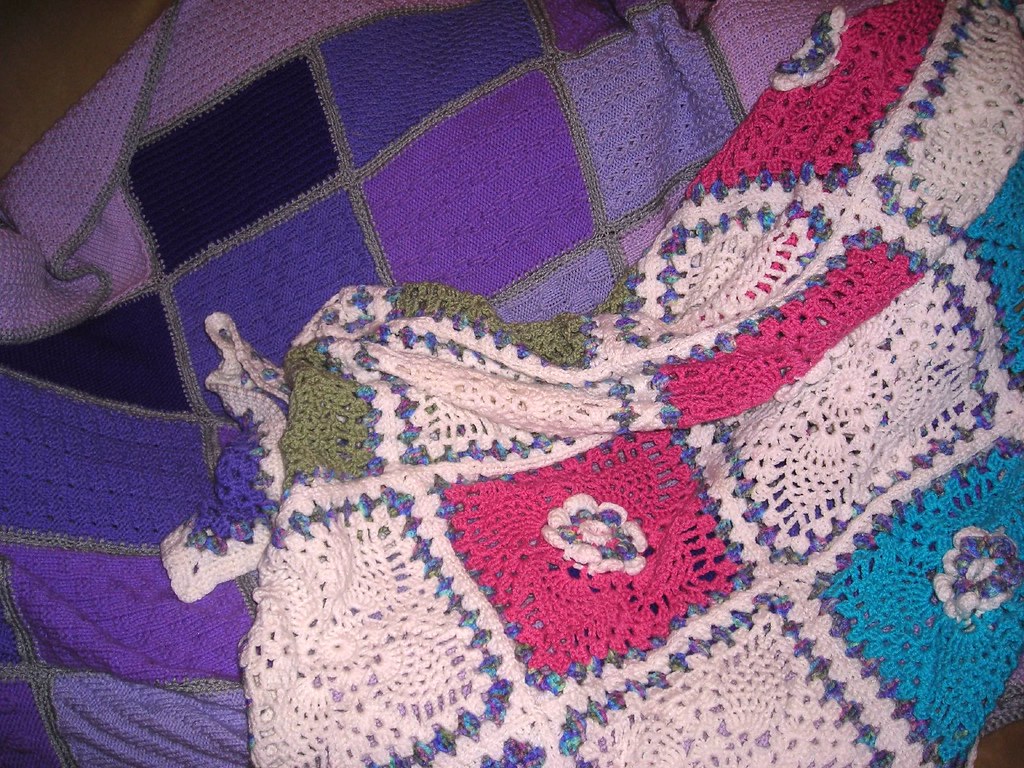
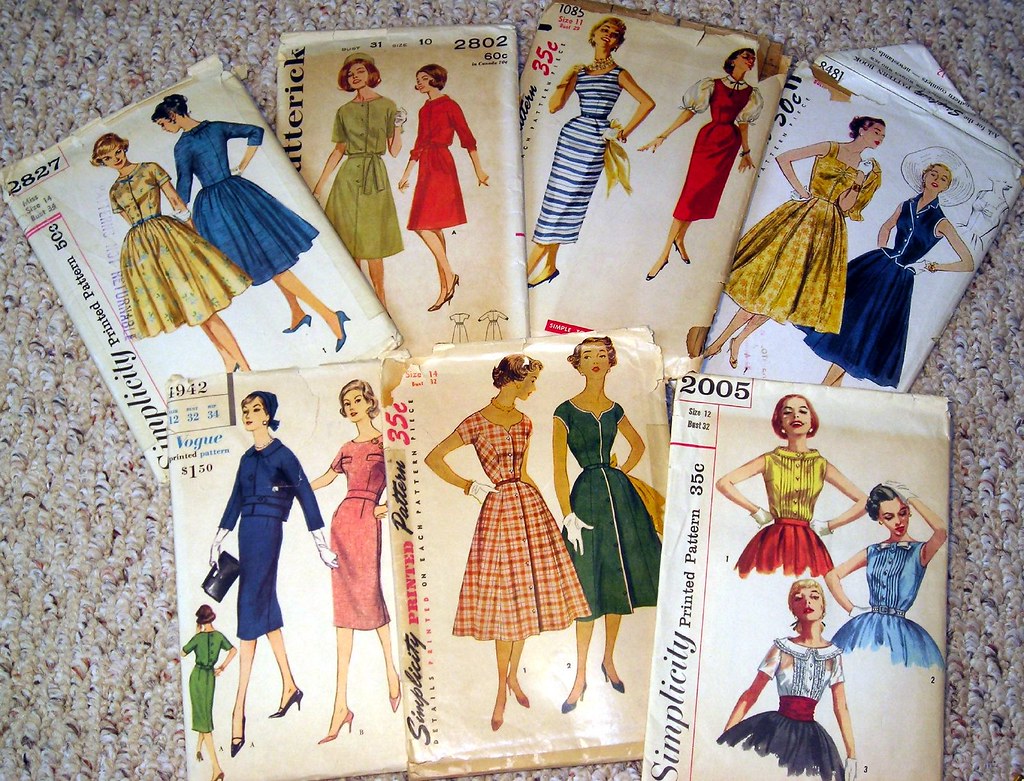
I am a realistic person. I know I have not been transformed from Messy with a Capital M to a Neatnik (ahem, the rest of my condo proves that). I'm not even going to pretend I'll keep my craft room nice in perpetuity. But conquering the anxiety and just DOING IT (as Nike would say) felt so great. The best part is, it only took me a day! Come on! It was not insurmountable, horrible, impossible, Sisyphean. So this is a post to my Future Self: you can do it. You can make the craft room look like this:

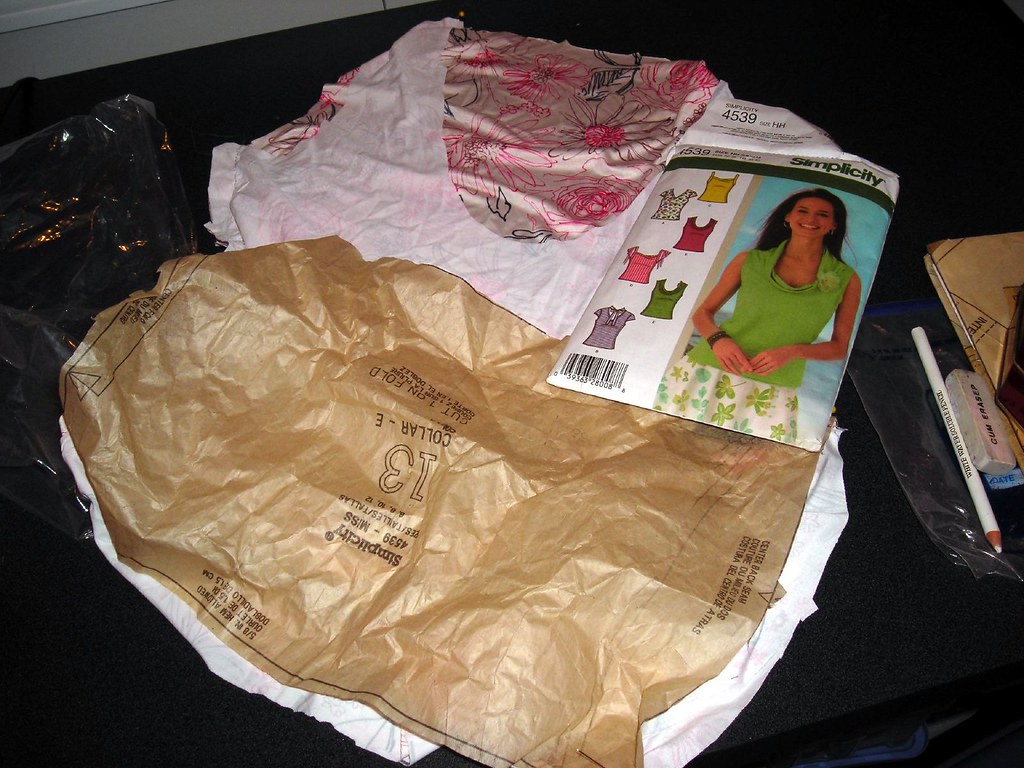
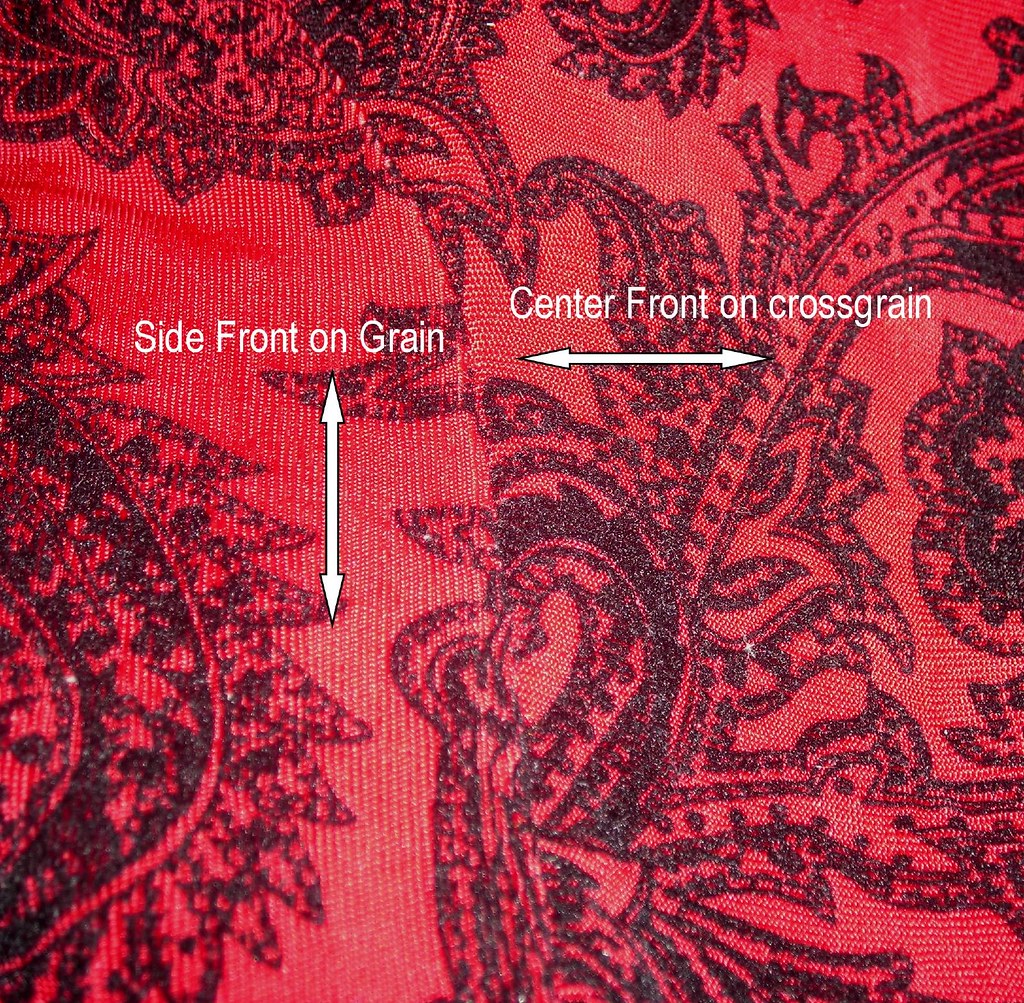
 Stage: This had once been sewn, with the result that it looked like the "before" picture above. Obviously, that was never ever going to be wearable in a million years. For last January's UFO contest I took it apart. It stayed that way for a year, and when I picked it back up it was in pieces.
 Reason Abandoned: This is possibly the worst pattern ever drafted. It was ugly in the first place (see pattern photo at right), what with that hideous bagging at the waist. But the pattern exceeded (deceeded?) even the terrible drawing. It was like they gave a blindfolded child a crayon and used the resulting crude outline of a wrap dress as the pattern. When it came out of the box looking like the before picture above, I knew it was going to need so much work to be wearable that I totally lost interest.
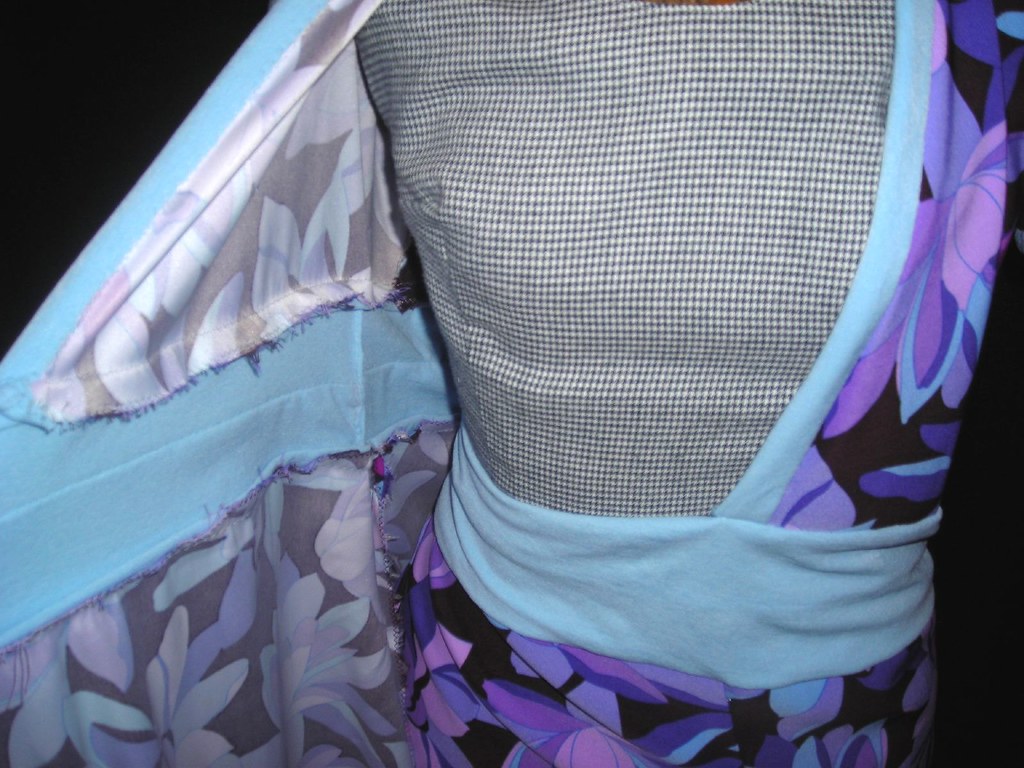 -Bound the raw edges of the bodice and the right half of the skirt (the half that shows). I cut the blue crepe into strips four inches wide, folded in half, sewed right sides and raw edges together, then turned to the inside and hand-sewed in place.


.jpg)


.jpg)


