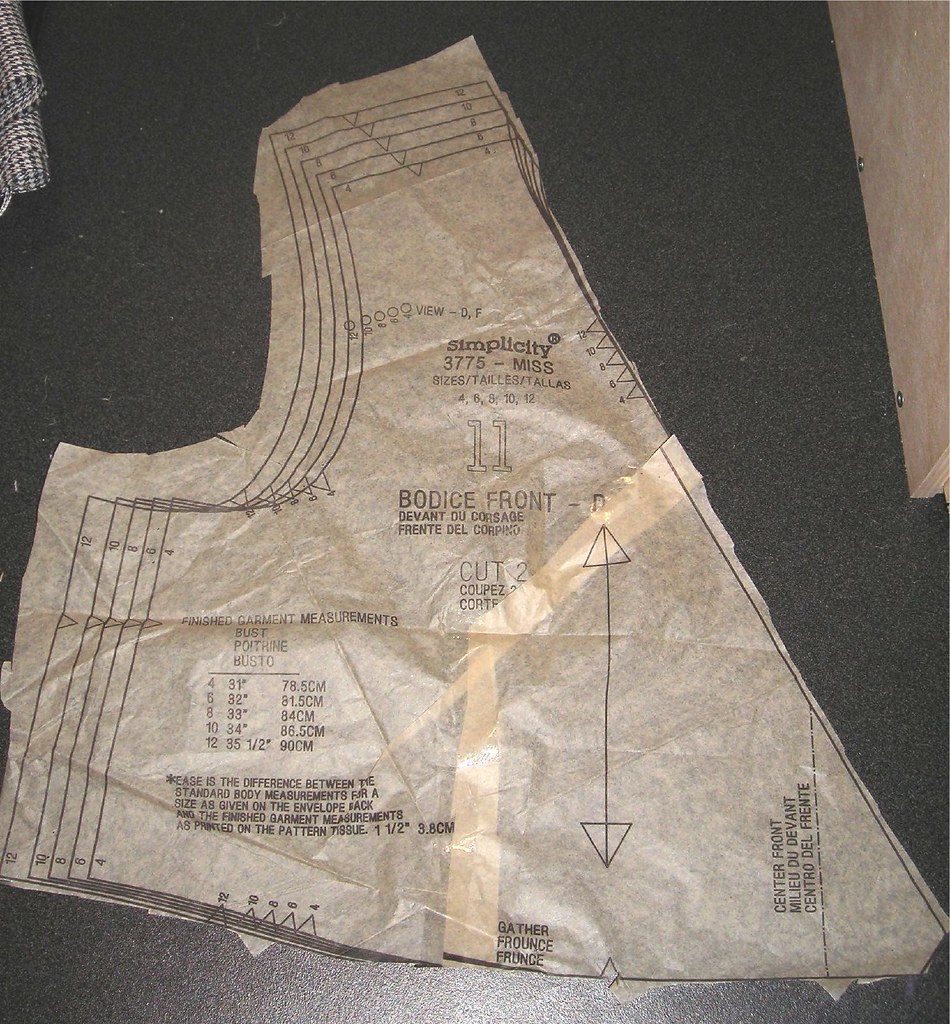
Anyway, the first project I eased myself back in with was Simplicity 3775, one of Pattern Review's Top 10 Patterns of 2007. I had noticed this pattern in the books several times, but it was just enough off that I dismissed it. The midriff seemed a little too wide, the neckline of the t-shirt version a tad too high making it look like an icky crewneck t-shirt. Just a little off. But when I read the article and saw several examples that had been made from it, I figured I could spend the 99 cents at Joann's sale to get the pattern.
I'm glad I did!

 Cute, no? And quite easy. At this point I have a pretty good feel how to do a small bust adjustment without muslining, so I fearlessly slashed and overlapped to prevent The Gape (the overlap along the diagonal front edge) and Empty Bag Syndrome (the overlap in the lower gathering section). I further fought The Gape by cutting the binding strip for the neckline pretty short--about an inch and a half shorter than the length of the neckline--and stretched the neckline to fit, so the binding pulls it in. And I further fought Empty Bag Syndrome by putting the gathers closer to (and across) center front, a couple inches in from the marking on the pattern where you're supposed to start the gathers. Nothing worse than having gathers in a place before your boobs actually start.
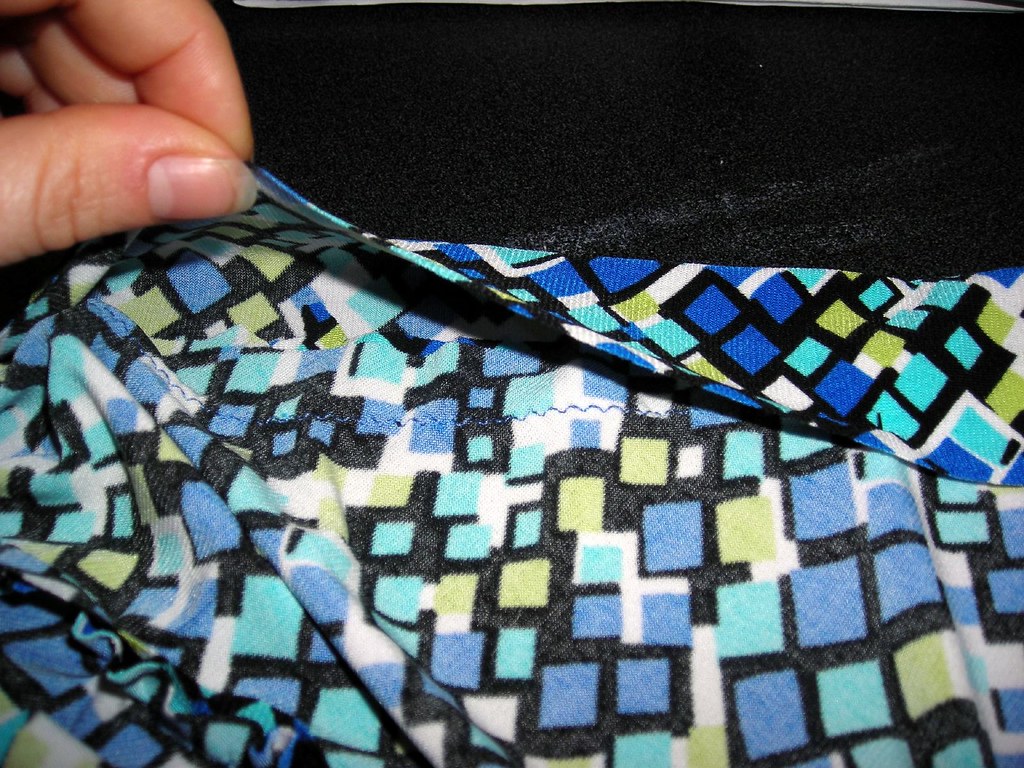 To attach the binding they want you to sew both raw edges to the neckline edge as one. This might be ok if you have a serger, but even then I don't really like it. Instead I sewed one long edge of the binding to the neckline, turned the seam allowance to the outside, folded the other edge of the binding over, and topstitched in the ditch. If I wanted to be really fancy I could have turned the seam allowance of the inner edge under so it would be enclosed, but I was only going for semi-fancy.
 I also didn't like their instructions for the ruched midriff. They have you ruche the two sides of each midriff overlay piece, sew each overlay to its corresponding midriff piece, and *then* sew the midriff side seams. That seemed like a recipe for unnecessarily bulky seams to me (sewing two gathered sides and four thicknesses together). Instead I sewed the side seams of the midriff and the overlay, so that they were two separate finished pieces. Then I put gathering stitches, one on each side of the seam, on the overlay to within about an inch of the top. I did the method where you sew up one side, then turn around and sew down the other so you don't have to gather from both ends and the loop at the top holds your gather tight while sewing. I favor this method whenever possible.
 Once the overlay was gathered, I pinned it over the midriff and topstitched at the side seam to hold the ruching in place. Then I took out the gather stitches and voila! The side seam is no more bulky than absolutely necessary. The busy print doesn't necessarily show off the ruching to its best advantage, but its tummy disguising properties were not negated.
Speaking of the midriff, I was a little skeptical about the sizing. I couldn't find a finished measurement so I cut up a size from normal based on my pattern size. Then I noticed that the overlay seemed narrower than the midriff and measured and it is indeed about 1/2 inch (as I recall) narrower than the midriff. So I cut it up two sizes. I don't know why I forgot how much ease Simplicity puts in their patterns because I ended up taking the whole lot in a couple of inches to get it to fit. Still not sure whether I like the overlay being narrower than the midriff. My feeling is that the ruching will make it tighter rather than larger, but who knows.
This was clearly the right project at the right time, because the next day I received a package from my mom with the adorable capelet! I asked her to crochet it for me a while ago and it just so happened to arrive when I had the perfect thing to go with it.
All photos are here.


.jpg)


.jpg)


10 comments:
Looks great. Another way to finish off that bodice, that I've done on three of the 4 dresses like this I've made (2 Simplicity and 2 the Maggie London by Butterick) is to line the bodice with a powerdry knit or a tricot. It's actually faster than all that binding and turning under.
Also, I think the ruched overlay needs to be narrower than the underlay in order to ruche and stay ruched. I think it was Melody who made it and it didn't ruche, then when she took it in, voila, she had gathered ruching. You can imagine how yucky that overlay looks hanging limp.
This is one of my favorite patterns from last year! Yours looks great!
Your version of this dress looks great! Love the shoes, too.
I love it! I've got this pattern but I"m never inspired by the envelope photo to actually get down and sew it. Thanks for the tips about the side seams, that's something I would've never thought about until after I'd made it!
melissa @ fehrtrade.com
Very cute dress!
I love the print. Looks great on you!
I made this pattern up not too long ago and right now it's my favorite dress. It's so comfortable.
Adorable dress! I am glad you got the SBA thing down, because I'm still working on it. I actually did my first "offical" one last week (meaning actually on the pattern before I started). It worked out well and I'm pleased with the fit.
Very pretty dress! I also love the capelet.
I love the dress, with and without the capelet. I made mine in royal blue with a plain front, and have some patterned knit to make another version with the crossover front.
Thanks for the inspiration. I like your blog.
This is one of my favorite "quick to make" knit dresses. So many options. Great fabric choice.
Post a Comment