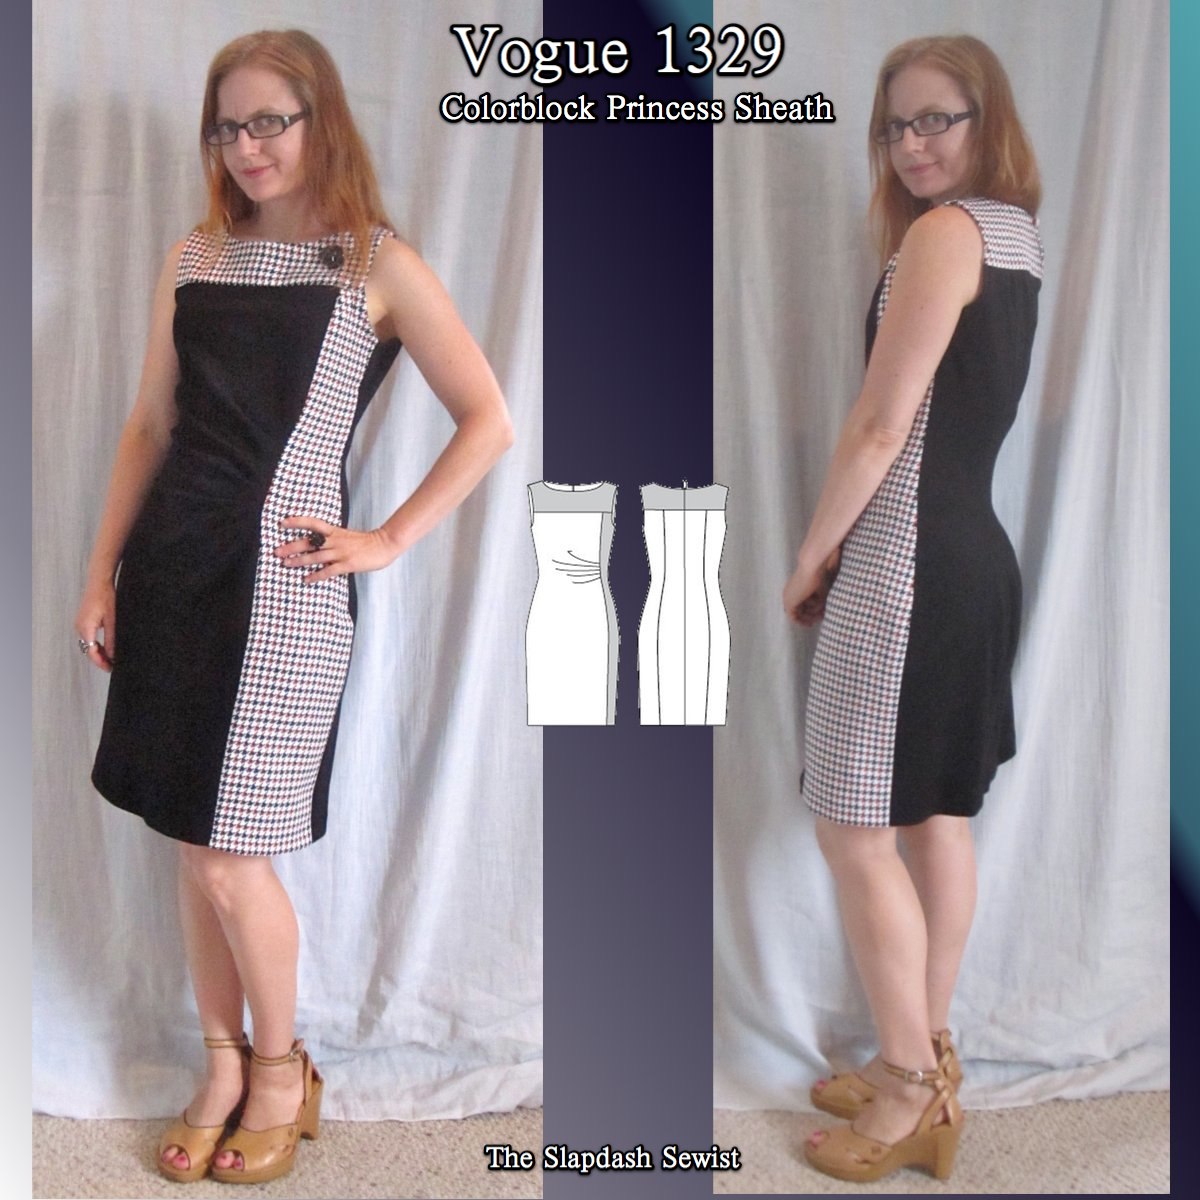
Vogue 1329 has taken the sewing world by storm! I've seen so many great versions of it. It has a ton of elements that make it flattering to any size or shape:
-Princess seams for easy fitting
-Colorblock possibility. The sinuous shape of the side front panel coaxes even the most non-existent curves out of the closet.
-Suggested for ponte double knit (which most people have chosen), which has enough stretch to make fitting easier but is thick enough to smooth over lumps and bumps
-Pleating on center front panel offers some tummy disguise
Basically, this is pretty much the most flattering pattern ever devised for a fitted dress.
So I pretty much had to have one. This sort of sheath dress is the kind of thing I need for networking events and other not-quite-suit-level work-related events, but I don't have many of them because they are not bikeable. In the ponte, this one actually is bikeable so it's a win-win!
I got the black/white/red houndstooth from the G Street $2.97/yd table in August 2011. It is aggressively polyester and has a very vintage look and feel, so it would be great for a 60s style loosely fitted shift. However, when I thought about pairing it with black ponte (purchased from Kashi at Metro Textiles in November 2010, $6/yd) I was willing to sacrifice that vision for something that would suit me so much more. The houndstooth is a woven with no stretch, but the narrow non-stretch panel doesn't interfere with the ease of wearing.
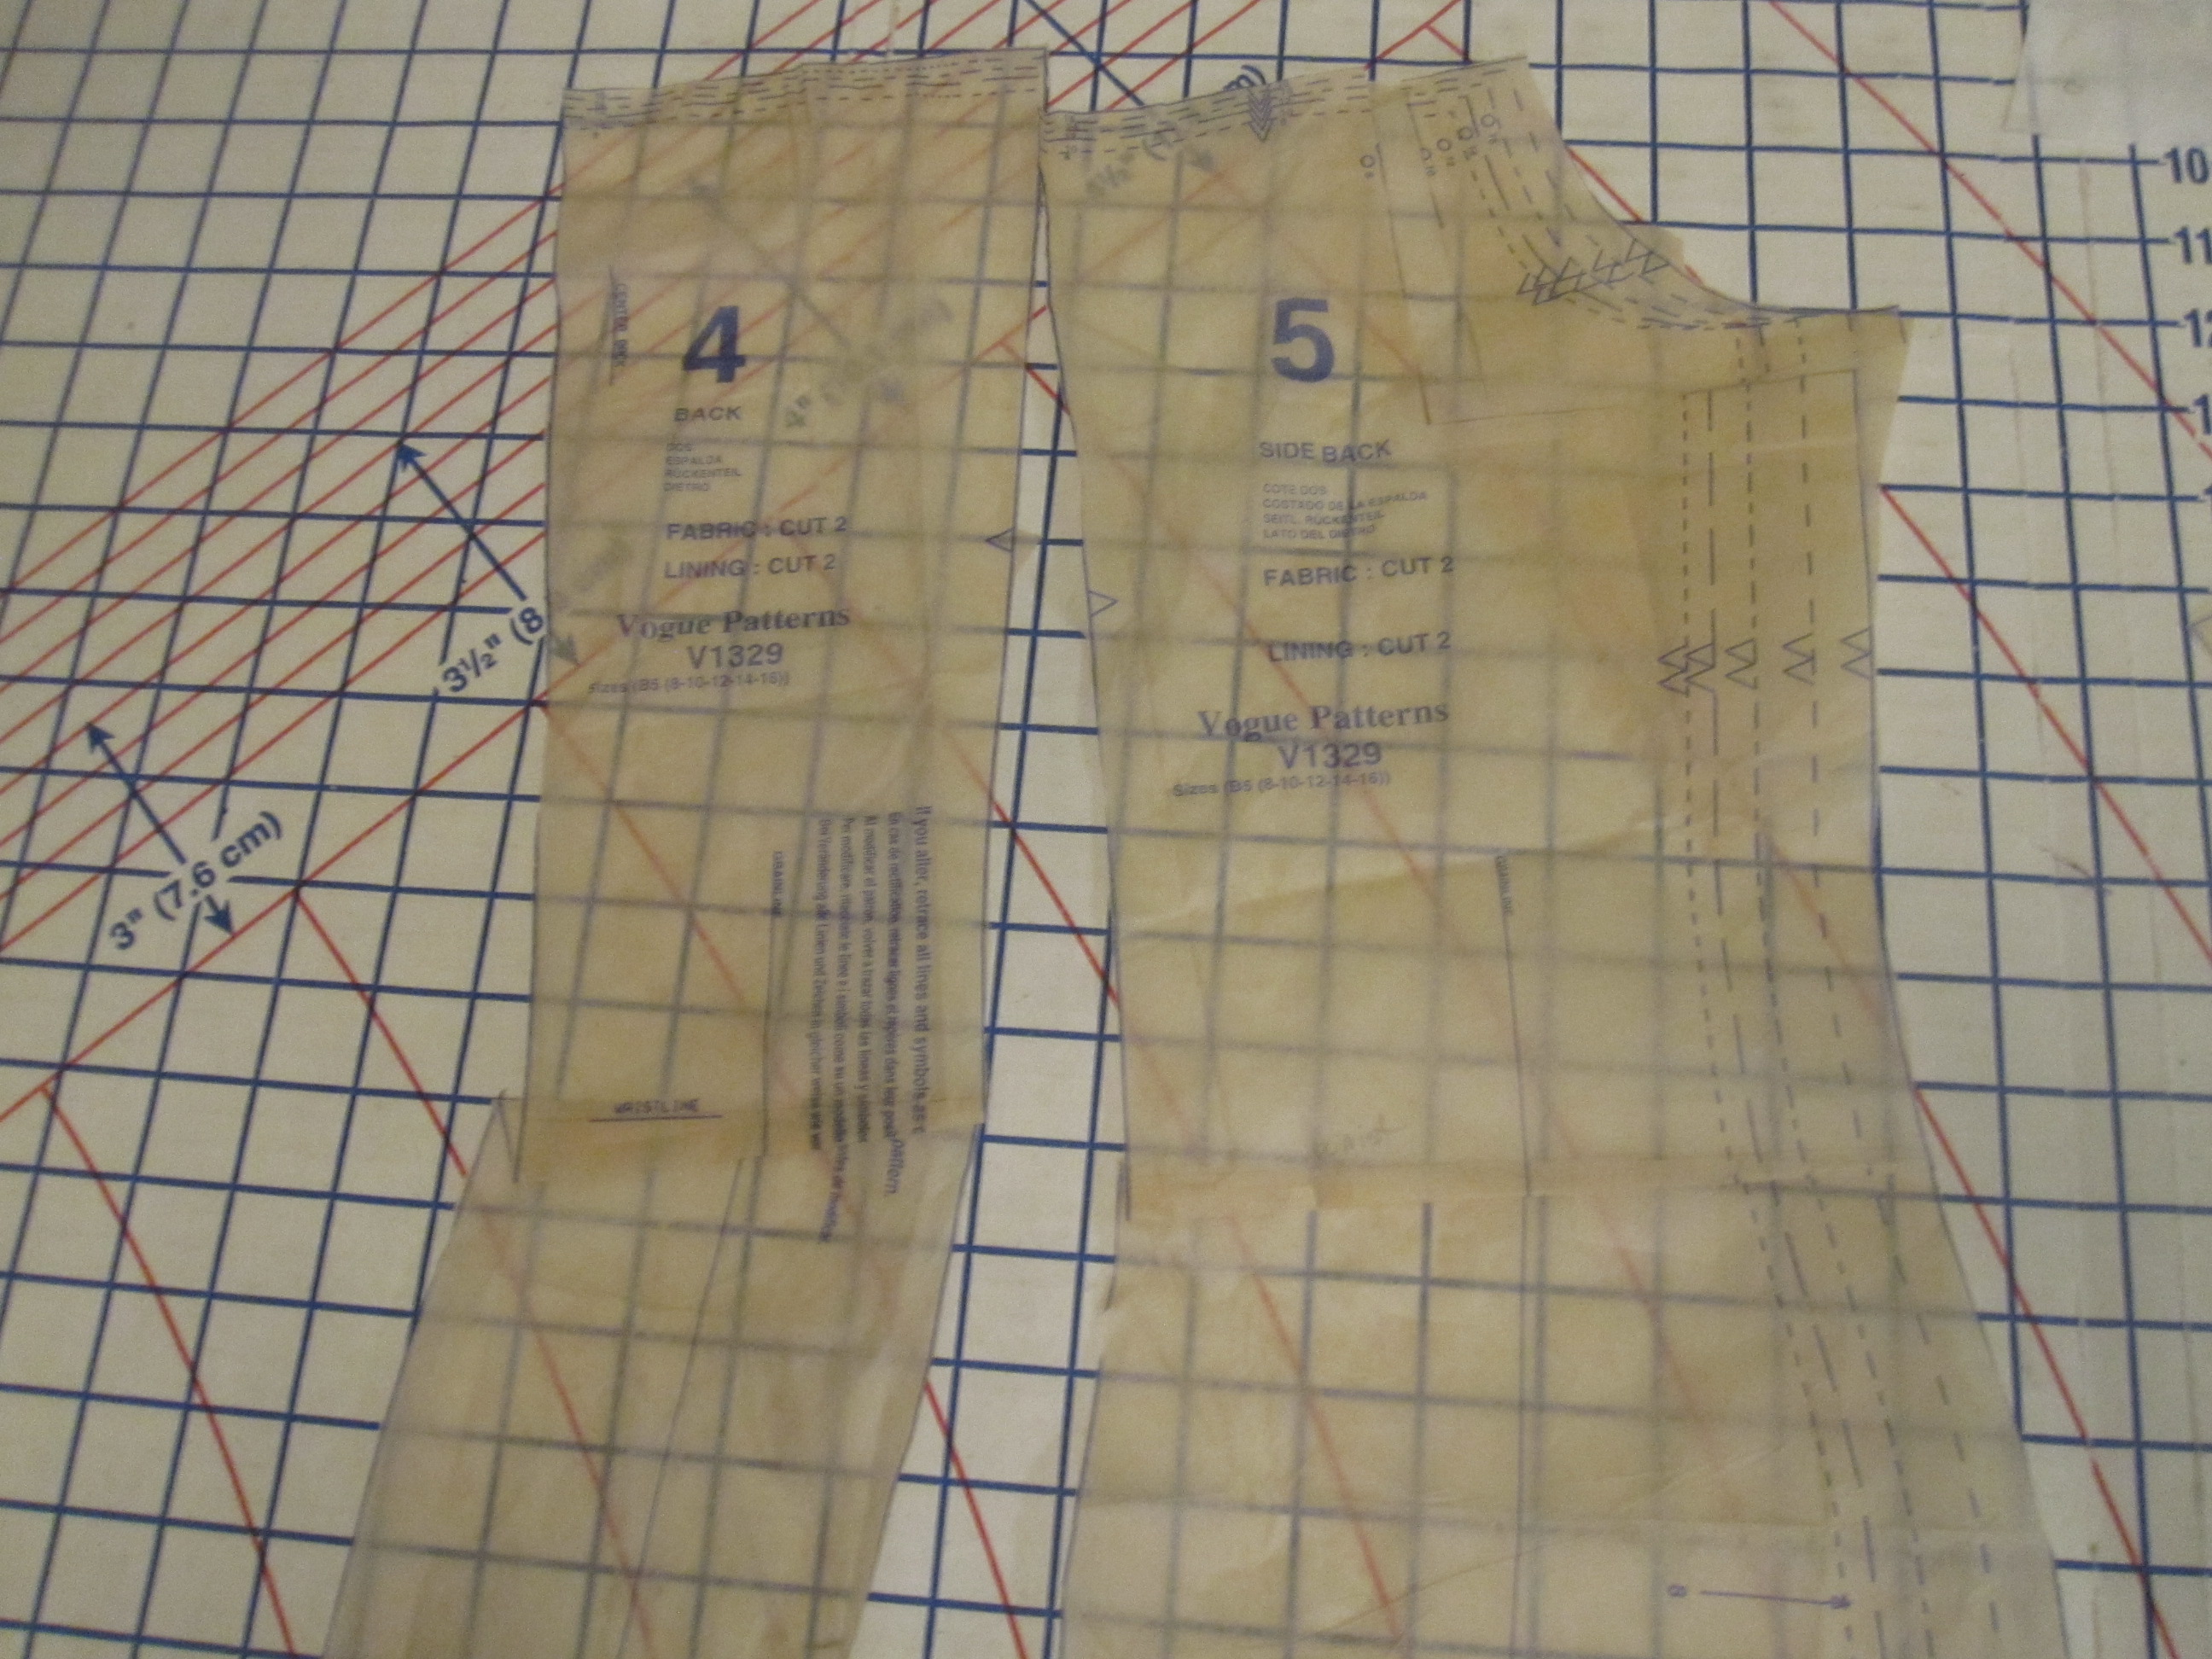
You all know how rarely I make a dress without a waist seam due to my swayback. I did some aggressive swayback folding on the pattern. Check out the size of that tuck--but even that only got me about halfway there.
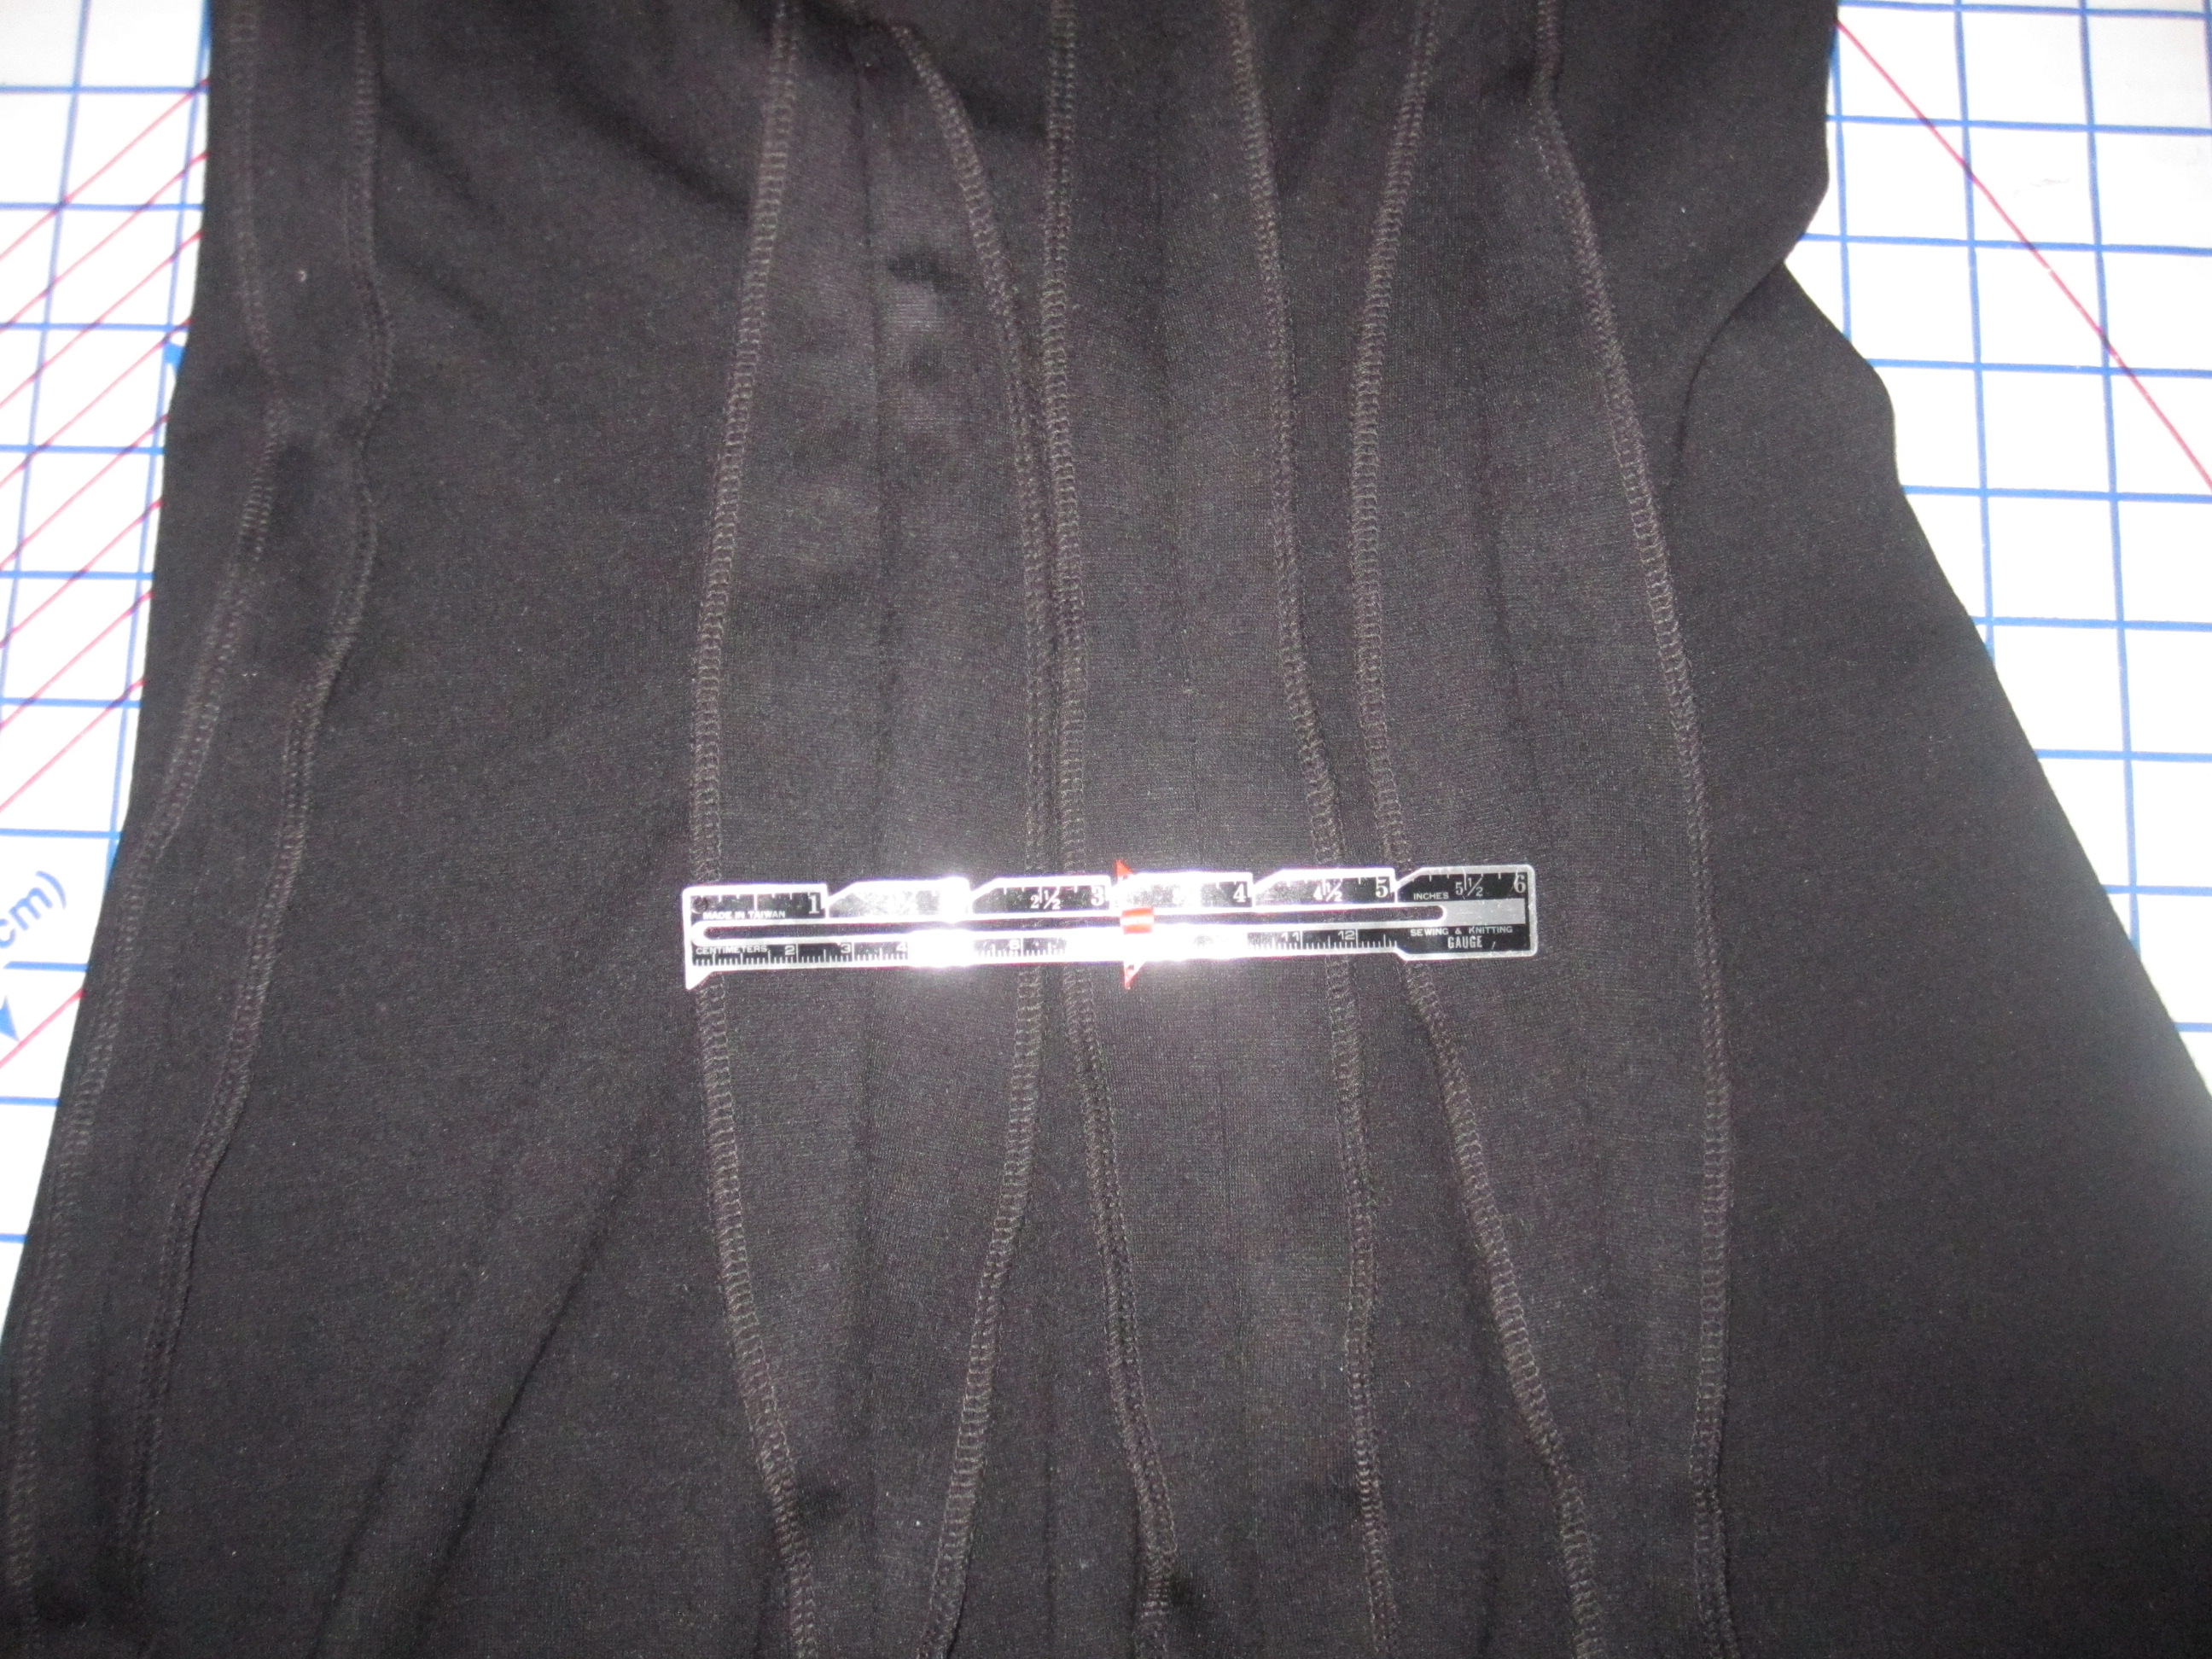
When it was constructed enough to try on, I added huge "darts" to the side back princess seams, and took it in a little more at center back. All told, I removed about 5 inches from the back waist. Yes, my spinal curve is outrageous.
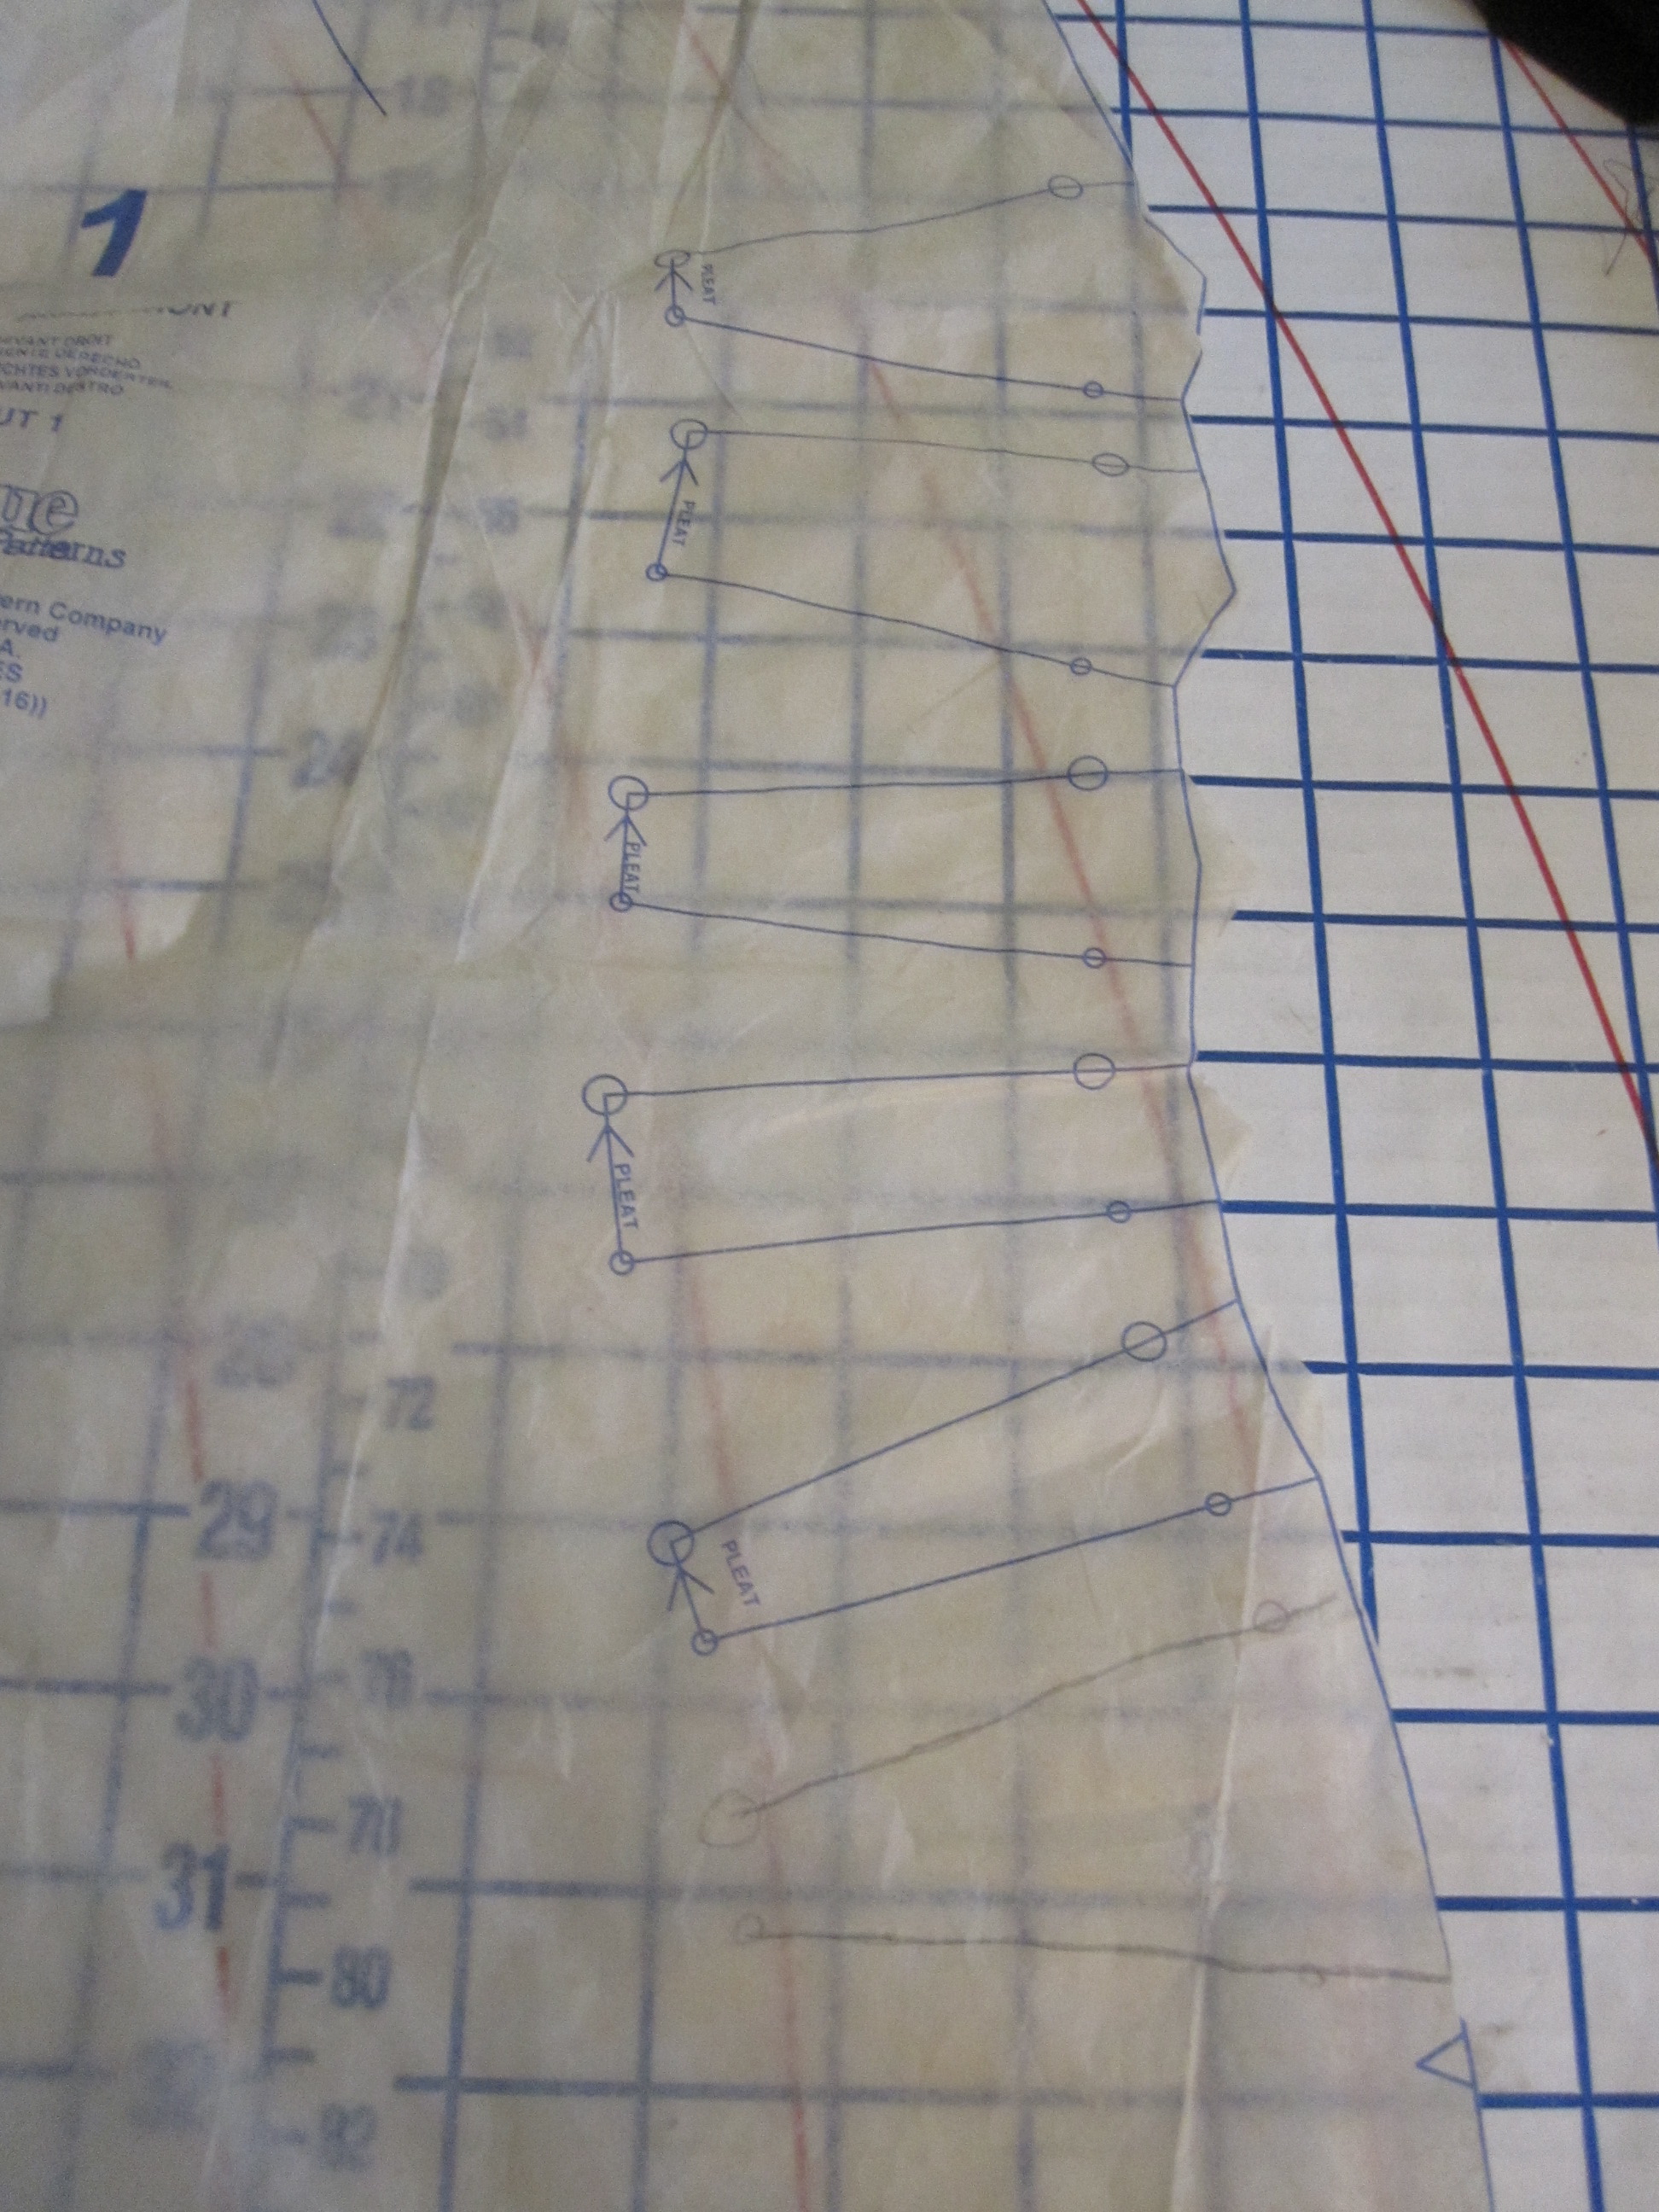
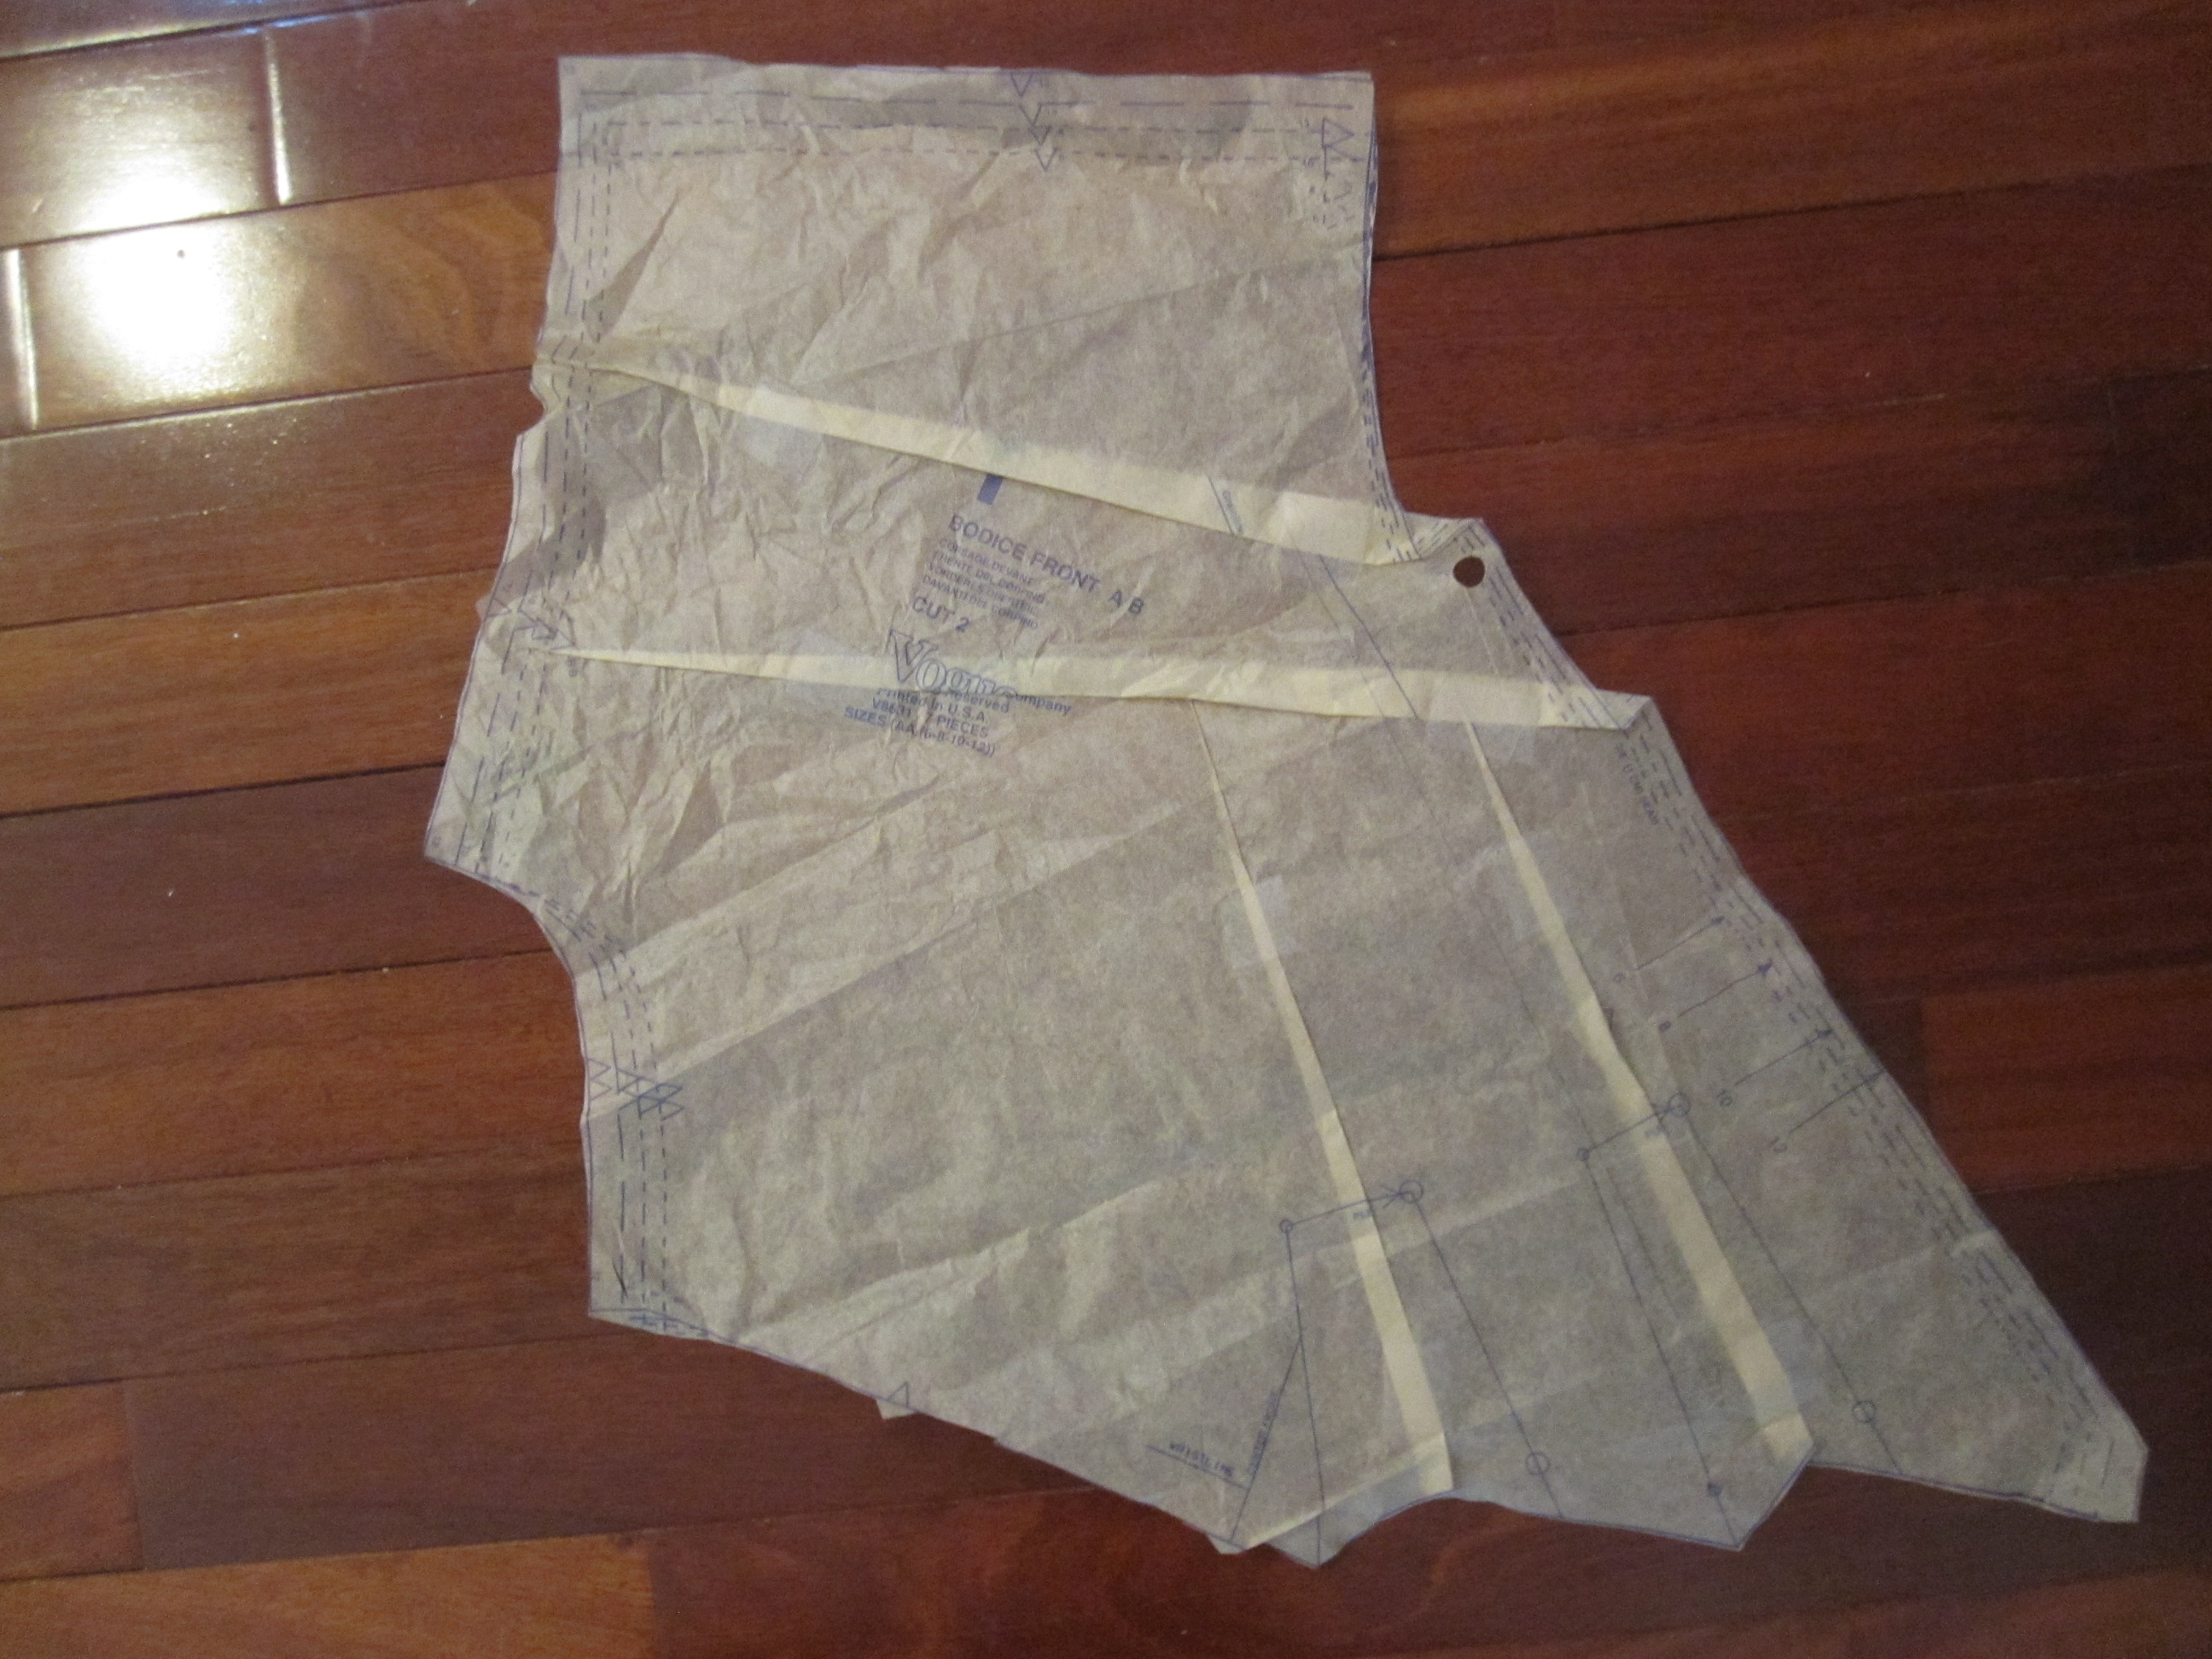
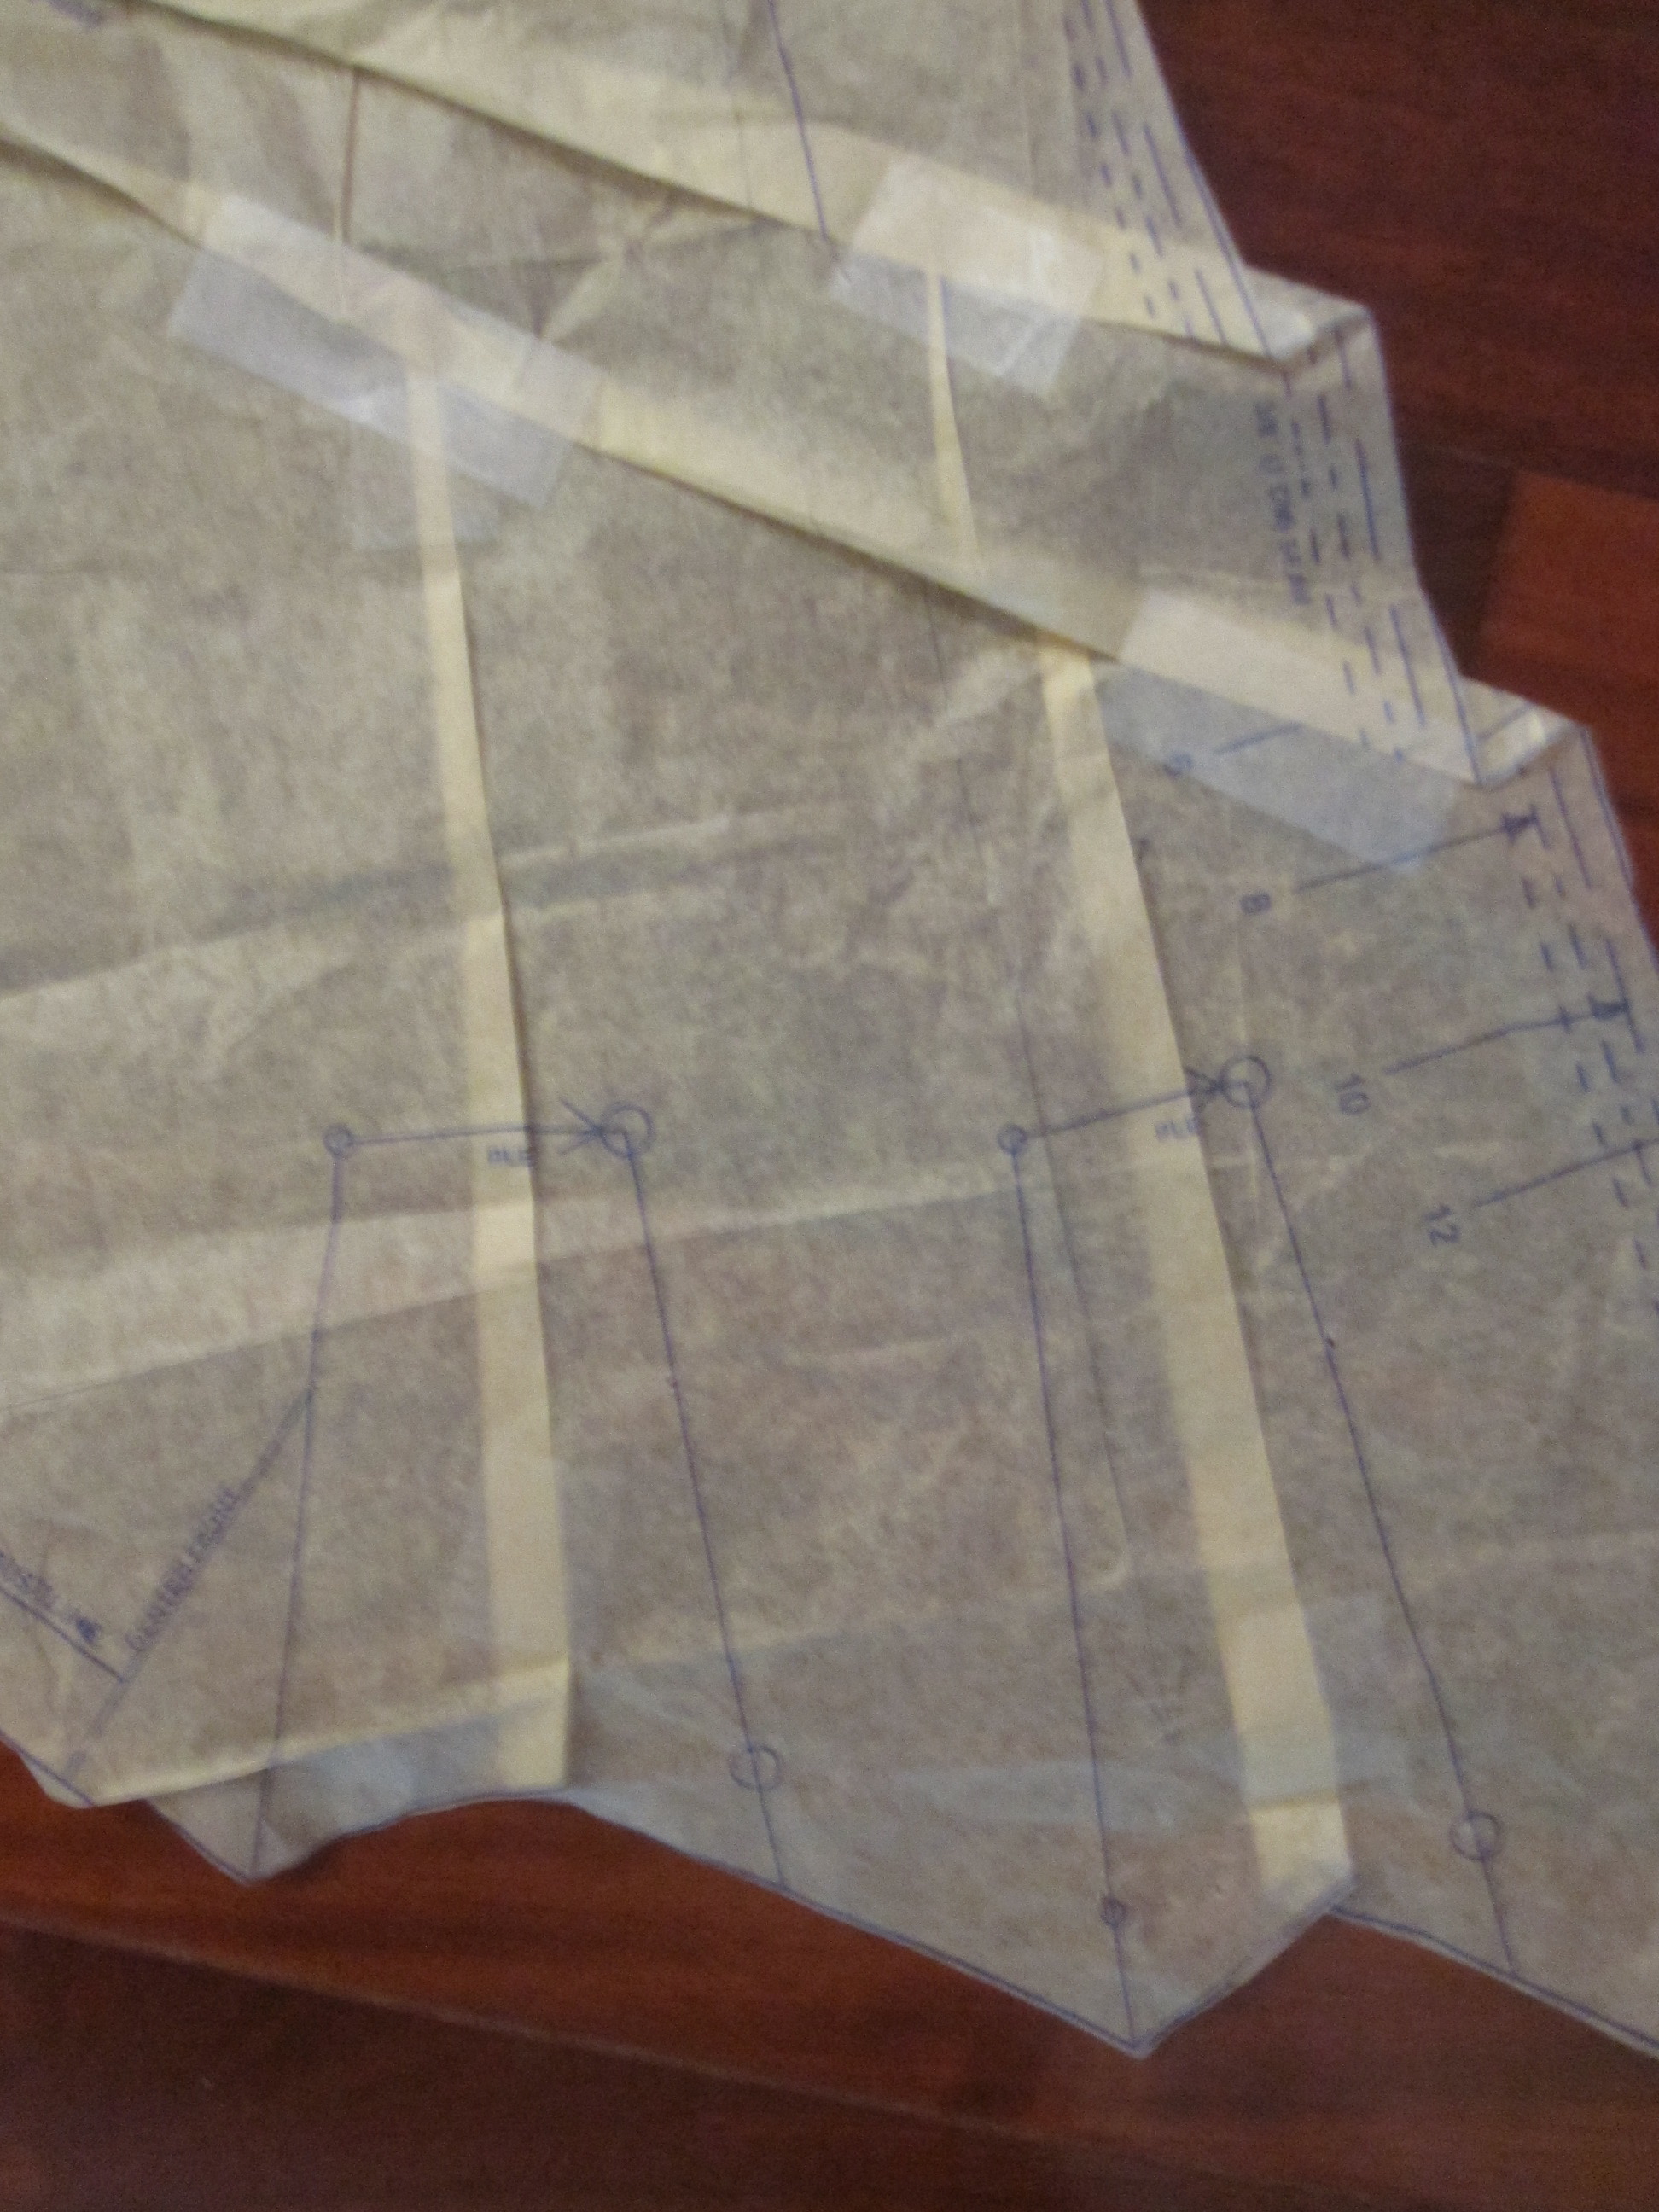
I did not do any small bust adjusting. However, I noticed that the highest pleat on the center front panel is up pretty high and the lowest is still above the tummy. I decided to just move the highest pleat down below the lowest pleat. There is no looseness at the bust and the pleats are well-placed for tummy disguise.
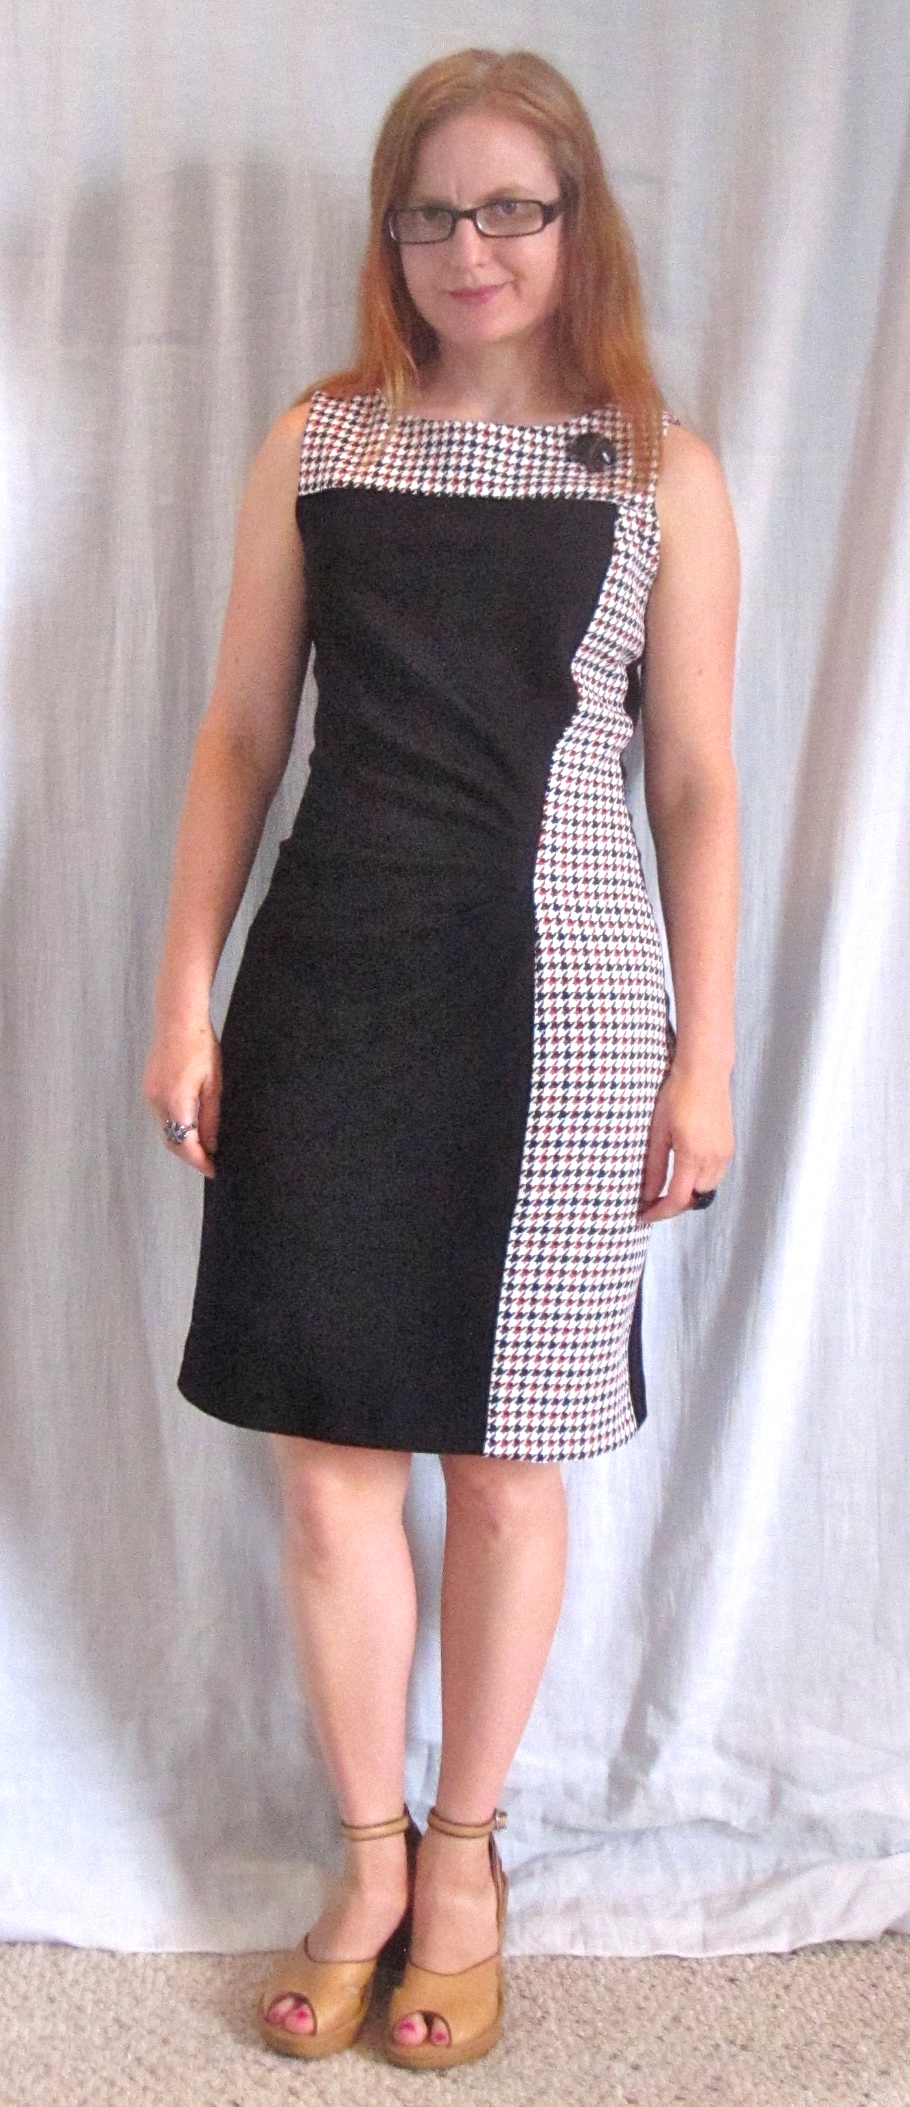
That said, I think this had an unintended consequence. The only issue with the finished dress is that the houndstooth side panel collapses/bulges in a weird way a little below the bust when I am standing still and straight. I do not know if this is a side effect of moving that pleat, or if it has to do with pairing fabrics of two different weights and hands. Other people do not seem to have this problem, so I assume it is one or the other. The bulge is above where the uppermost pleat would have been, but that doesn't mean they're not related. In motion, the problem disappears.
I think I will just add some boning in the seam allowance in the problem area for a slapdash fix to the problem.
The whole dress is meant to be lined, but I lined only the yoke. I sewed the neckline and armscyes of the yoke and lining as per my usual clean finish method, leaving the 5/8" seam allowances unsewn at the lower edges.
I lowered the front neckline by about 3/4 inch. My neck is proportional to my body, meaning, yeah, I have a short neck. Super high necklines just look terrible on me. I need to at least show my collarbones so as not to look like a head sitting on shoulders.
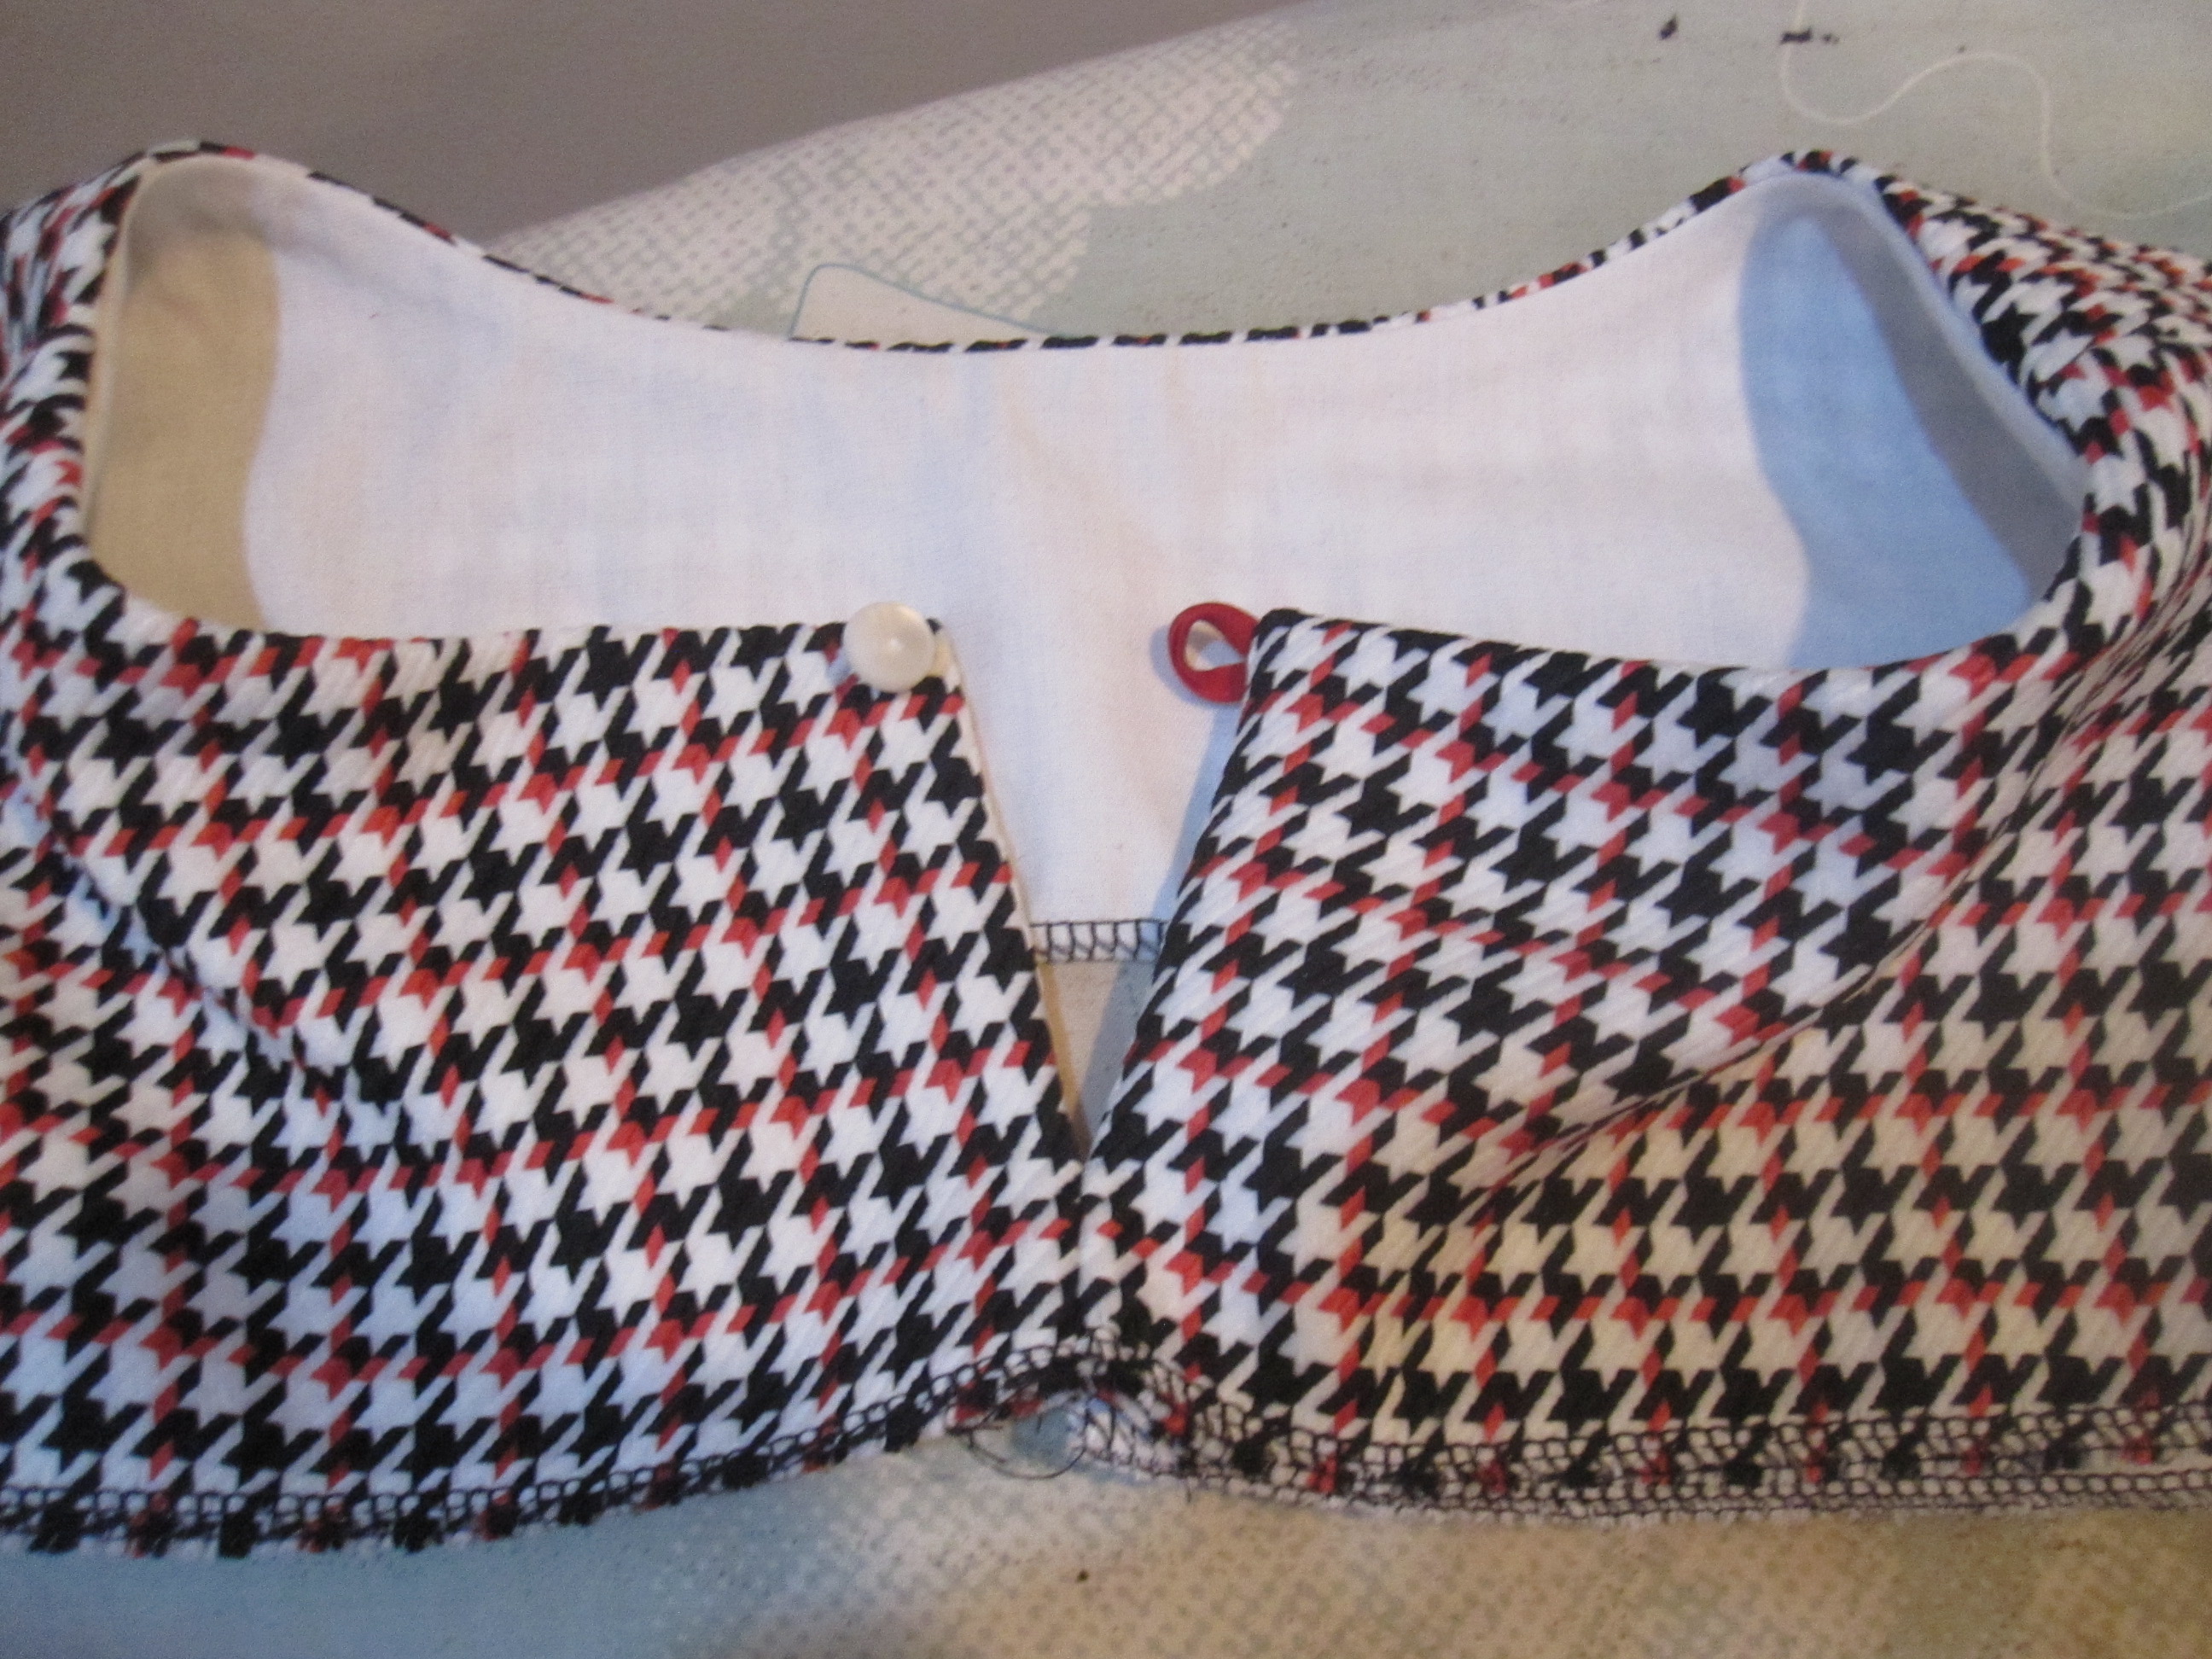
Rather than install a center back zipper, I made a center back opening on the yoke that closes with a button, and the dress portion is sewn closed. I sewed about 1 1/2" from the bottom closed on the yoke and the lining center back seams, and then sewed the yoke and lining together from the upper neck edge down to the closed part. I can actually get this on and off without opening the button so I didn't need any closure at all, in the end.
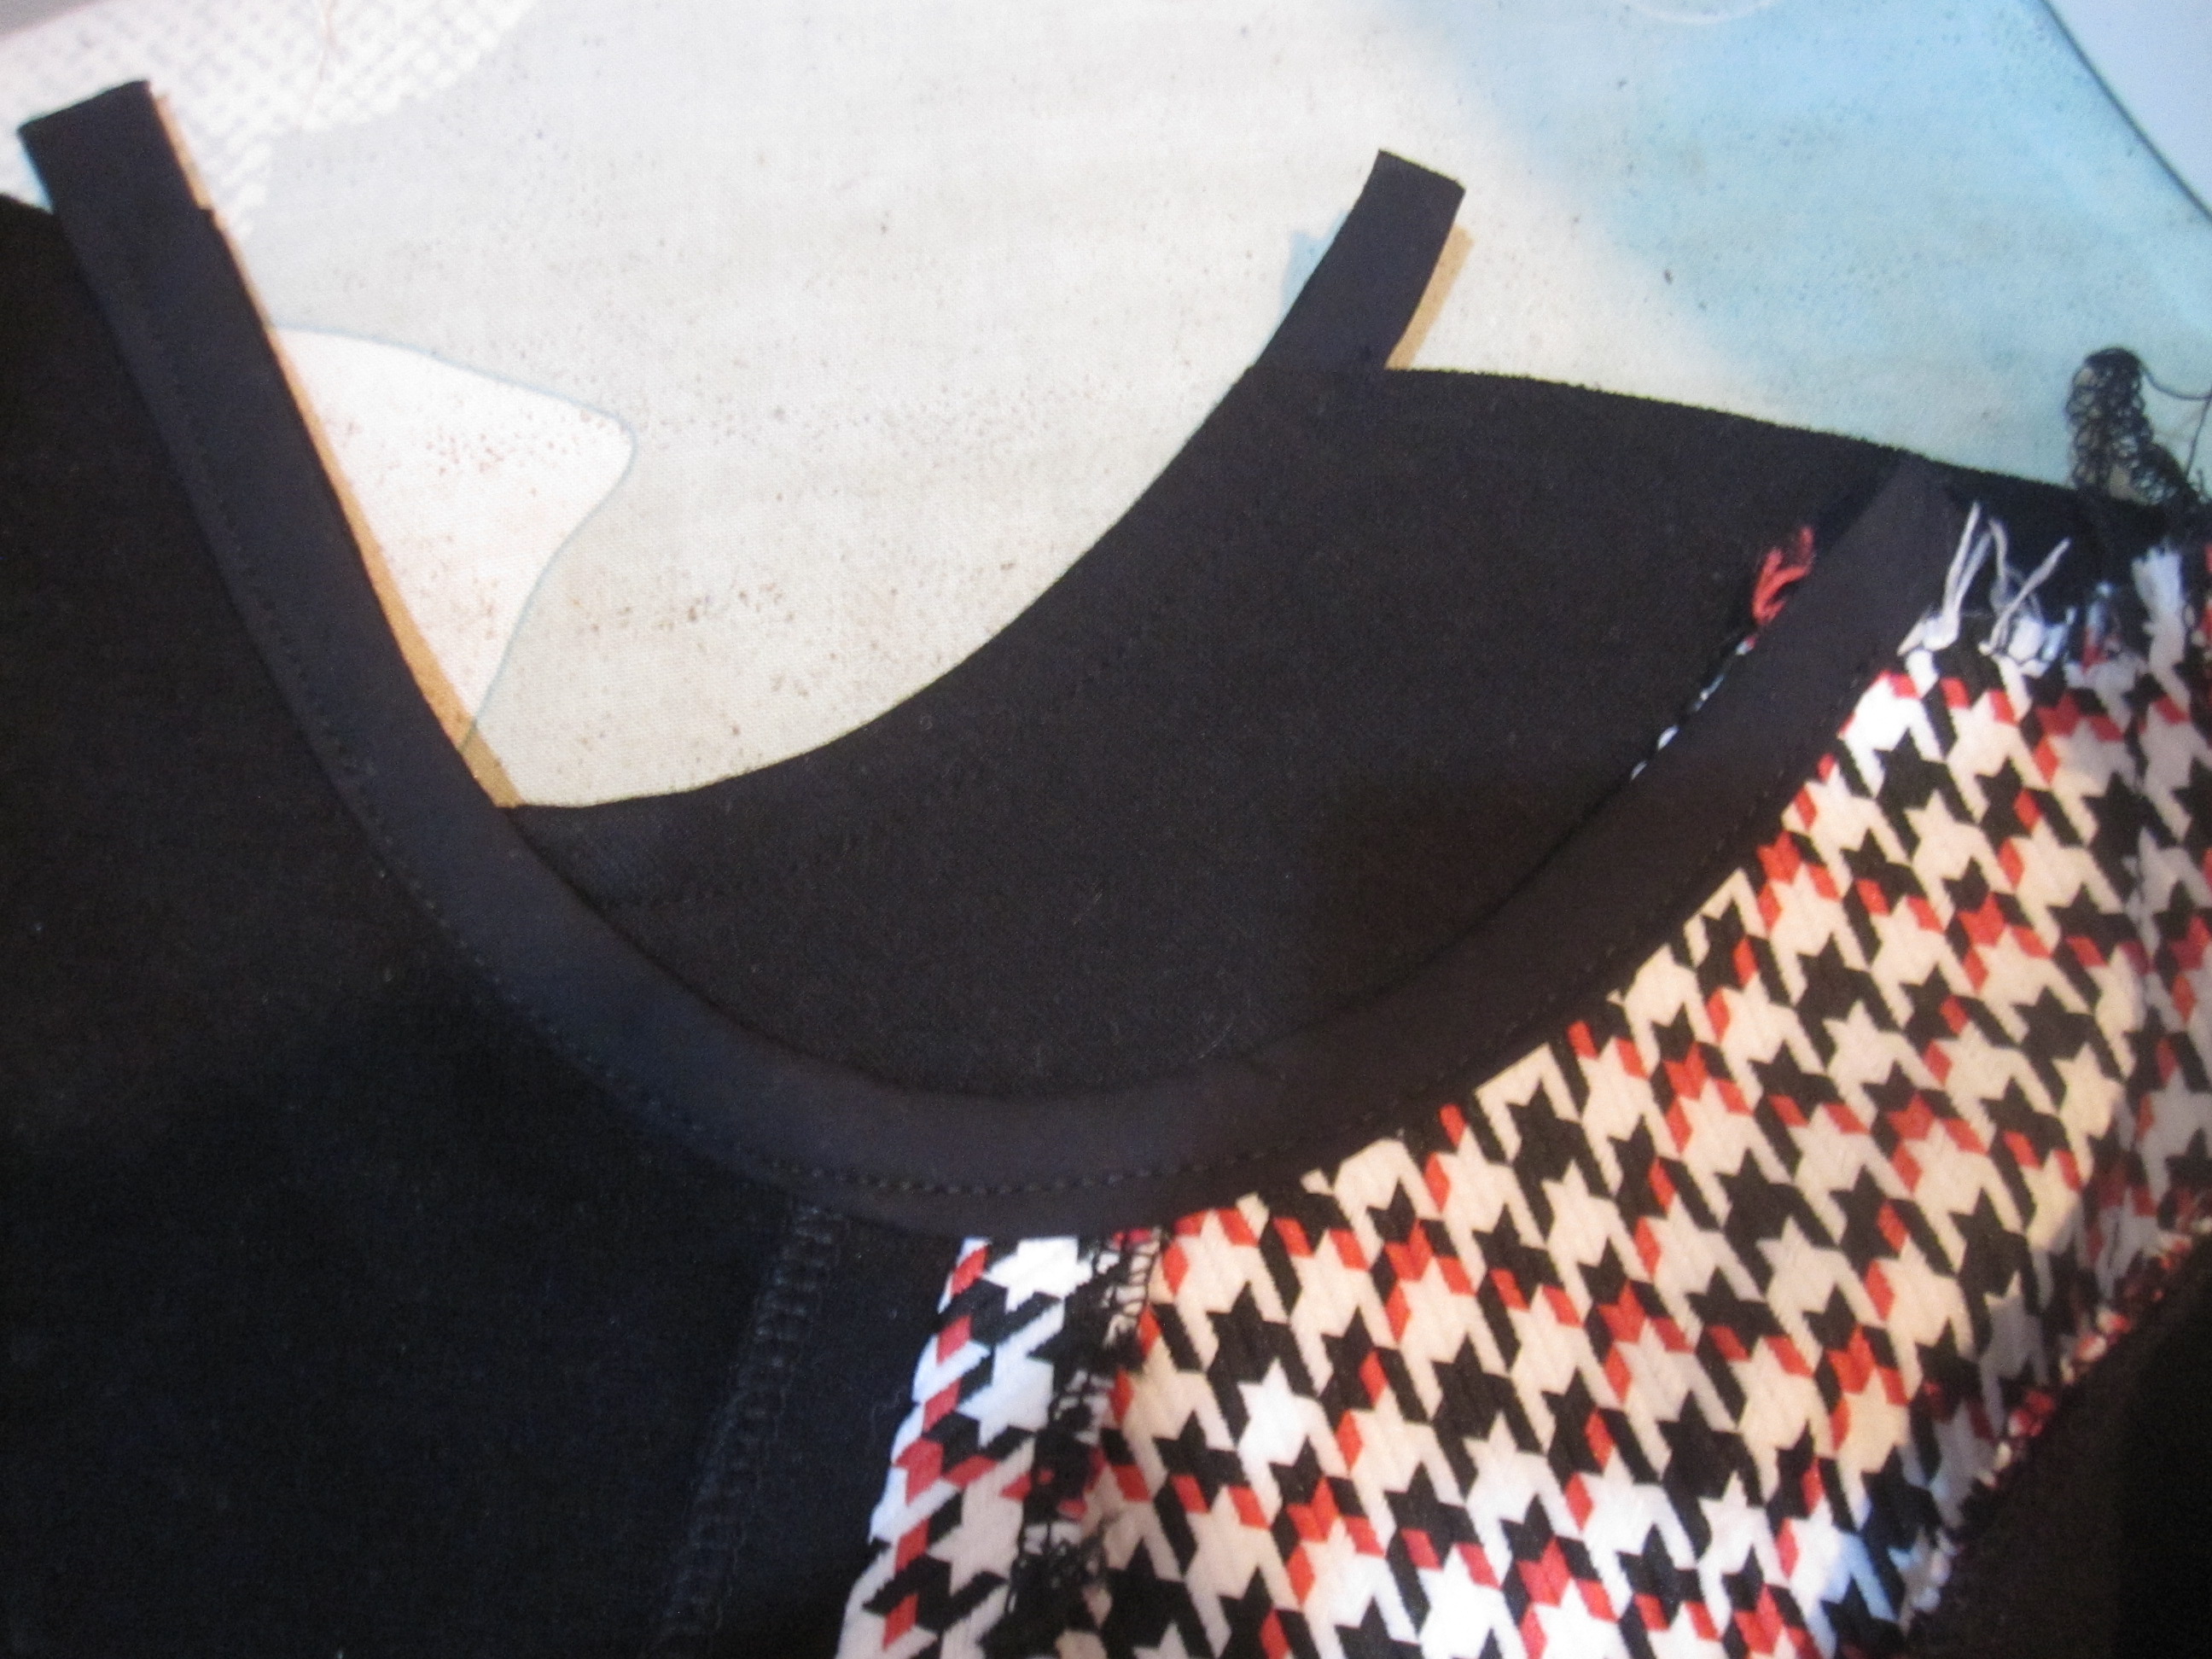
I finished the lower armcsyes on the dress portion with bias tape, then applied the yoke fashion fabric.
It was important that I left the seam allowance unsewn at the bottom of the yoke armscyes, because I then turned the lining seam allowance under and hand stitched it in place.
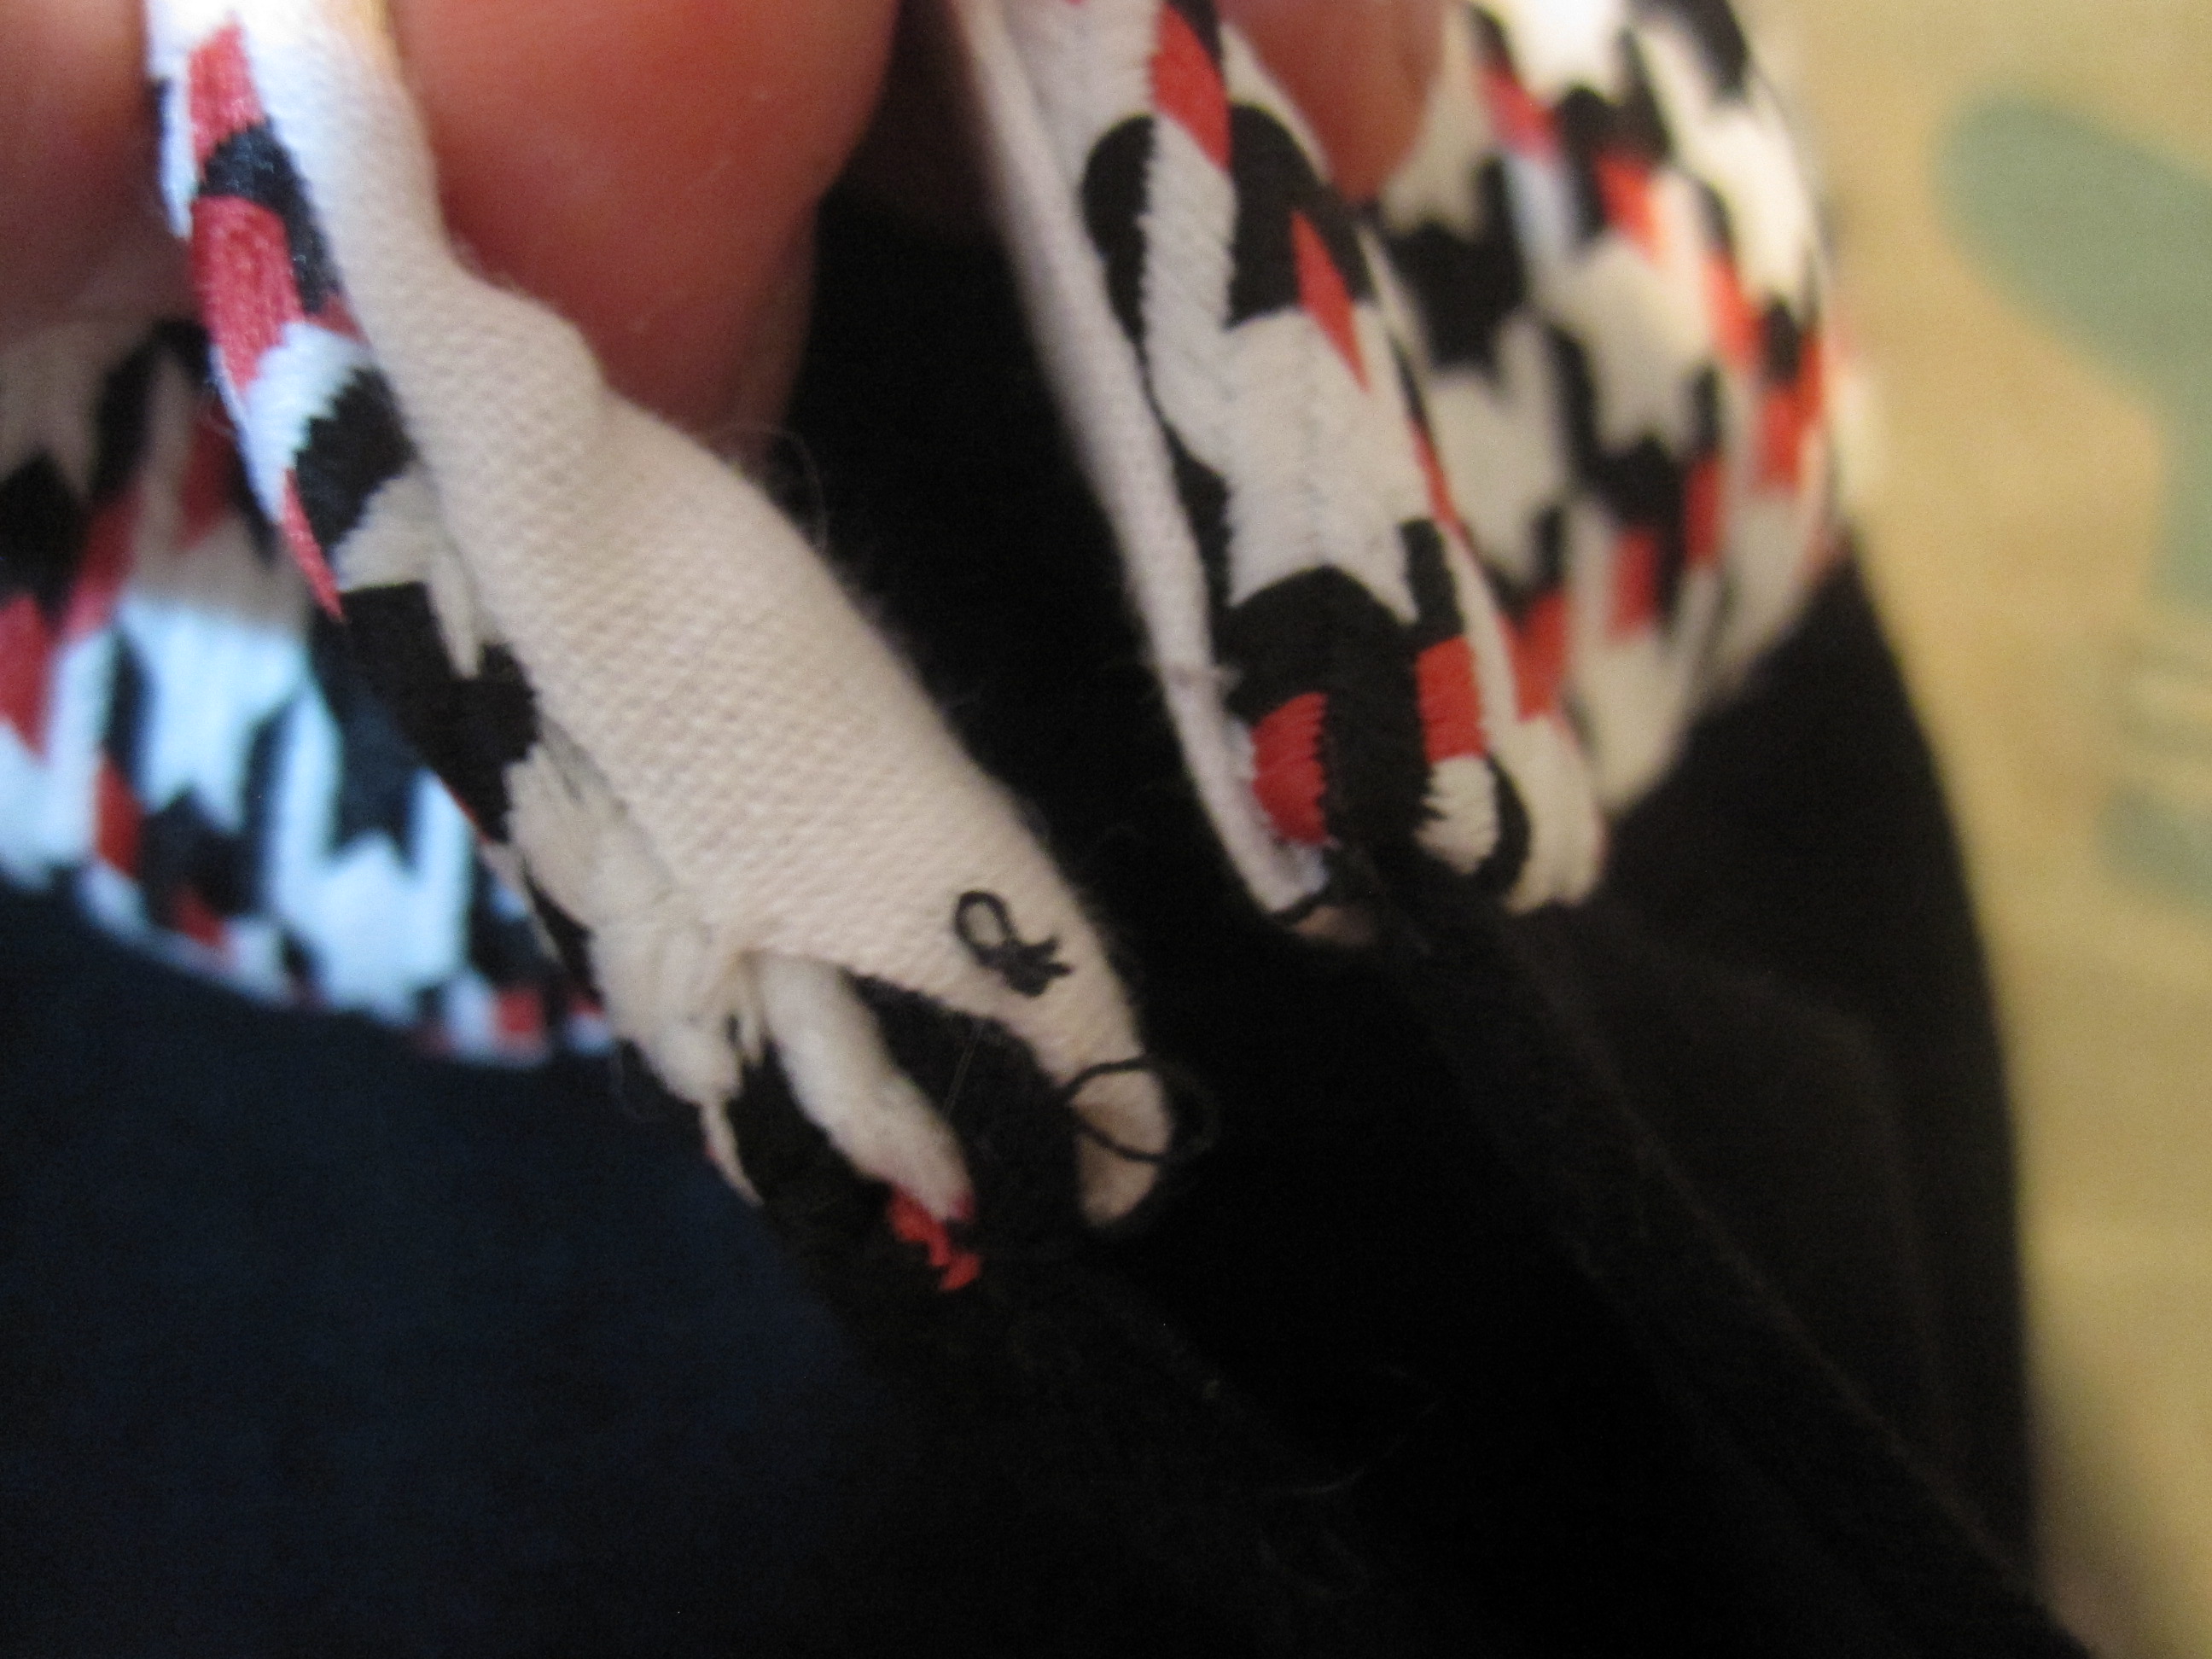 |
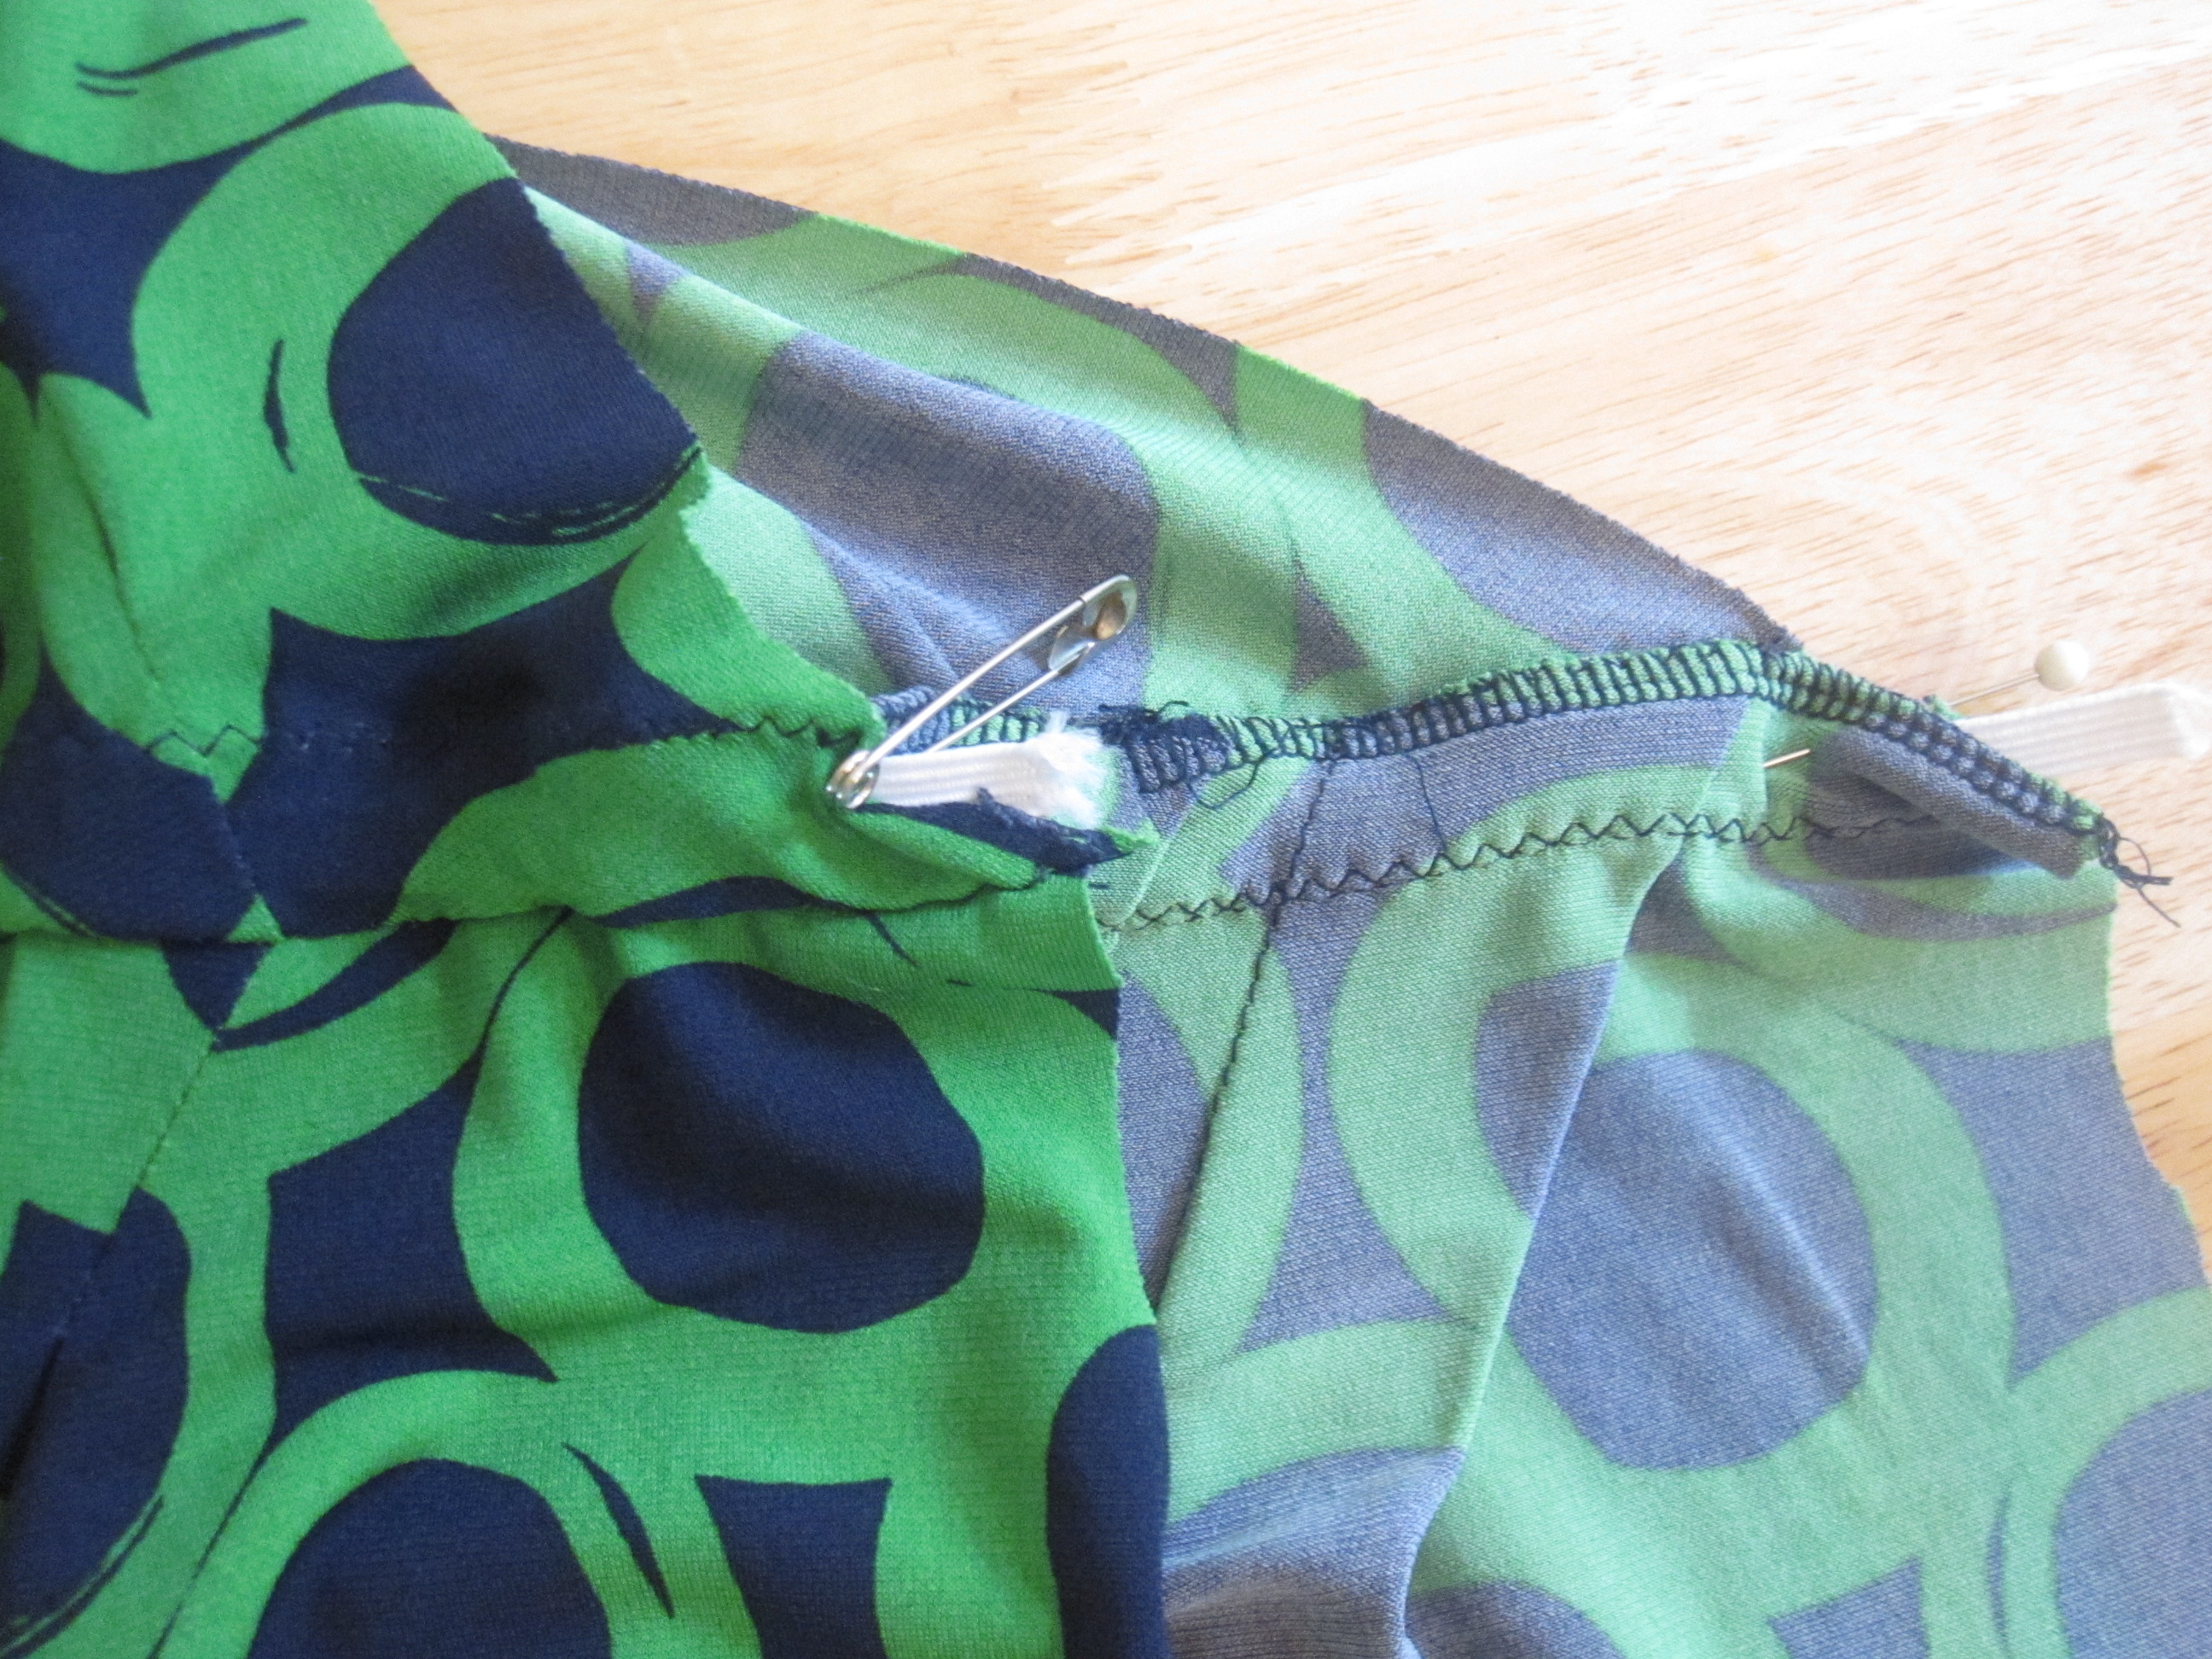
| Untreated on left; Steamed and pounded on right |
There was a LOT of bulk at those corners where the yoke and the dress are joined at the armscye, but heavy steaming and then pounding took care of some of it. It is not noticeable in wearing. (The slight gape from the dress being slightly too large is, though, grr.)
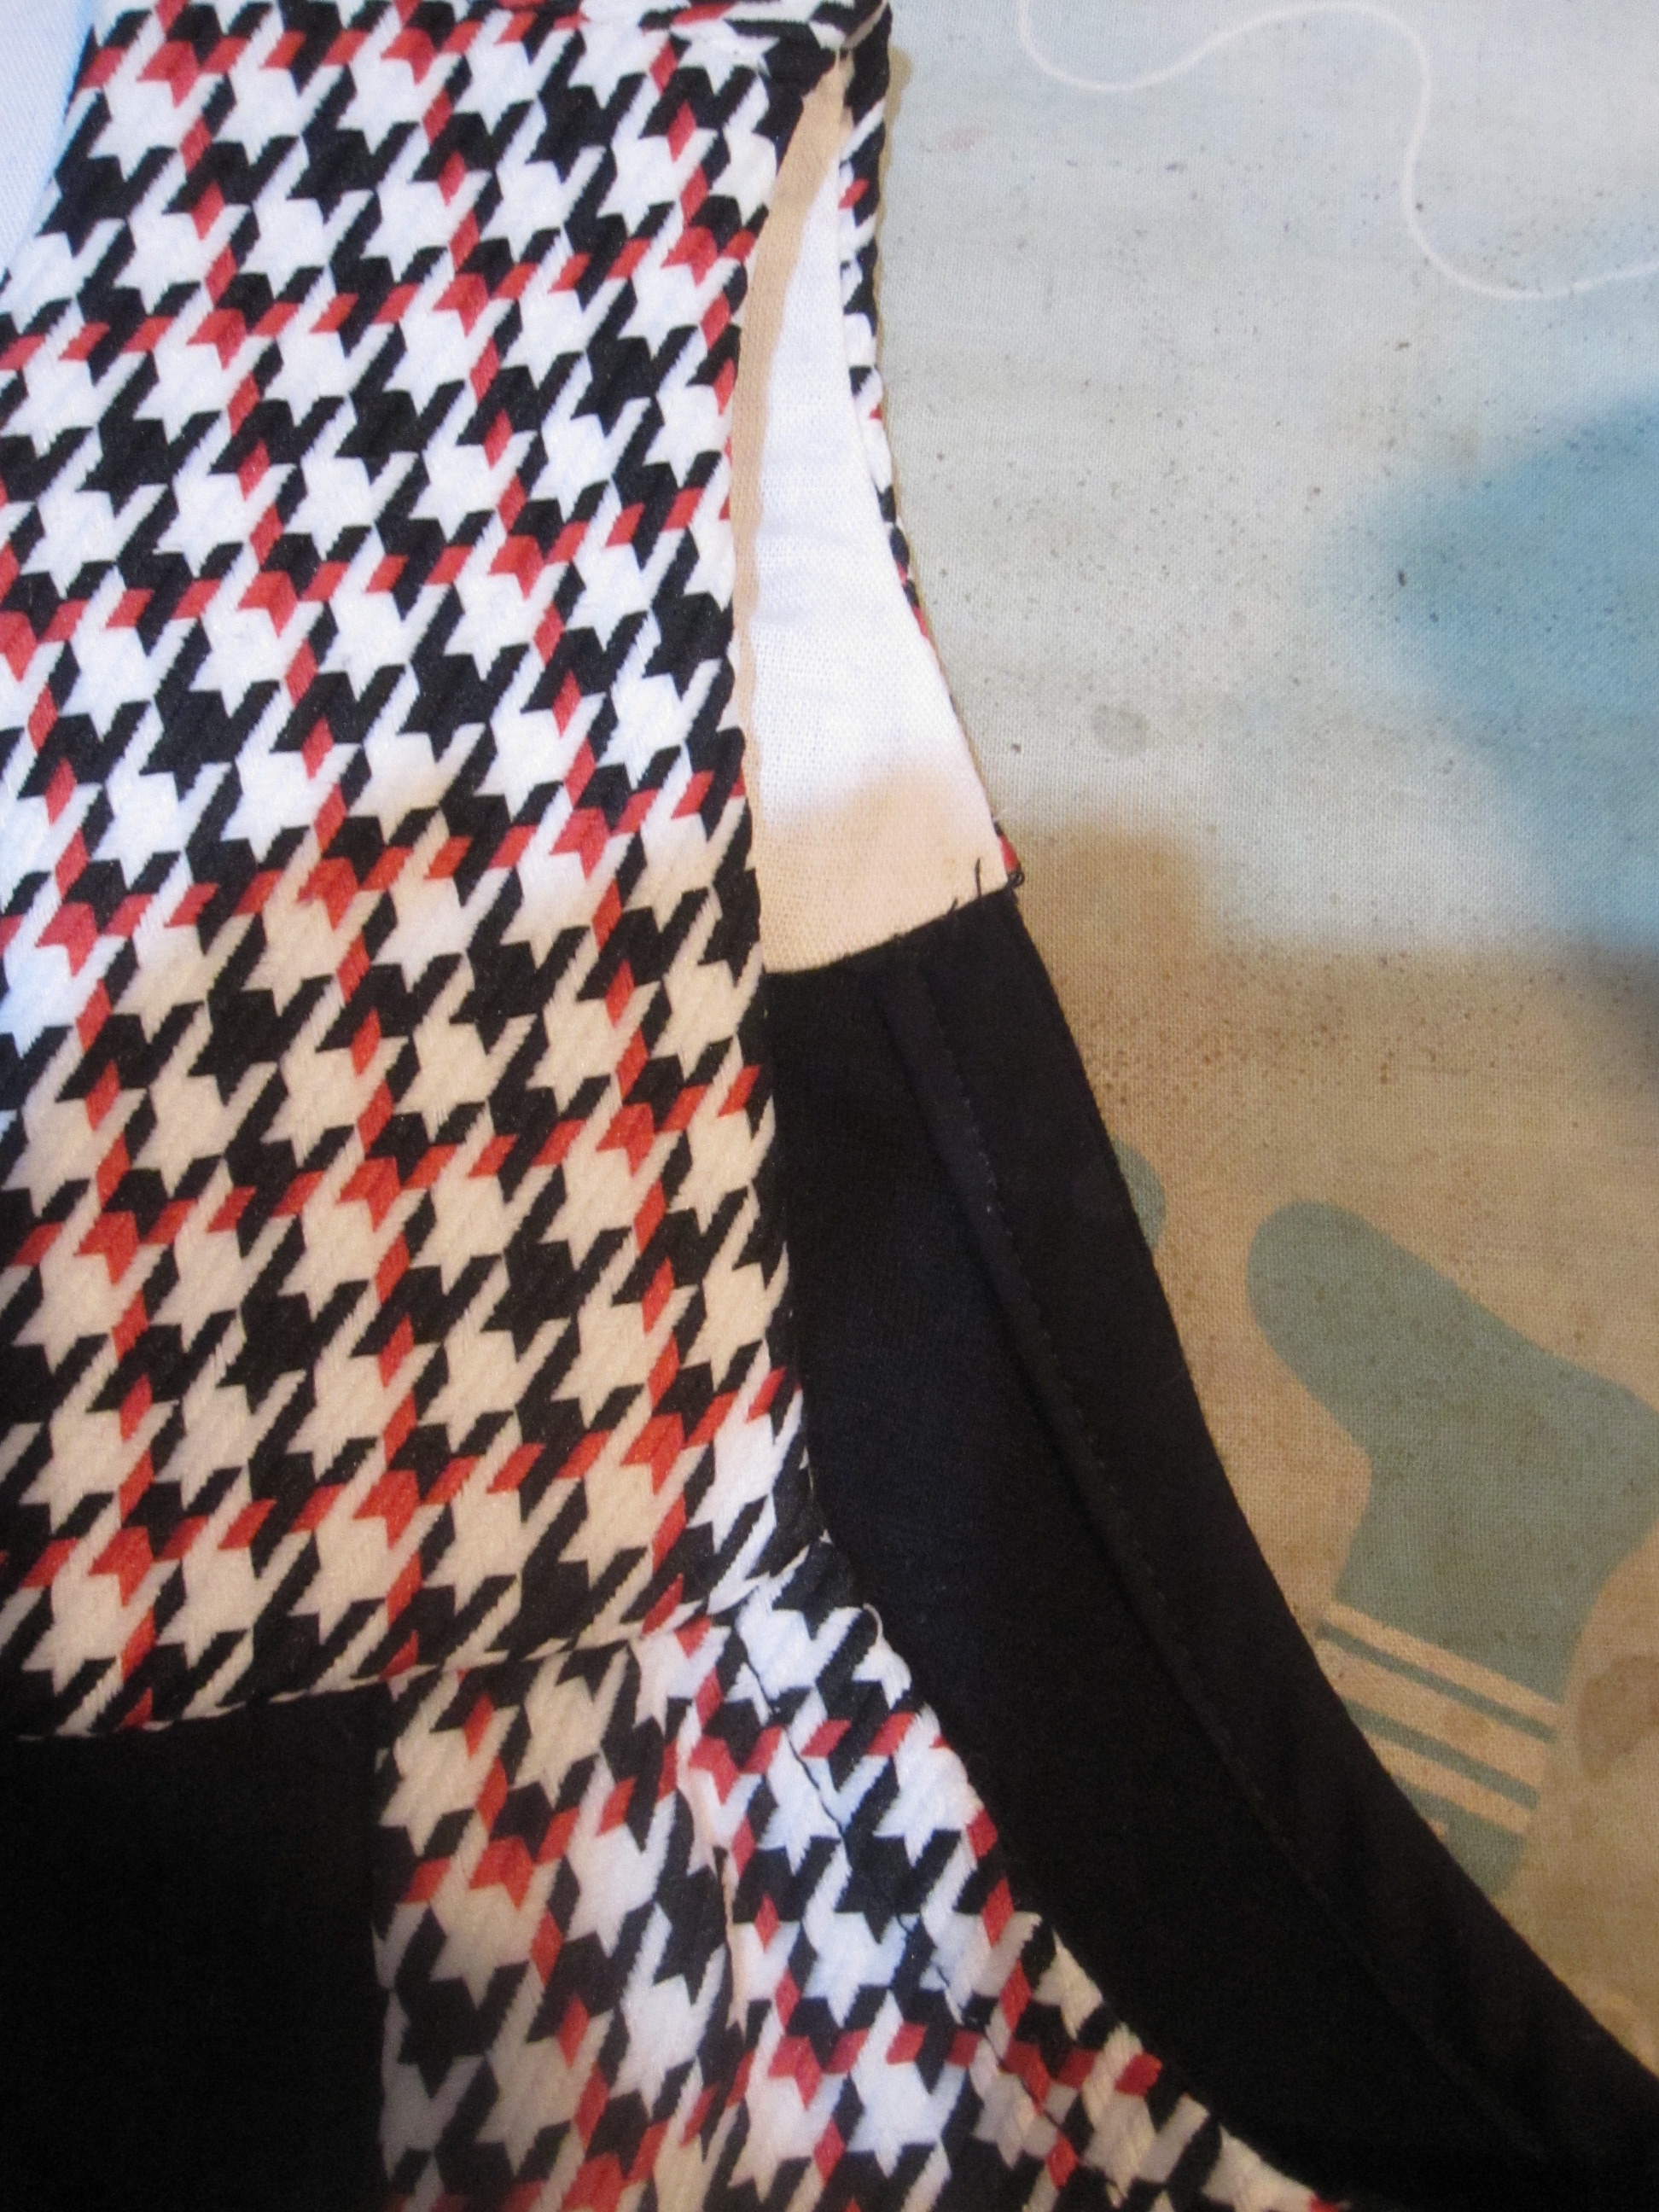
I ended up with a nice finish, but next time I would probably draft a facing the finish the neckline and the entire armscye at once, which would be a lot easier and eliminate that bulk.
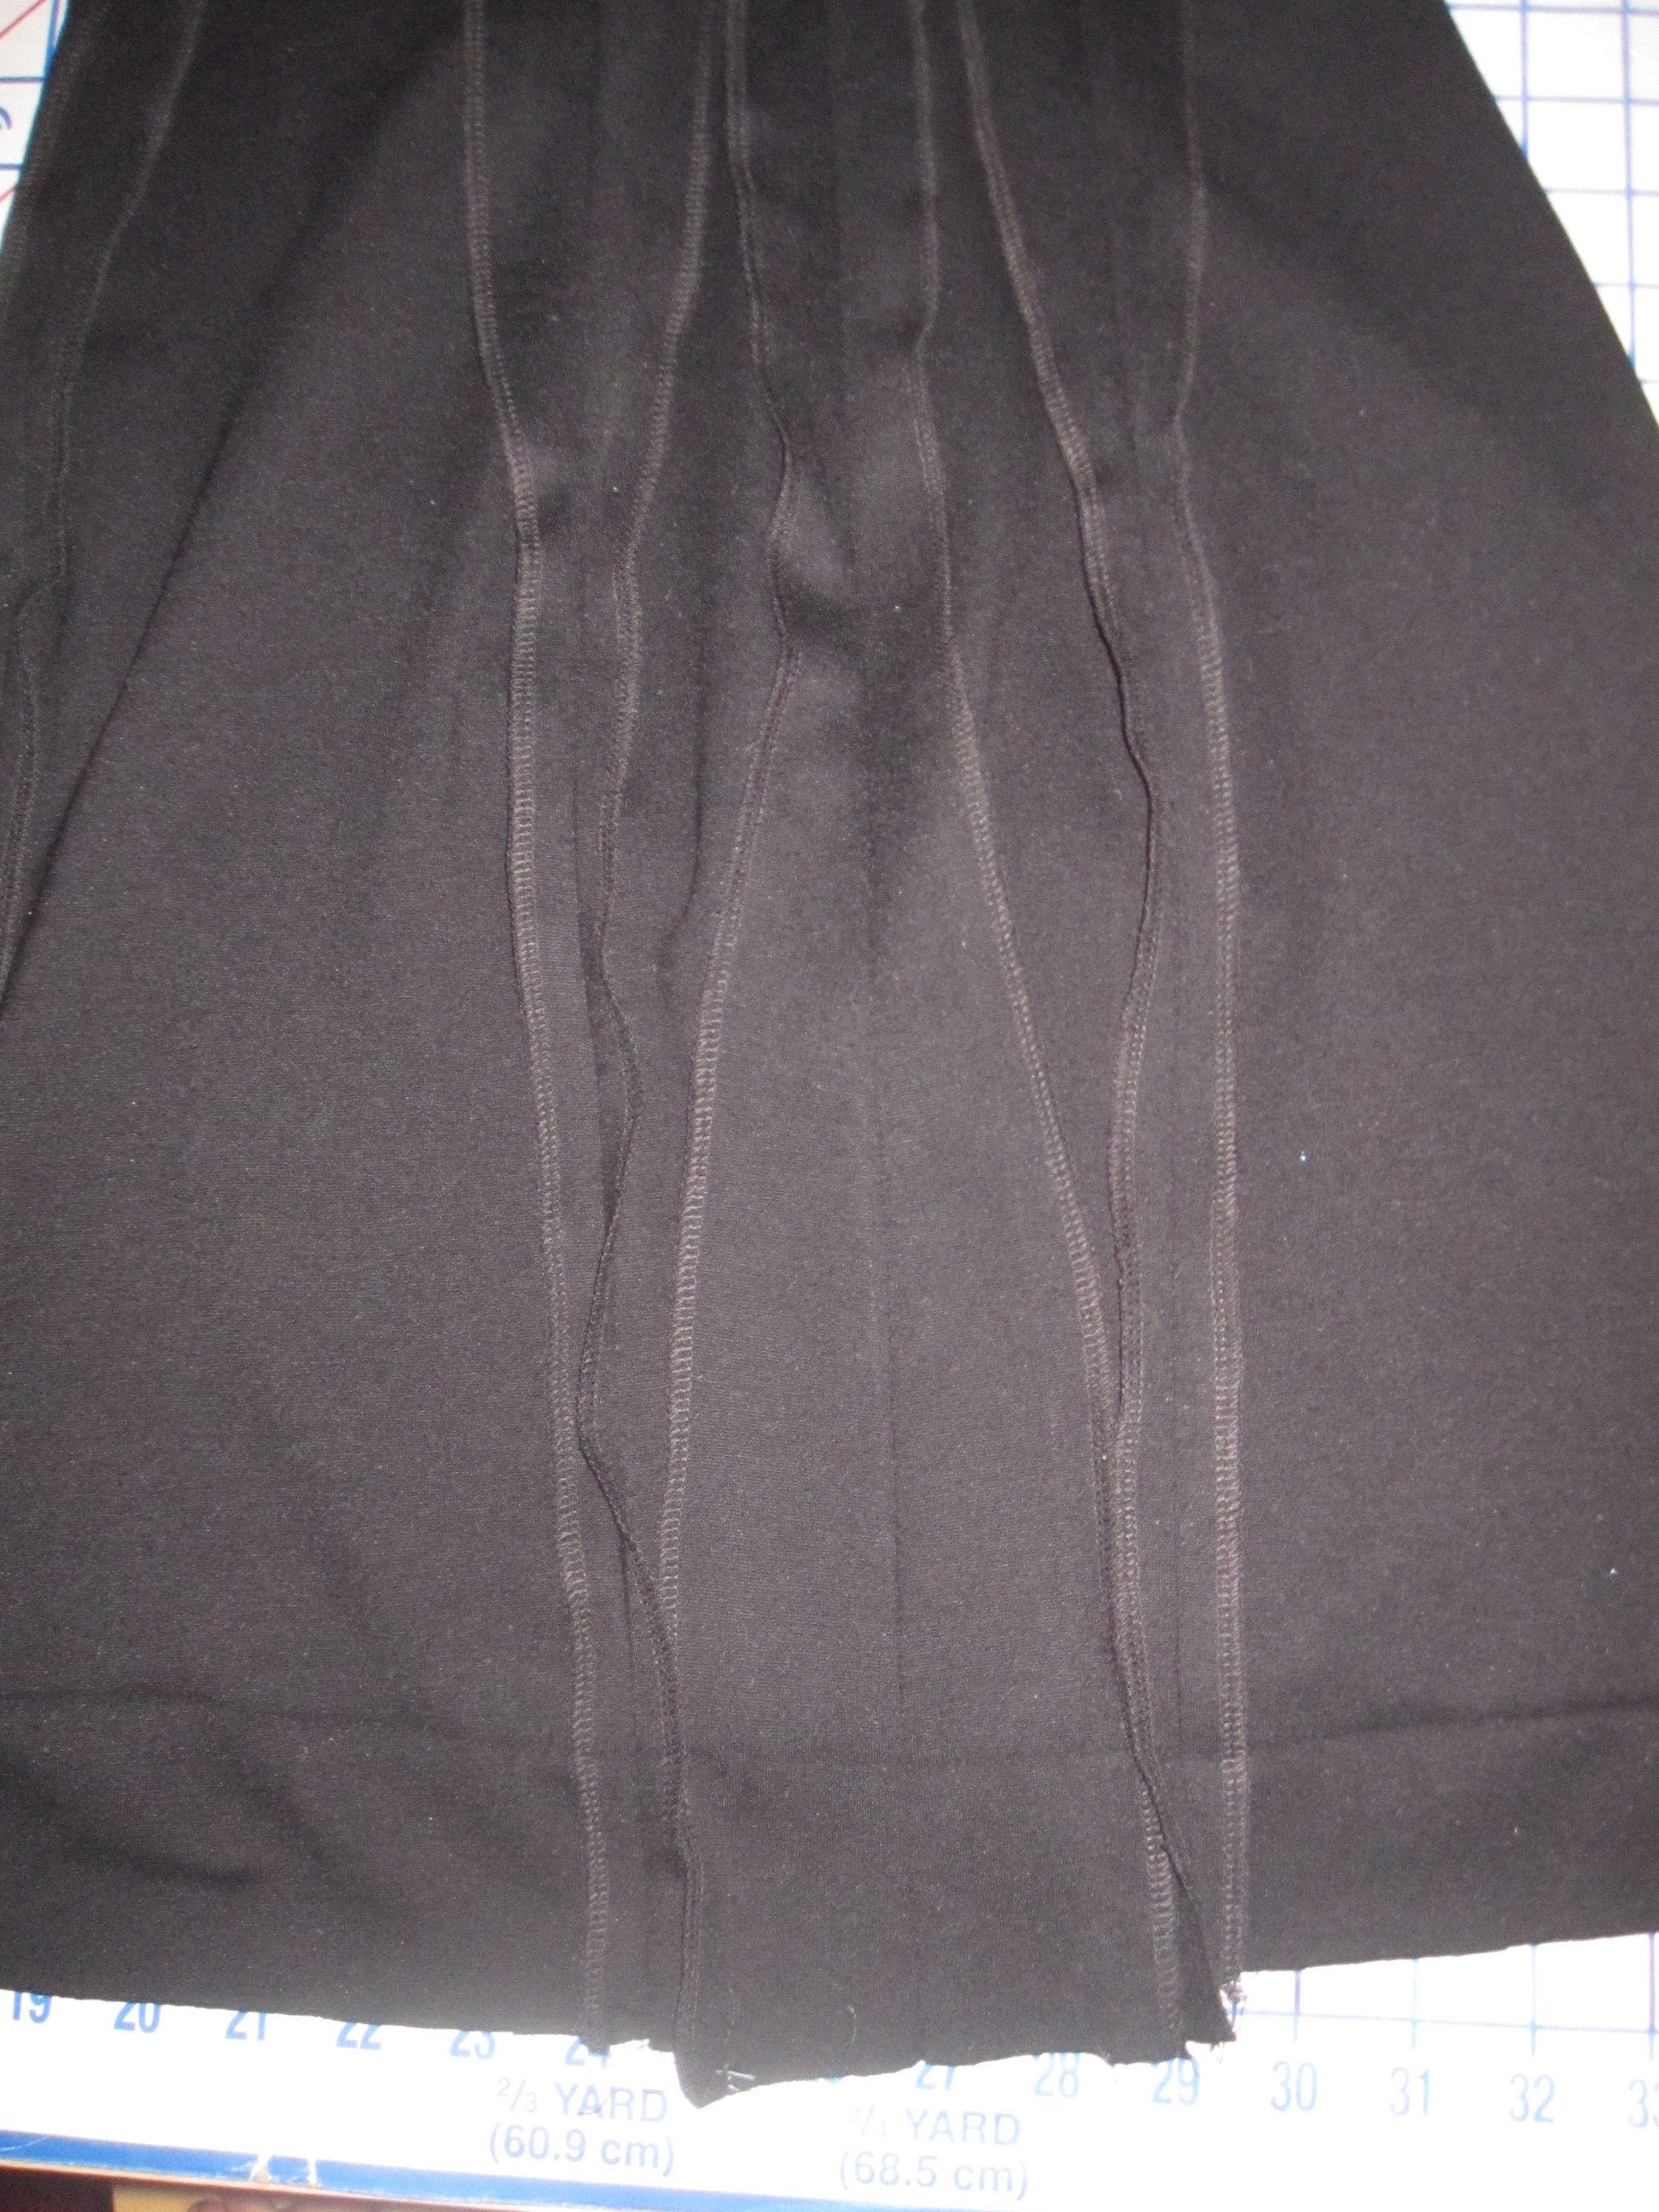
I had major sharkfin at center back below the booty, presumably because of my body architecture. I took in the center back seam by around 4 inches at the hem, tapering up to the curve of the booty.
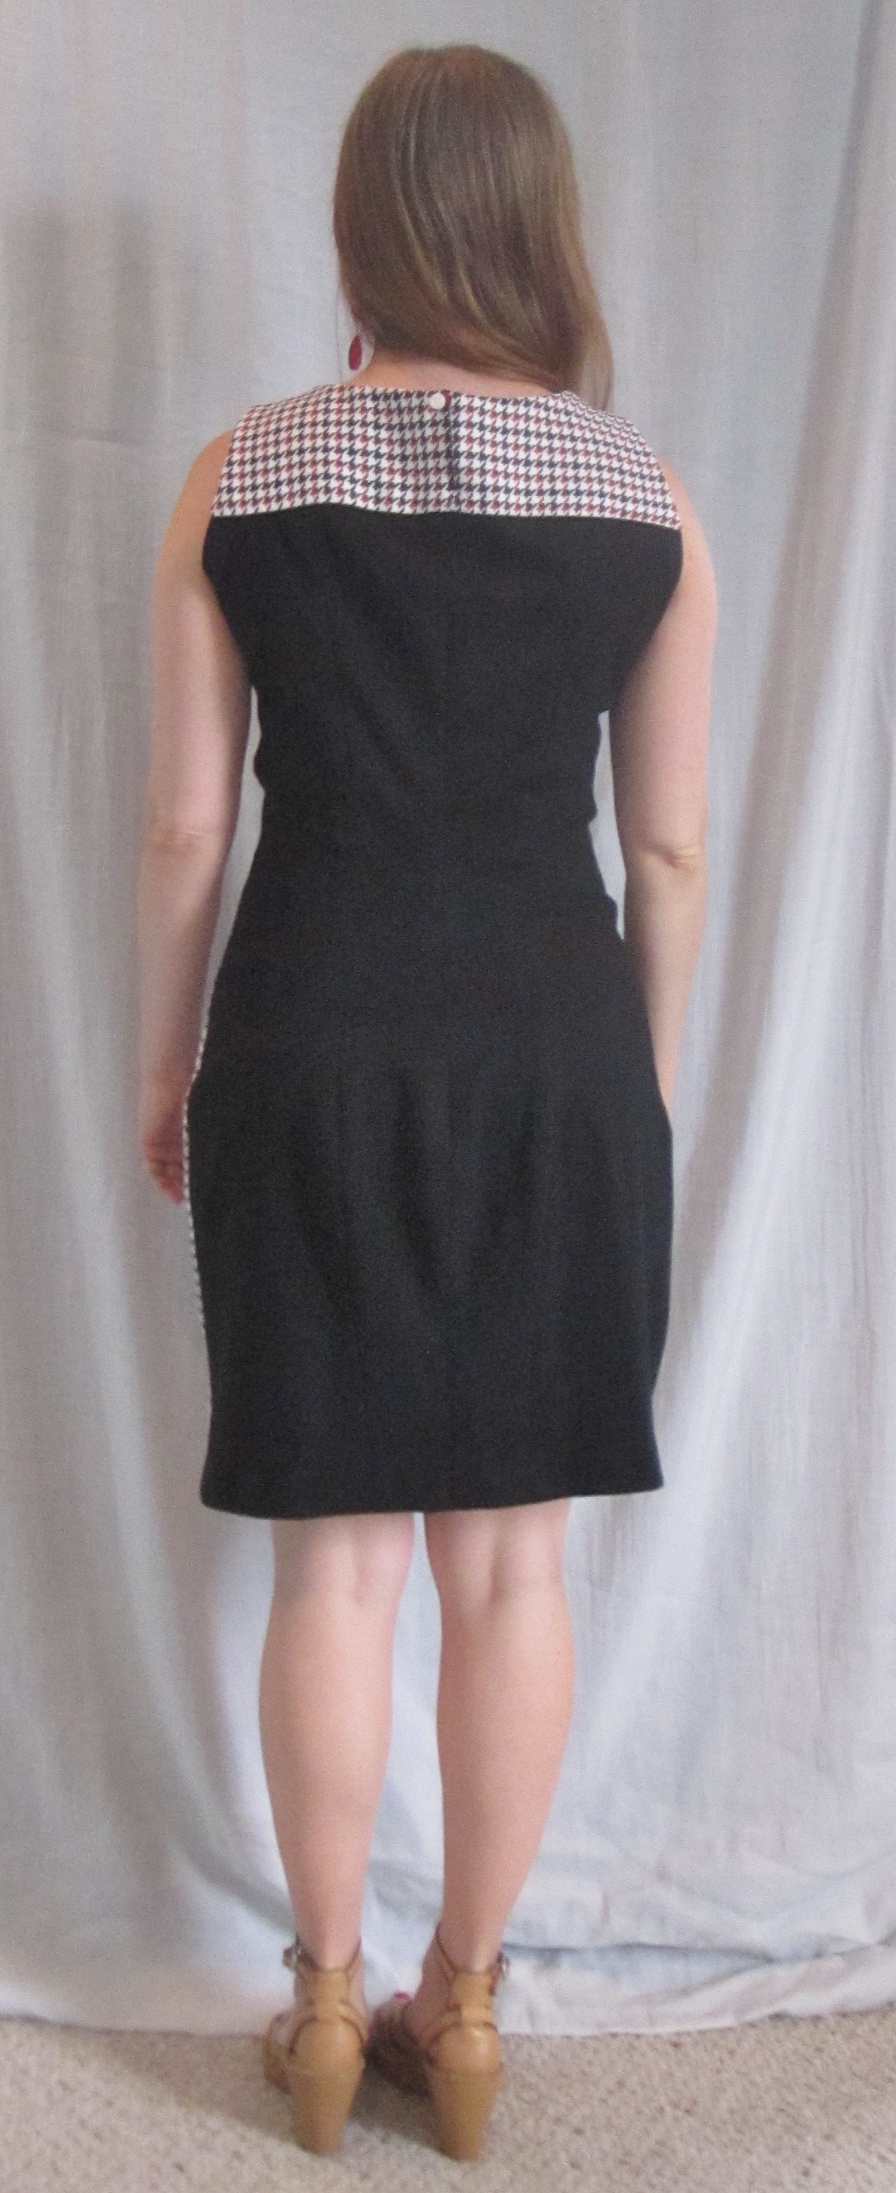
The back is still not awesome and still does not have the traditional pencil shape with noticeable fitting at the hem, but I was afraid to mess with it any more lest there be nothing left of the center back panels. From the photos (of course, I can't see this in real life), it looks like I need to take the side back seams in a little below the booty and have the CB seam hug that curve a little more.
Even with all these adjustments this was a satisfying, fairly quick project completed in a single day of probably 7 1/2 hours of sewing. Ponte knit: the future is now. I just wish it was easier to find good quality ponte and divine in advance if it was going to pill. I used this black ponte fabric in my Butterick 5677 Joan Holloway colorblock dress and so far that dress has held up well. Fingers crossed it stays looking good because I want this dress for a long time!
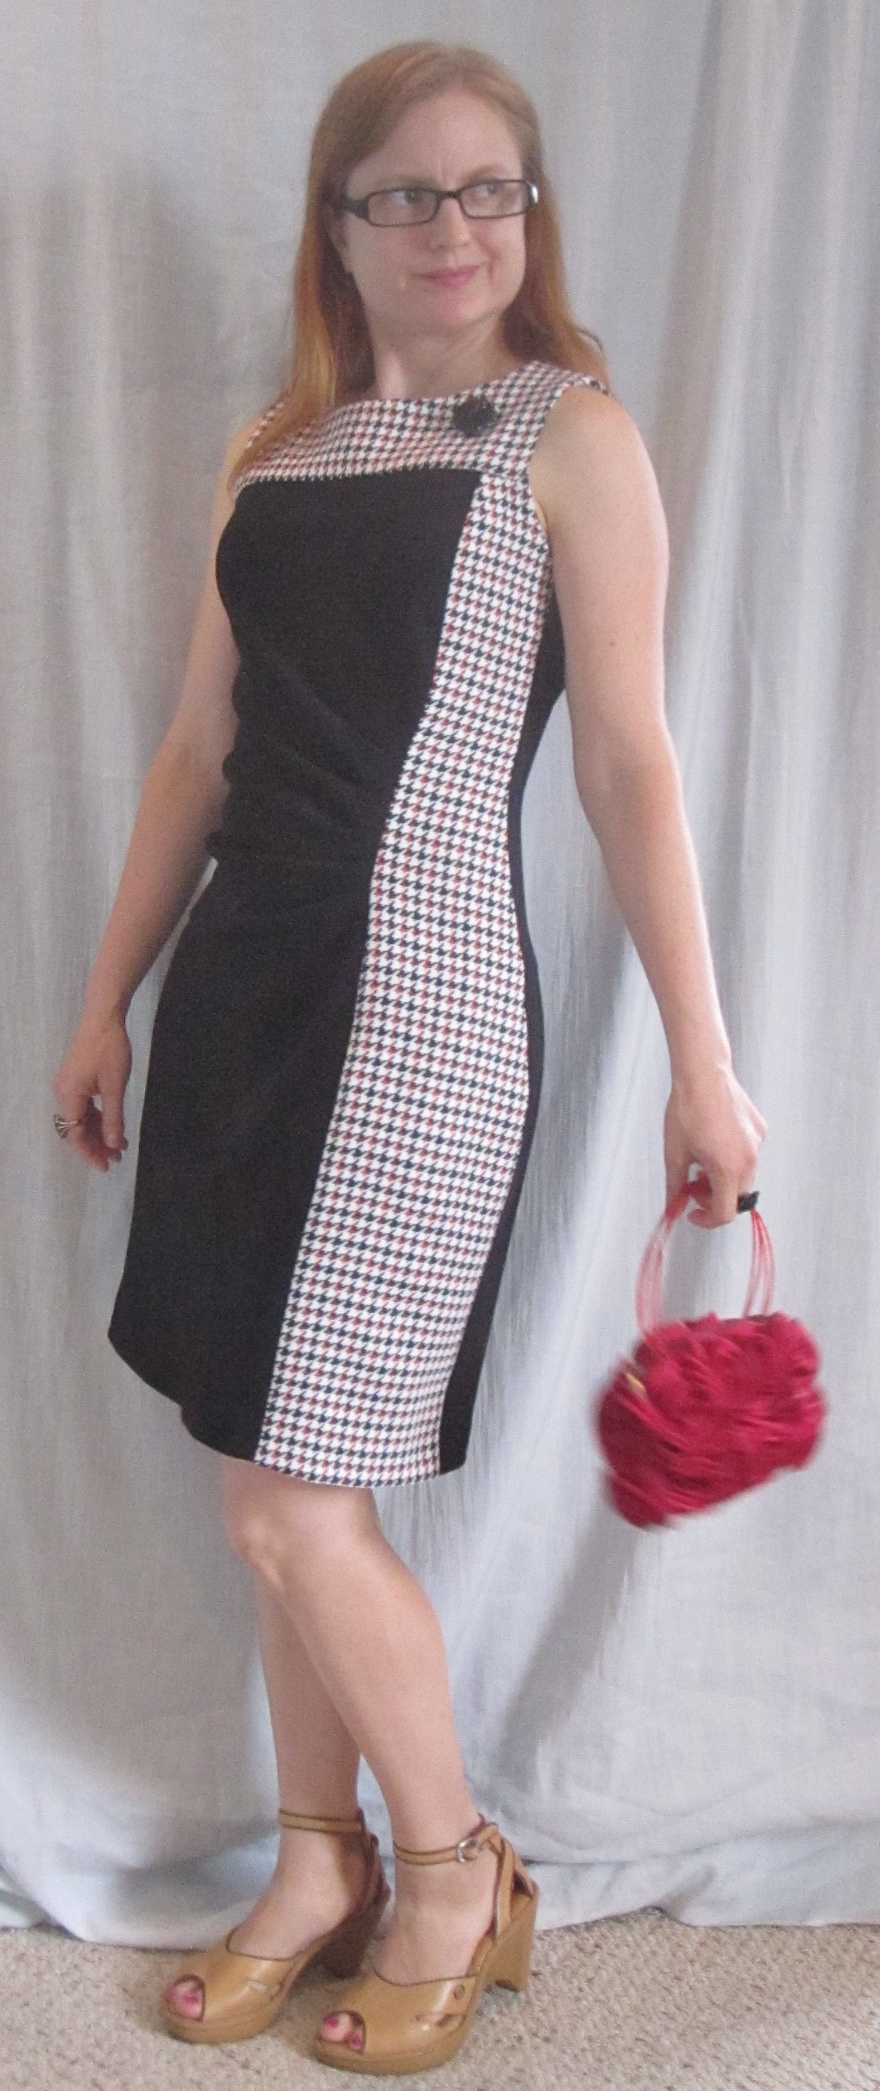
If you want to feel insanely good about your sewing and your body, you must pick up this pattern. I say this even with all the flaws I've just pointed out with mine! Hurry, before colorblocking is totally passe; though it can, of course, be made in a single color. Now I actually *want* to go to a networking event, just so I can show this off! (Introvert=LOATHE networking, even when I know plenty of people there. It is exhausting.)
All photos are here and the pattern review (my 300th review!) is here.







.jpg)


.jpg)


