-learn welt pockets.
I can now officially cross that off the list.
-
Over the years I have read many, many tutorials, instructions, musings, directions, philosophizings, and all manner of writings on welt pockets but I could never make heads or tails of it. One of my big problems in sewing is that I do *not* have a 3D mind. I am a verbal person; I think in script, not pictures. Trying to mentally put together a three dimensional object makes my head explode. When I'm trying to figure out a construction problem I have to cut out little paper shapes to make sense of things.
But somehow, someway, all that reading and thinking about welts finally sunk in and a few weeks ago I was laying in bed trying to go to sleep and thinking about sewing (of course) and suddenly it seemed that they made sense. It seemed so simple and obvious, in fact. You sew the welt to the fashion fabric right sides together, clip, and then turn the welt through your clip and it's done. I was excited but cautious--could it really be so easy?
I didn't have any reason to try it out until this weekend when I finally made the coat I've been needing for a while. I could either put pockets in the side seams, or I could try my hand at welt pockets. If you, too, are struggling with the welt, hopefully this will be a cumulative entry in your quest to *get* it. I certainly would not have done it had not many, many before me helped me out.
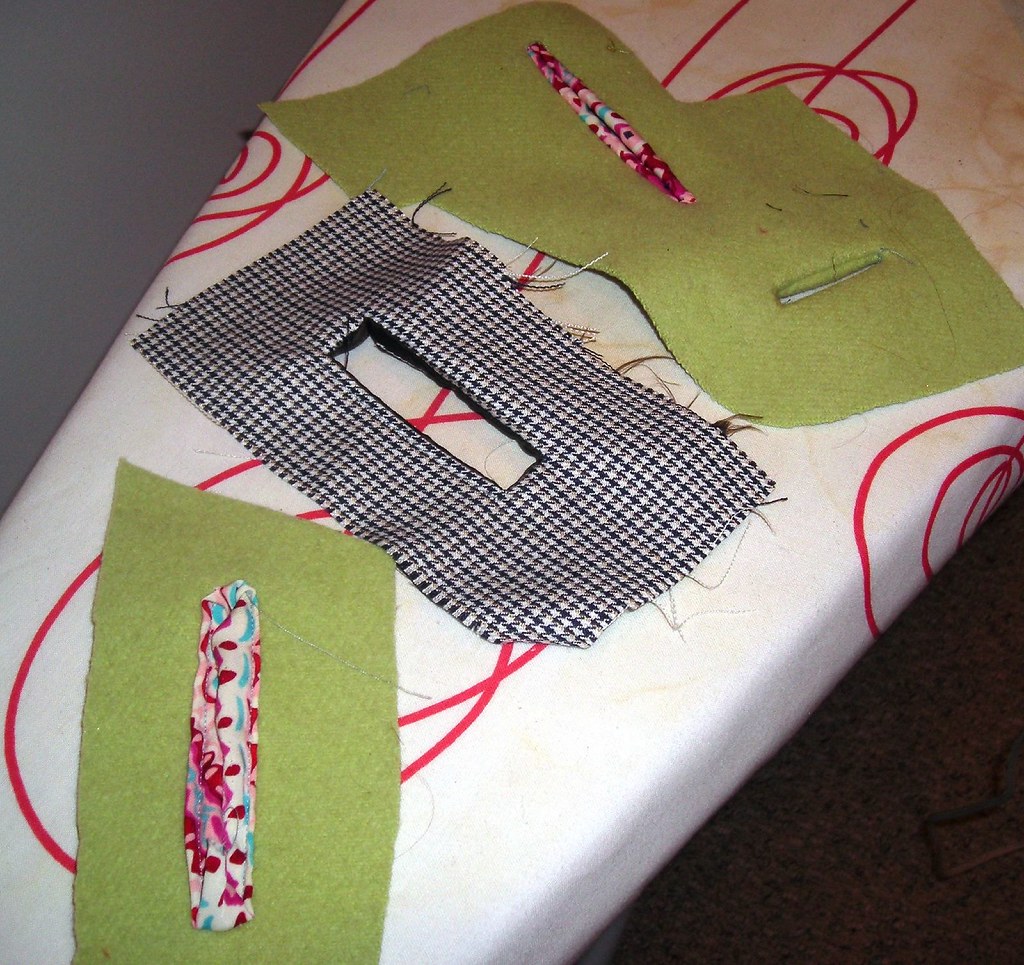 First I decided to practice. And what to my wondering eyes should appear? Welts! For reals! I did several to make sure I had the technique down and then I was ready (scared, but ready) to put them into the coat.
My technique for the combo welt/pocket piece is non-standard and a round pocket is nicer, but for my first attempt I really was not in the mood to be fussy about the pocket shape.
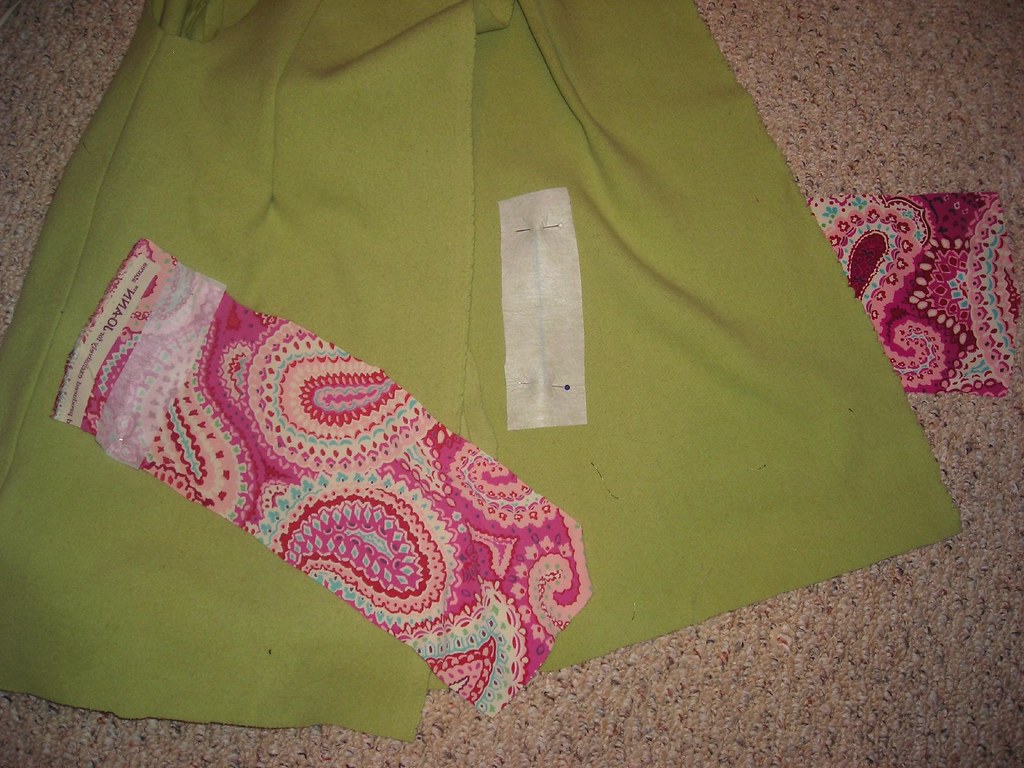
First I fused heavy interfacing over the welt line on the wrong side of the coat and the welt.
Next step was the first place I got stuck. I had marked the stitch lines on the welt and the location on the wrong side of the coat. I couldn't see both of these sets of markings at once. Even transferring the location line to the right side of the coat wouldn't have done me any good because my welt fabric wasn't transparent. I thought and thought about how to deal with this and finally realized that I actually didn't need to mark the stitch lines on the welt, the only important line was the placement line. All I needed to do with pin the welt so that the two interfaced bits were approximately on top of each other, and the pocket was facing the direction it would eventually want to face (i.e., angled down and toward the front). Remember, right sides together!
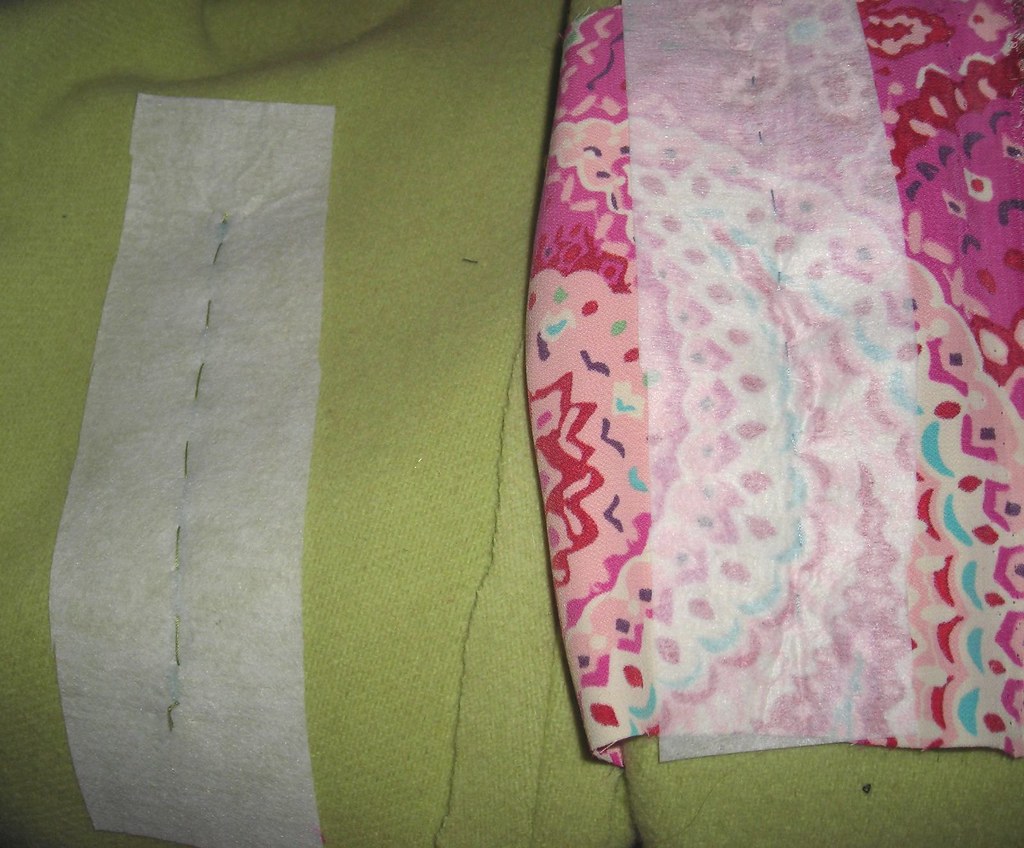
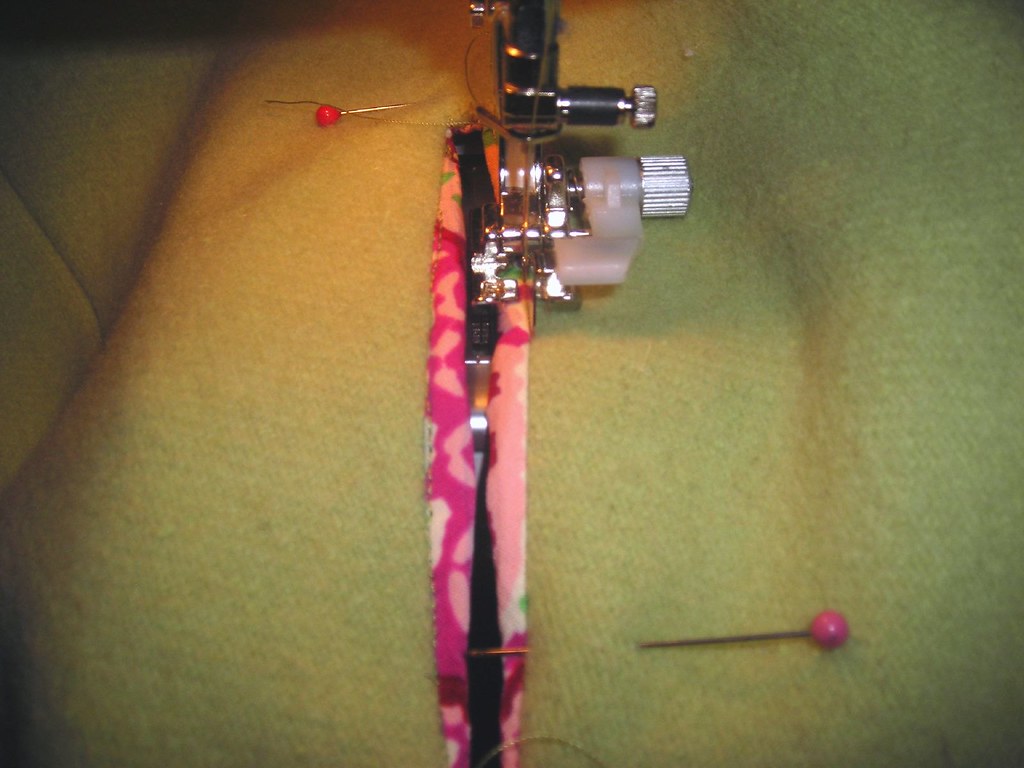
With the pinning over with, I still wasn't quite sure how to mark the stitch lines. Then I hit upon hand basting. I am not one to baste anything, ever, and I am *definitely* not one to hand baste. But in this instance, it was the best solution--and of course it took less two minutes. I did the hand basting exactly over the placement line. Now it was easy to see where to put the stitch lines.
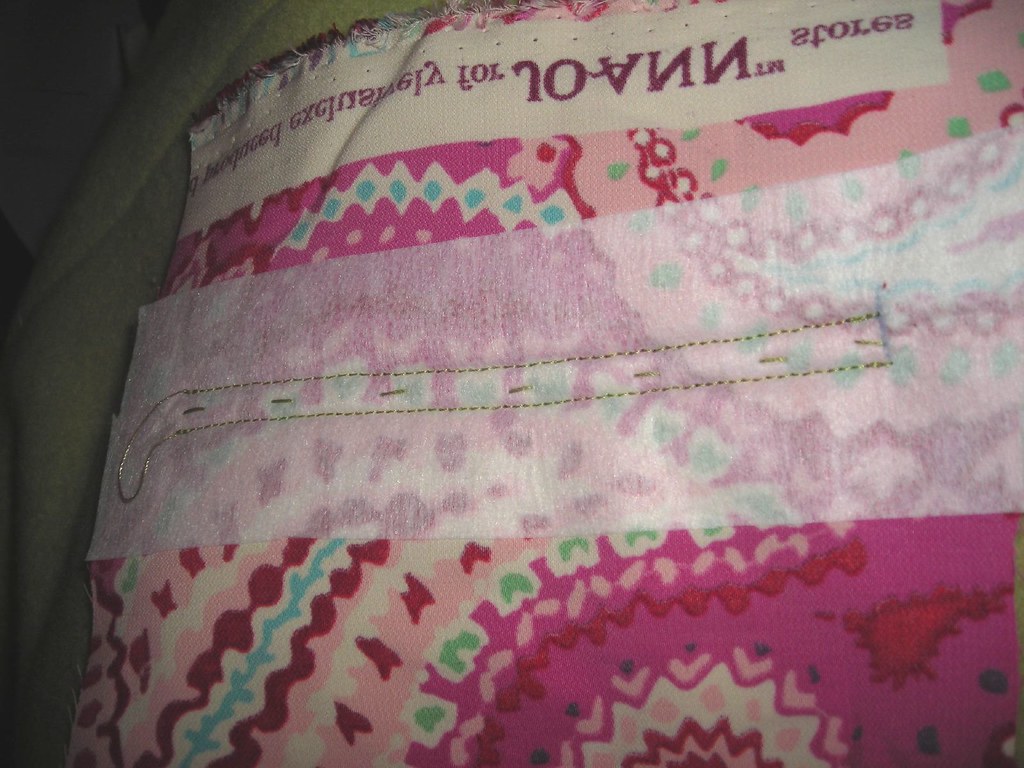
I ran the inside of the foot along the baste line for the first leg, and then I turned it around ran the outside of the foot along the first set of stitching to get a 1/4 inch width between my stitch lines. I was very careful to make the lines exactly the same size; at the end where I turned around I was able to see what I was doing, for the other end I marked the stopping point with chalk. All the tutorials I read emphasized the importance of having identical lines.
Next you take your scissors to your project. This is the moment of truth. I started at the center and slashed down to each end, clipping a triangle at the outer edges. The legs of my triangles go exactly all the way to the ends of my stitch lines. It's important to clip as close to the stitch lines as possible.
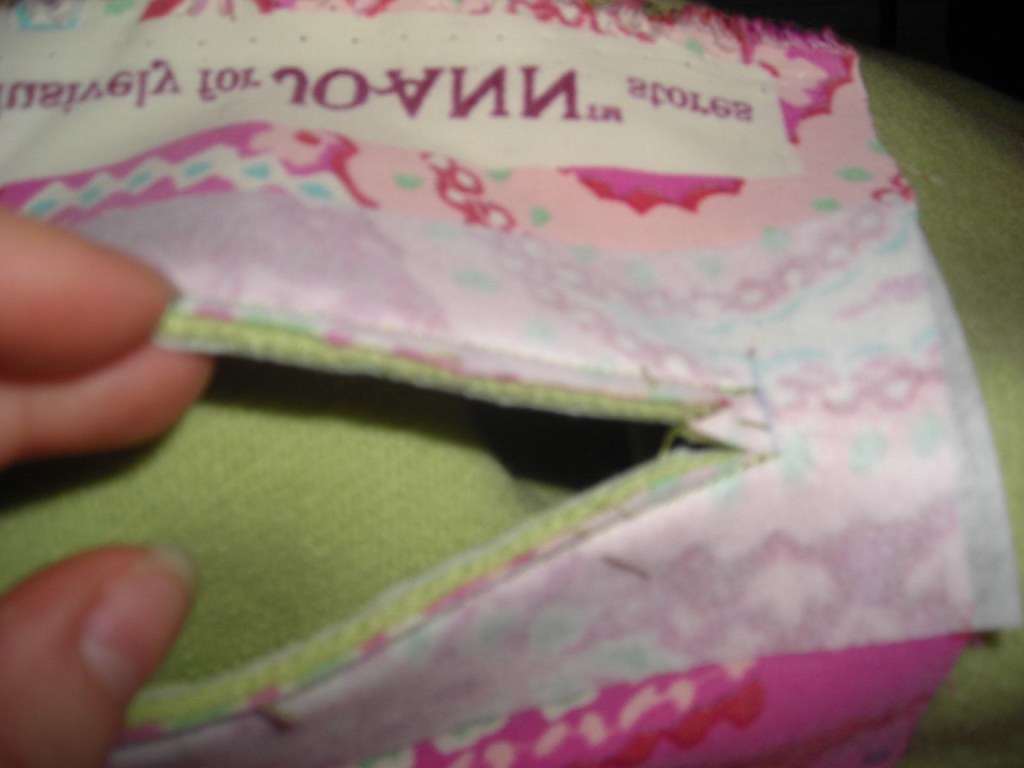
Now open out your slashed line and sew the two layers of your triangle together. None of the tutorials I read were very clear on how deep you need to sew within the triangle. I figured it was safest to sort of close up the two stitch lines. To do this I moved my needle one click to the left so I could get deeper into the triangle. After doing that stitch line, I did a tight narrow zigzag on closer to the point of the triangle to make it as secure as possible.
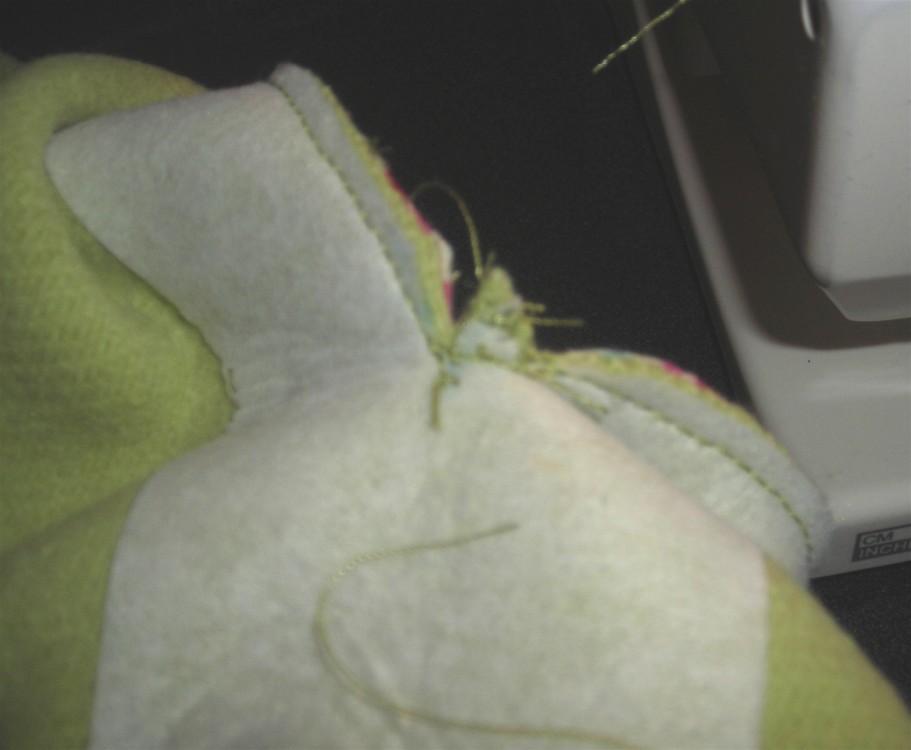
Now you turn your welt to the inside (unfortunately, I didn't think to get a picture of that, and this was the biggest hurdle I had in visualizing the process). Smooth the welt over the slit seam allowances and pin in place. I stitched in the ditch to keep my slippery poly welt from moving around. This was my first time to use a blind hem foot to stich in the ditch.
Next, fold the pocket in half and sew all around.
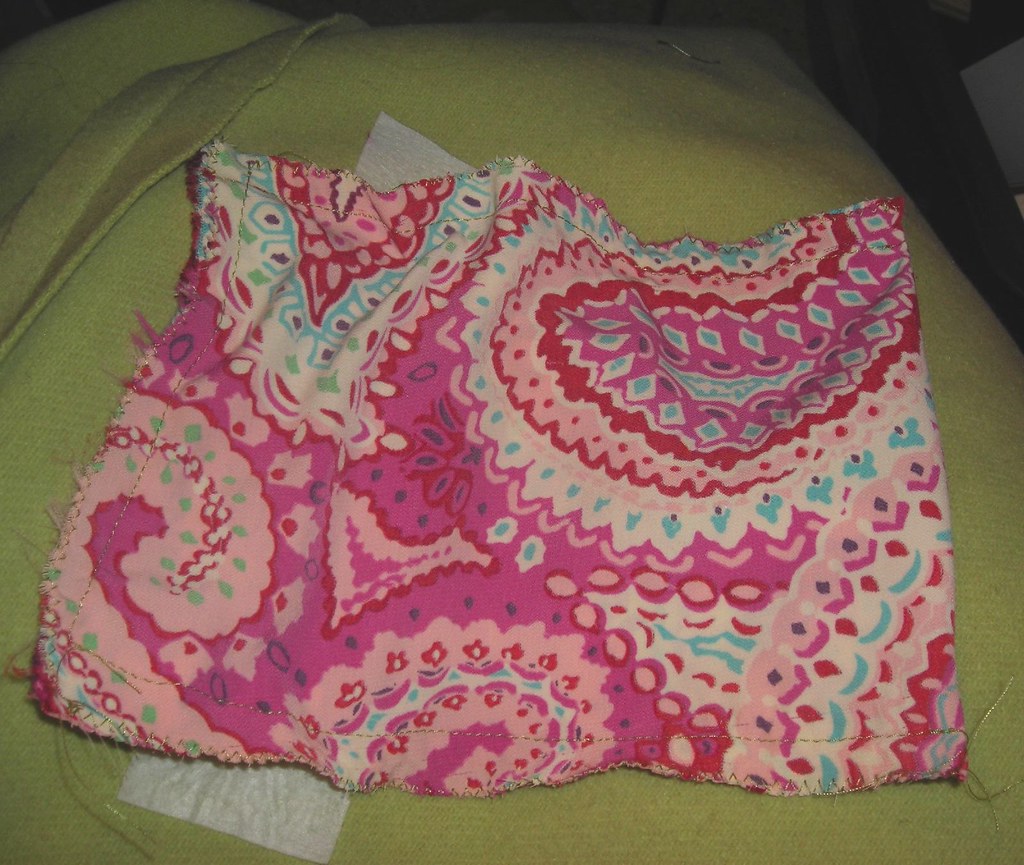
Voila! A welt pocket!

And now that welt pockets are crossed off, can a fly front be far behind? (Answer: Yes. Very far.)


.jpg)


.jpg)


4 comments:
Welt pockets used to terrify me, too. I finally used the tutorial from "Pants for Real People" and made practice ones. They were gorgeous. I have never gotten one right in a garment yet! Every single welt comes out as a double. I just don't know why!
I'm still suffering from fear-of-welt-pocket, but this is the year. I've never been afraid of fly fronts the same way, probably because zippers can always be picked out but once you cut a hole in your garment, there's no changing your mind.
Bravo, yours worked out great. I'll have to re-read this entry when I'm about to try mine.
Congratulations! I still haven't made a welt pocket. I get all confused by "single welt" "double welt", etc. I suppose I should just get my hands dirty and try one!
BEAUTIFUL! That's a welt pocket with style. I love it. It's on my list too, dying for a cross-off. Soon, soon... I just hope it will cross off as nicely as yours!
Post a Comment