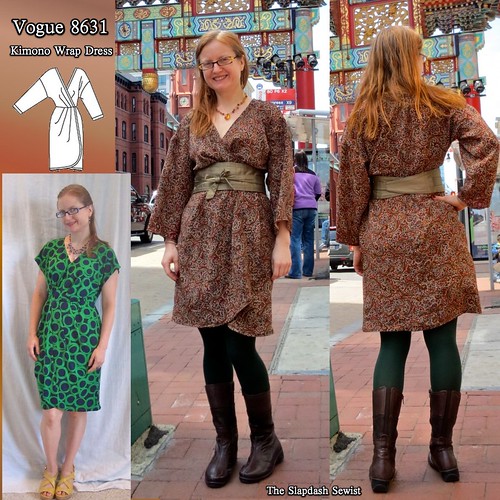
The boyfriend went to India for work(!!!) a couple of years ago, and brought me back a beautiful silk sari. I had been sitting on the fabric for about 2 years, waiting for the perfect pattern. The fabric is excellent quality but lightweight, so I didn't want anything that would put too much strain on the seams--but I can't wear shapeless so it had to have some waist definition. A tall order!
I made my knit version of Vogue 8631 as a test of the pattern for my special fabric and it passed the test.
I am hoping that the kimono look is one that never goes out of style. Here is a Carolina Herrera ($799 on Gilt Group) version.
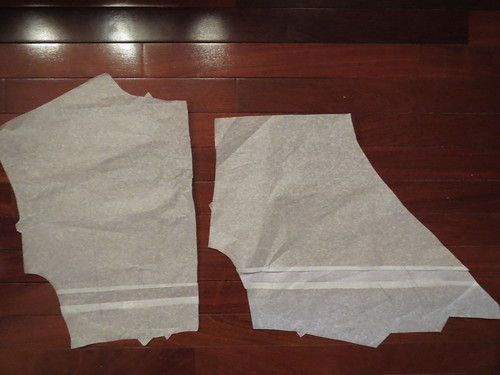
Other than making it in a woven, adding a zipper, and using the long sleeve, I didn't change a whole lot from the last version of this dress I made. I had already adjusted the crossover not to gape on my small bust and everything else fit pretty well. The only real change I made was to add some length to the bodice. I have a long torso despite my petite stature, and I found the waist on the knit version verging on too high. I added an inch above the waist and the woven version sits just about perfectly.
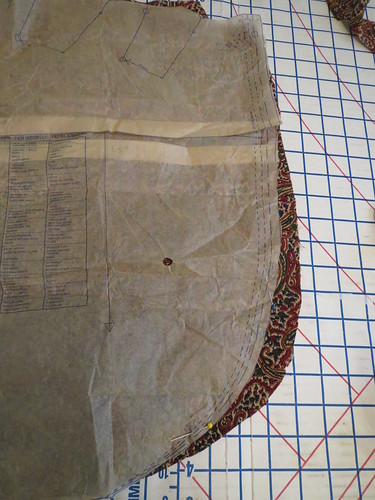
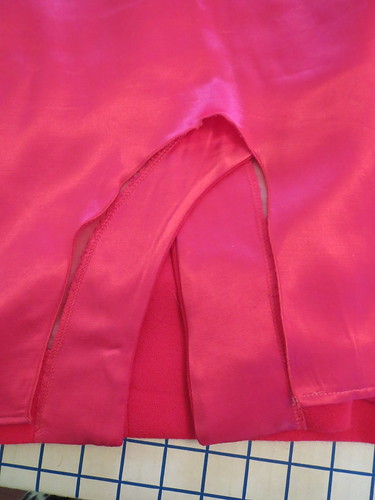
Although I really like the tulip-y shape of the hem as drafted, I wanted just a skootch more coverage and overlap, so I cut it with a little more width at the rounded edge.
While a strong wind can still blow it open (I always wear a slip under, of course), it has good overlap and in normal circumstances provides ample coverage.
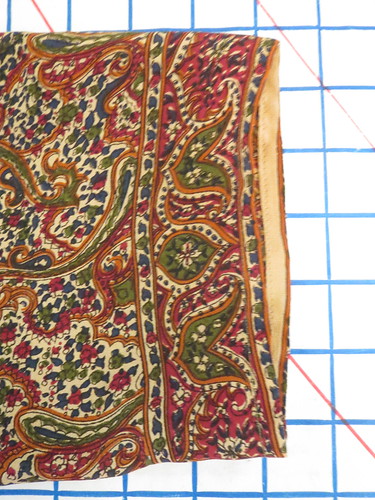
Let's talk about this fabulous fabric for a moment. It was such a lovely and thoughtful gift! As a traditional sari, it had a scarf piece, or "pallu" on the end. I cut this off and hemmed the edges to make a scarf, which I wore with my Tweed Ride outfit. It also has a double border on the remainder of the fabric. I cut the sleeve hems on one of the borders.
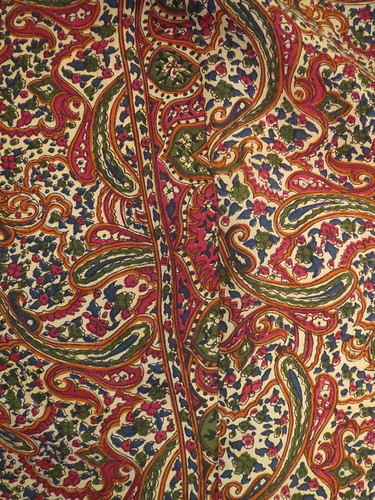
And that was the extent of my intentional use of the border. When cutting the skirt, I somehow forgot that the fabric was a double border. I carefully avoided the border on opening edge, but then completely forgot about it for the side seam edge. Oops! Luckily, the fabric blends so well that I don't think anyone will ever notice this phantom border.
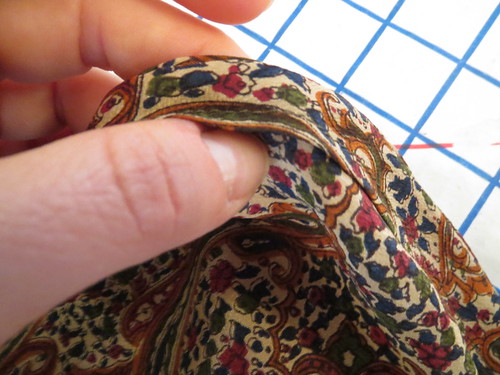
To finish the edges of the dress, I made a million yards of self-bias tape. Because it's a wrap the bias is a continuous circle all the way around the neckline/wrap openings. It was so much self bias, but worth it in the end for the lovely finish. The bias tape blends in so well that if I didn't know how it was done, I might think it was magic.
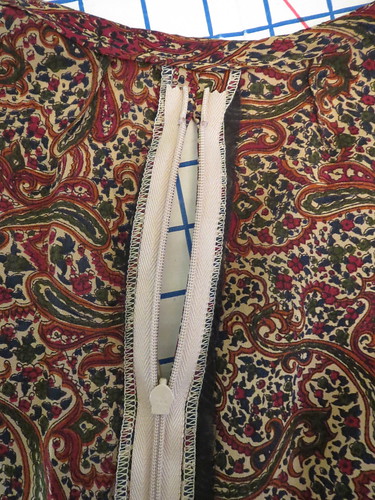
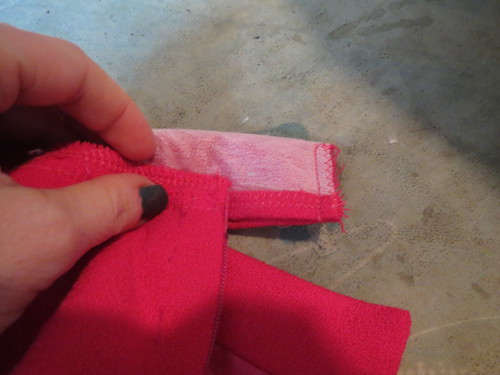
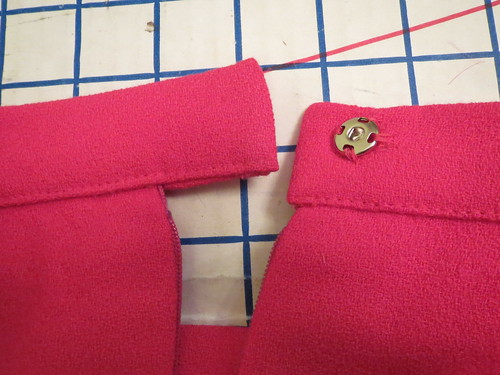
The pattern is drafted to be worn as a true wrap, held together by inner ties. I am not crazy about inner ties--they are so fussy to tie and then if you need to readjust you have to get all the way undressed to do it.
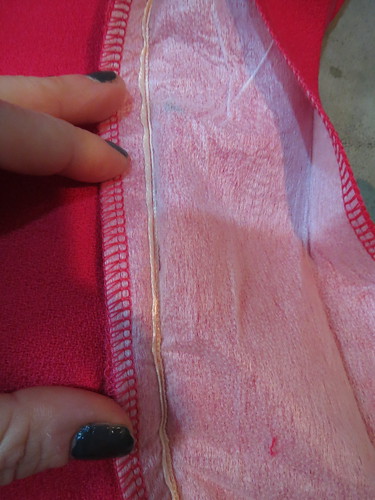
Instead, I put a zipper in the center back seam, interfacing the opening to support my lightweight fabric. To get a nice clean finish at the back neckline, I closed it up about two inches from the top and installed the zipper below that. The neckline is plenty wide to pull over my head.

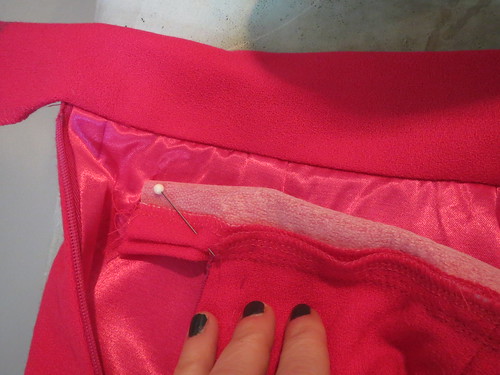
To keep the dress together, I hand-sewed the two fronts together at the waist's seam allowance. This makes it much less fussy to wear. I do need to keep an eye on my stitching and make sure it doesn't pull out. That would be quite the wardrobe malfunction.
The only thing I wasn't sure about for my sari silk version was the dropped shoulder. I do not care for a dropped shoulder and it does not do anything for my petite frame, where shoulder width is always a challenge anyway. But changing the location of the shoulder would have required extensive redrafting, so I decided to just risk the shoulder as drafted.
The only small issue in the finished project is not the location of the shoulder--with the wide sleeves it doesn't matter so much where the shoulder is located--but that my French seam sticks out a bit, emphasizing the dropped location of the shoulder. But this is a tiny nit that I think only someone who sews would notice.
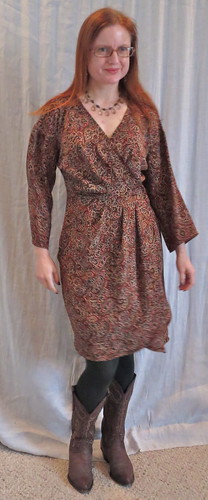
I was so happy that not only did I finally find a pattern for my special fabric, but the project also worked out just as I envisioned. It drives me crazy when I finally cut into a Too Good To Use and then the project ends up being meh and I only wear the finished item a few times before bitterly parting from it. This special piece will be in my closet for years.
My only dilemma is styling. I love the way it looks with the obi, but is that just too literal? I feel like it needs something at the waist, and a narrow belt doesn't look totally great. But perhaps that is just my obsession with always have a scarf or belt at the waist.
All photos are here and the pattern review is here.
=====================
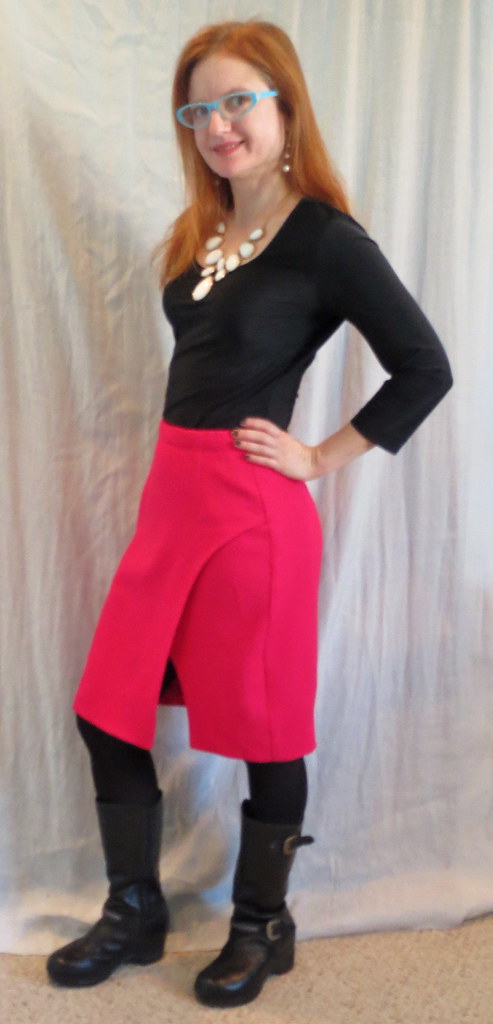
And fabulous photos they are! I wore this to the DC Area meetup a couple weeks ago and SewandWrite took these wonderful photos in front of the Chinatown arch.
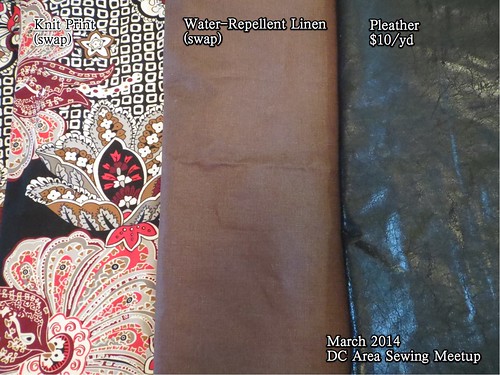
But of course that wasn't really the point. The point was to eat some yummy food, gab about sewing, and of course swap fabric and patterns! I forgot to take a picture, but I brought a *huge* bag full of fabric to give away. I felt very virtuous for only bringing three pieces home with me. I couldn't pass up that gorgeous knit print, and I had just been thinking that week how I wanted a water-repellant fabric to make a bag to go in the basket of CaBi bikes.
At the last sewing meetup, the fabulous DD was wearing some drop-dead leggings she made of McCall 6404. I immediately wanted to copy her. Not be inspired by, but straight up copy. She very kindly agreed to pick me up some pleather at Hancock's next time she was there. And meanwhile the pattern had gone out of print, but luckily BMV had an out of print sale and I got it in my hot little hands. True to her word, DD brought me the pleather to our meetup. I can't wait to make the leggings!
It will be a while yet before I get around to them. First, you can probably guess that I have been working a.lot. the past couple months, and it's not going to slow down anytime soon. I hope to get back to more regular blogging someday.
Second, after almost a year of not wanting to do anything complicated, I finally got in the mood to do a hard project. I've been plugging away at it for nearly a month now and am not even halfway done. Maybe I should rethink that "wanting to do a hard project thing," LOL. But it will be cool when it is done, I think. There will be a big reveal...someday.
All photos are here and the pattern review is here.
=====================
And fabulous photos they are! I wore this to the DC Area meetup a couple weeks ago and SewandWrite took these wonderful photos in front of the Chinatown arch.

But of course that wasn't really the point. The point was to eat some yummy food, gab about sewing, and of course swap fabric and patterns! I forgot to take a picture, but I brought a *huge* bag full of fabric to give away. I felt very virtuous for only bringing three pieces home with me. I couldn't pass up that gorgeous knit print, and I had just been thinking that week how I wanted a water-repellant fabric to make a bag to go in the basket of CaBi bikes.
At the last sewing meetup, the fabulous DD was wearing some drop-dead leggings she made of McCall 6404. I immediately wanted to copy her. Not be inspired by, but straight up copy. She very kindly agreed to pick me up some pleather at Hancock's next time she was there. And meanwhile the pattern had gone out of print, but luckily BMV had an out of print sale and I got it in my hot little hands. True to her word, DD brought me the pleather to our meetup. I can't wait to make the leggings!
It will be a while yet before I get around to them. First, you can probably guess that I have been working a.lot. the past couple months, and it's not going to slow down anytime soon. I hope to get back to more regular blogging someday.
Second, after almost a year of not wanting to do anything complicated, I finally got in the mood to do a hard project. I've been plugging away at it for nearly a month now and am not even halfway done. Maybe I should rethink that "wanting to do a hard project thing," LOL. But it will be cool when it is done, I think. There will be a big reveal...someday.
