Every winter I realize I have no work tops, and every winter I somehow still don't have any winter work tops no matter how many I sew. I embarked on
Two Weeks of Winter Work Tops in 2008. I made several tops last year. And yet, I still have no winter work tops. I mean, I have a few, but I loathe almost all of them. So, the Endless Combinations contest got me to put my shoulder to the boulder of this Sisyphean task once again. I tried to be strategic, thinking about what tops I actually *like* in my closet. I turn to
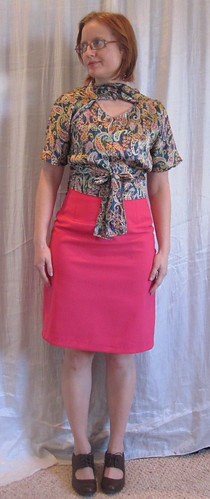
the yellow version of Simplicity 4539 as often as is reasonable, so I added another one of those. I find silk very warm (can't wear it in the summer), and I adore Burda 02-2009-123, so I made another of those. And I threw in a turtleneck for layering. Winter work tops is still a large hole in my closet, but at least I've made a few baby steps here.
===========================
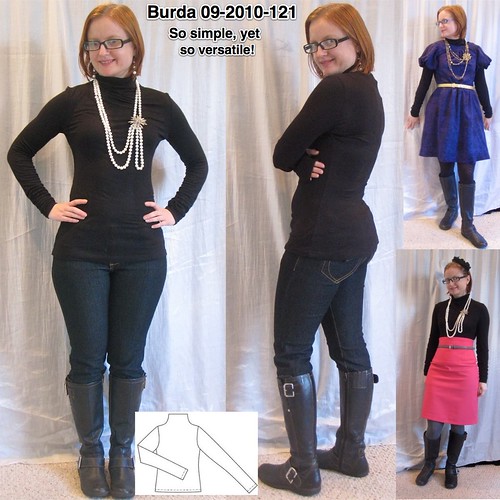
First on the list was the famous
Burda 09-2010-121 turtleneck. I don't care for turtlenecks, really. They make me feel chokey and I think my collarbones are one of my nicest features so I always prefer a lower neckline. But we are having such a COLD winter so far that I figured I should get around to making this as a layering piece.
I got the idea for the thumb opening (in use is the side view photo of the above collage and the photo below at right)
from Noile. This was the first time I'd heard of this, but it's apparently everywhere as in this
Lululemon running top/jacket. Since I don't buy RTW other than a pair of jeans once or twice a year, I miss a lot of little stuff like this.
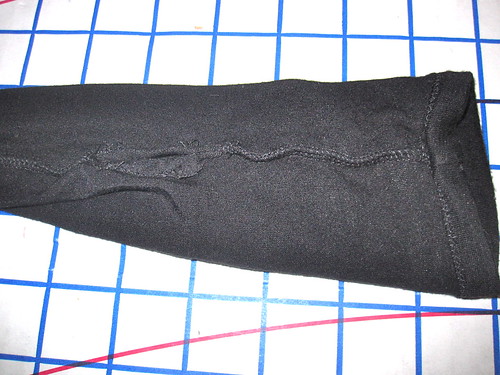
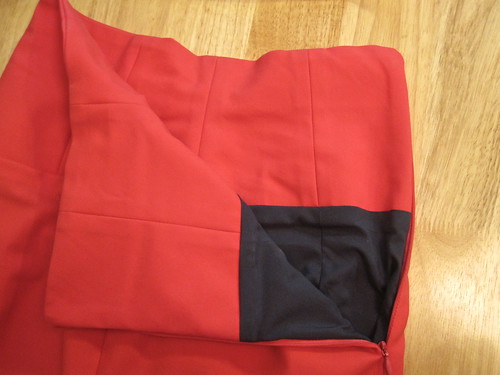
It's hard to take photos of black fabric, so if the details don't show up on your screen I have demonstrated the thumbhole with a measuring tape
here. I marked where my thumb naturally fell on the sleeve and then clipped into the seam allowance to the stitching line on both sides of the opening. I stitched down the resulting seam allowance flaps, then serged the sleeve seam above and below the opening (not an exact science that requires some fine tuning with the sewing machine). The only issue is that in a one-piece sleeve, the seam naturally falls along your pinkie line, not your thumb line, so I have to twist the sleeve to put my thumb into the opening. For future projects, I might do more like a welt/bound buttonhole concept for that opening.

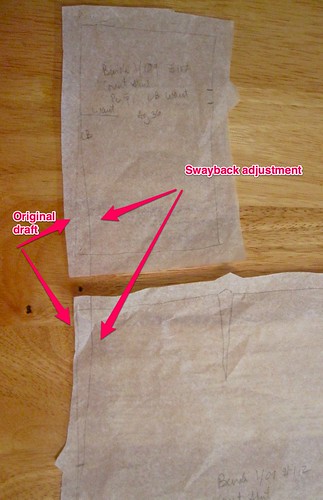
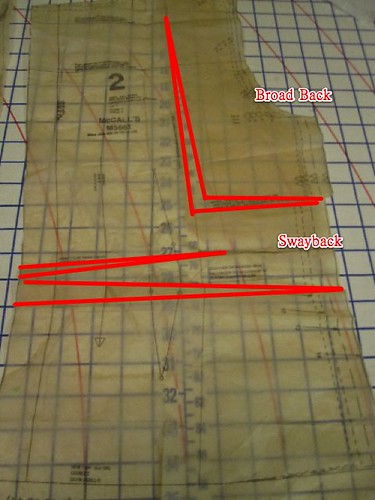
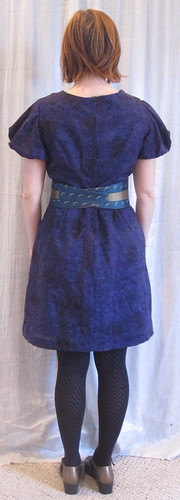
My only other real change was to add a center back seam for swayback shaping.
I cut my usual size in this--34 at shoulders/bust, 36 at waist, 38 at hip--and it came off the machine absolutely enormous, more like a tunic than a turtleneck. I sewed this in a lightweight rayon knit, which doesn't have much recovery, so I think maybe 1/3 of the oversizedness can be blamed on the fabric, but some has to go to the pattern. I took 2 inches out of
each side seam and 2 inches out of the center back for a total of SIX inches at the waist, slightly less at bust and hips. That is crazy talk. Looking at the
back view, I see I should have taken even more width out of the upper back.
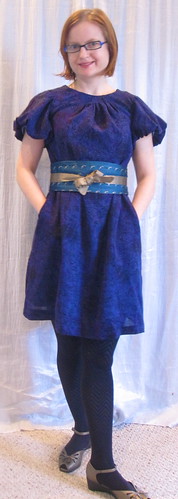
I cut a really generous 4 inch hem allowance because I am so sick of short tops that ride up when you lift your arms. Although I am short (5'1"), I have the torso of a woman of 5'5" (oh yes, my legs are that short) as Cidell and I learned when doing each other's measurements as our torsos are the same length. I like that this extra-long top will definitely never show my belly.
This is a great layering piece that I am sure will get a lot of wear this winter! The cut-on, self-faced turtleneck is quite comfortable and doesn't feel chokey. All photos are
here Pattern review for the turtleneck is
here========================
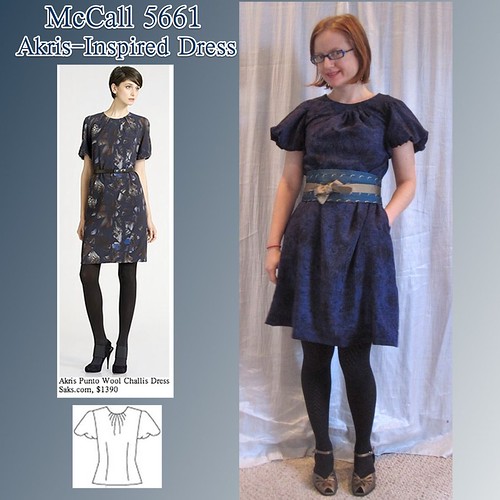
 Simplicity 4539
 is one of my staple patterns for all seasons. I am wearing the black and white version right now! So I knew I couldn't go wrong with this one.
Sometimes I curse my cutting efficiency, because it makes cutting such a long, tedious, and annoying process. But I managed to get a dress (coming soon) and this top out of 3 yards of fabric with annoyingly wide 6 and 8 inch selvages *and* a distinct pattern repeat break every 36 inches.
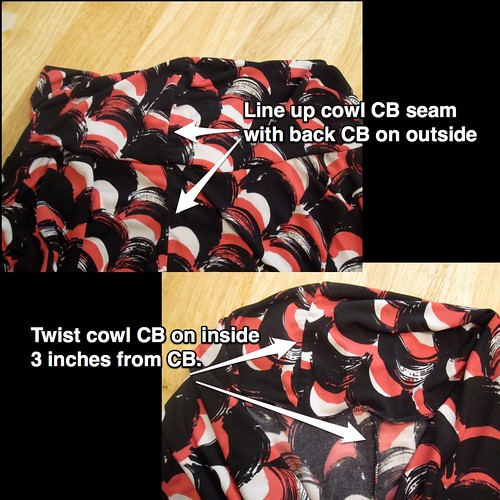
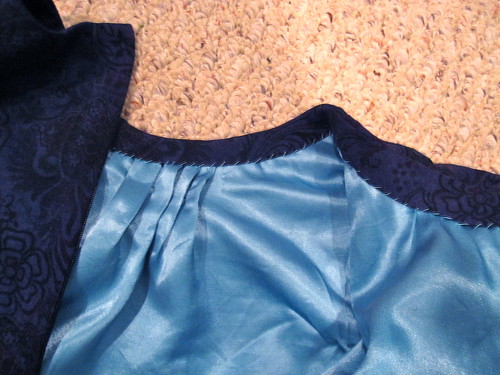
To change the drape a little I twisted the cowl when pinning it to the neckline. I lined up the center back seam of the cowl with the CB seam of the top on the the outside, and then on the inside twisted the cowl's CB seam about 3 inches to the left of the top's CB seam. With my busy print, it's hard for me to evaluate if this made the cowl more interesting or not, but it's fun to change things up.

I would like to experiment with making a longer cowl with this pattern, but because of fabric limitations I was only able to make this about an inch longer than drafted. For this version, I serged the doubled cowl to the neckline, in contravention to the directions. The pattern is drafted so that the upper edge of the cowl hangs free, which is just too fussy to wear. I have in the past hand-tacked the upper edge in place or sewn the lower edge to the neckline and then layered the upper edge over the seam and topstitched. Sewing both layers as one is simple, and the seam does not show in wearing.
I copied the sleeve from another Simplicity tee, shaving some height off the sleevecap, as I'd had some trouble with the sleeve I drafted last time. It worked perfectly.
This pattern is long out of print, and although cowls are very fashionable right now and the Big 4 have many different cowl patterns, none of them have this kind of tee-with-separate-cowl-piece as an option. Odd.
Kwik Sew 3740 is the same style, though I understand the cowl has a more nuanced draft than this one, which is just a straight rectangle, as you can see
here. However, you don't need to buy a pattern for this, really you don't. You can easily alter any t-shirt pattern to get the look with a low scoop neck and a rectangle cut to the width of your neckline.
All photos are
here and the pattern review is
here.
========================
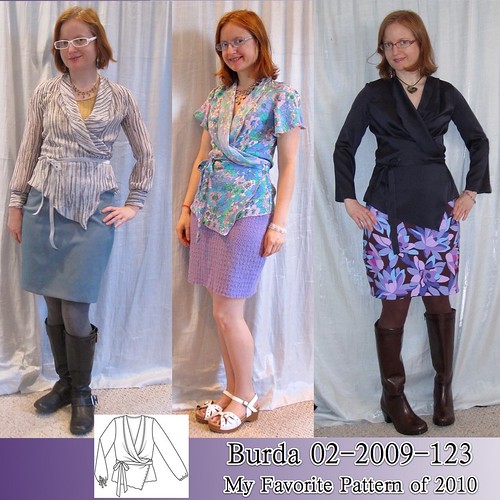
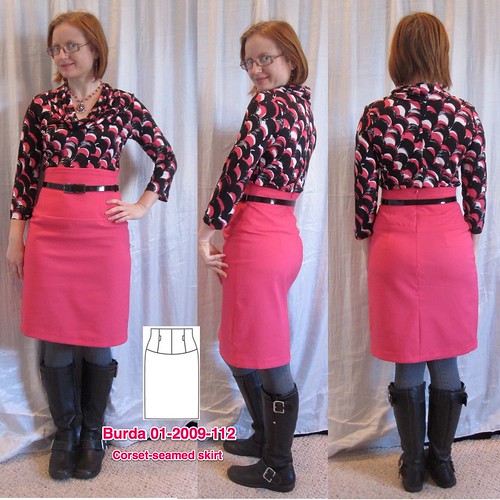
Another piece I love is the
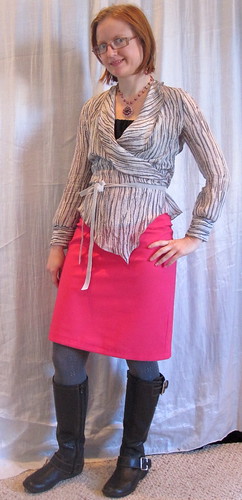
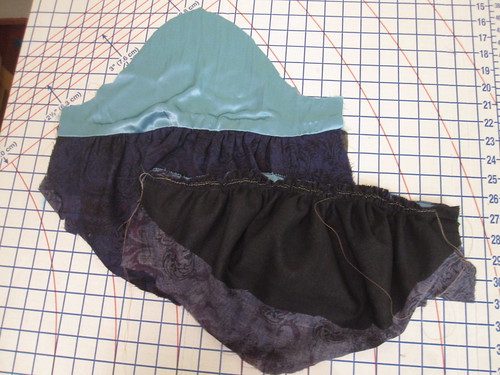
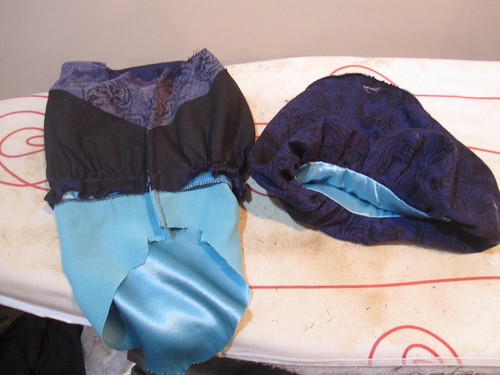
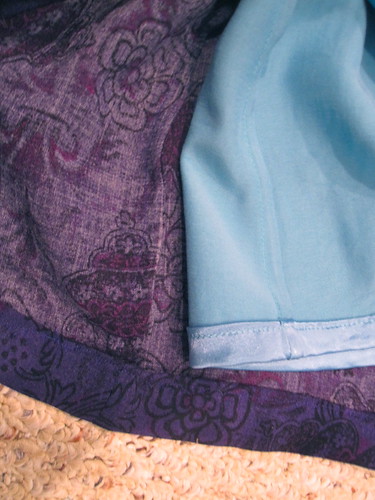
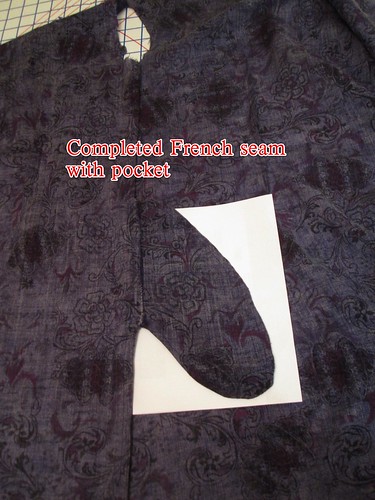
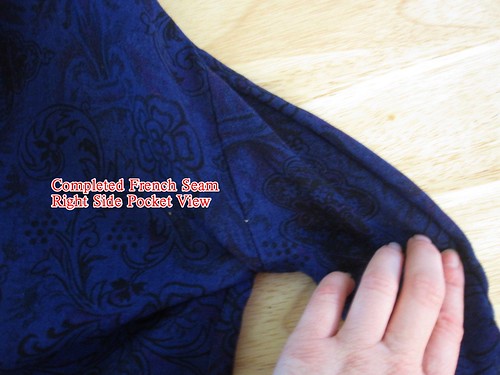
Burda 02-2009-123 wrap blouse, so I added a third version of this to my closet. Love. I got this snakeskin print silk chiffon (with a crepey texture) as a remnant at G Street for around $9
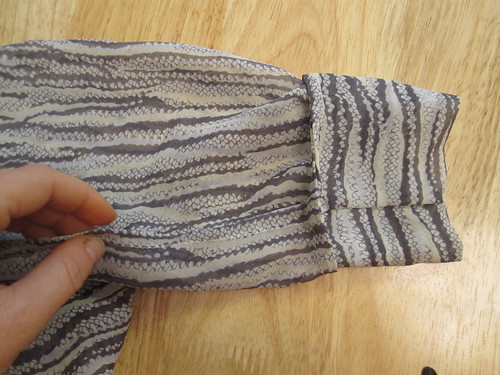
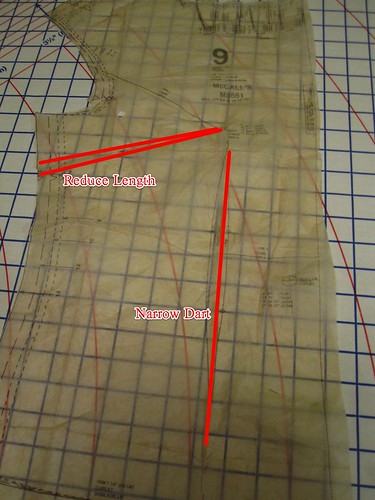
in October and knew it was destined to be this blouse. I had not-quite-enough fabric (of course), so I had to narrow the sleeve a tiny bit and use a cuff to make it full length. Well, not quite full-length, it's a smidge shorter than I'd like. Unfortunately, it turns out I needed that missing sleeve width, and that I could really use a broad back adjustment in this pattern. I didn't notice the latter with the navy version as it is quite a stretchy charmeuse and the flutter sleeves give enough movement that I didn't notice in that version either. So I'm a little concerned that I will eventually burst through the fabric at the bicep and upper back on this one but I'll wear it until that happens.
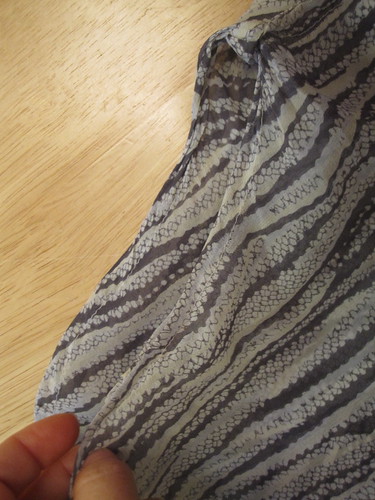
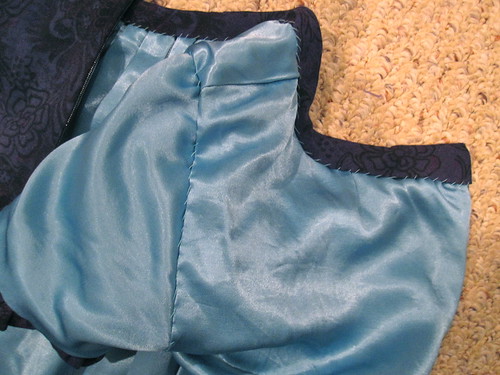
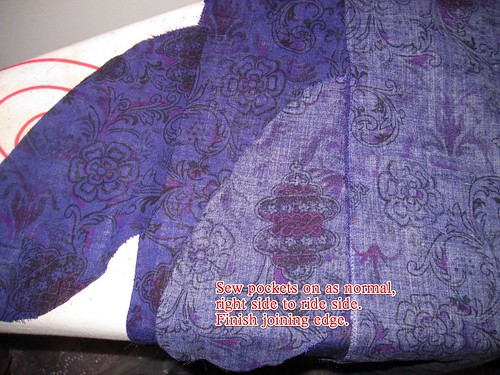
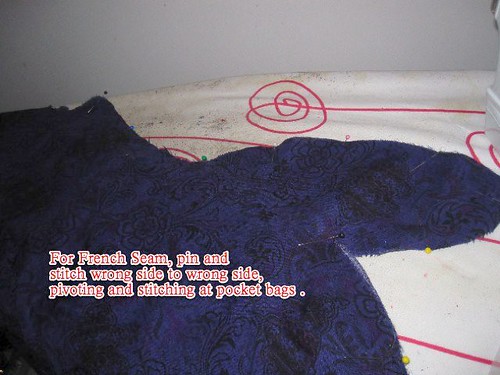
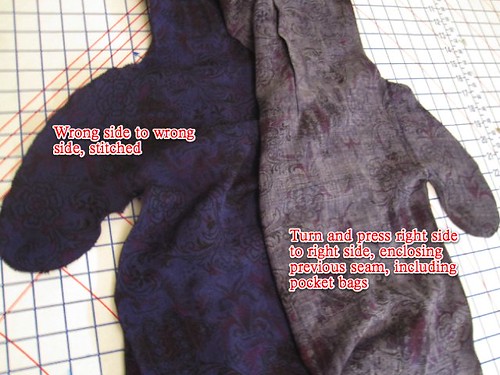
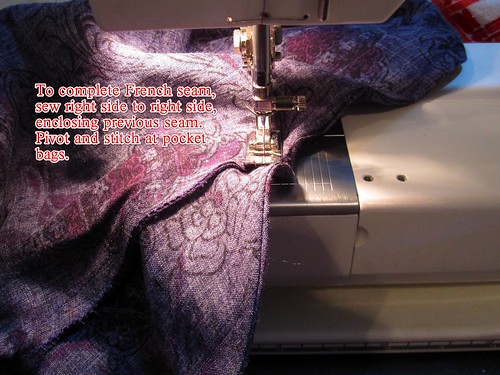
As per usual on silk garments I used French seams throughout. I know French seams are meant only for straight seams, but where the fabric is very lightweight and the sleevecap is not excessively eased I find it possible to do a French seam at the armscye as well. For this one, I set the sleeve in flat as a French seam, and then sewed the sleeve and side seam as one (leaving an opening for the tie,
as explained here).
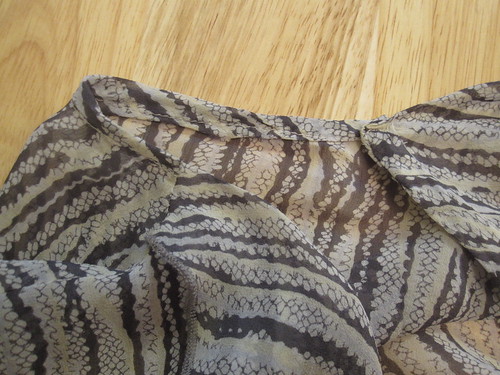
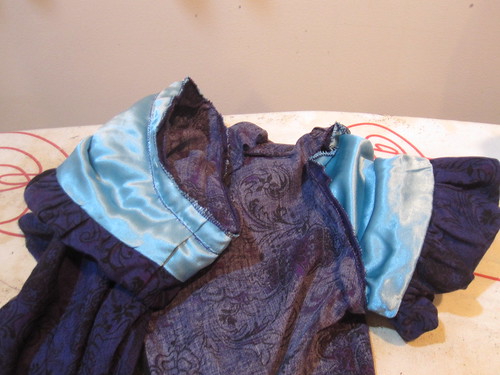
I finished the back neckline a little differently on this than on previous versions. I used a bias strip, as called for by the pattern, but here I turned it into double fold bias tape and encased the back neckline in it, with the bias tape showing on the right side.
As with the other versions, I used the serger to finish the collar and hem edges. However, I had a *devil* of a time with this. I recently purchased a new-to-me Bernette serger, and I could not get this fabric to stay over the stitch finger in single-needle serging. The fabric was aligned correctly, the knife was trimming it off, but the stitch would not come anywhere even close to the fabric but would just form as an unrelated chain off to the side. It was so, so frustrating. I may have to abandon the serger if I can't do a single-needle rolled hem finish, one of the great things about having a serger. After trimming off way, way more of the fabric than I would have liked to, I managed to finish the edges, supplementing with the sewing machine as needed. So it's not as nice-looking as I'd like but it would only be obvious on close inspection.
I had only tiny scraps left after cutting, so I used velvet ribbon as the tie.
All photos are
here and the pattern review is
here.
========================
Marathon post! There's only one piece in my Endless Combination left to discuss, so stay tuned.


.jpg)


