
The project I really need to be working on right now is
Simplicity 2497 to wear to a friend's wedding in two weeks. But I really enjoy
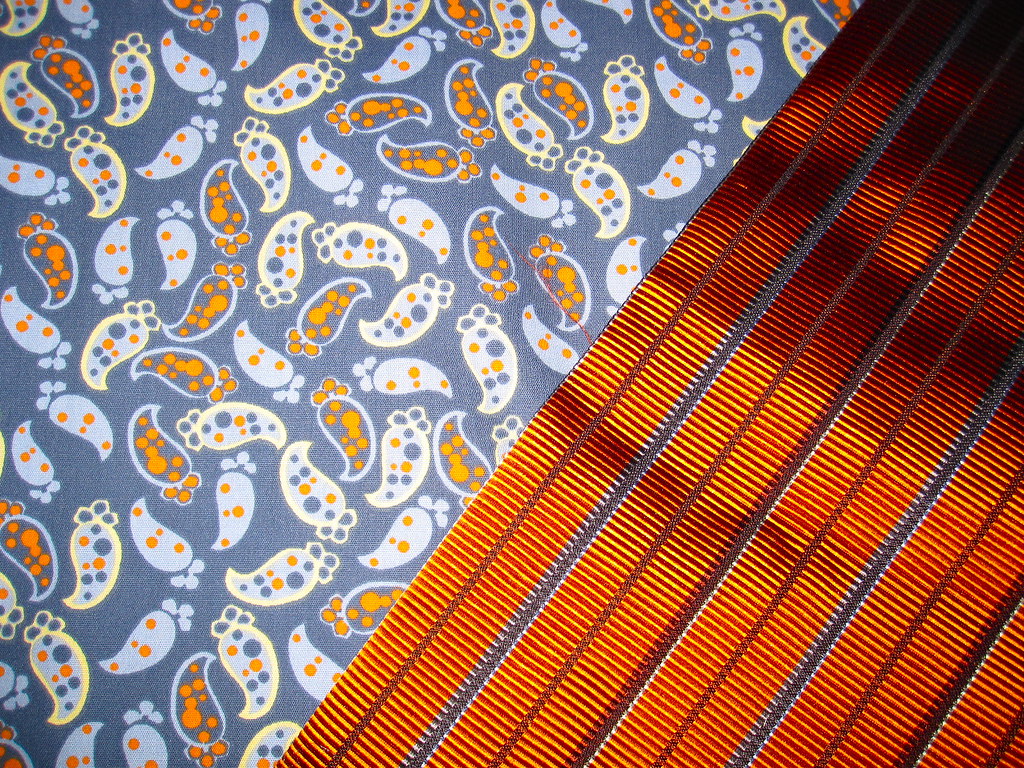
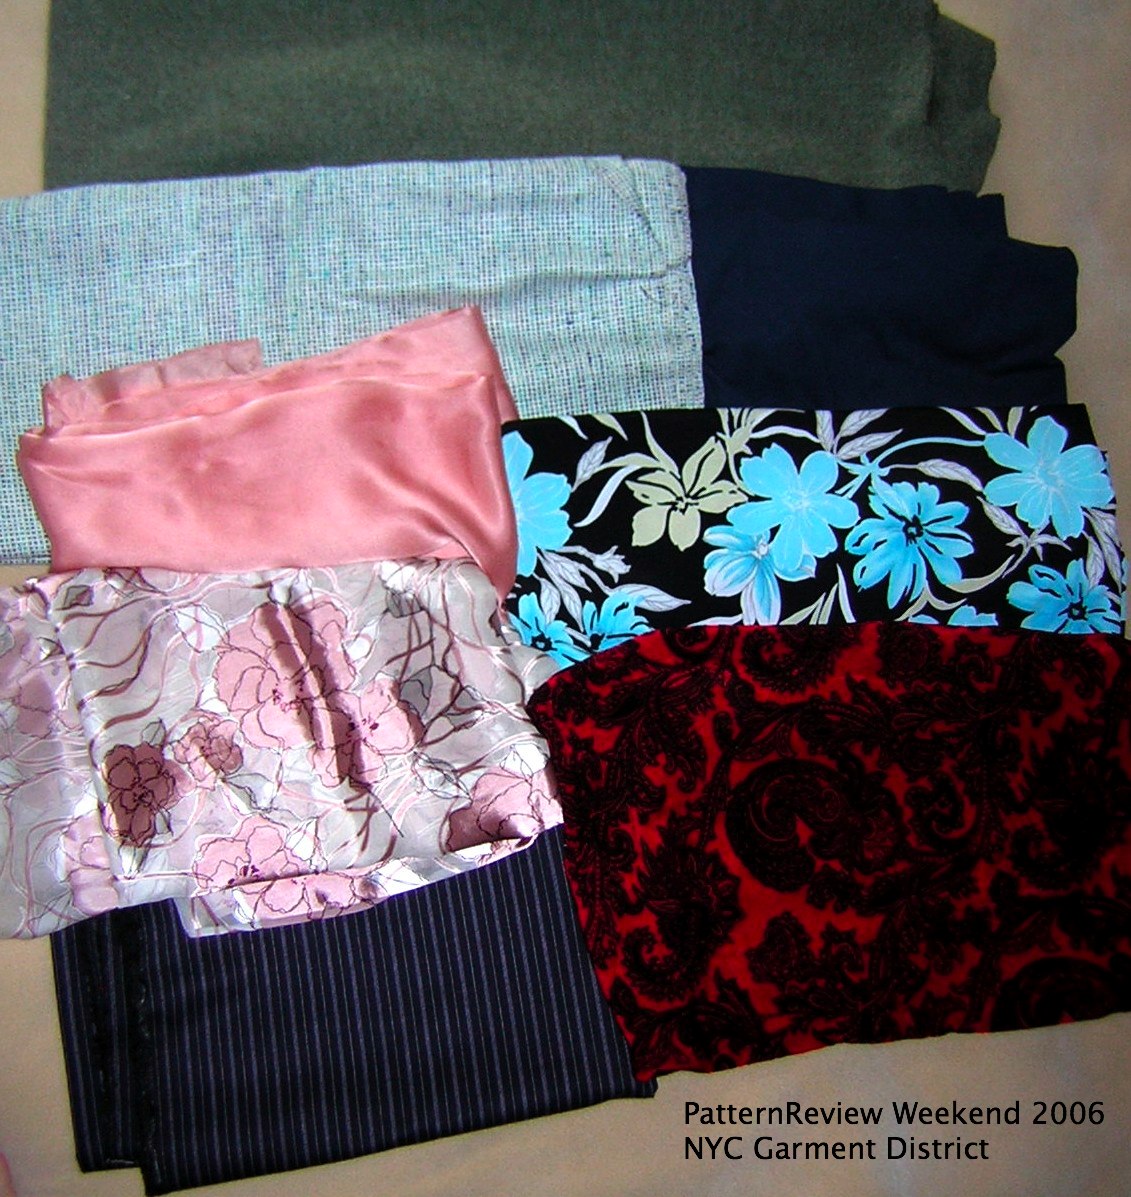
Pattern Review's Stash Contest every year and have been procrastinating sewing the Simplicity dress out of new fabric to perform the traditional stash sew down. I bought this fabric
at G Street in July for the purpose of muslining this blouse,
Burda 02-2008-119 and actually followed through on the plan. I underlined the body of the blouse with an Ikea Knoppa sheet and used French seams for the shoulder and side seams.


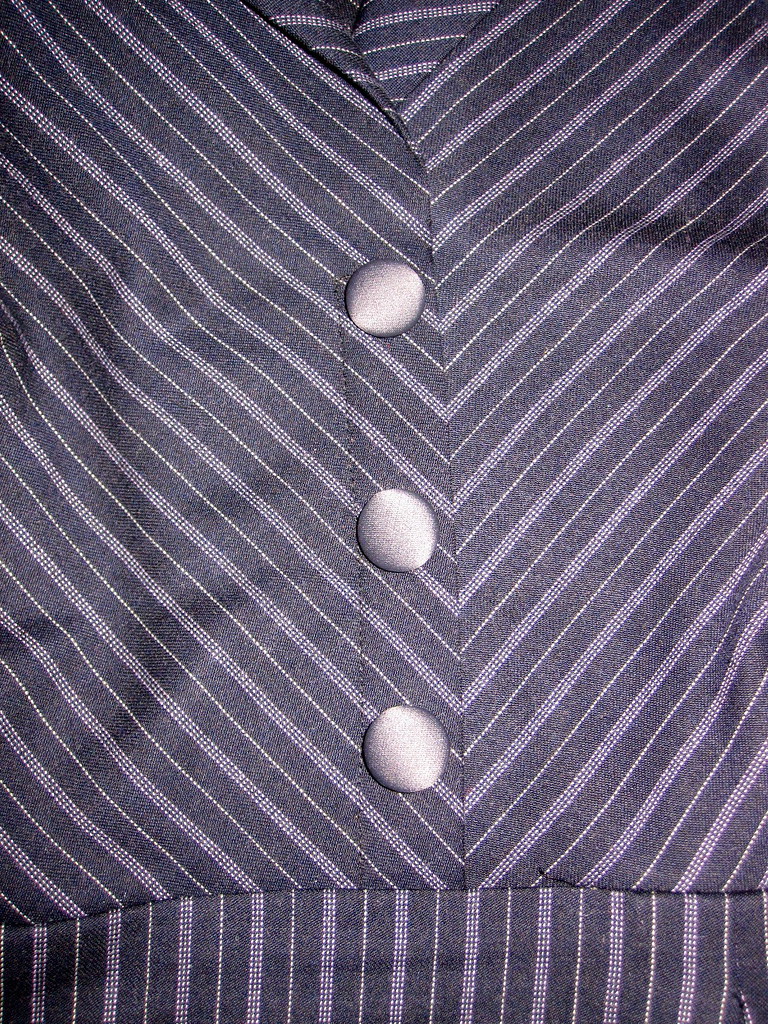
To get a neat edge on the collar, Burda tells you to hand-stitch the inside collar in place. Yeah right! I followed a tip on a recent tutorial for making a nice collar (and for the life of me I can't remember who it was--if it is your tip please claim it!), which was to sew the collar in place on the inside first, and then topstitch the outside of the collar in place on the right side, rather than the other way around. So simple and so smart! These photos are of the waistband, which I did the same way.

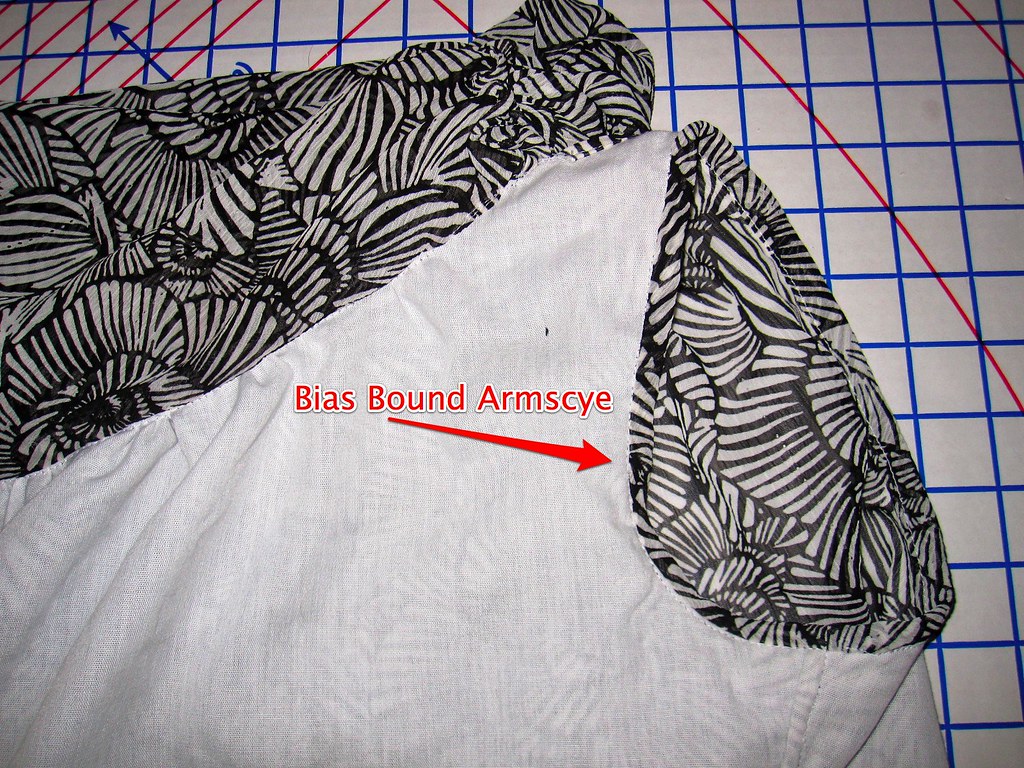
I used the same principle on the armscyes. Rather than use a bias binding turned in and topstitched, I wrapped the armscye edge in bias tape so that it shows on the outside. I cut bias strips, folded in half the long way and pressed the crease in place. Then I lined up the raw edges of the bias strips with the edge of the armscye on the wrong side, stitched in place, serged edges, and then folded the bias strip over that seam allowance and topstitched in place. The detail is a little lost in my busy print but I like it as a nice touch.
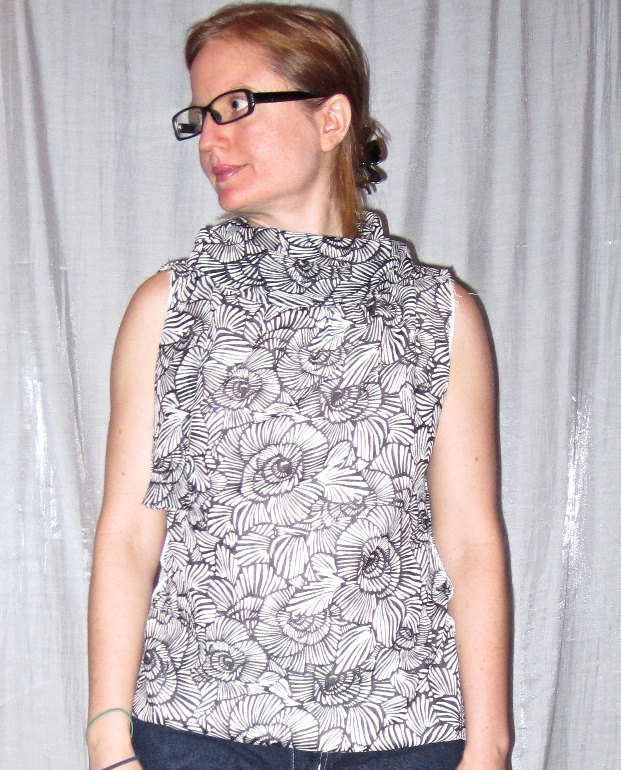
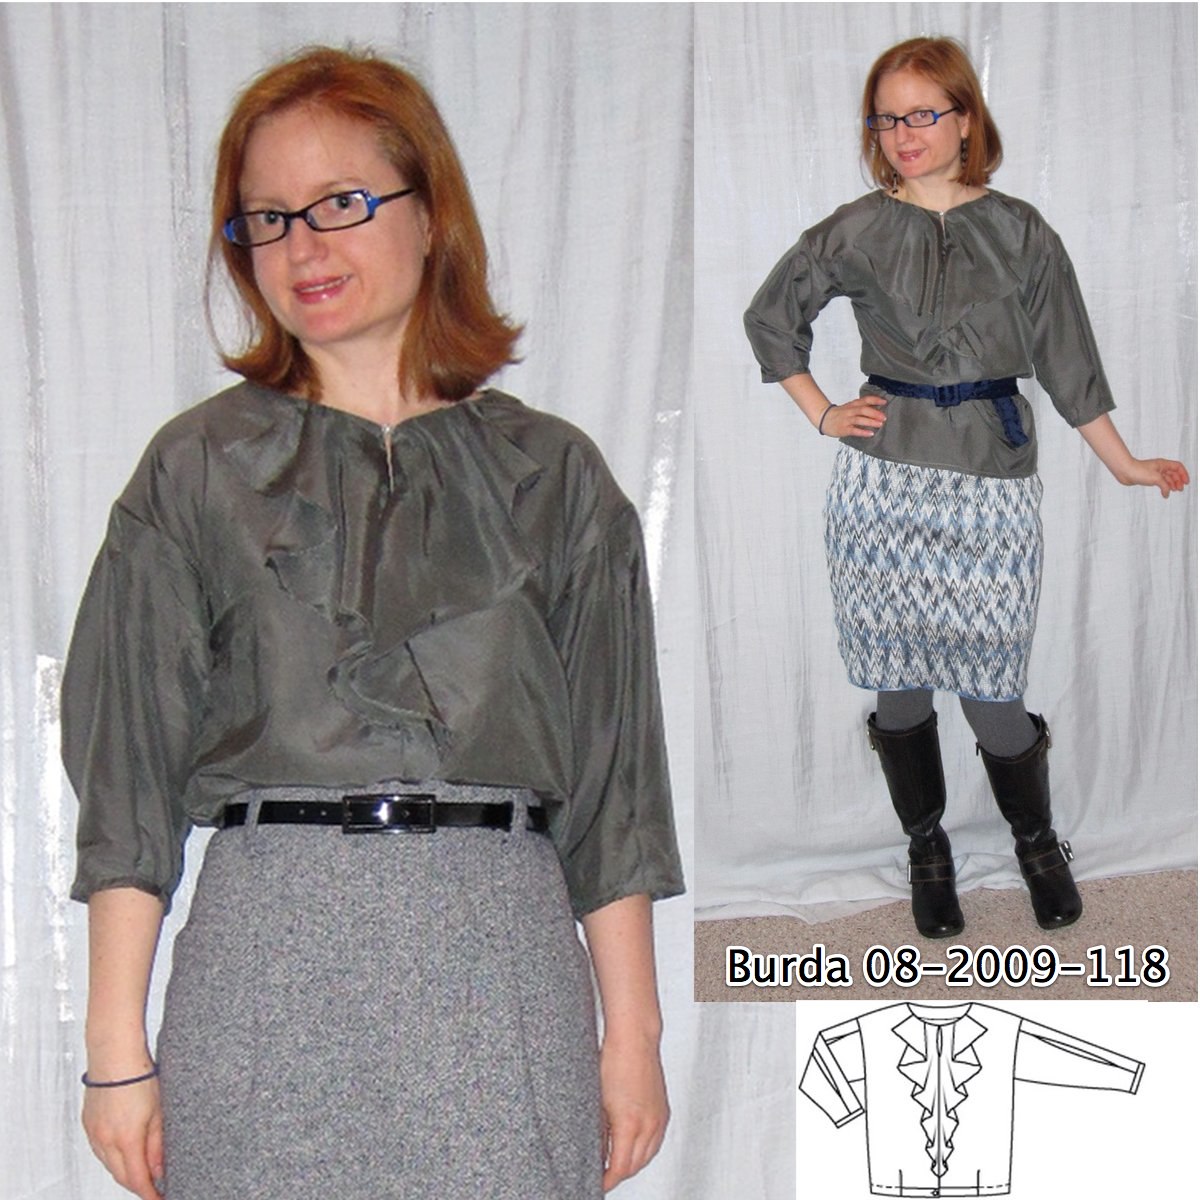
When I first put this together I was not loving it. The neckline was way too high, almost turtleneck-y. I am not a fan of turtlenecks. And although I don't have an absurdly short neck, it is proportional to my body so it's not long either, and I felt like this was making me look like I had no neck. When the Selfish Seamstress
made this recently she pointed out that the collar is kind of a cowl neck, which made me think that I could lower that high neck a little and still have a nice drapey collar effect. So I ripped everything off (remember that stitching/serging/topstitching? yeah.) and lowered the front neck two inches. I think I could have cut off even more. Although it is hard to tell with a naked eye that it is different, I feel much more comfortable with the final neckline than the original.
This is a pretty easy pattern--three pieces, no sleeves, no closure or fitting. The collar/tie is a bit of a fabric hog because it's cut on the bias, but that's not a big complaint. Although I enjoy the ease of the loose fitting pullover blouse with no closure, the silhouette is not a comfortable one for me (
see also Burda 08-2009-118). It may be one of those things that I end up getting used to after a few years, like 3/4 length sleeves, but for now I like the blouse a lot, but don't love it enough to fill my closet with it.


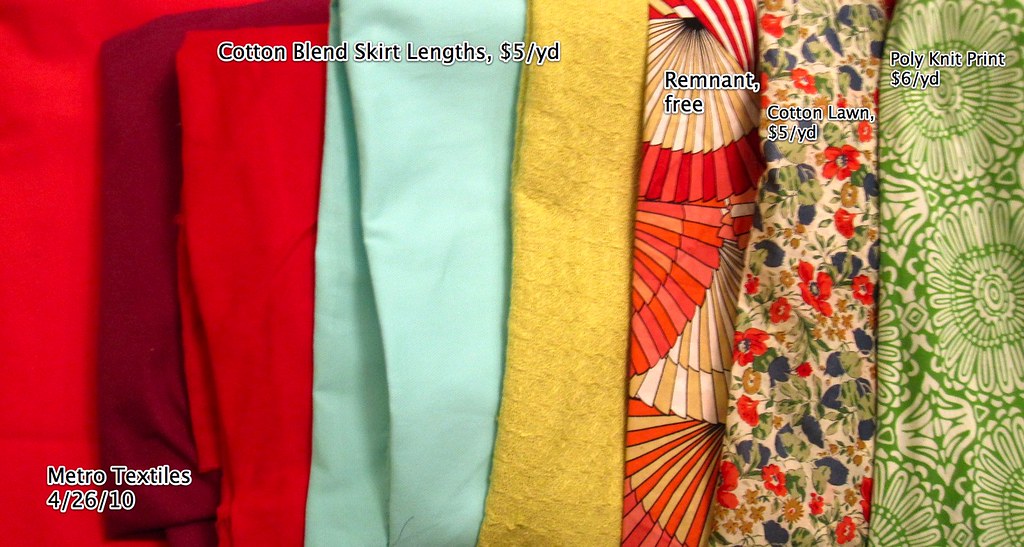
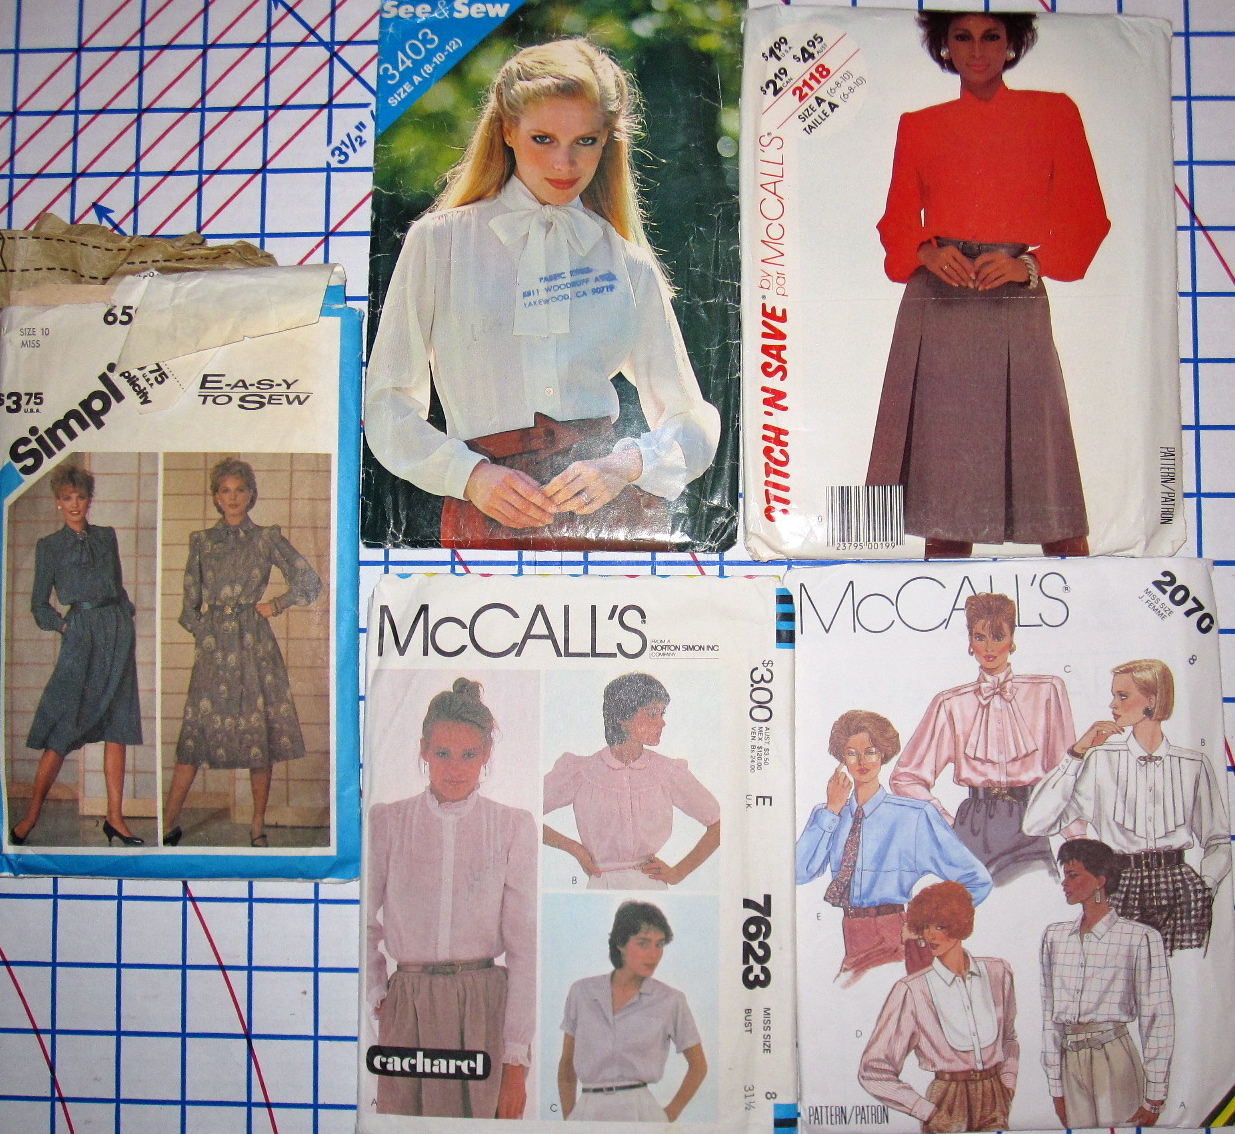
This blouse was meant to be a muslin for the $10/yd yellow silk I bought from Kashi last June (second from left). It has a little more body than a chiffon, but is sheer with a beautiful drape like chiffon. So I don't think I'll make it into this pattern but then what???? I am slightly obsessed with
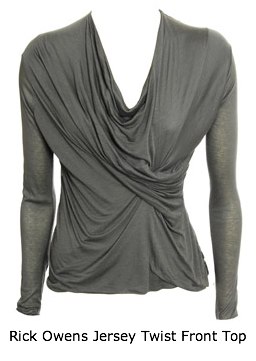
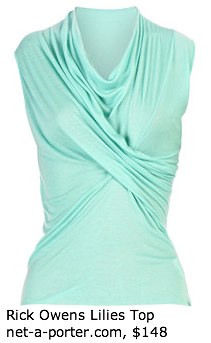
Anthropologie's "On a Wing" blouse (no longer available), with the twisted poofs of airy fabric at the shoulder, but I have not the slightest idea how it was possibly made and don't want to undertake the challenge. So what do I do with this gorgeous fabric, other than let it sit in stash? ]
**edit**
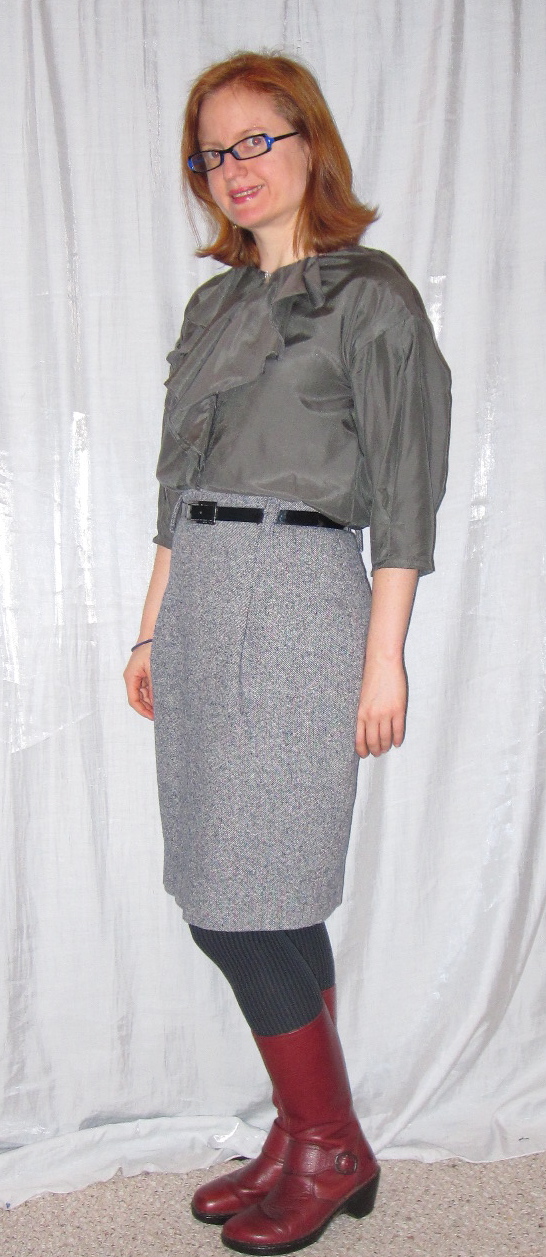
Several people asked about the white skirt worn with this blouse. It is
Burda 03-2009-104; I made it
last year in white and blue (left off the pockets on the blue) and love it, although the white is hard to wear because, well, it's white and it always comes home with some kind of schmutz on it.
===========================

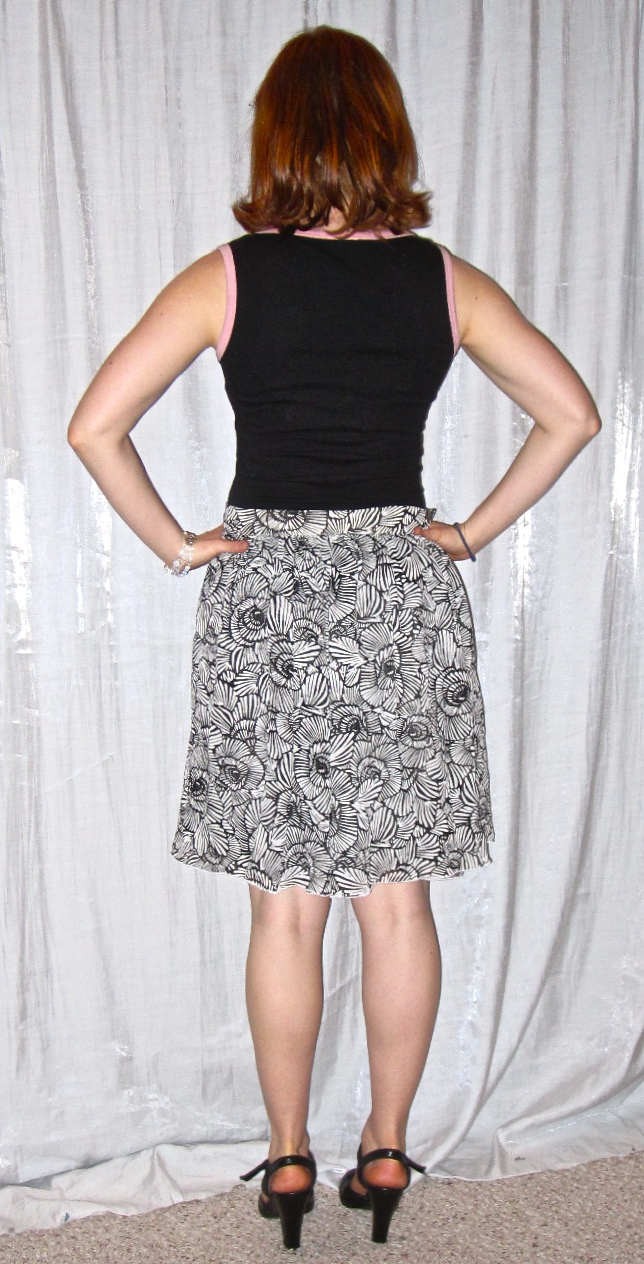
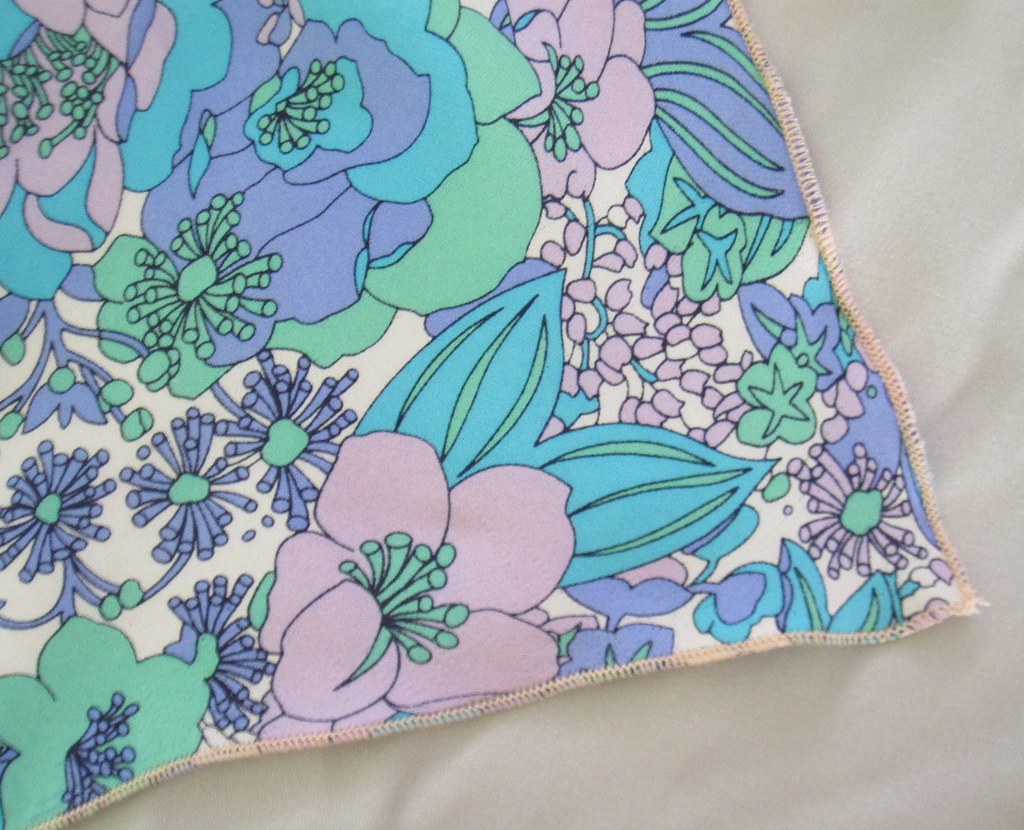
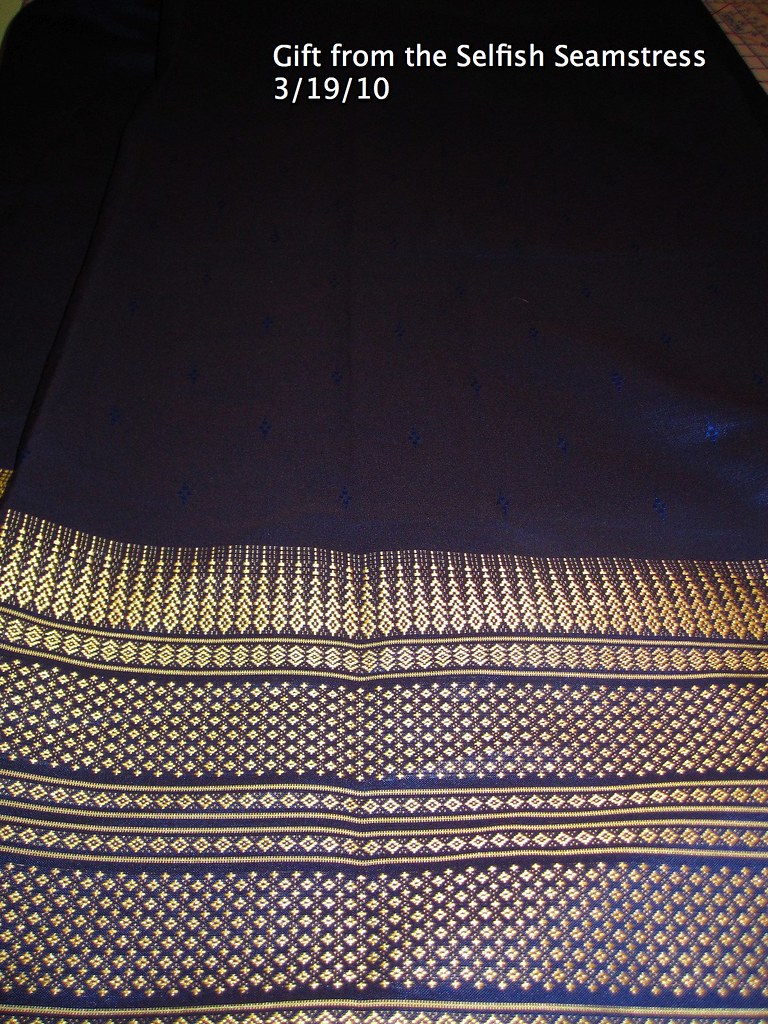
I wanted to finish off this fabric (another yard in the stash contest!) so I made a quick and easy dirndl skirt. The blouse and skirt can even be worn together as a two piece dress. I've always thought "icky" in the past about two-piece dresses, as the term calls to mind hideous knit separates in the same print. But with a wide belt concealing the waistline, I think this makes a fun dress. It can also be worn separately, of course.
This project illustrates why skirts are so dangerous! This took around two and a half hours. So quick and easy! So
flirty and flowy! However, I must stop making print skirts. For the 7 or 8 years in which I didn't have time or energy to sew (law school, clerking, big firm) I made skirts almost exclusively, and my uniform was a solid colored knit top and a bright printed A line or dirndl skirt. It is a cute look, but it is literally all I wore for nearly a decade and I am really, really, REALLY over it. It's hard to wear anything but a solid tee with a print skirt. What I really need are solid colored straight or pencil skirts to go with my print tops. Solids are my goal in New York. Although it may kill me.

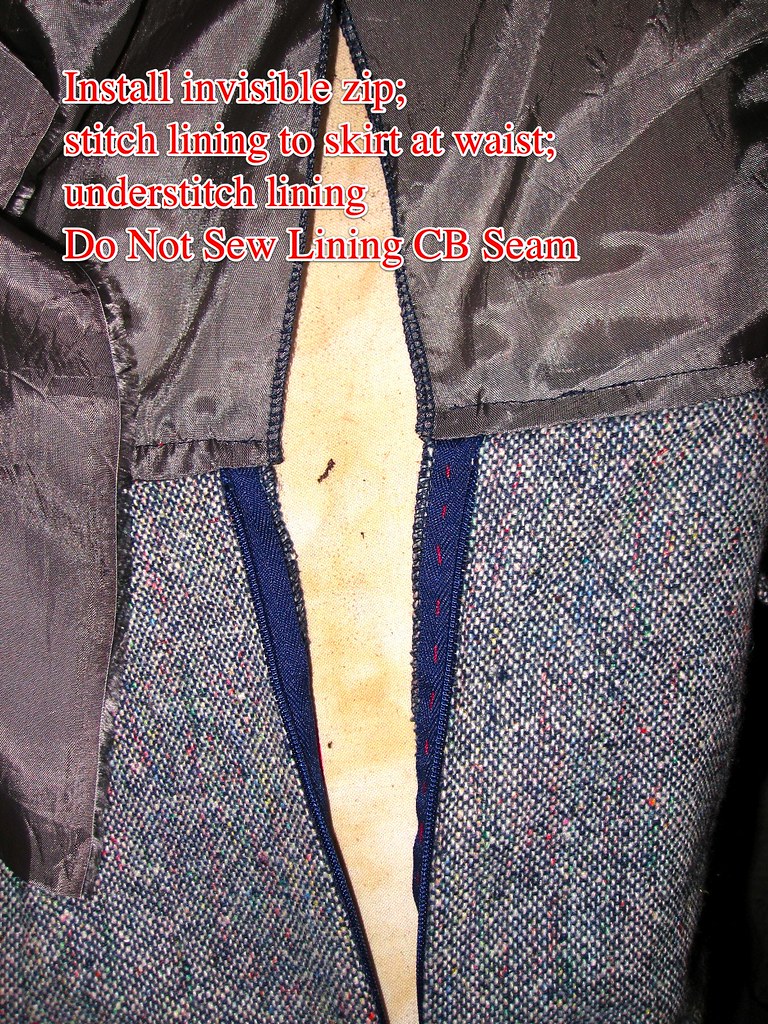
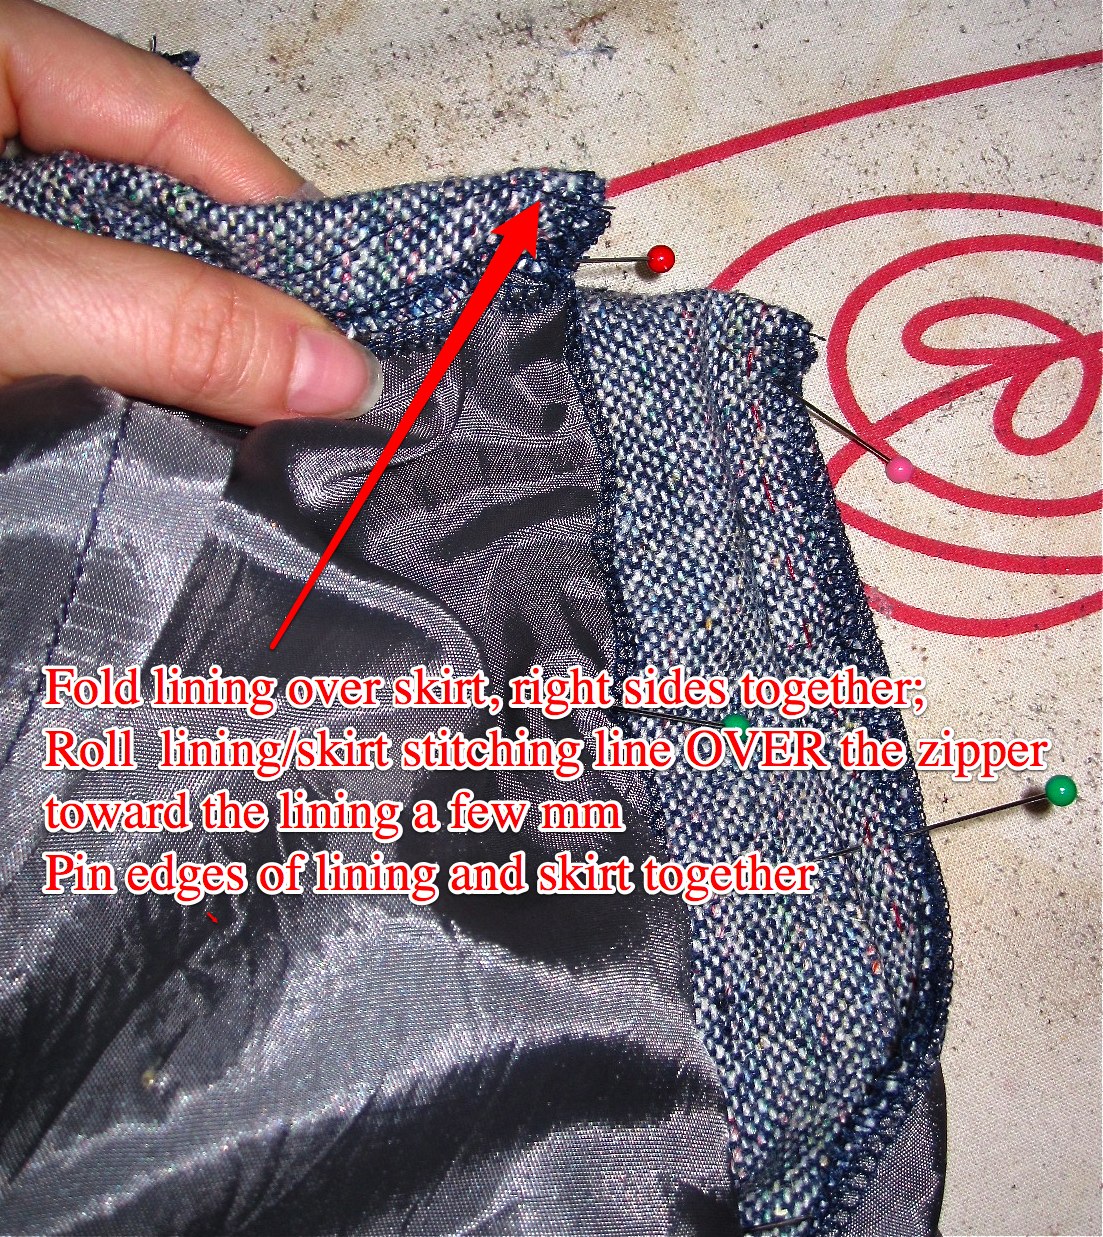
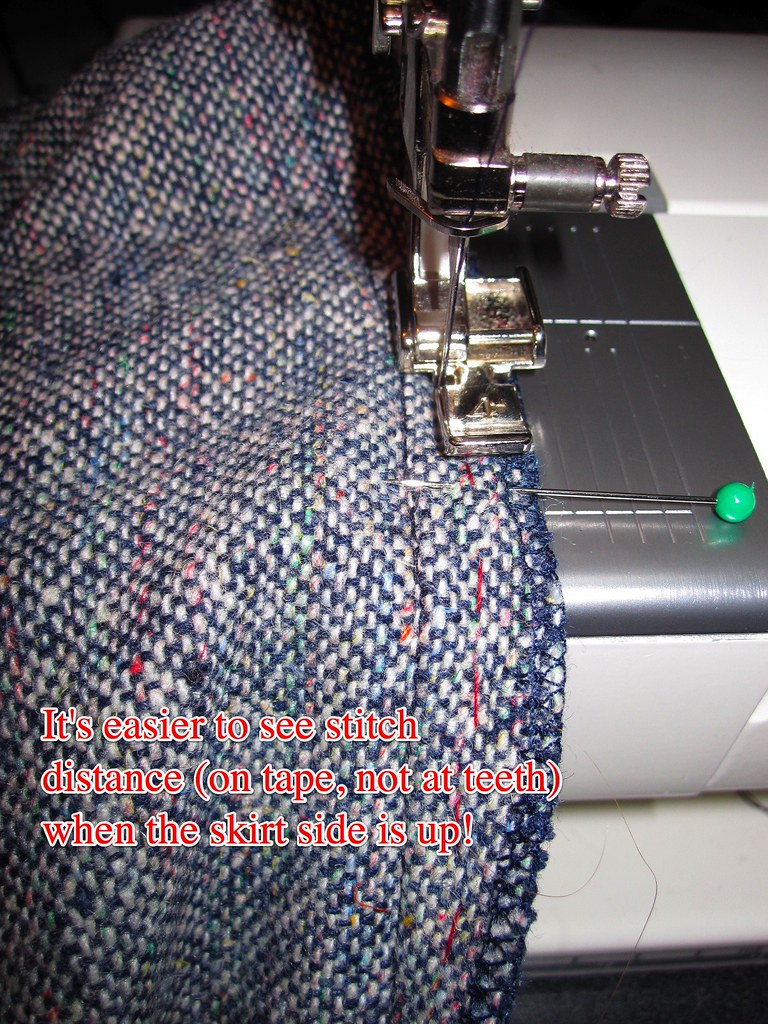
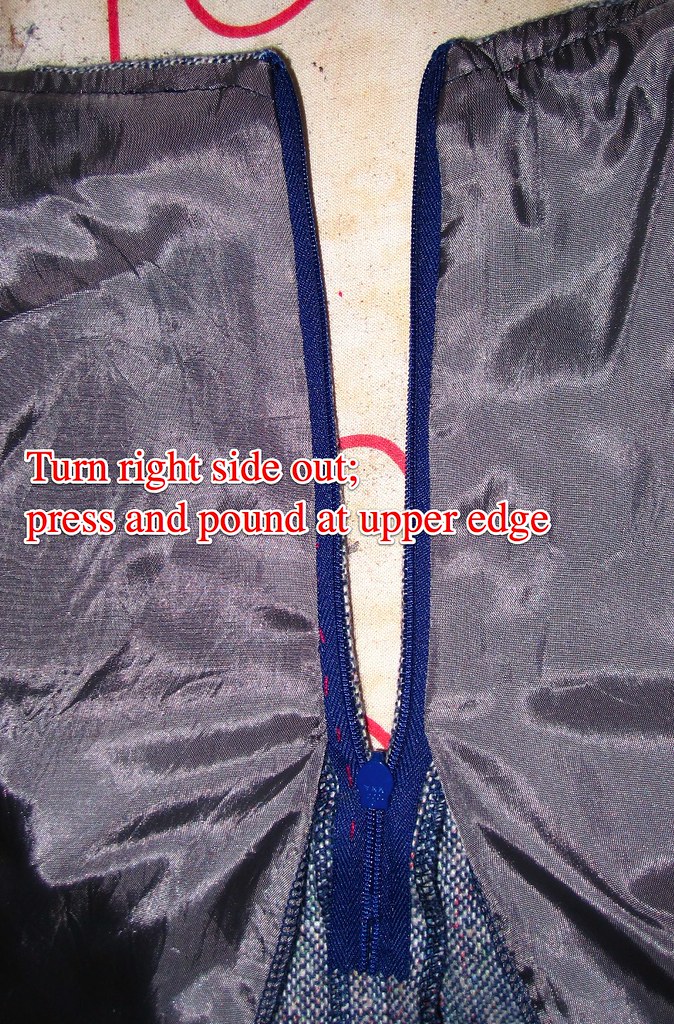
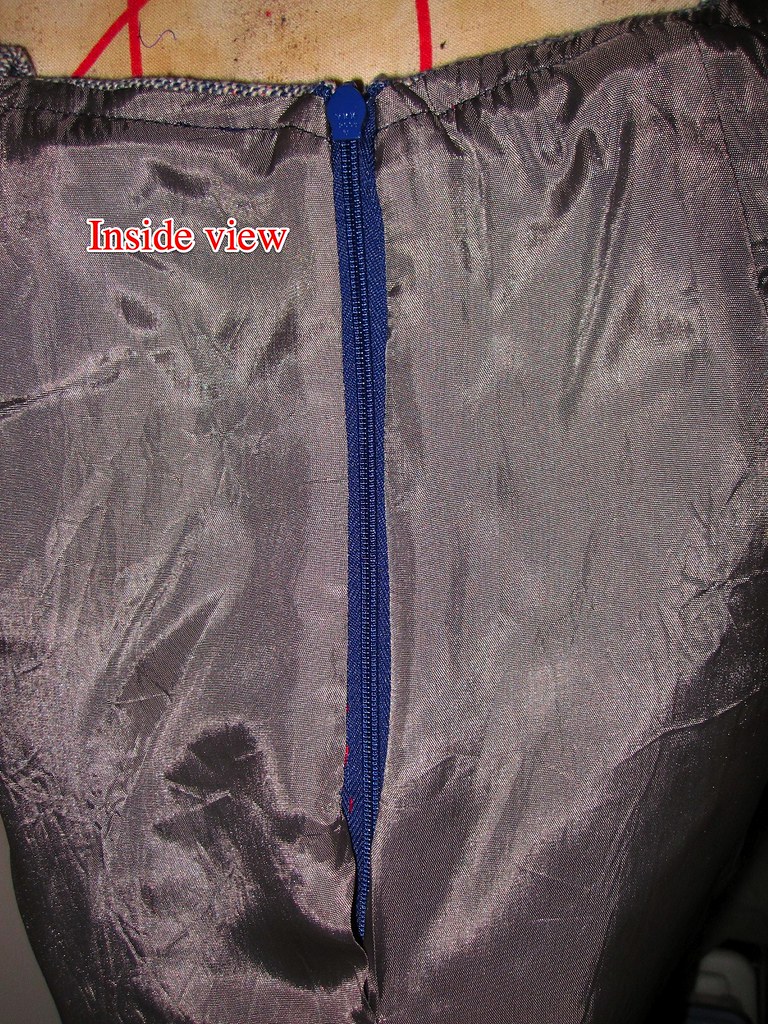
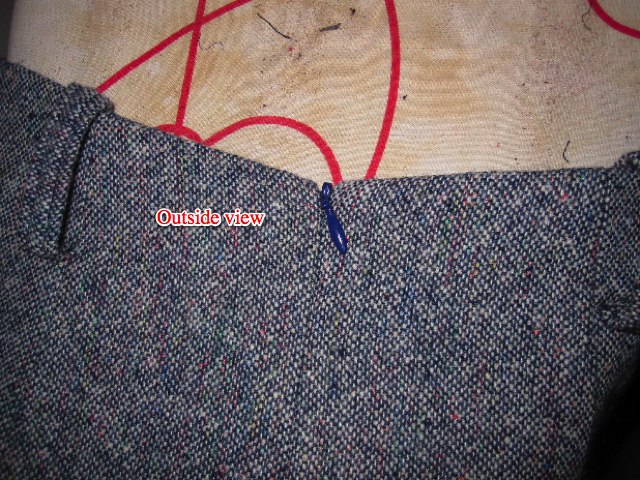
I cut as many blocks of fabric as I could that were the proper length and seamed them together with French seams except one. I slapped a zipper into the open seam, then gathered the top edge. I cut a rectangle of lining and pleated it in place (didn't gather to reduce bulk), then I sewed the waistband on as for the collar of the blouse (sew to inside of skirt first, turn over outside and topstitch in place). I interfaced the waistband with a lightweight interfacing, but I think I should have used a heavier weight. I didn't want to hazard a button hole into this lightweight polyester chiffon-ish, so I closed the waistband tab with a large snap. I did a serger rolled hem on the bottom and love it!
Side note: I got my serger from eBay
in 2008, a White Speedylock. It is a serviceable but not great machine. I always have trouble with loops along the right needle stitch line on the underside, resulting in an unintentional flatlock on serger-constructed garments, and haven't been able to adjust the tension to fix it. While I was still getting the hang of it I serged over 3 pins, so the knives don't always cut cleanly. The shortest stitch length is not quite short enough to get a solid bead on a serger rolled hem. Ideally it should go in for service and have the knives replaced. But I'm thinking for only double that price I could buy a
Brother 1034D for around $200 from Amazon. Probably not this month because I just bought my plane ticket to Montreal which is criminally expensive from DC, but soon. Maybe. People seem really happy with the Brother.
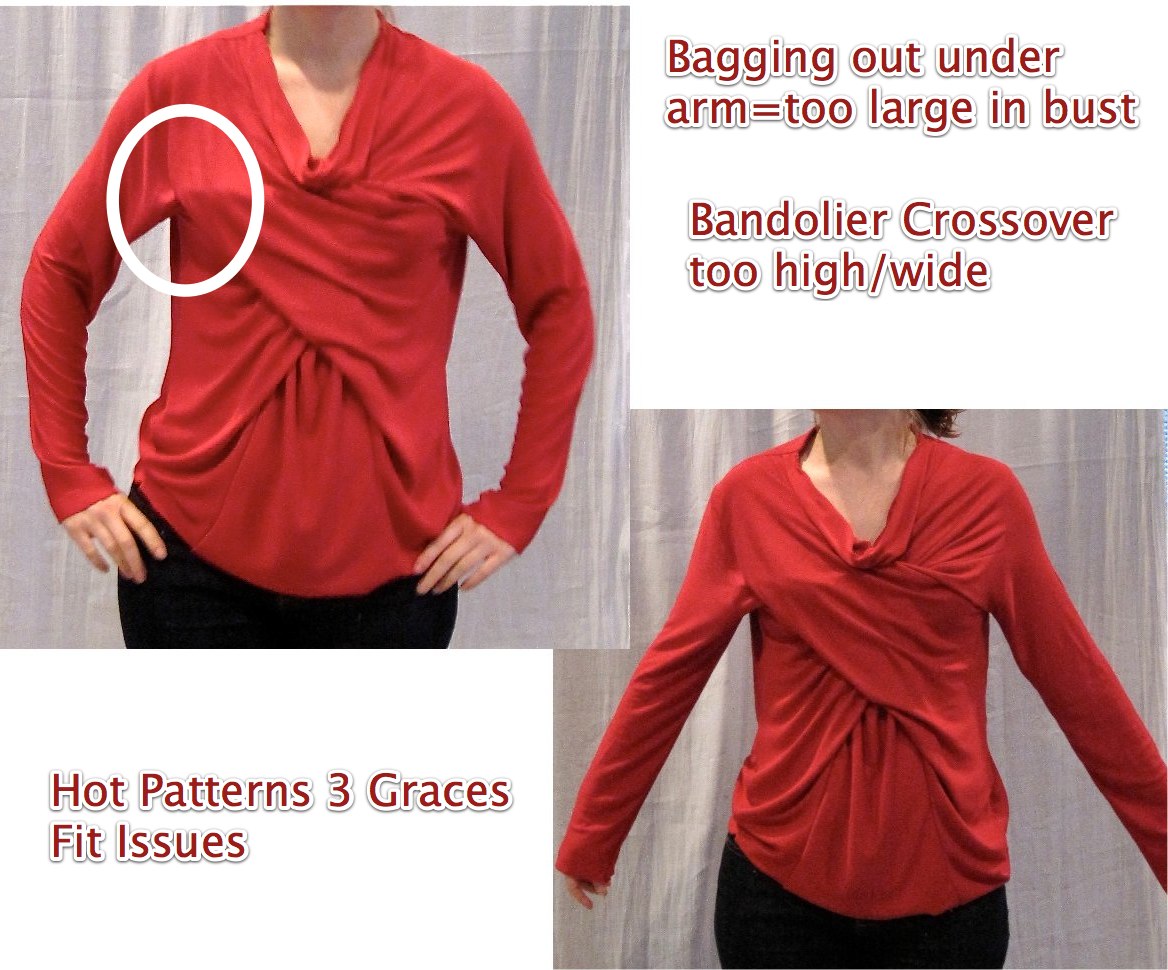
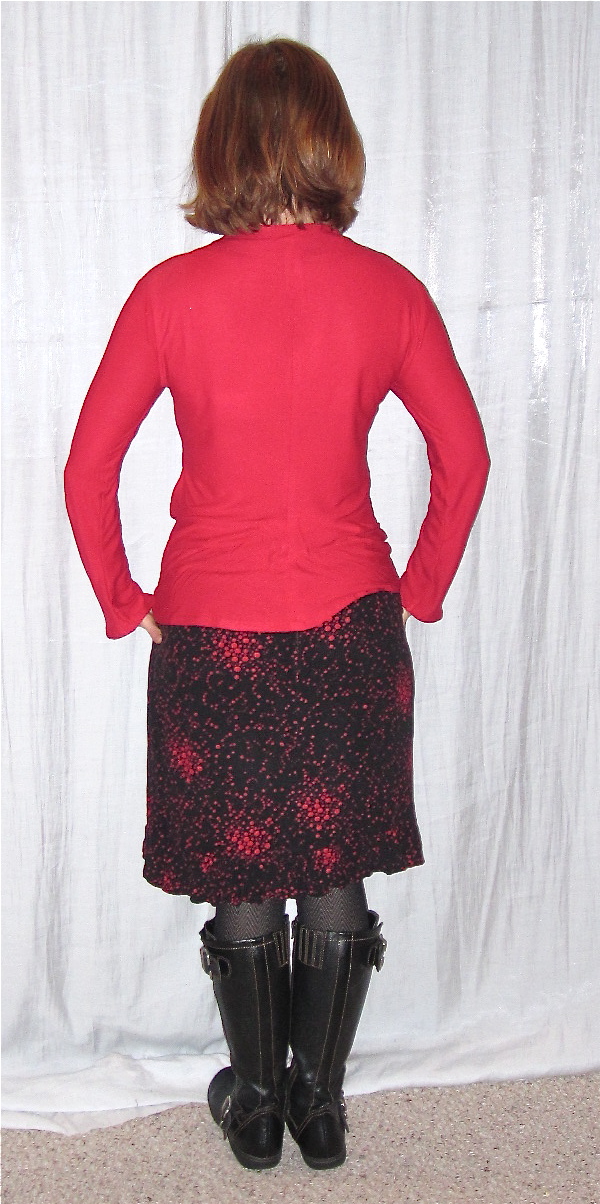
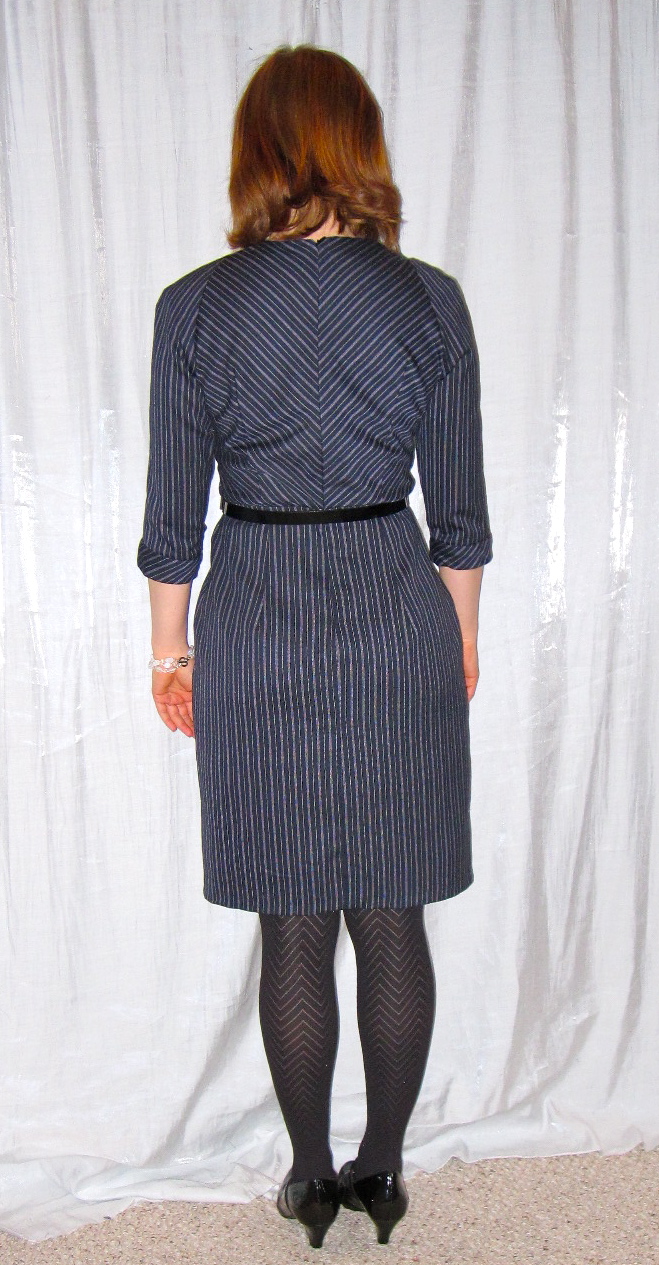
And if you don't mind, can you take a look at my back in the back view? I think my fitting issue is that band of muscle that runs along the paralell line between my armpits. I don't think it's usual to be as wide below the shoulders as in the shoulders, and I think that what may be causing problems with back tightness. Am I on base here?
OK, well I am really chatty today. If you have read this entire post I salute you. All photos are
here, the blouse review is
here, and the skirt review is
here.
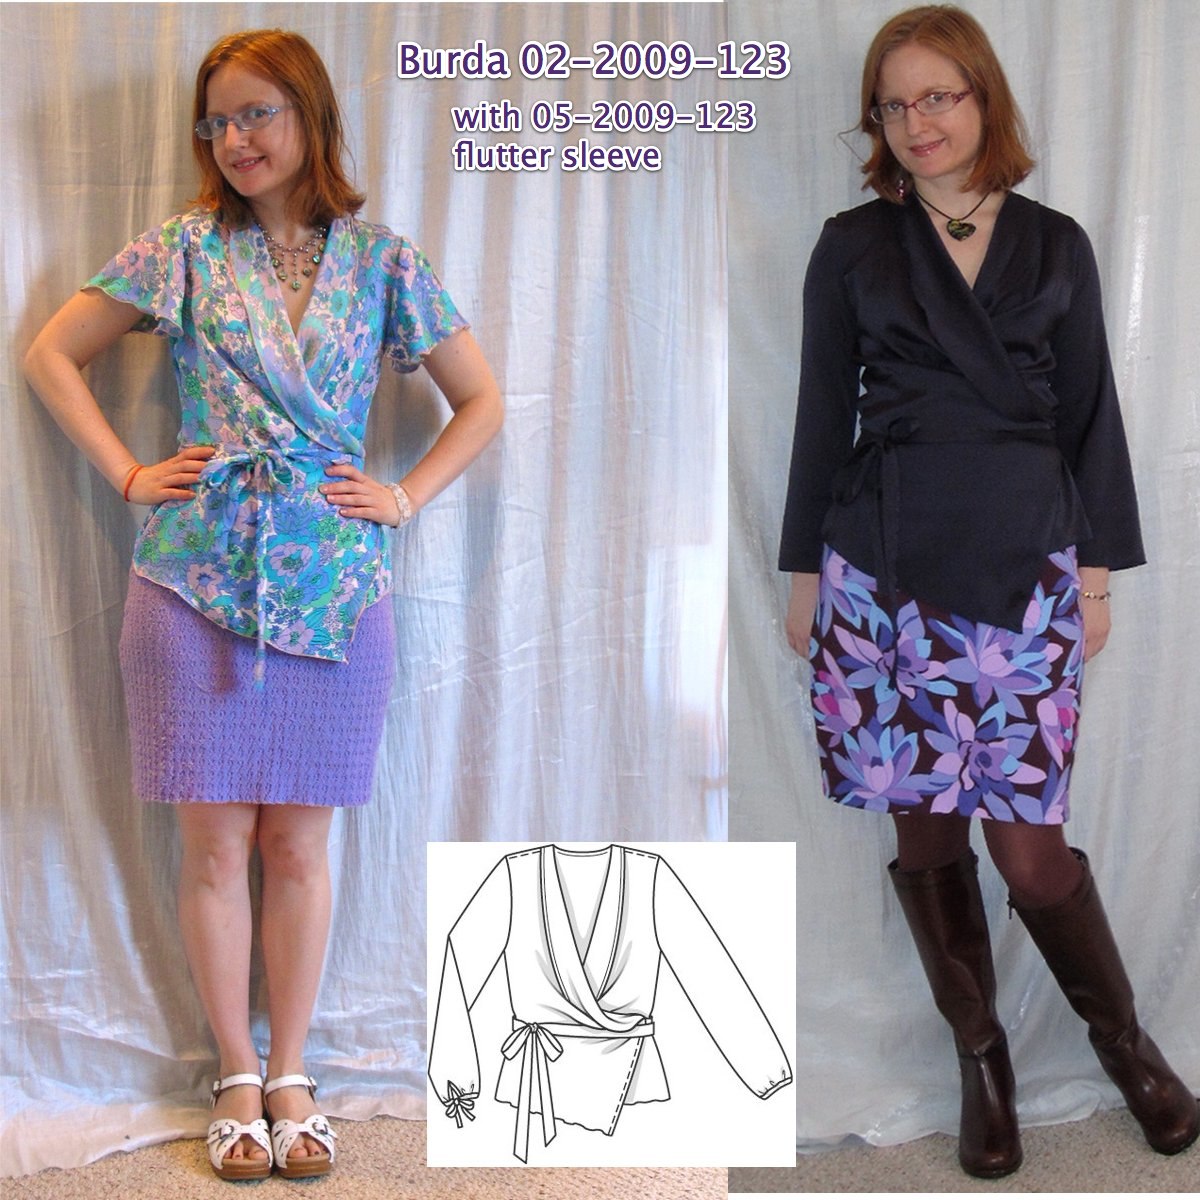
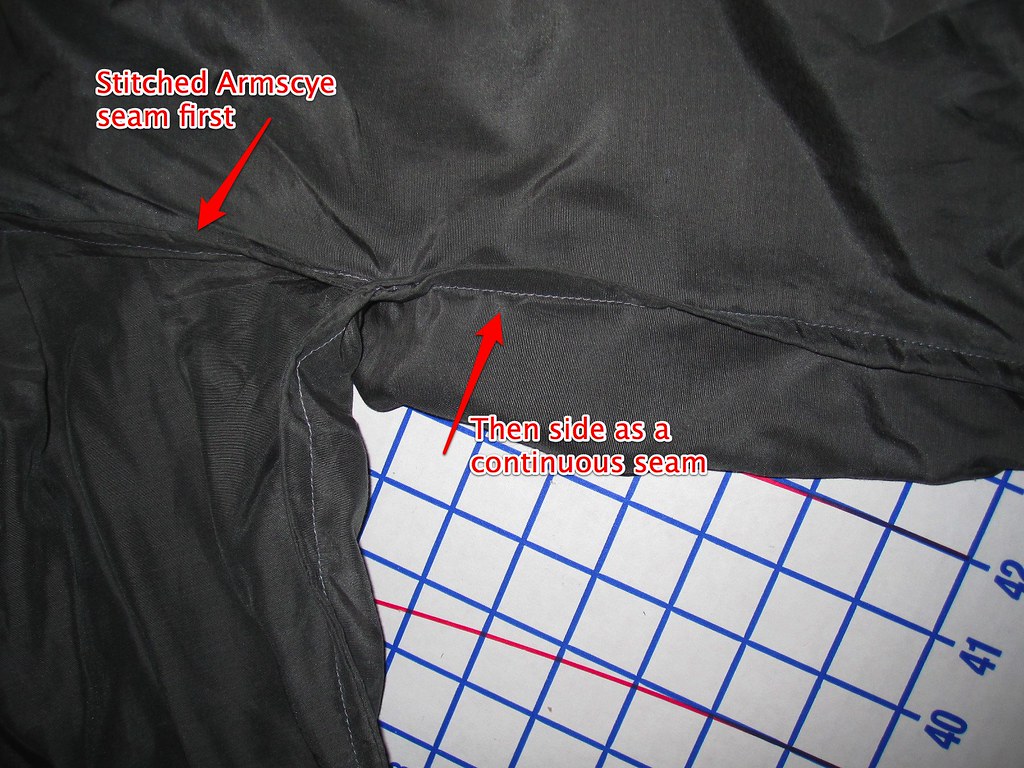
 I really didn't change anything other than the sleeve for this variation. For the serger rolled hem, I used the left needle rather than the right needle and I think it works a lot better on my serger to have that little bit of extra space. I am thrilled with the way the hem came out. I did French seams again, and used the same technique of serger-finishing the edges of the opening and then just leaving the opening unsewn on both passes. While working with this silk was like trying to stitch together cobwebs and moonbeams using the morning dew as needle and thread, its airiness and lightweight do make for a nice French seam at the armscye.
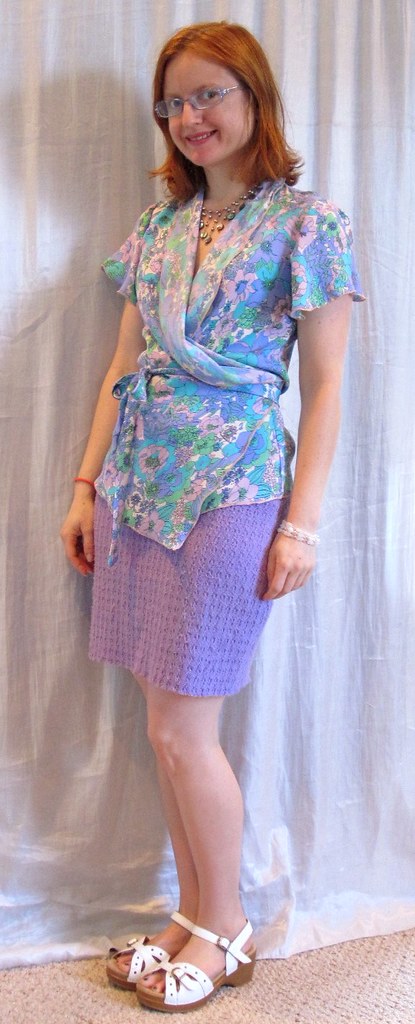
 This version came out just as I imagined it and I'm so pleased to have made use of this gorgeous fabric! It has a right side and wrong side, and I was a little nervous about how the self-collar would look, as it is formed from the wrong side of the fabric. You can definitely tell that it's the wrong side, but I don't think it looks bad, more like a design feature. I don't know if the back hem really does have that dip in it, or if I just have it unevenly bloused. Given the difficulty I had in cutting this fabric on grain, I would not be too surprised if the issue is the hem rather than the way I'm wearing it. Oh well.


.jpg)


